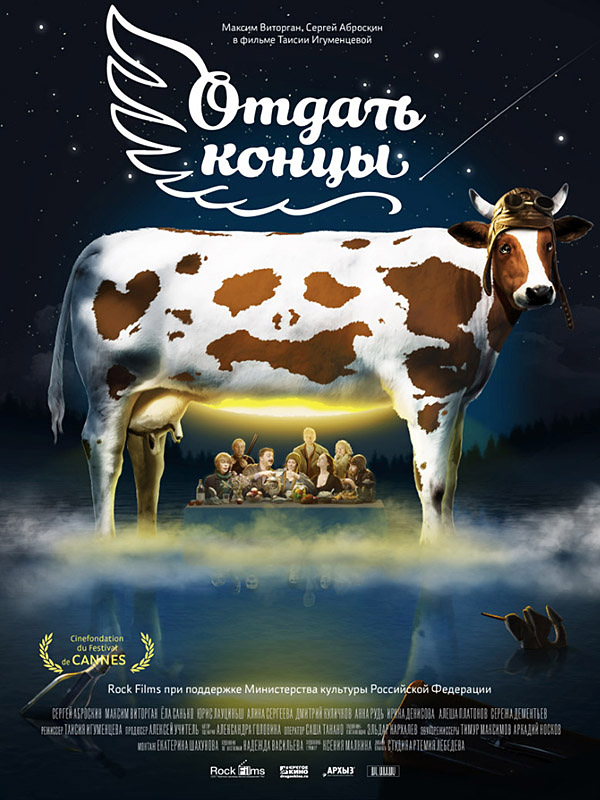
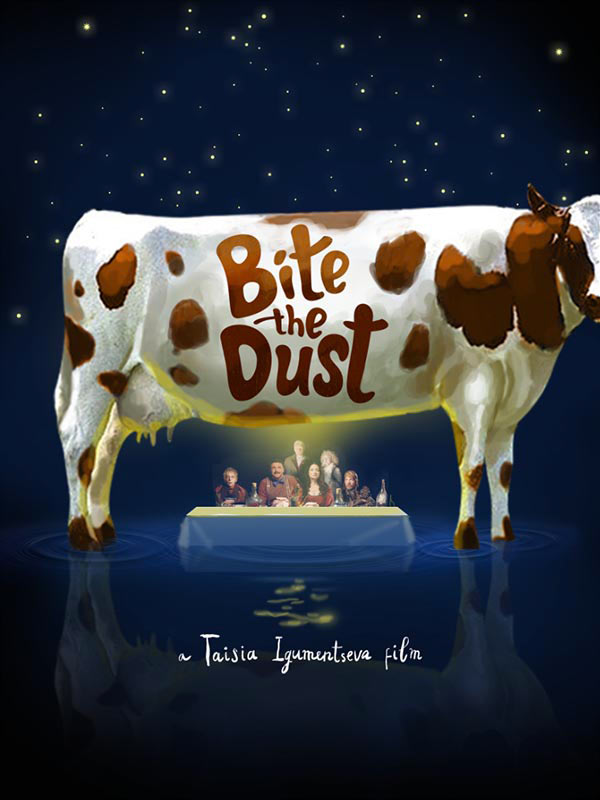
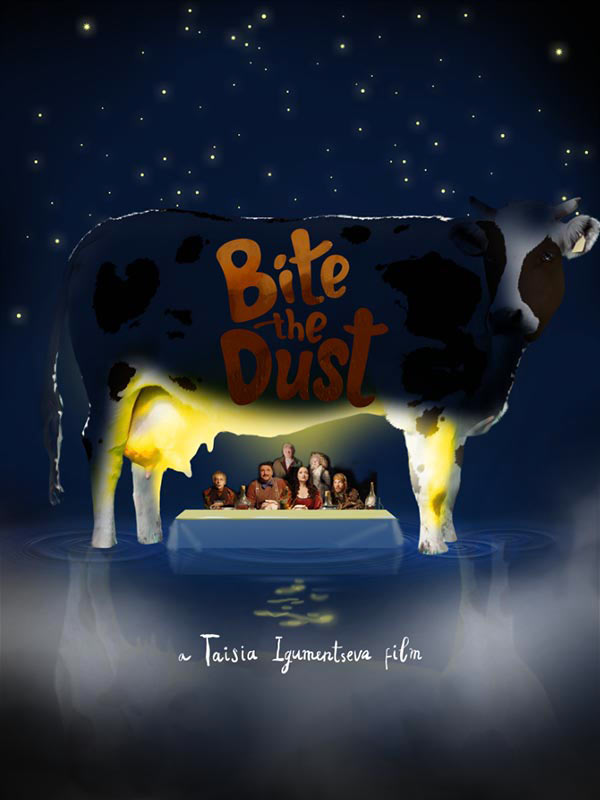
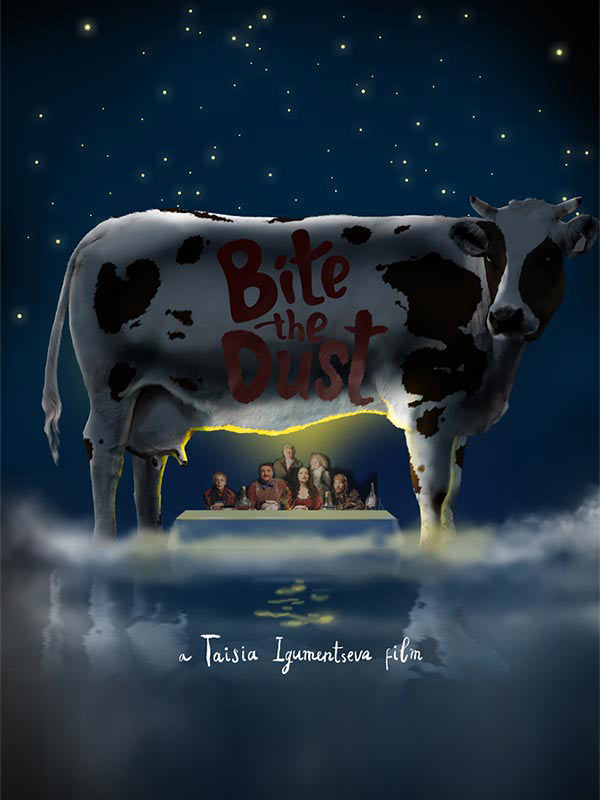
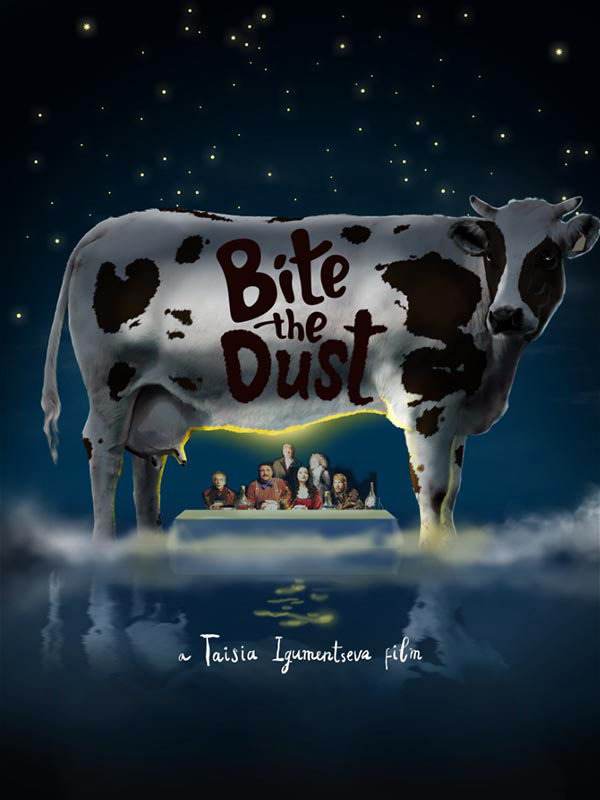
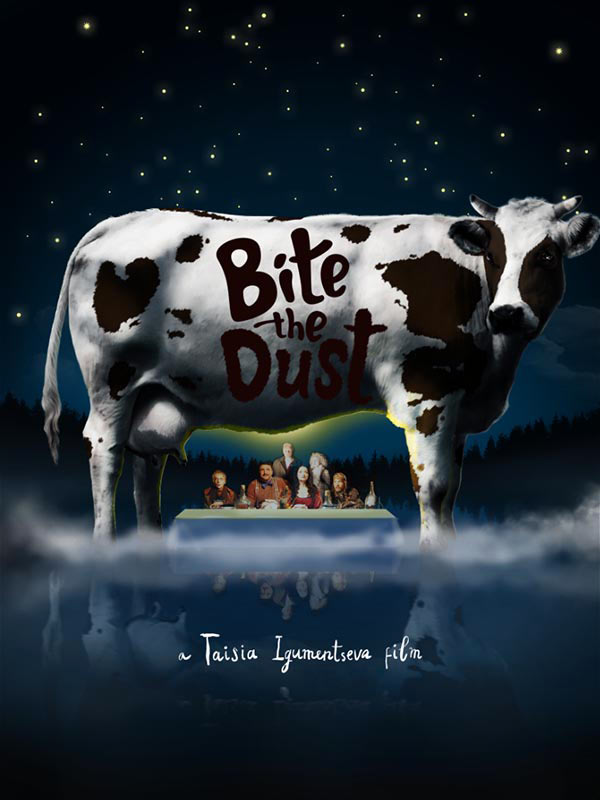
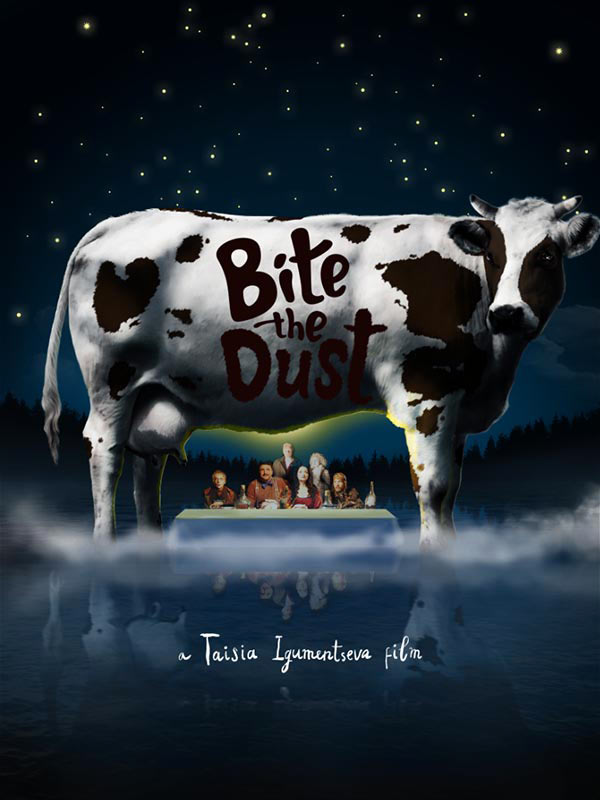
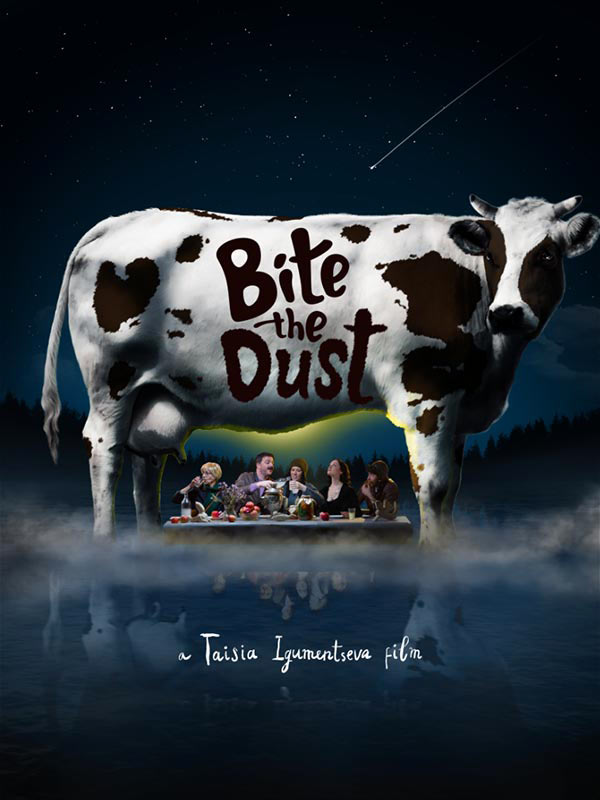
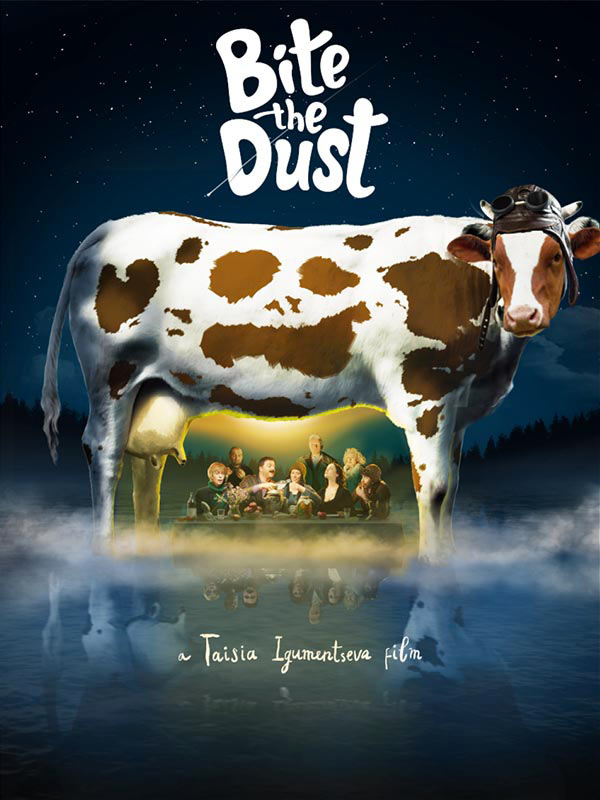
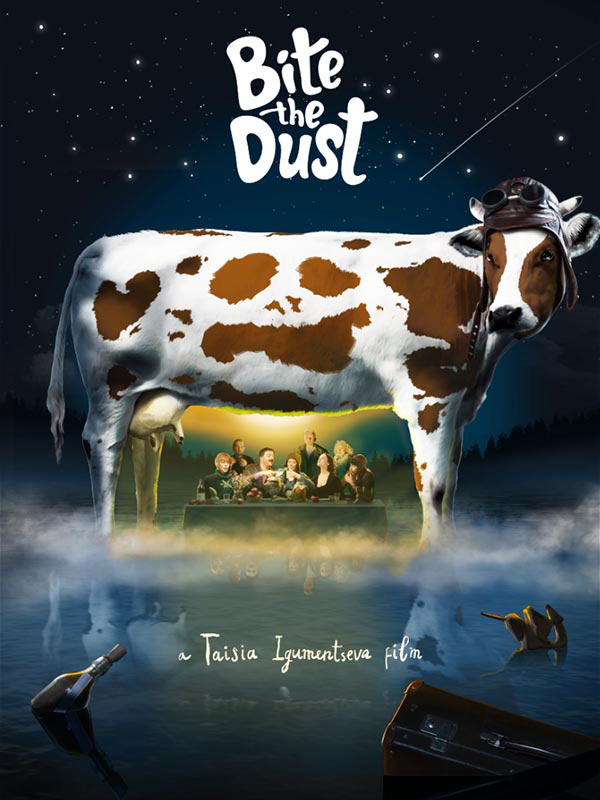
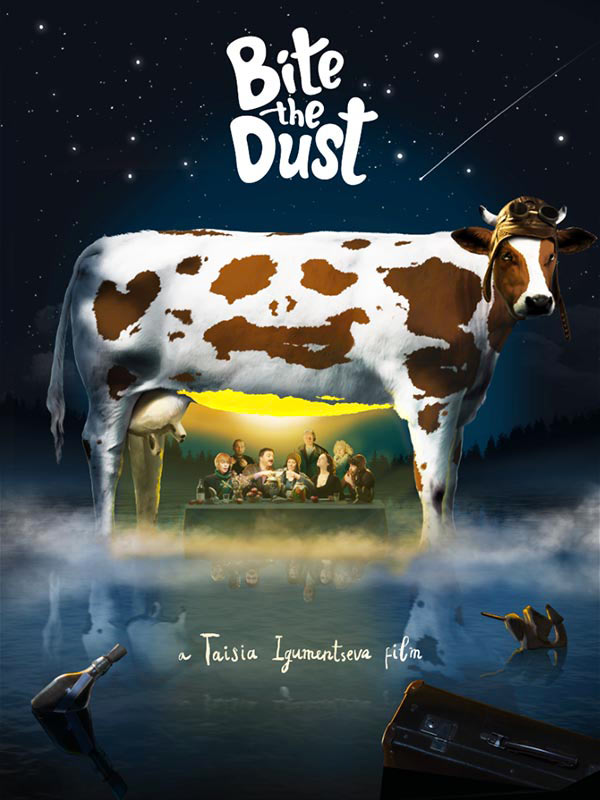
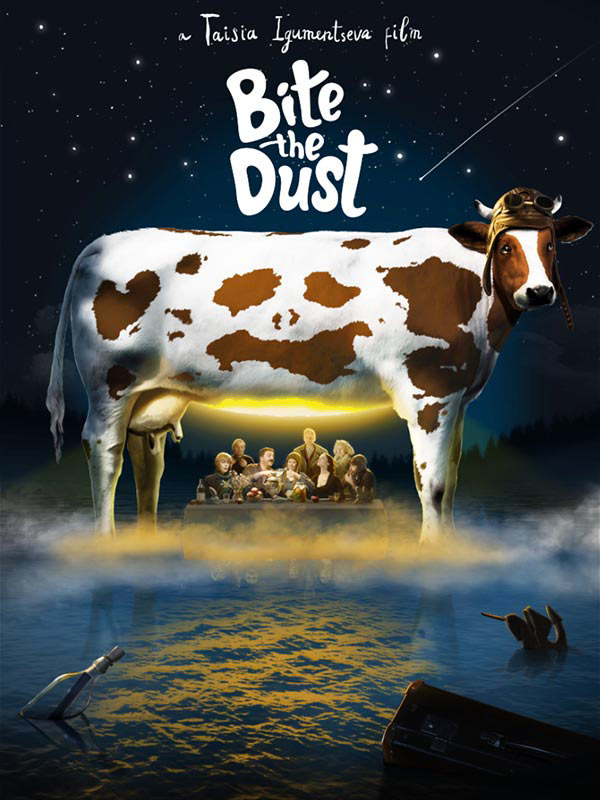
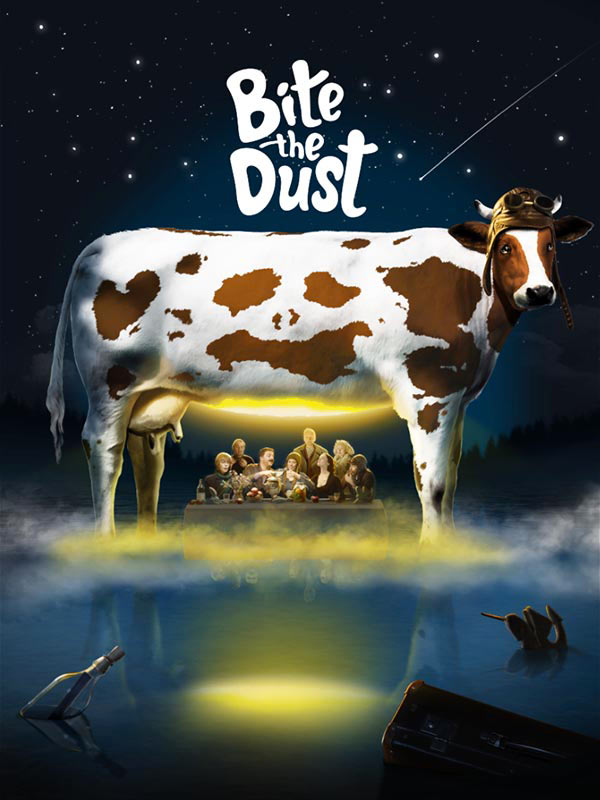
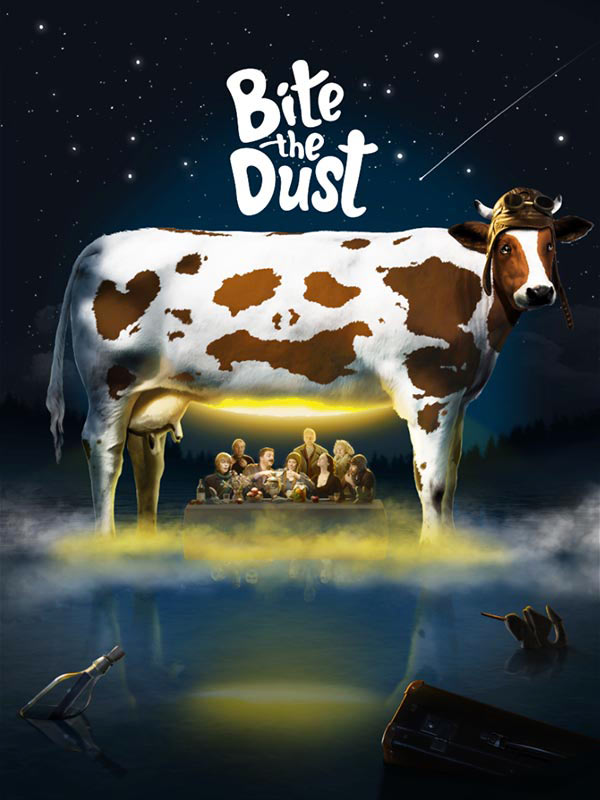
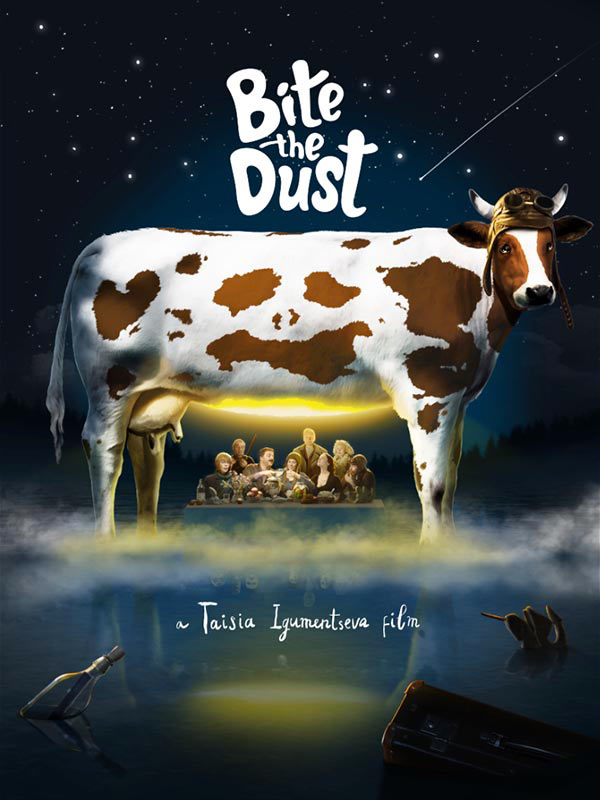
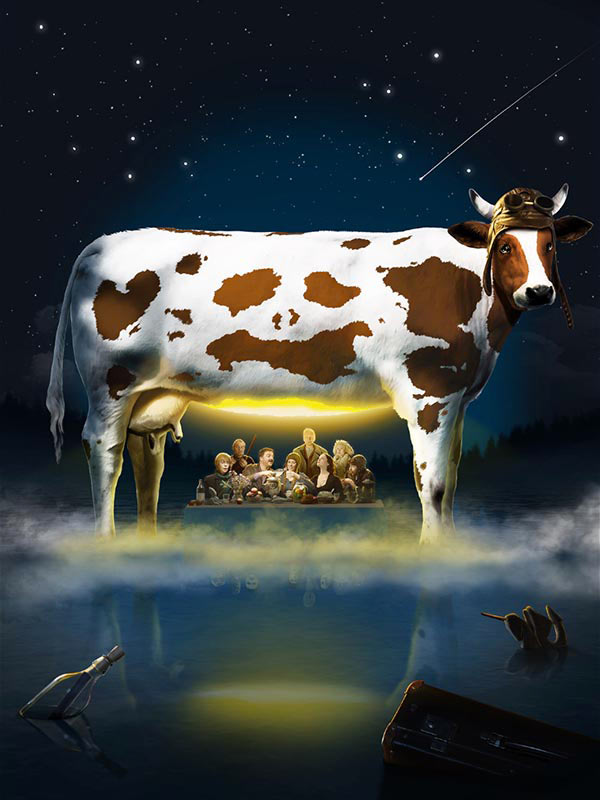
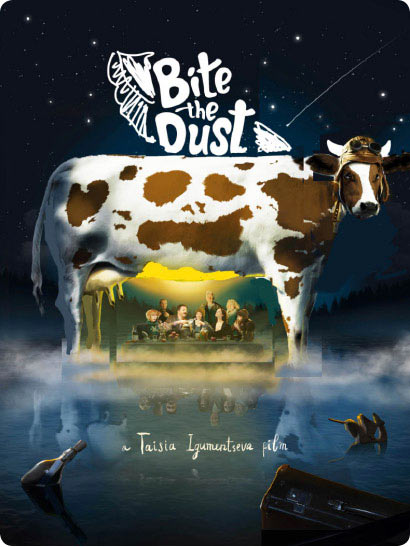
One time we needed to draw an illustration for the Bite the Dust movie poster using a sketch provided by the client.
Working with the shape
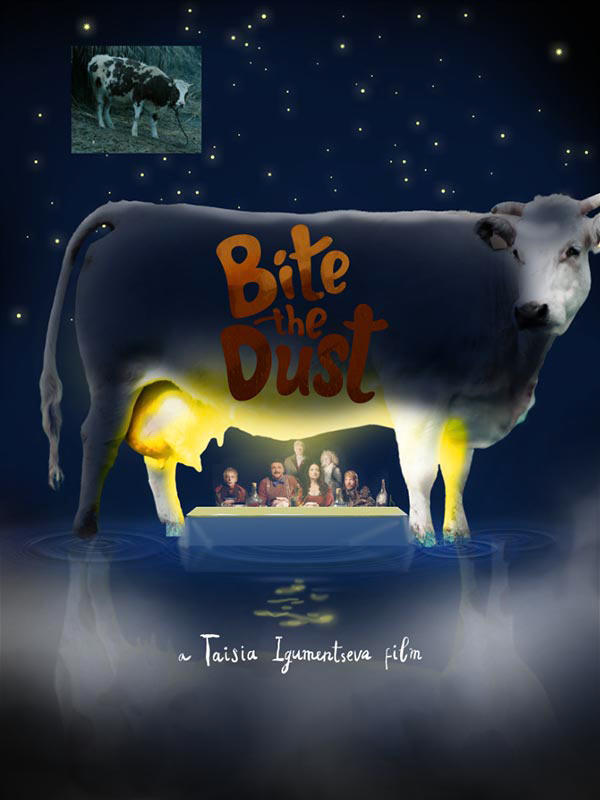
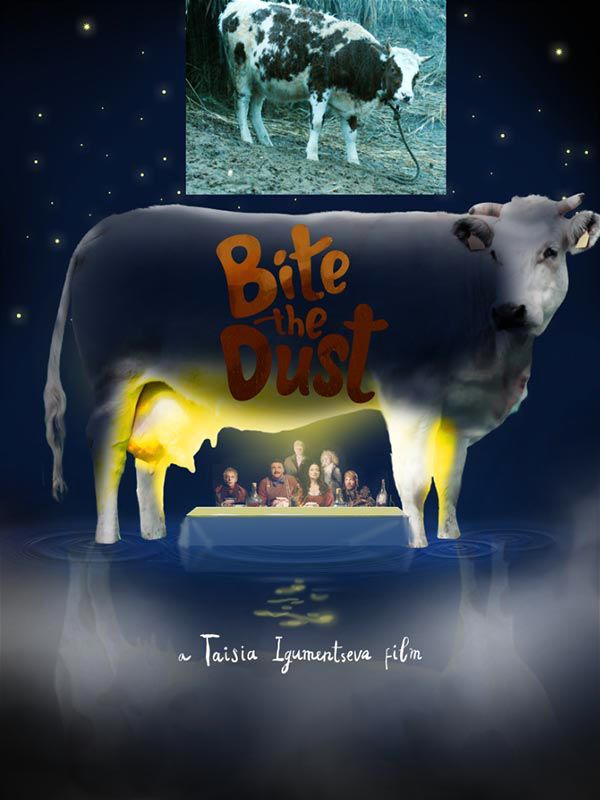
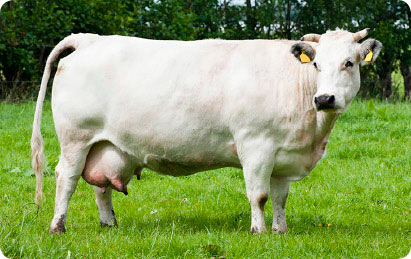
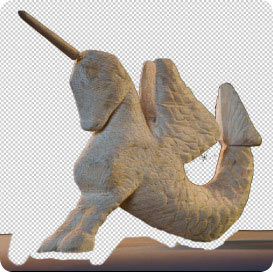
The main object of the poster is the cow, so that’s what we’ll be working on.
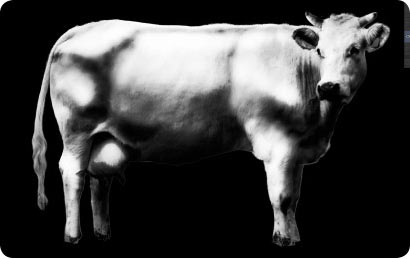
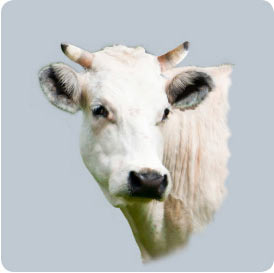
We use a white cow as a basis for the future illustration: white color will make it easier to add spots and work with shading.
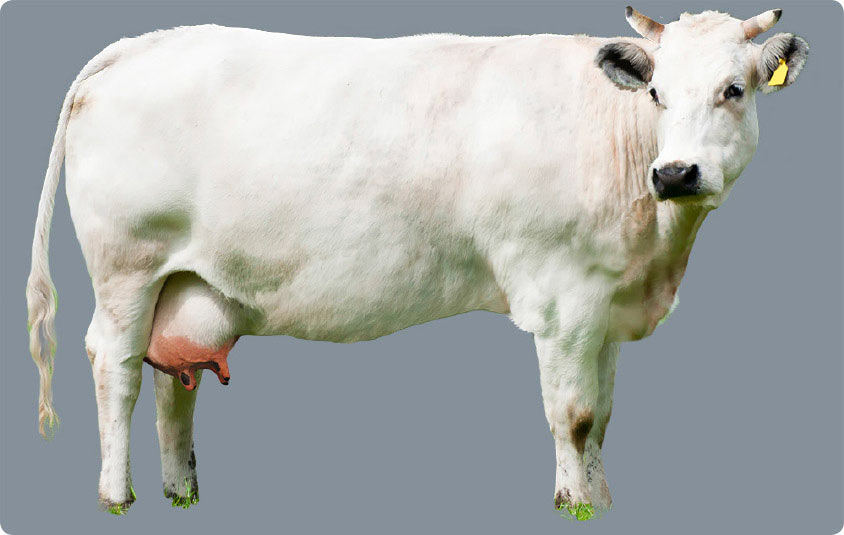
Cutting out the cow and chopping it to pieces.

And assembling it back together, replacing the udder and giving it the shape we need.
Channels
Channels provide an easy way to make complex selections which can’t be easily drawn by hand. They are especially useful when selecting complex shapes, such as hair.
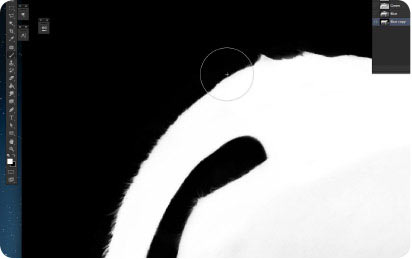
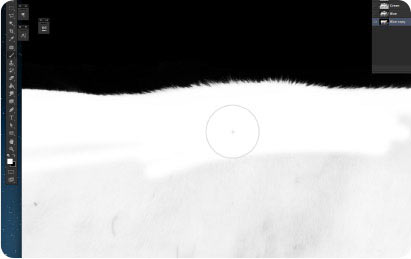
To create a contour selection you need to choose the channel with the most contrast in the zone of future selection. Create a copy of it and work along the border of the object and the background with a brush, alternating its color from black to white with a bit of transparency (30–50%) in Overlay mode. Next, color the inner part with the white color in Normal mode. The result to aim for is an almost entirely white cow on black background. Now click the miniature of the copy of the edited channel while holding the Cmd button.
The selection is created taking transparency into account, which ensures smooth blending of the object into the background of any color. In our case we need to invert selection for which we use the Cmd+Shift+I shortcut.
At this stage it’s best to save the selection as we will be using it again later. To do this, select any selection tool, right-click the selection and choose Save Selection. Click OK and the selection will be saved as a separate channel.
 |
 |
|
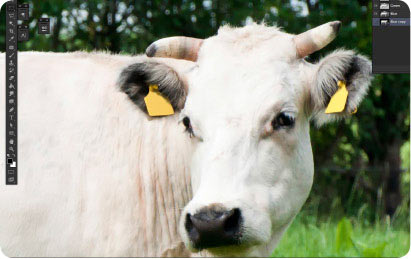
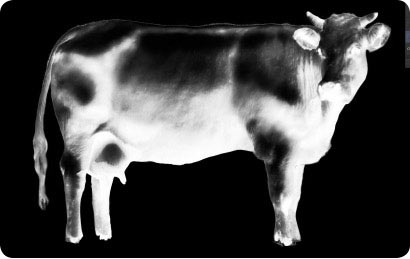
Source image |
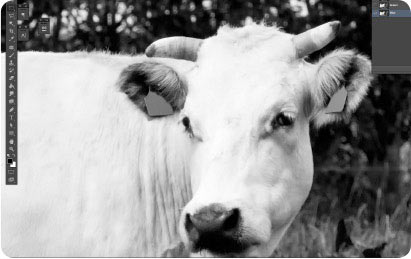
The channel with the most contrast, blue |
 |
 |
|
Working along the edge with brush in Overlay mode |
Coloring the inner part white in Normal mode |
Cow shading. Instead of adjusting the contrast using color correcting layers, it’s best to create selections for the lights and the shadows, which will allow us to adjust their intensity individually, change their color and remove what we don’t need using a mask.
It’s done in the same way as making a contour selection, but this time we’ll be working inside the cow shape, not with its contour. After we created the selection for lights or shadows, we need to remove everything else, clicking the miniature of the new channel while holding Cmd+Shift+Alt.
 |
 |
|
Light channel |
Shadow channel |
This trick has many uses.
 |
 |
|
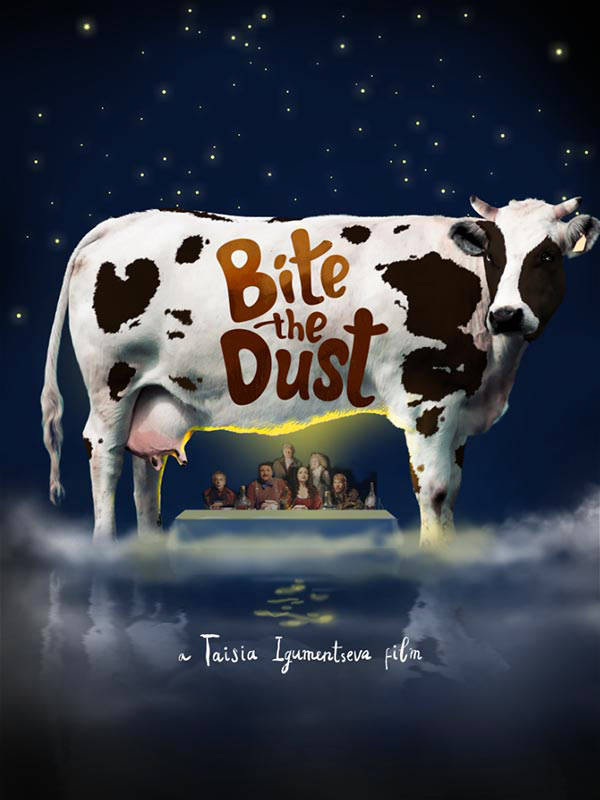
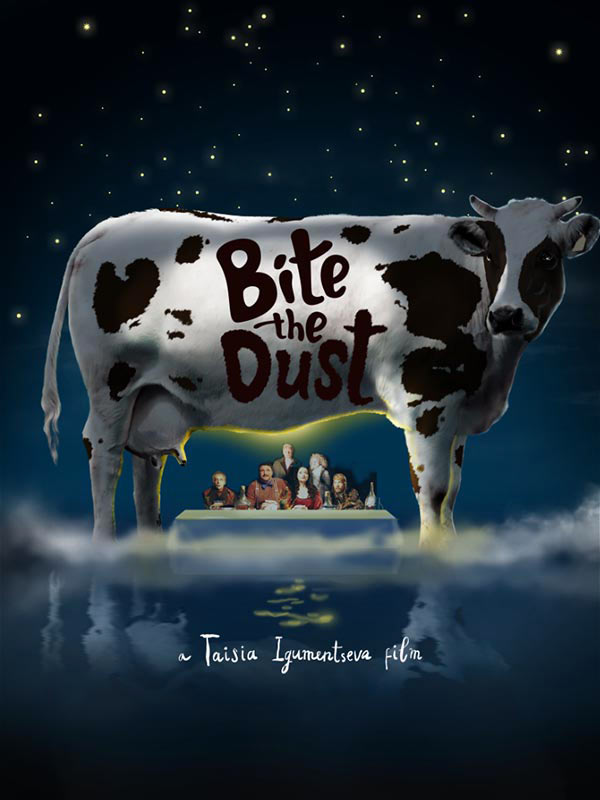
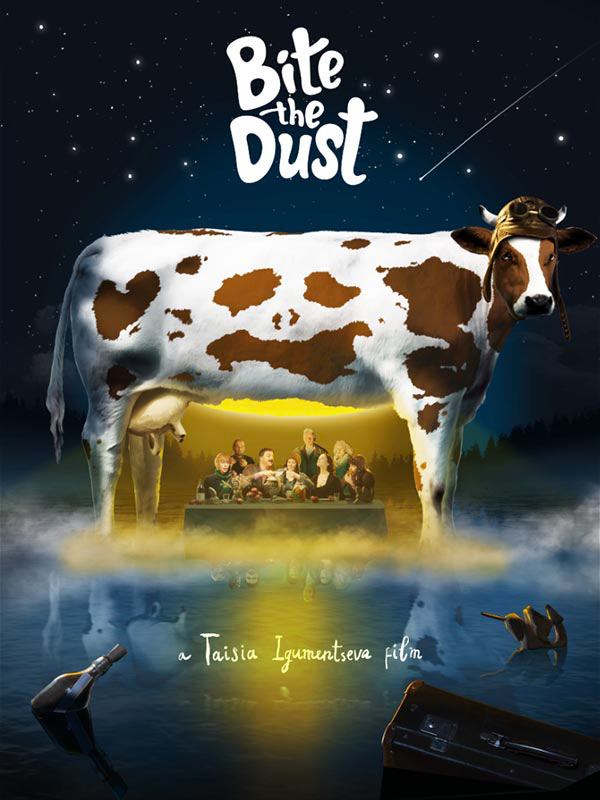
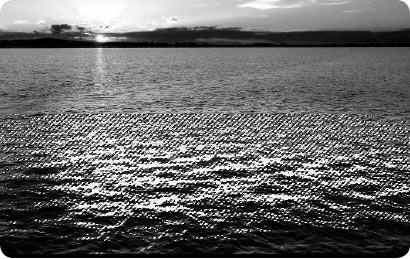
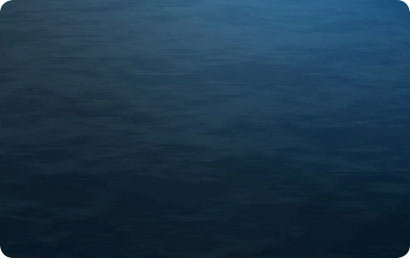
Creating ripples on water |
 |
 |
|
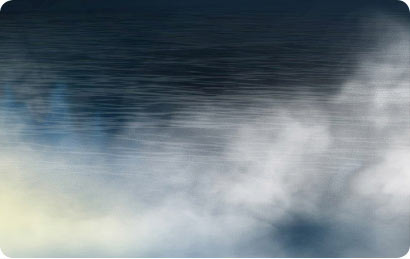
Using clouds to create fog |
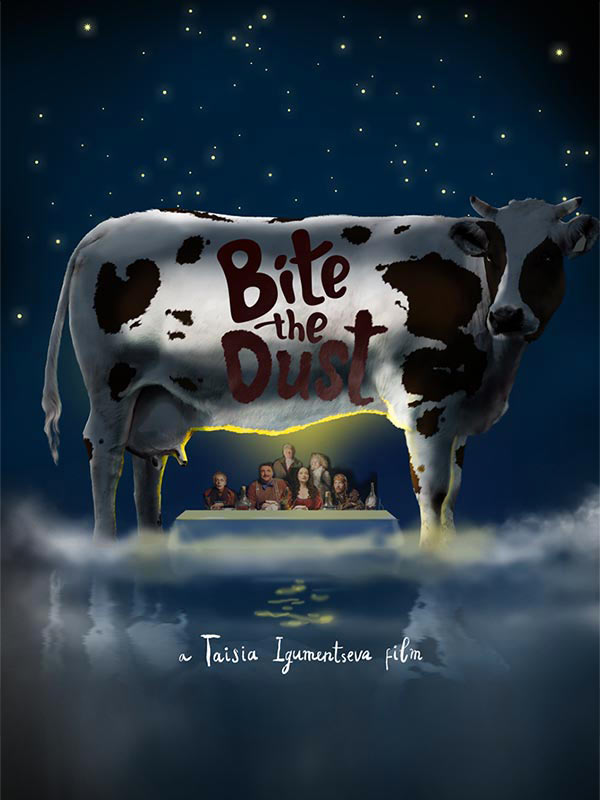
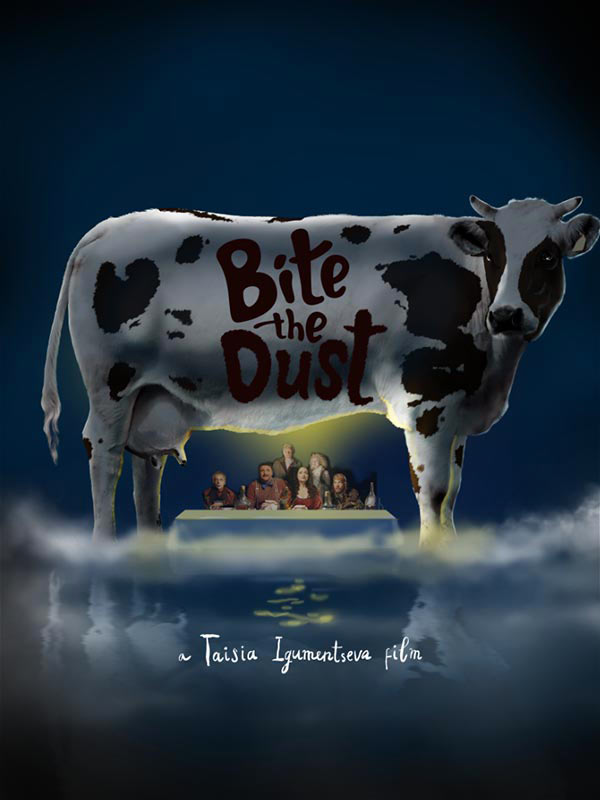
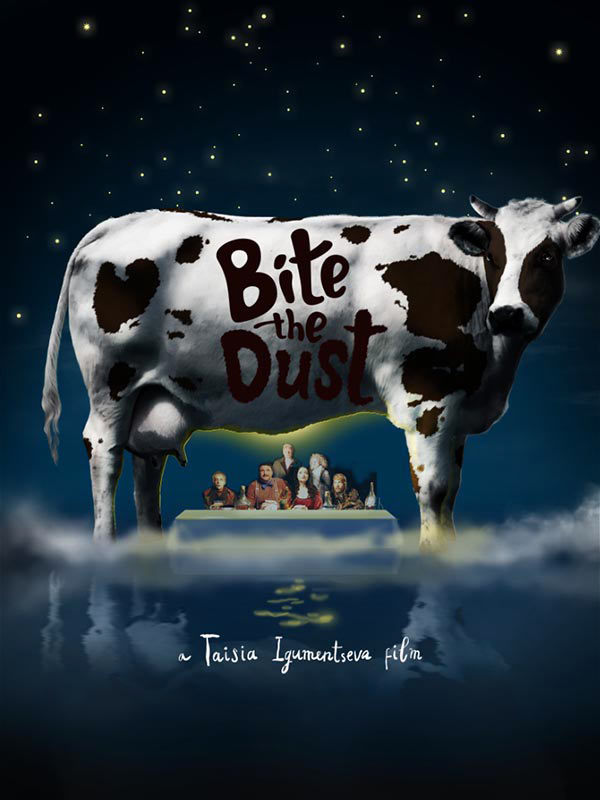
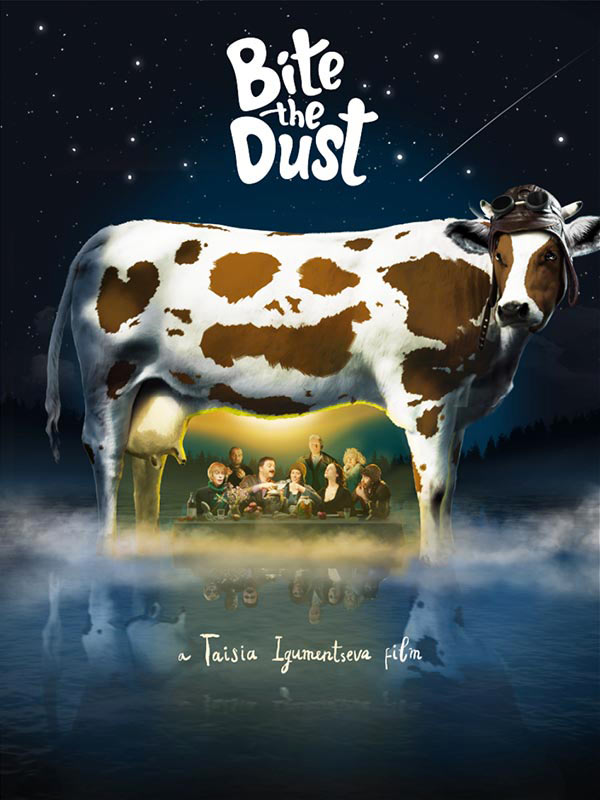
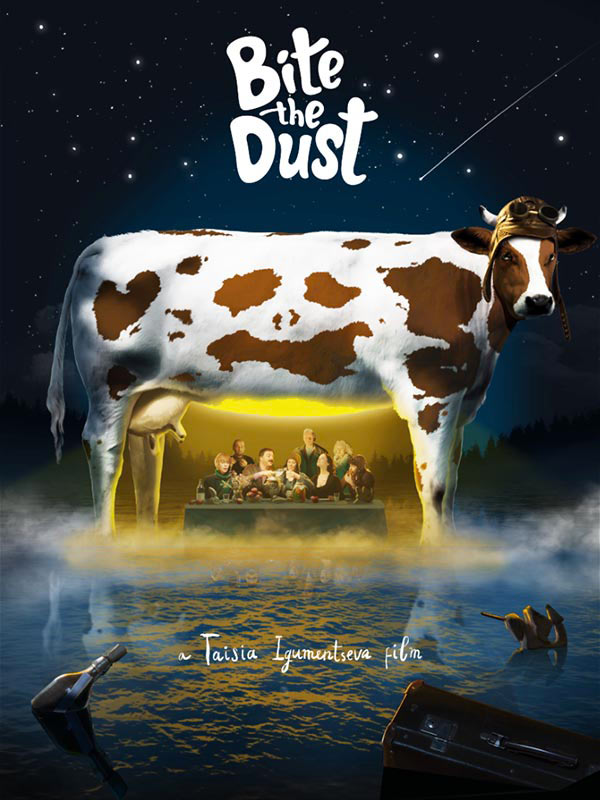
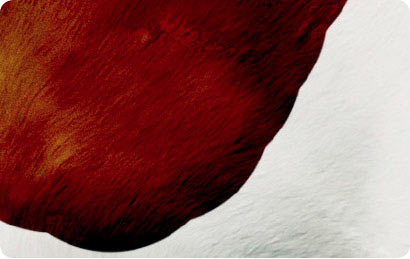
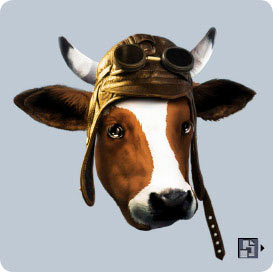
Adding spots to the skin. To draw them, we use the brush’s Multiply mode, then use a fuzzy brush to cover the required spaces with a mask along the hair (we decided to maintain a slight artificial look).
 |
 |
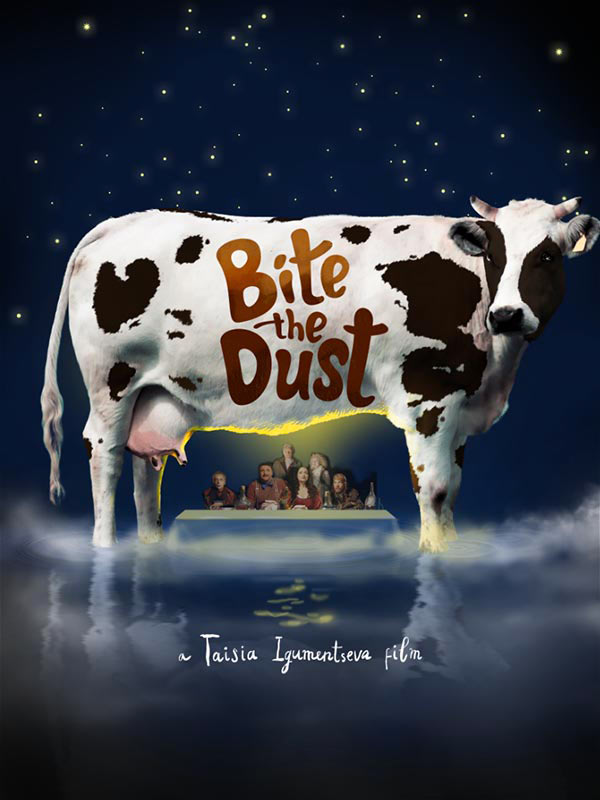
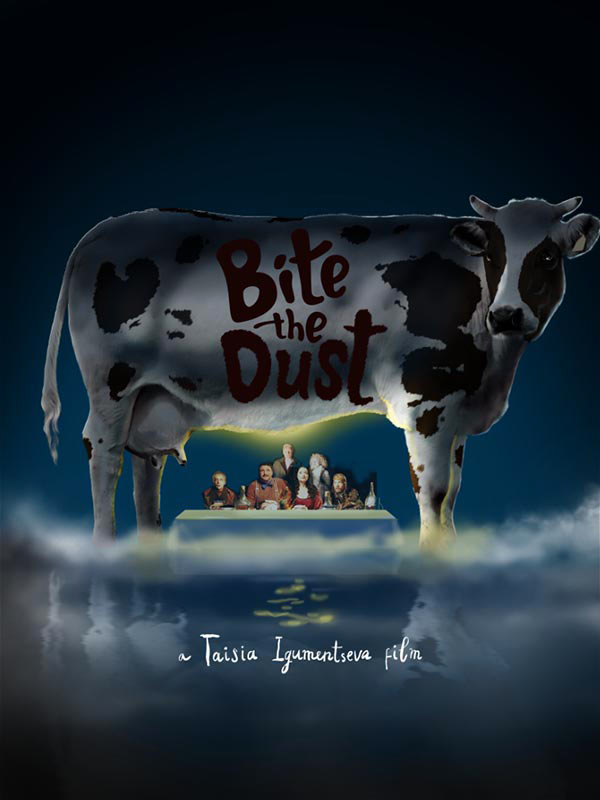
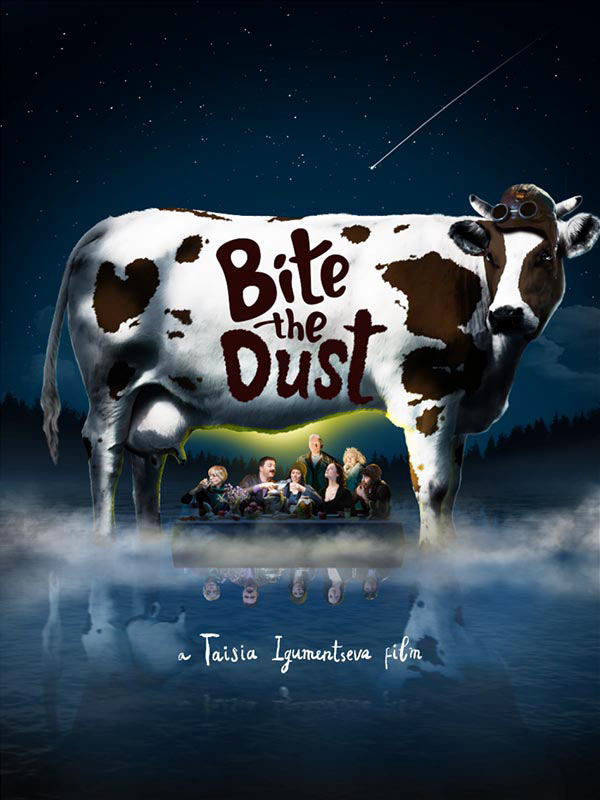
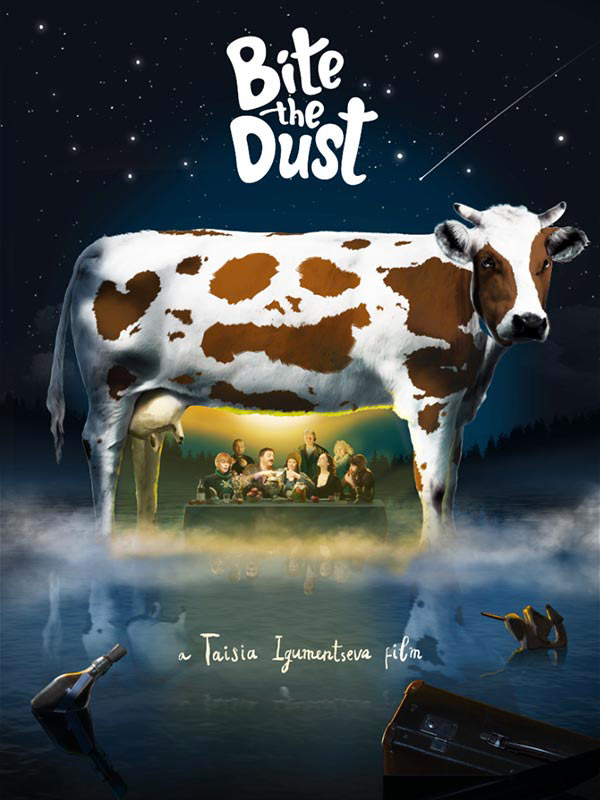
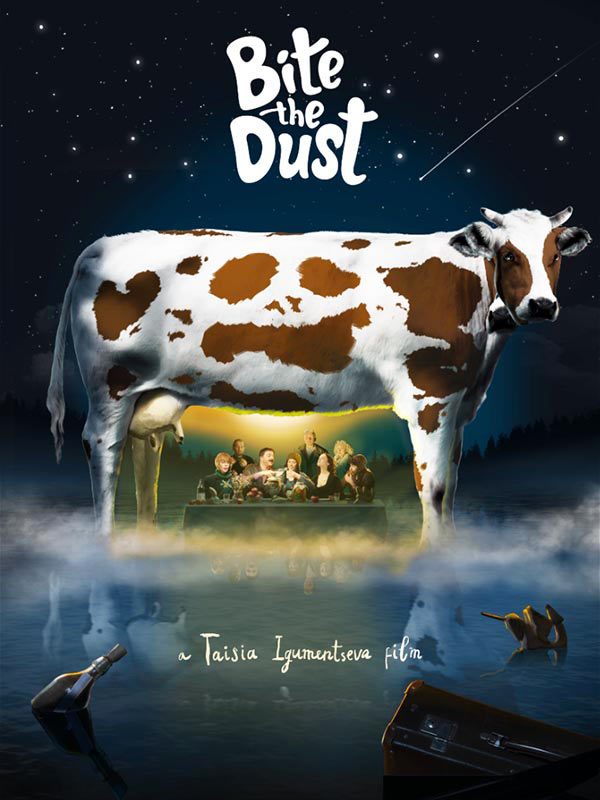
At one point we had to slightly adjust the shape of the cow: stretch the body, make the head smaller, move the udder a bit up and slim down the legs.
Quite a few layers are linked now linked to the original white cow: spots, light, shadows, etc.
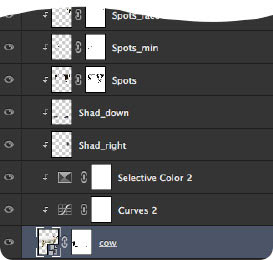
Which means that if we were to change the shape of the cow, all these layers will become misaligned relative to the main layer. To solve this problem we convert the cow and all the linked layers into a smart object (smart objects and some of their benefits were described in the article 23 Rubles).
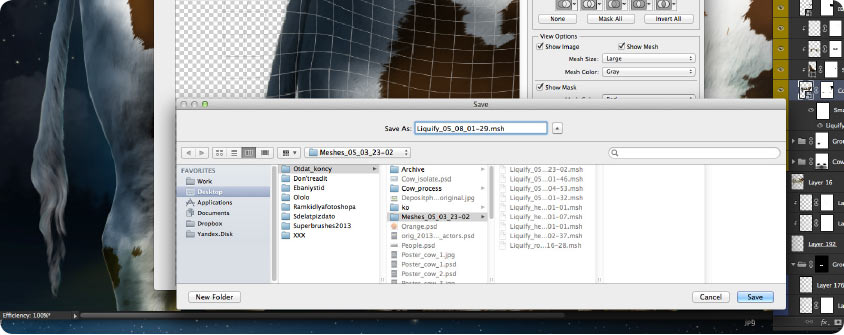
When working with smart objects, some might be confused by the absence of certain filters such as Lens Blur and Liquify, but this problem can be easily solved by running a script hidden deep inside Photoshop’s folders: Photoshop/Scripting/Sample Scripts/JavaScript/EnableAllPluginsForSmartFilters.jsx. If for some reason you don’t have this script, you can download it here: EnableAllPluginsForSmartFilters.jsx (4 KB).
Now we can use the Liquify filter to adjust the shape of the cow without having to worry about the content of the smart object that can be easily edited at any time—Liquify will still be applied. Moreover, if we were to change something, it’s good to have the ability to get back to the initial image (in our case, the white cow). The depth of this nesting is directly proportional to the size of the file and performance of your computer.
 |
 |
 |
||
Nesting of the head |
While working with Liquify it’s important to save the meshes to ensure we can revert the changes later. In our case we created several alternative meshes: individual ones for the head and the body.
Details
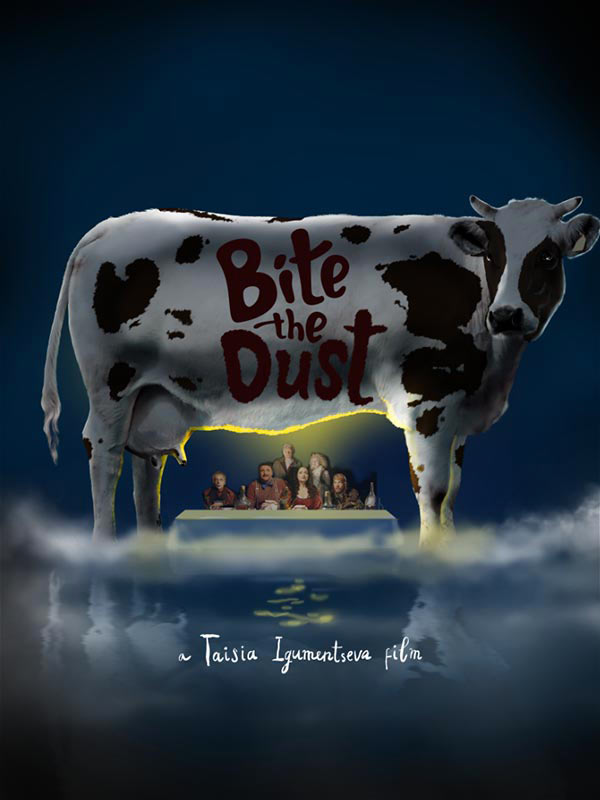
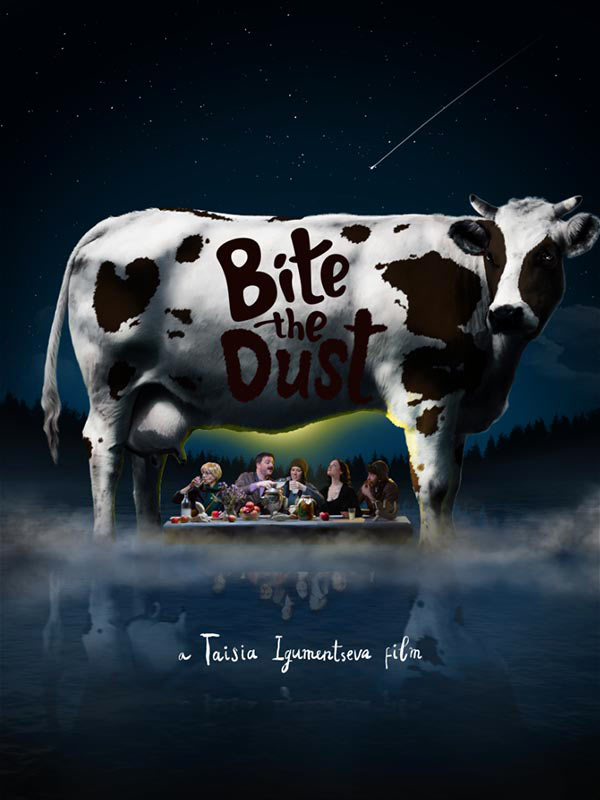
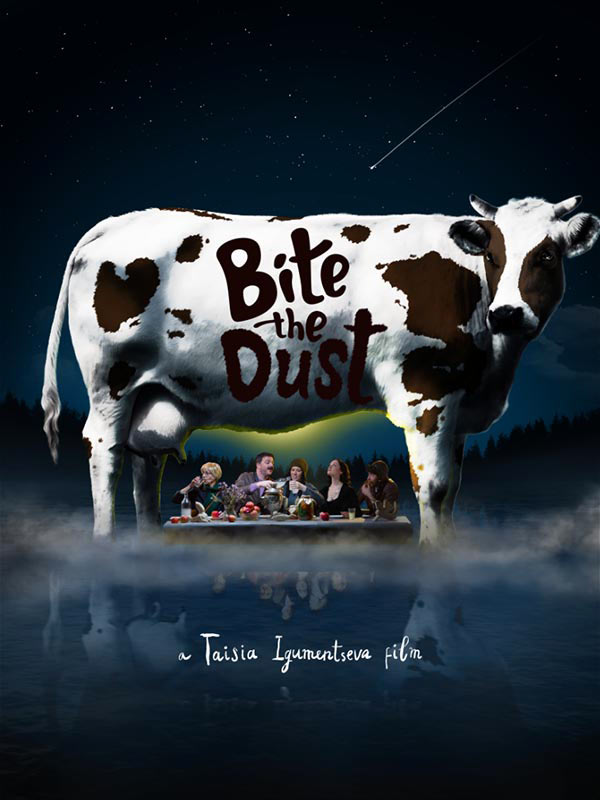
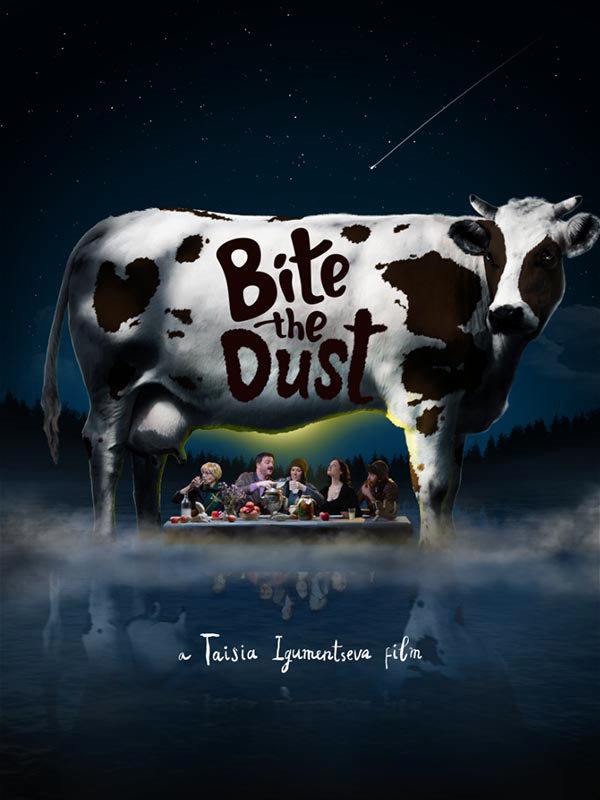
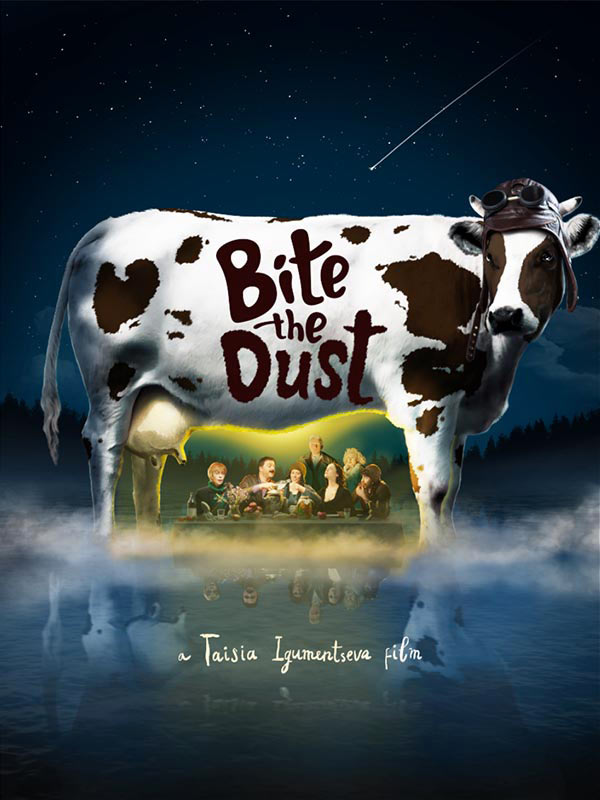
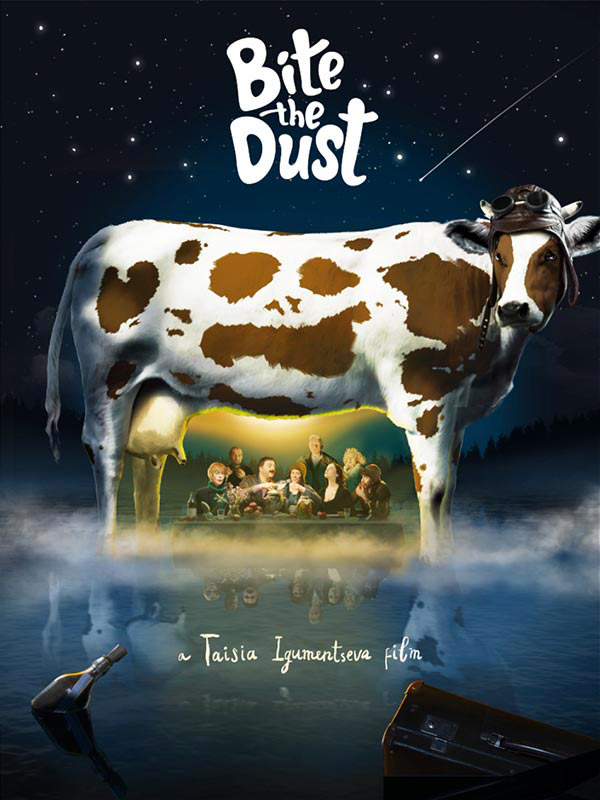
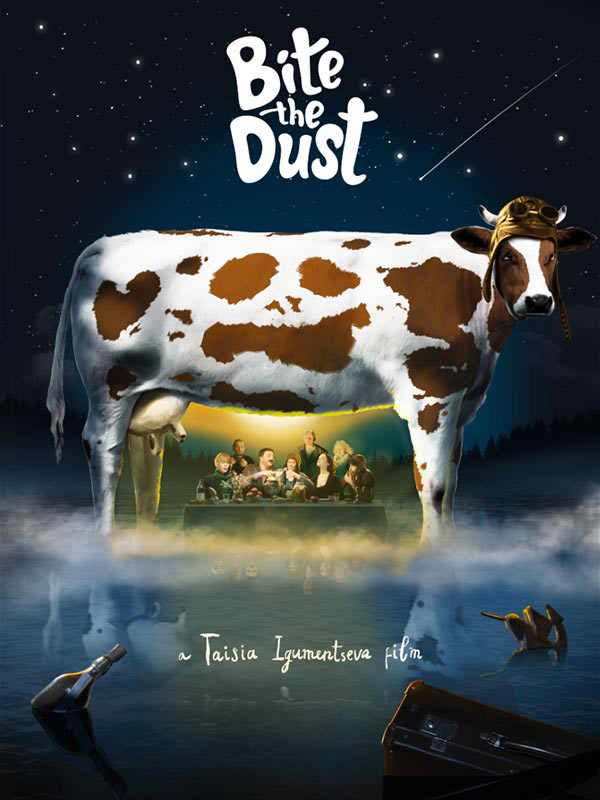
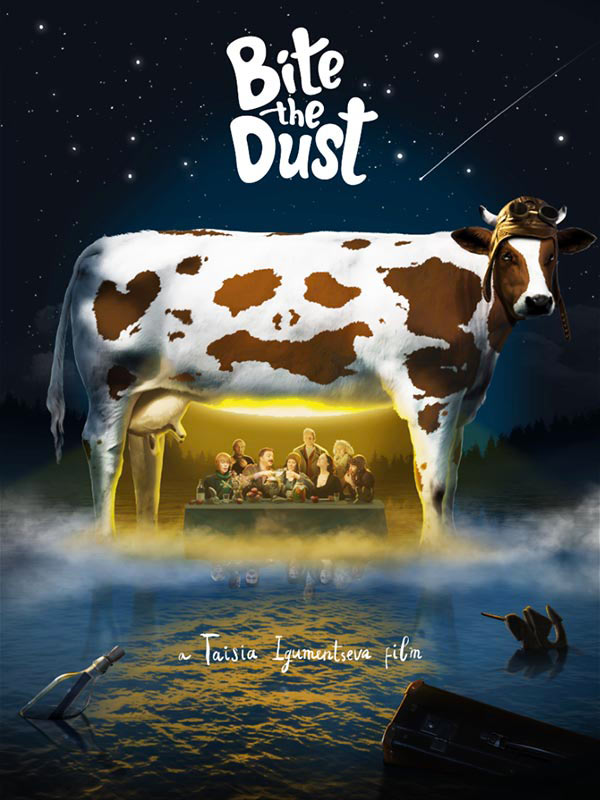
The actors are photographed together at the table in two versions, a normal one and for the reflection. On top of that we draw the required lights and shadows, add items to the table, give someone a missing arm or a shotgun.
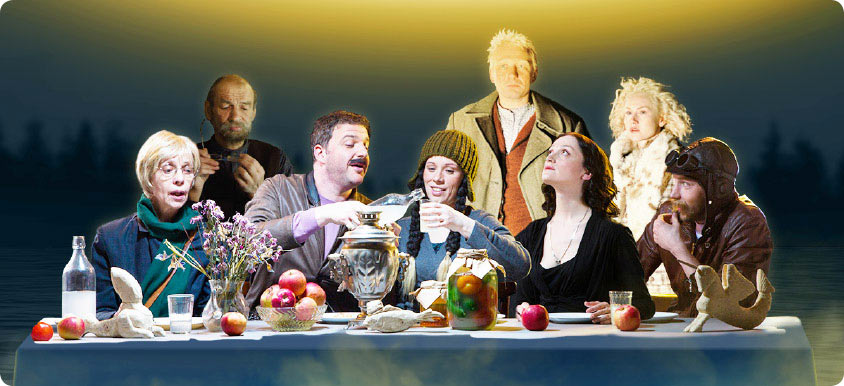
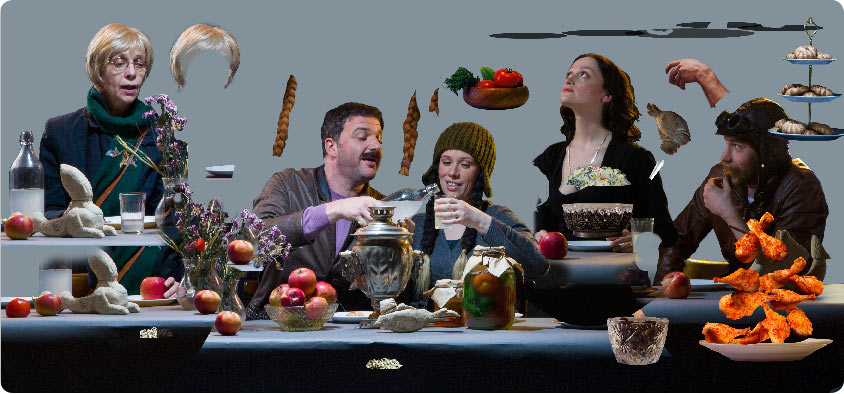

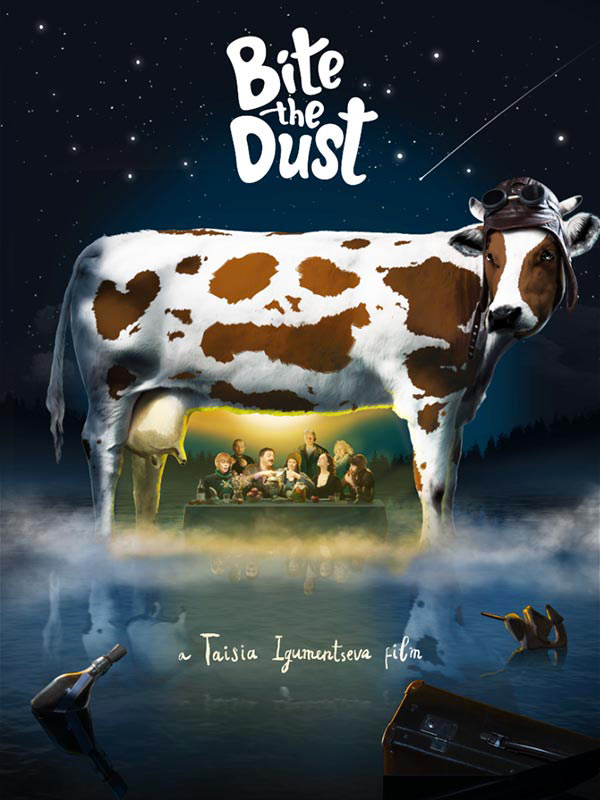
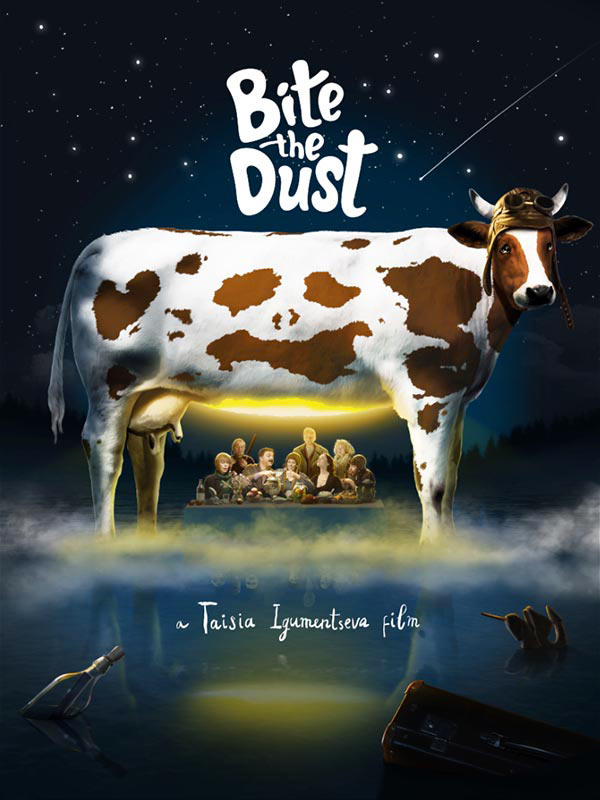
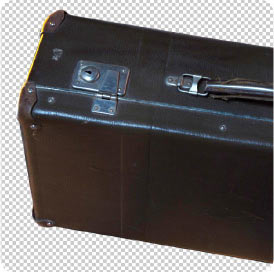
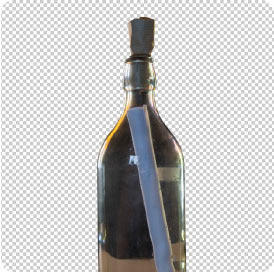
Adding floating objects. The type designer works on the text.
 |
 |
 |
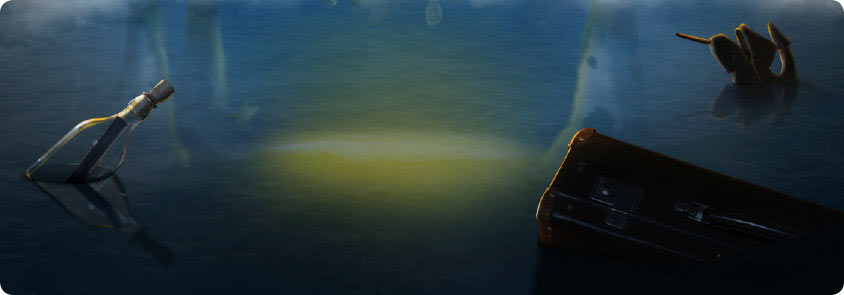
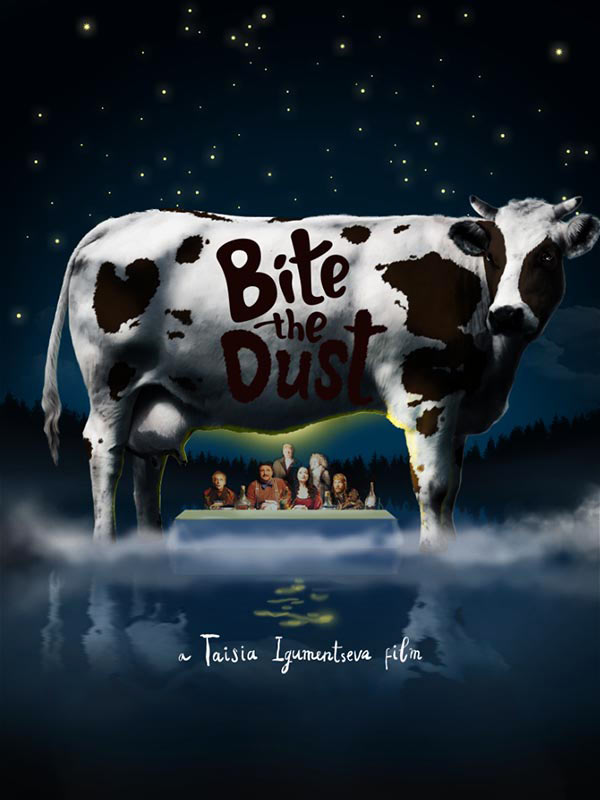
Main stages of the process: