TV tower
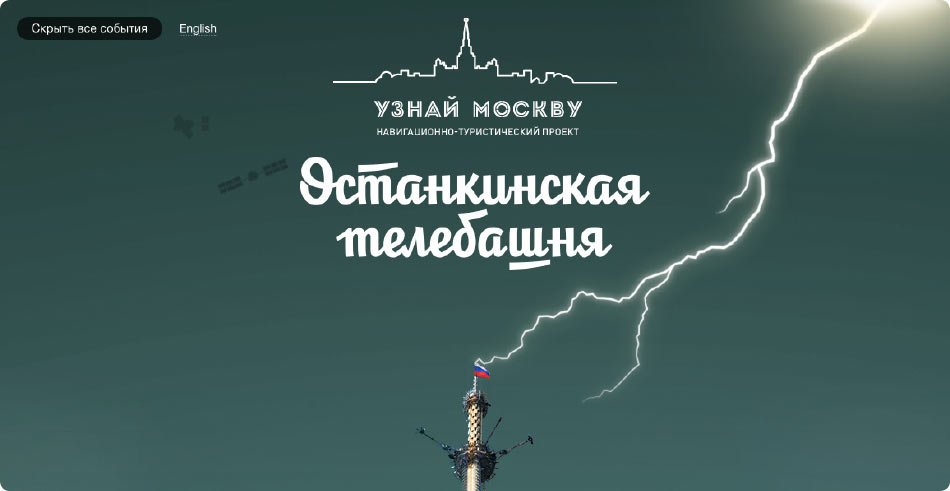
One time we had to create a promo page featuring Ostankino Tower for the Discover Moscow website.
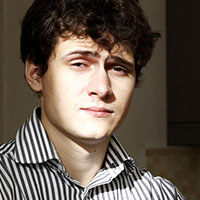
As in the State Historical Museum story, the idea is to demonstrate key events in the building’s history as though they all happened at the same time.
Unlike the Museum page, the Tower page is arranged vertically and is supposed to be very long. Page layout is prepared and approved.
Events
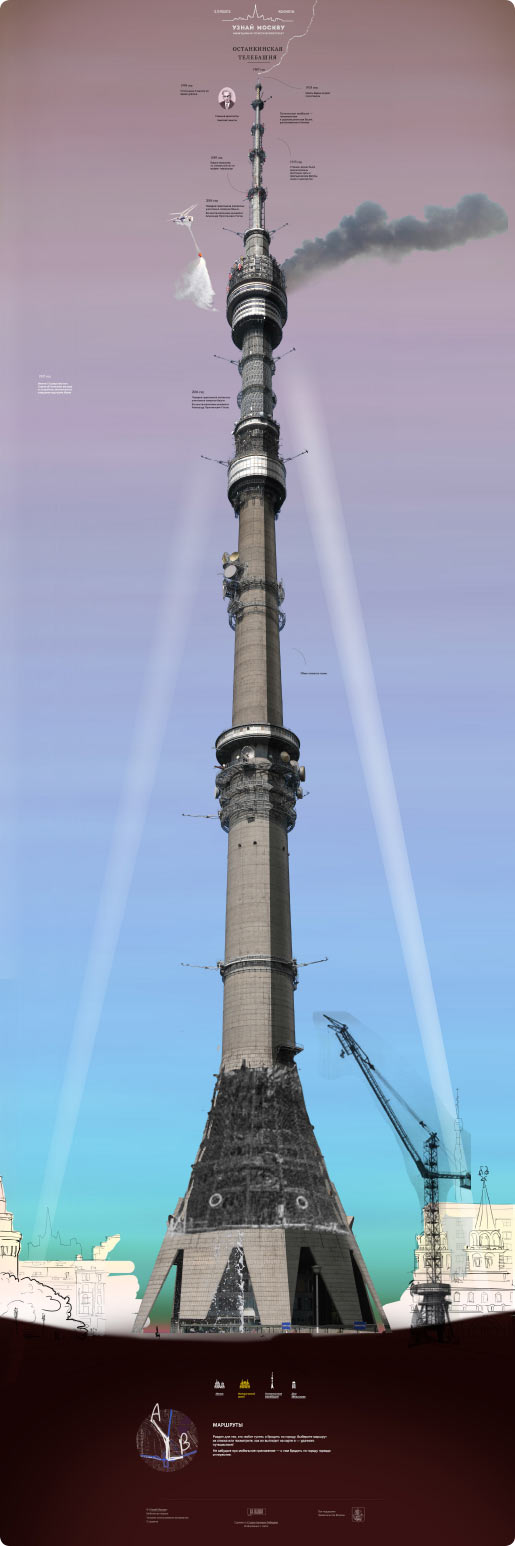
Meeting with the tower press office to discuss main events.

Marking up all the interesting facts on the sketch. One important condition is not to concentrate too much on the technical specifications of the tower and emphasize the events. For example, the height of the tower is a technical spec, but a visit by Fidel Castro is an event.
Photos
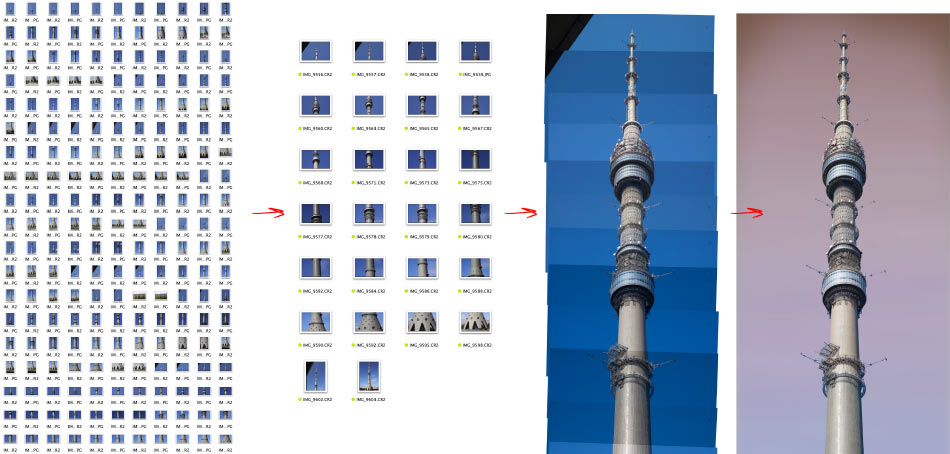
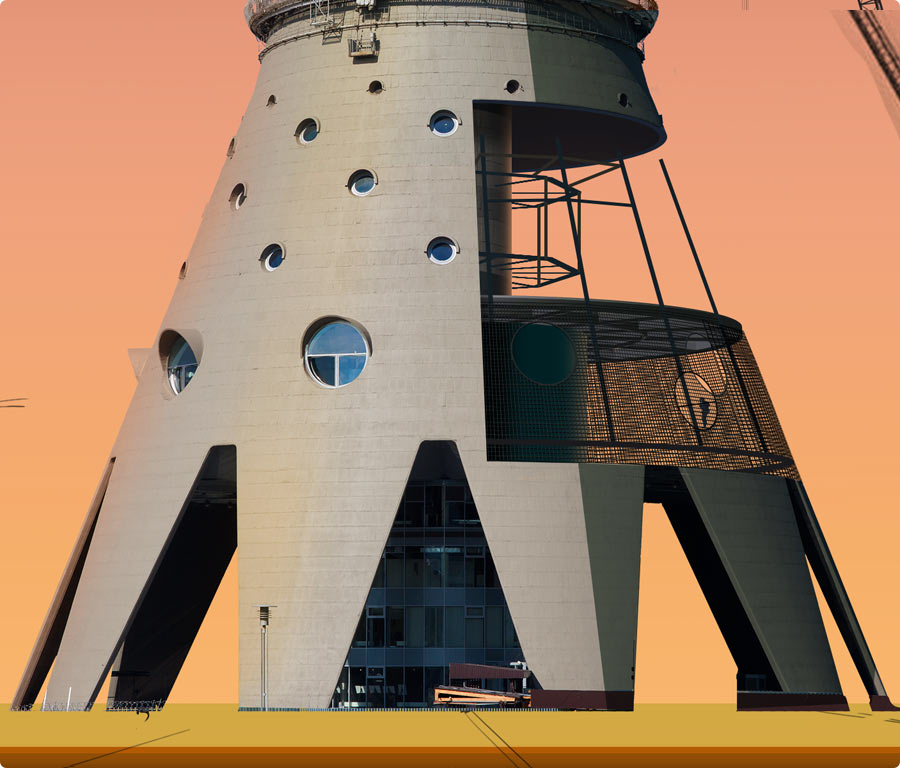
First, we need to prepare the tower.
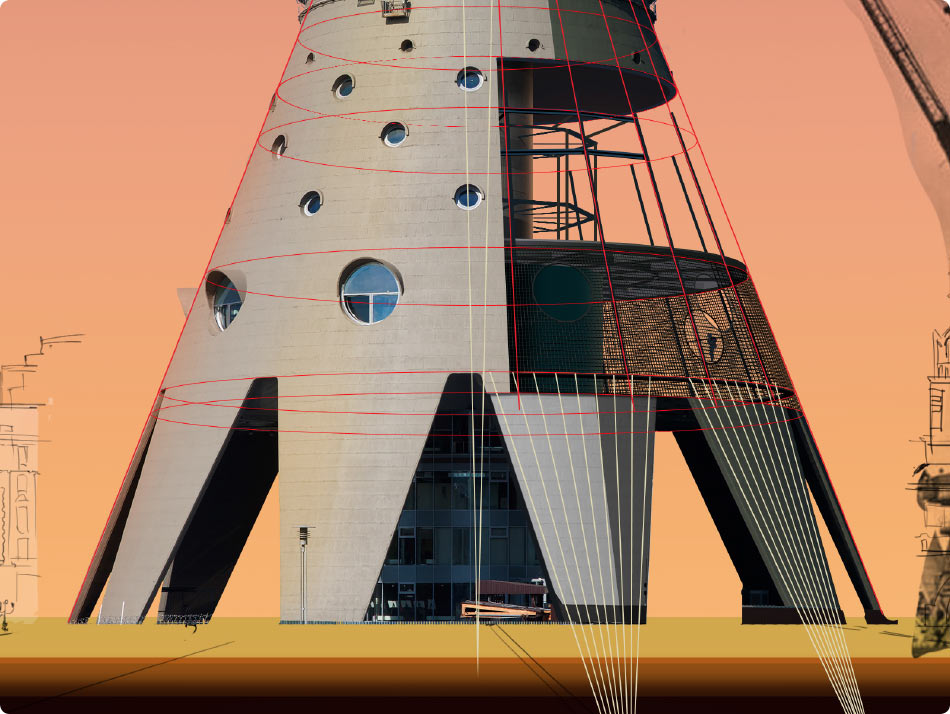
It’s not easy to take a picture of such a high structure to make sure it remains in focus over its entire length. One solution is to take pictures in fragments using a long zoom lens.
Then we retouch the fragments and assemble them into a single photograph. The more fragments we use, the better the final result.
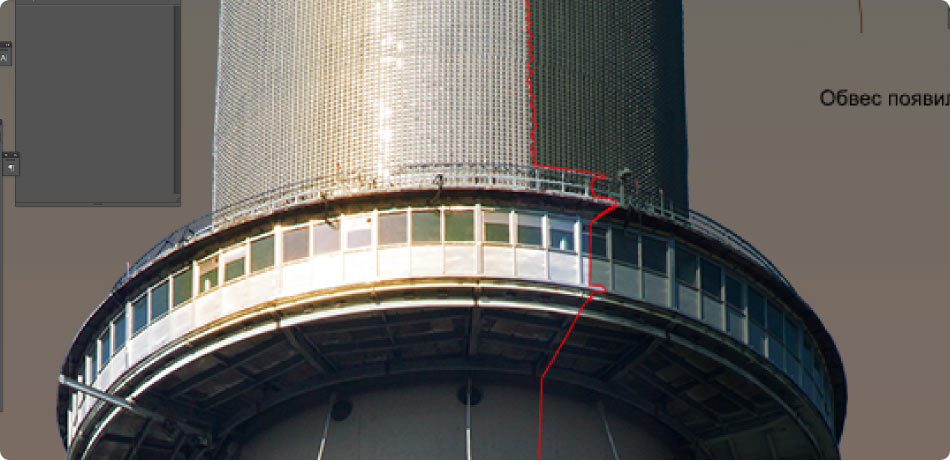
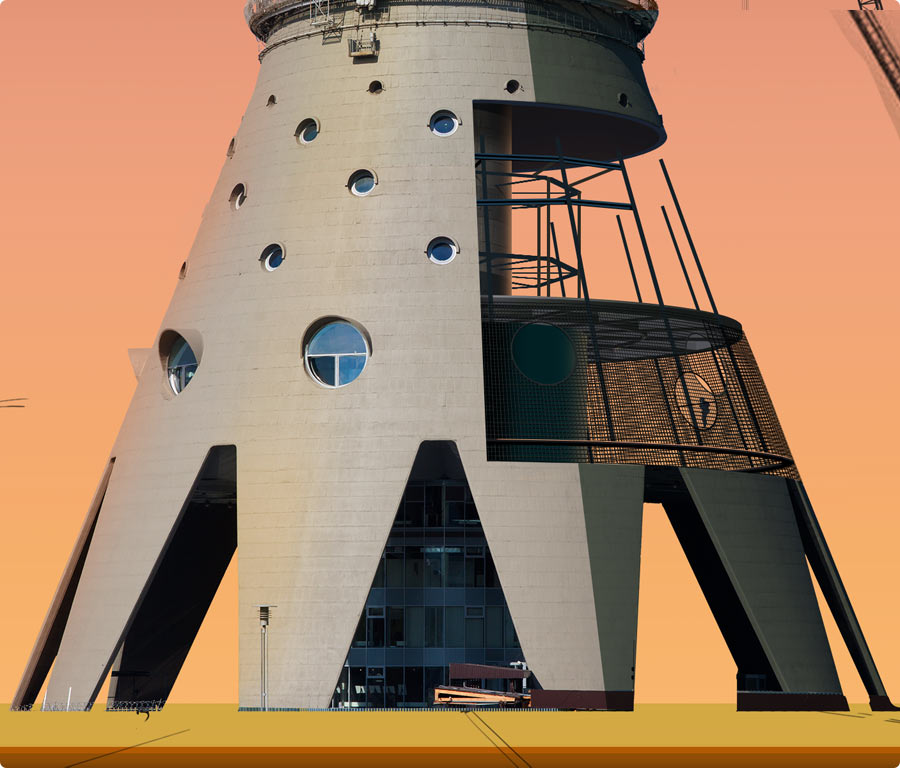
We cut the tower out from background with a raster mask using the Color Range function from the Properties palette.
Marking a cutting plane on the surface along the entire height of the tower and drawing a particularly harsh shadow along it.
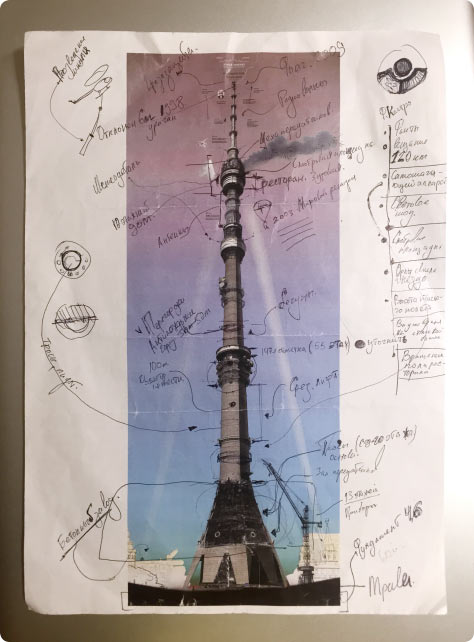
Sky
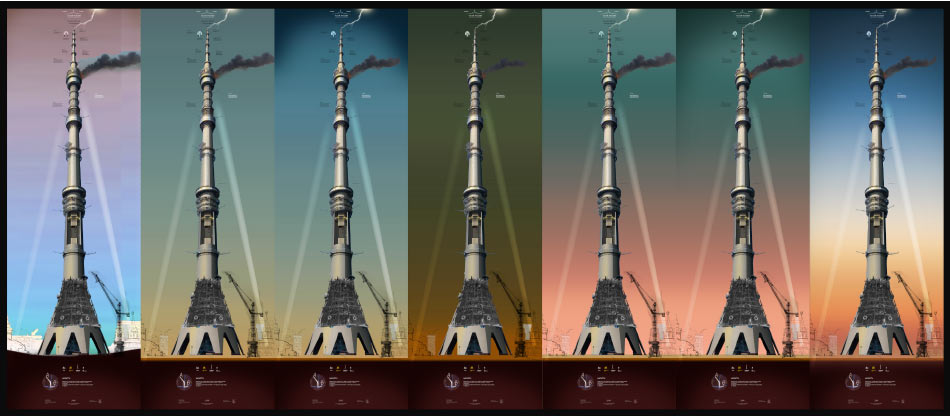
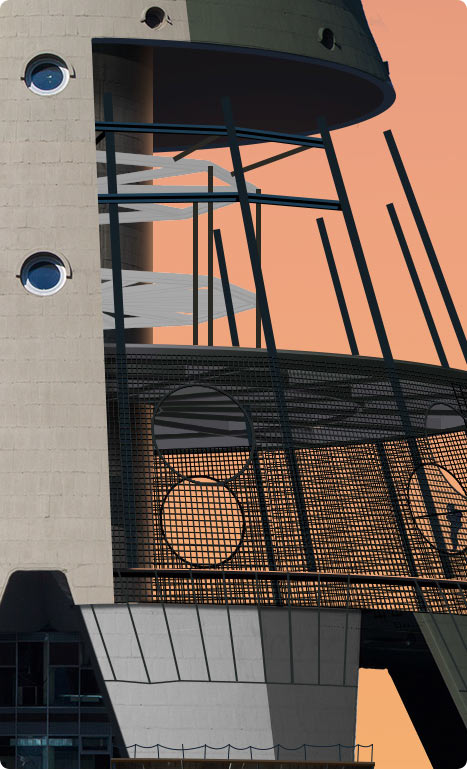
Paying special attention to the surrounding environment. Choosing option number six, but with a significant increase of sunset intensity at the base.
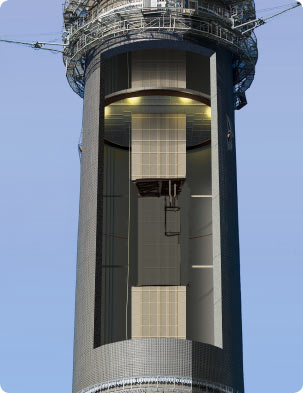
Elevator shaft
The tower is ready, now we can start adding the events.
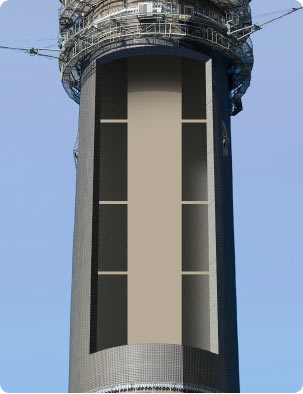
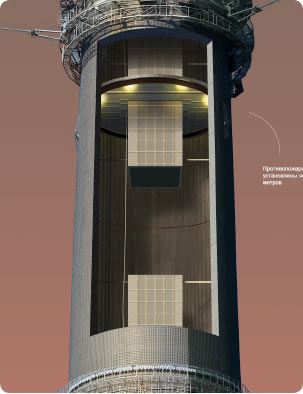
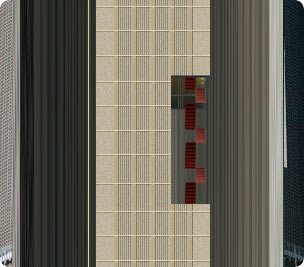
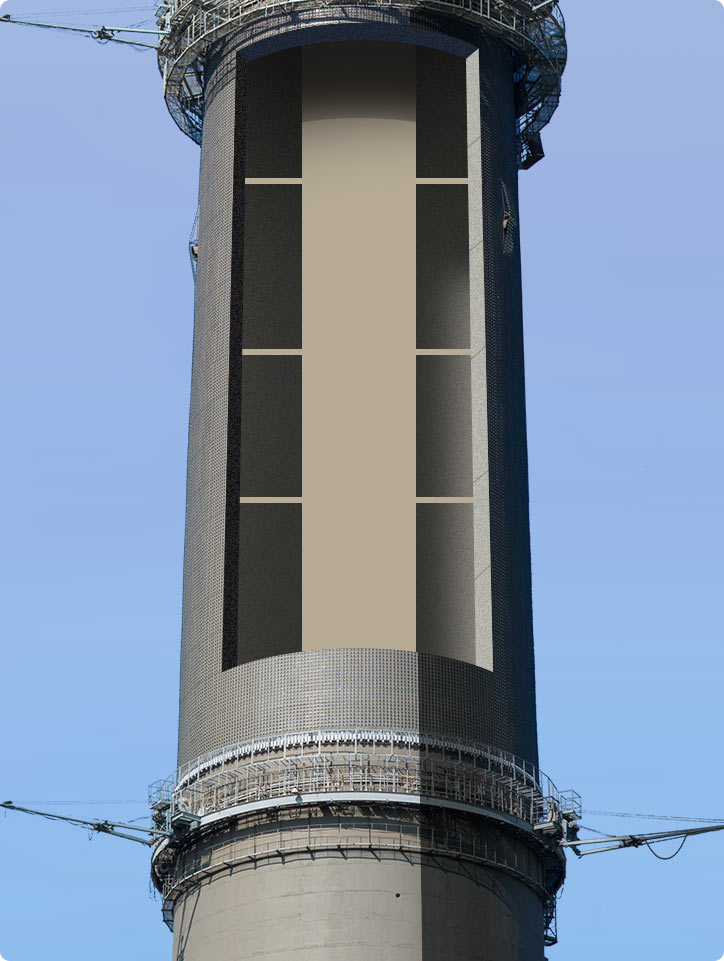
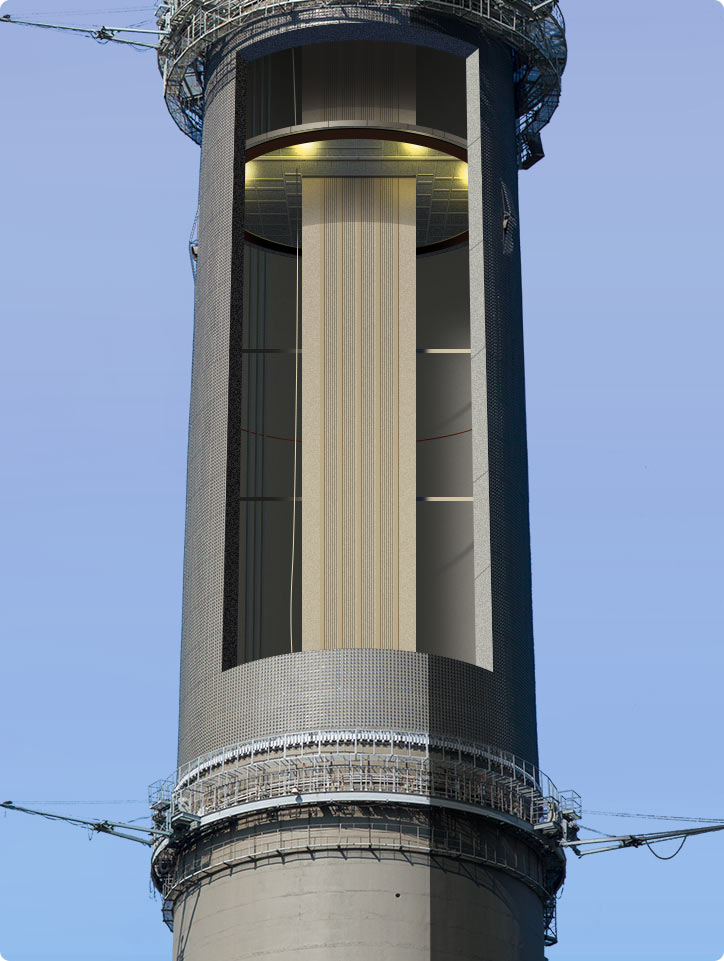
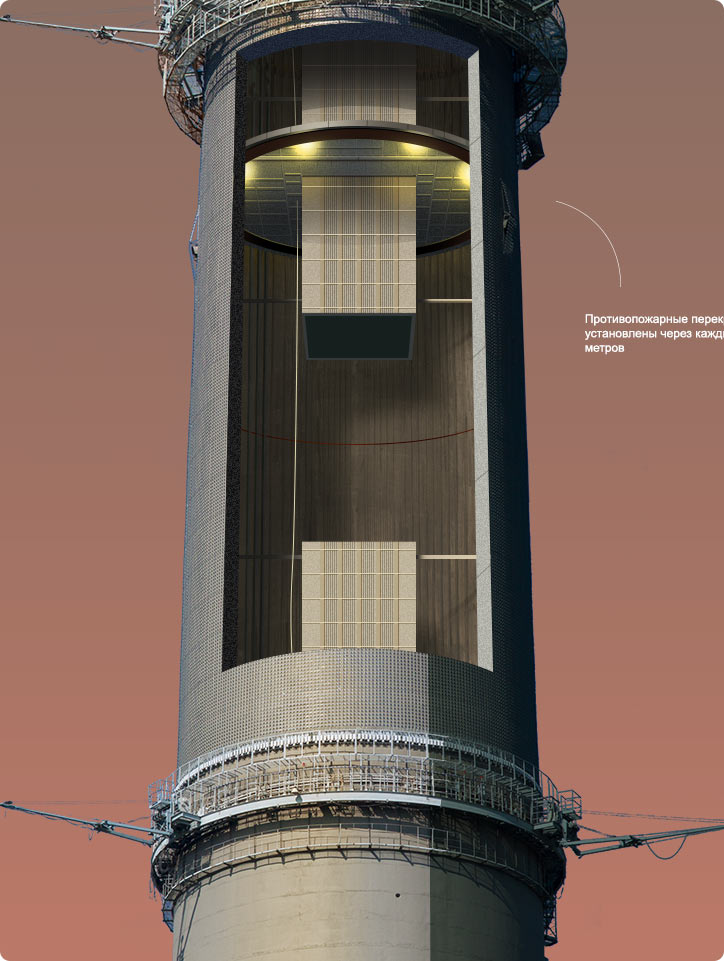
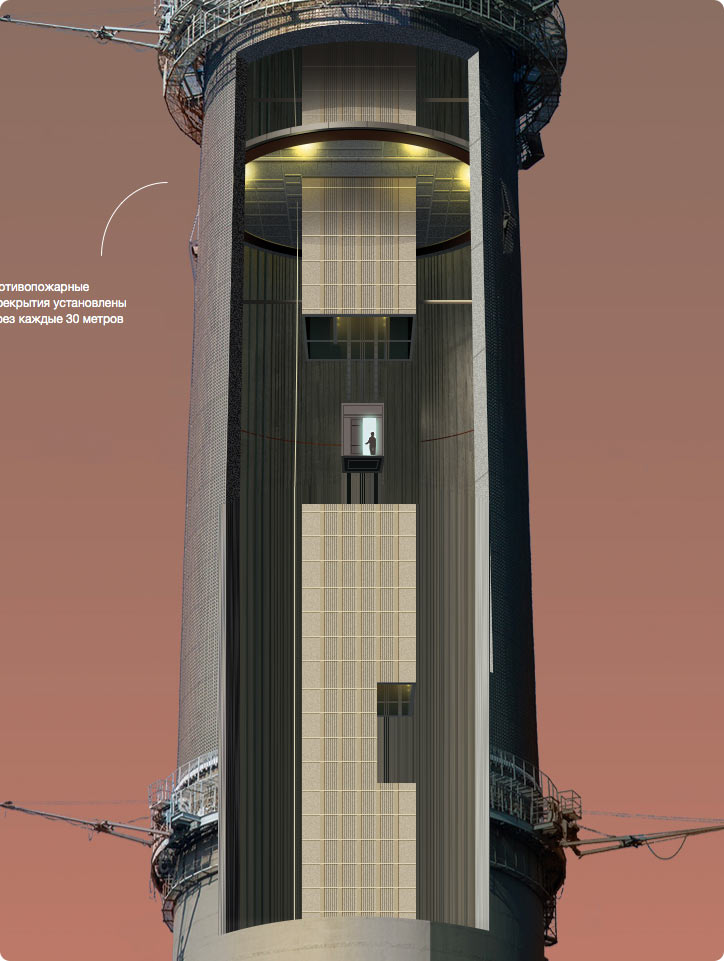
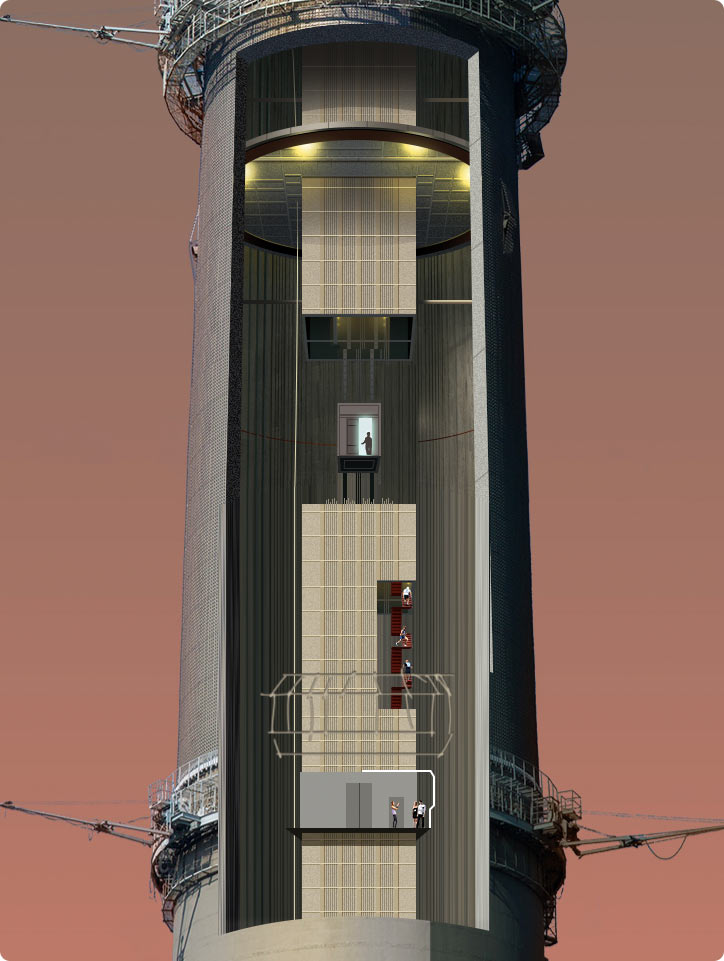
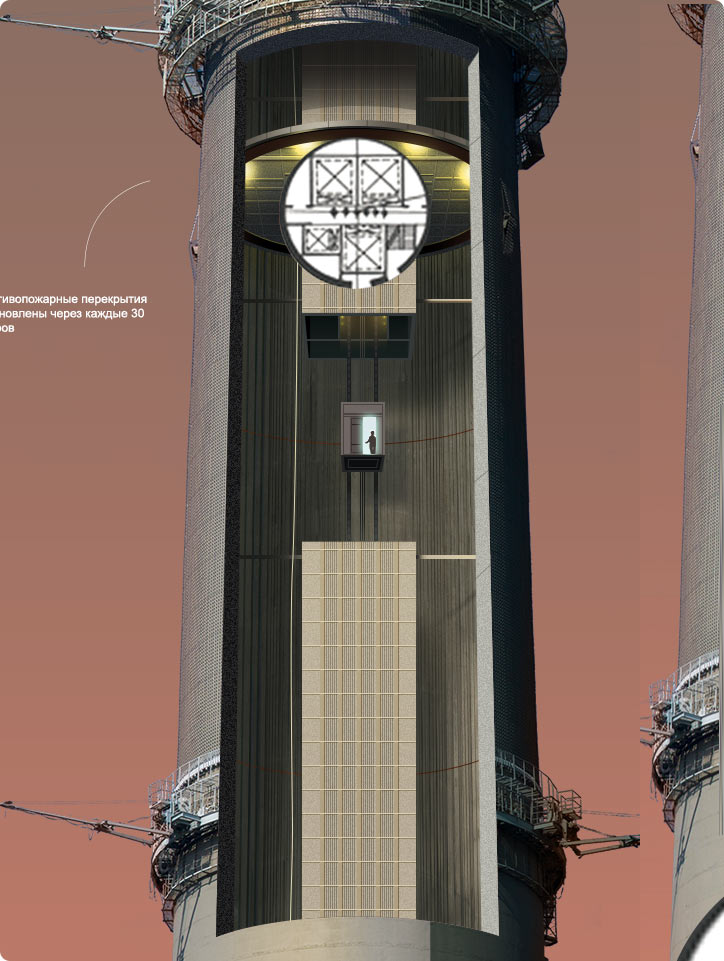
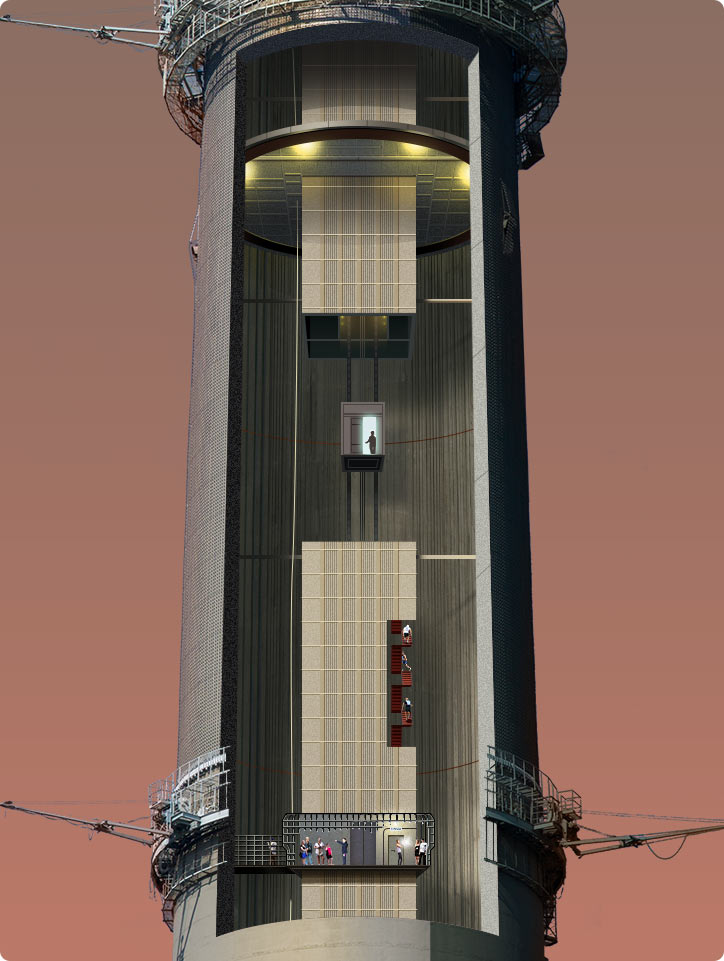
One of the most complex fragments is the quarter cut-away in the middle of the tower. It has to include fire barriers, elevator shaft and the elevator itself.
It’s good to start with the most difficult pieces, this will make working on the simpler ones later on much easier.
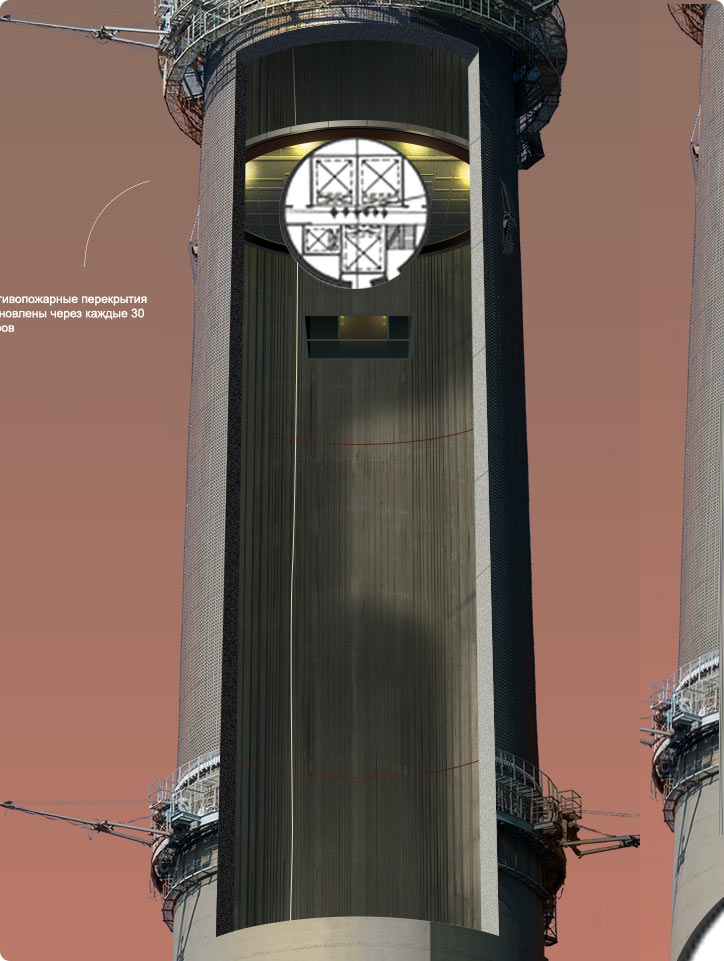
Defining the shape of the cut-away, sketching the volume of the main niche
| 
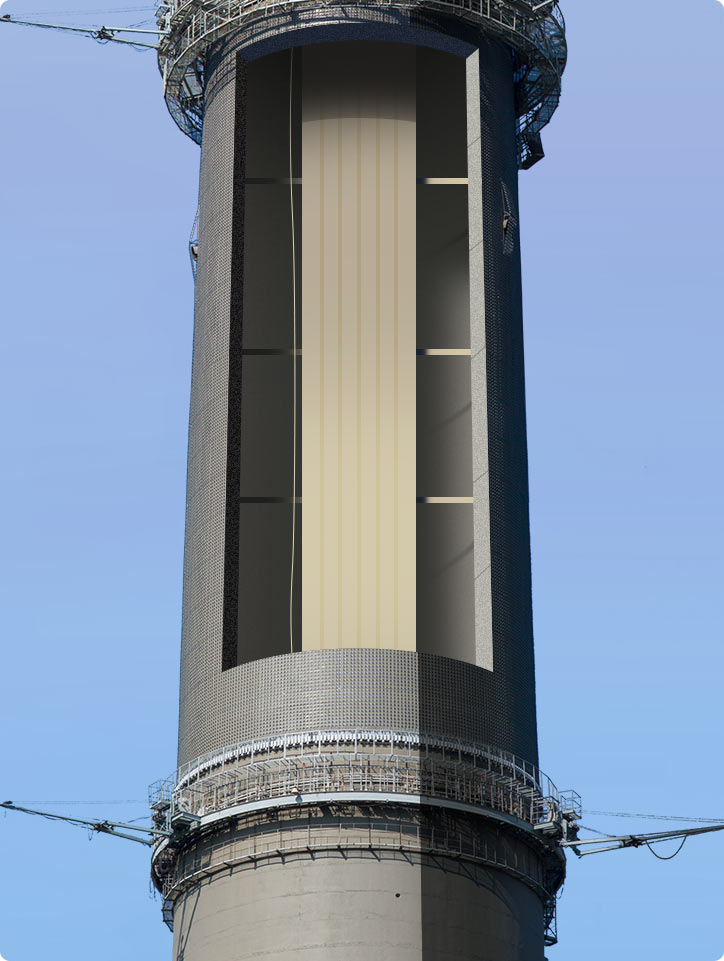
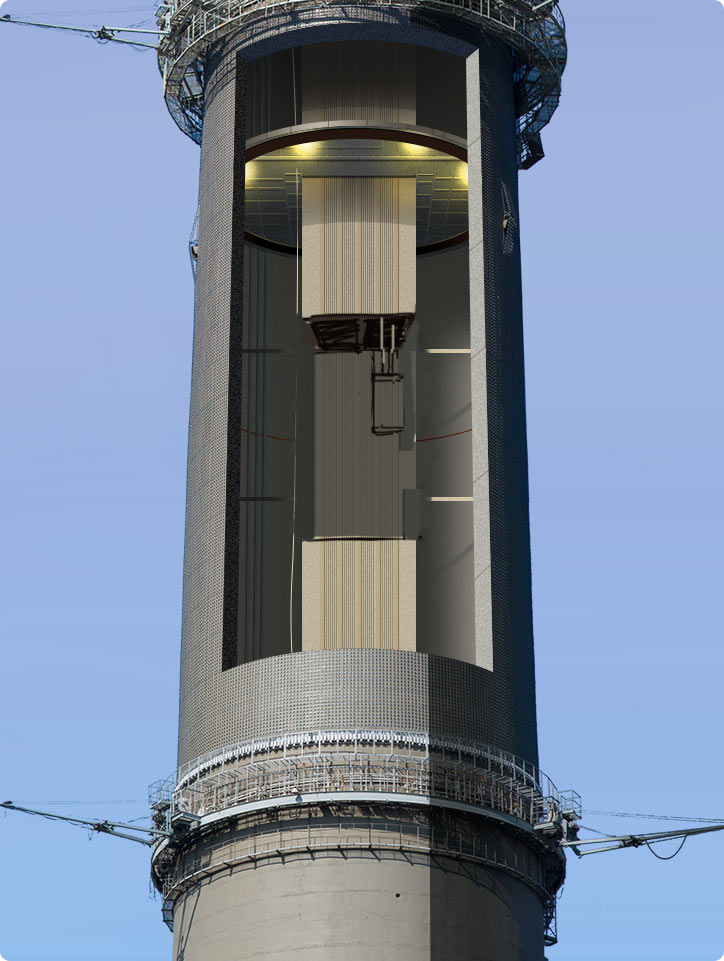
Placing the elevator shaft with mounts
| 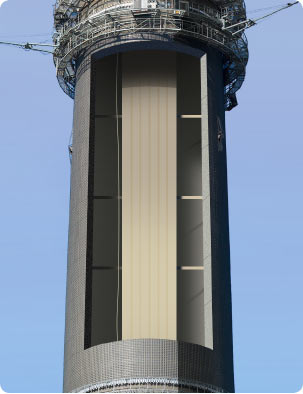
Adding details to the shaft, hanging the power cable
|
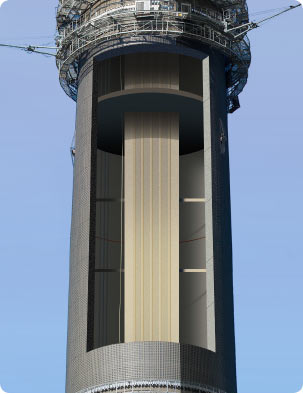
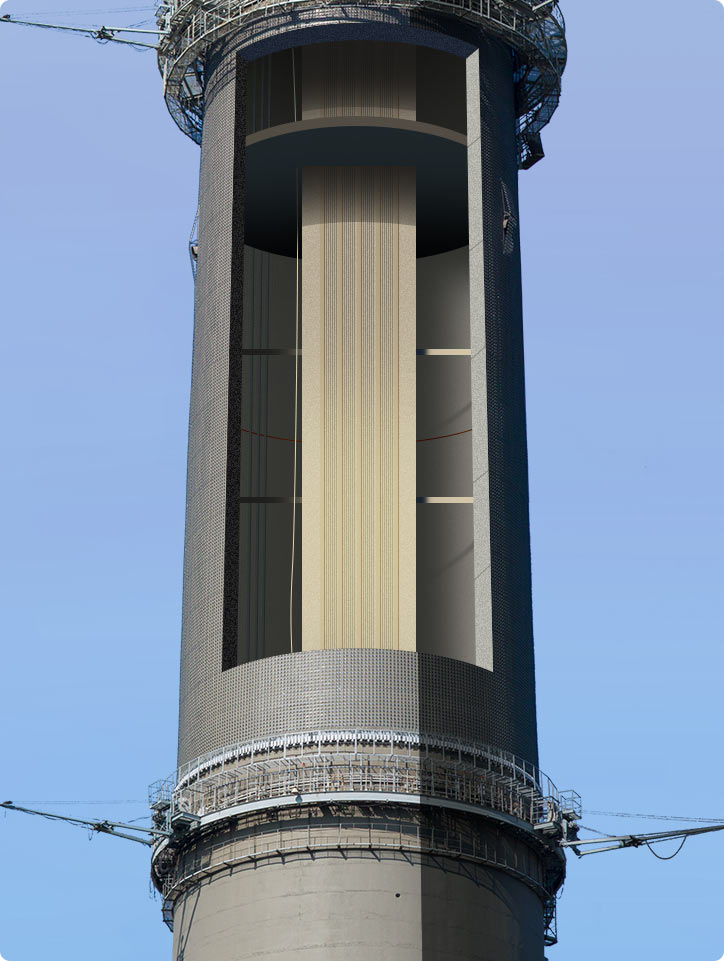
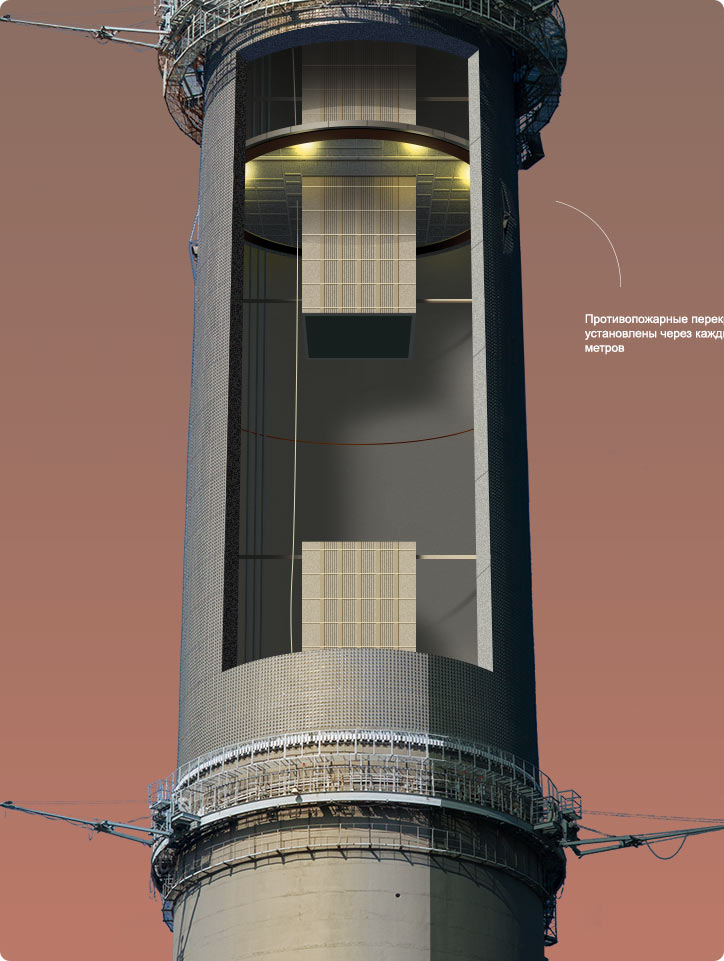
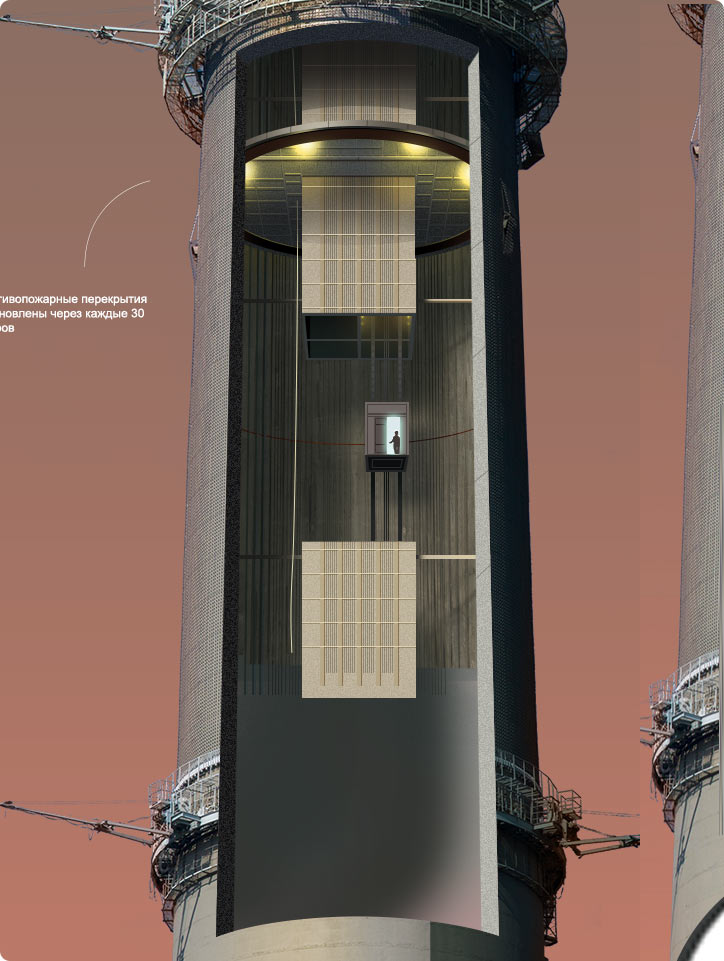
Adding the round fire barrier
| 
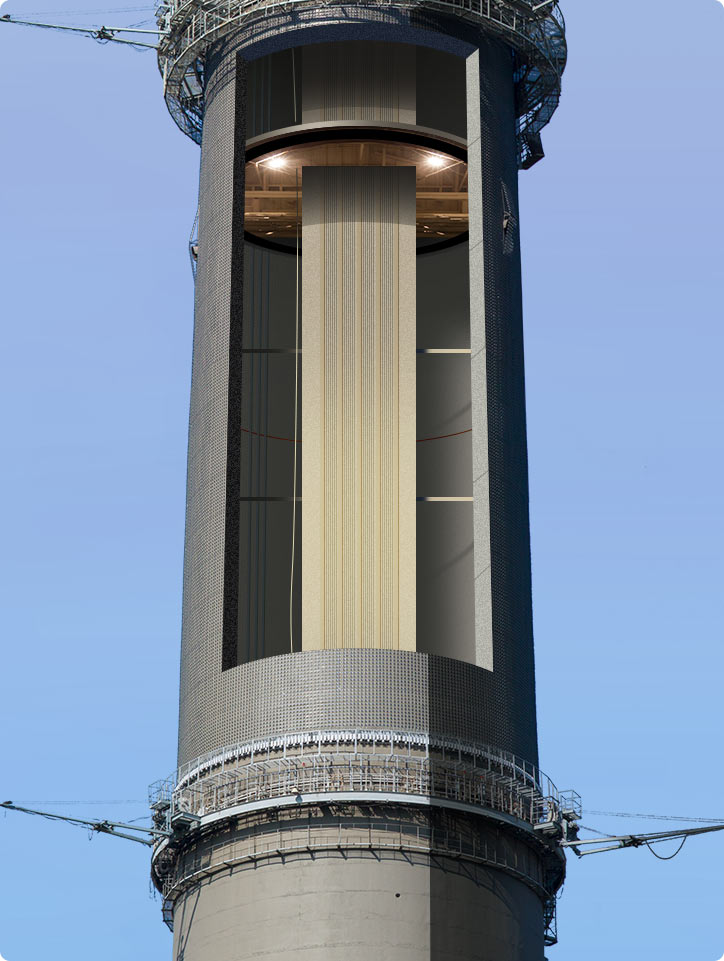
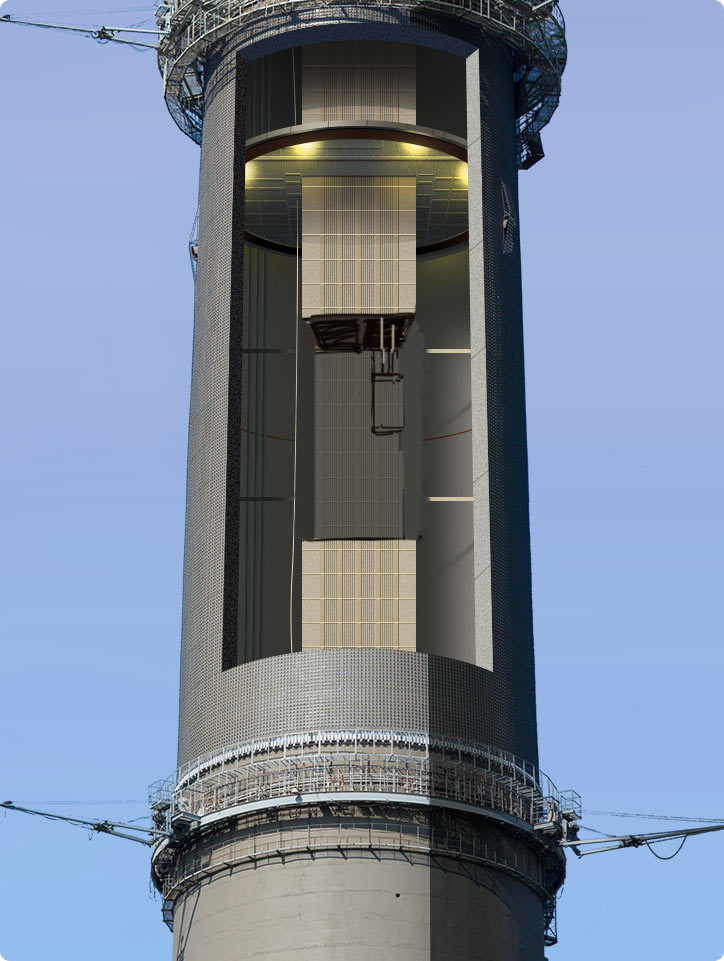
Arranging lighting
| 
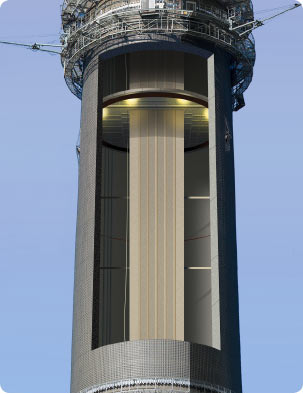
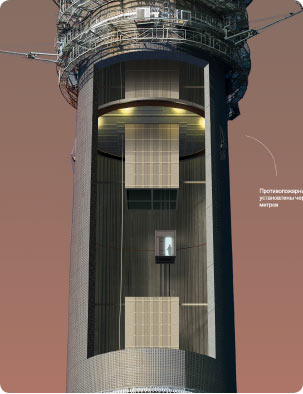
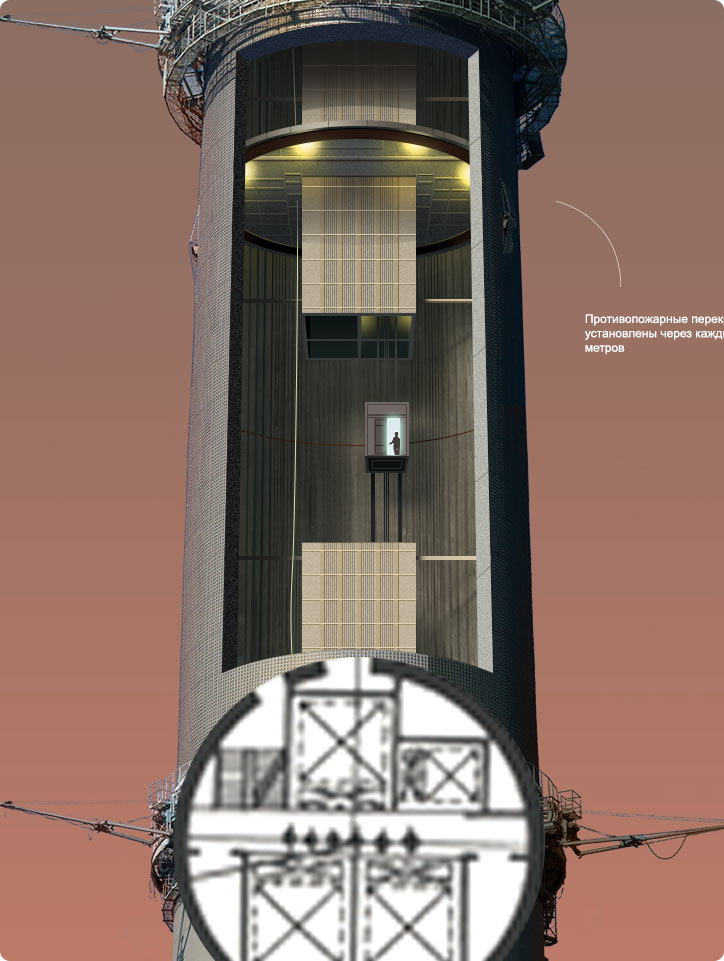
Estimating the position of the elevator
|
Sections of the shaft are properly arranged to ensure the correct perspective.
| 
| 
|
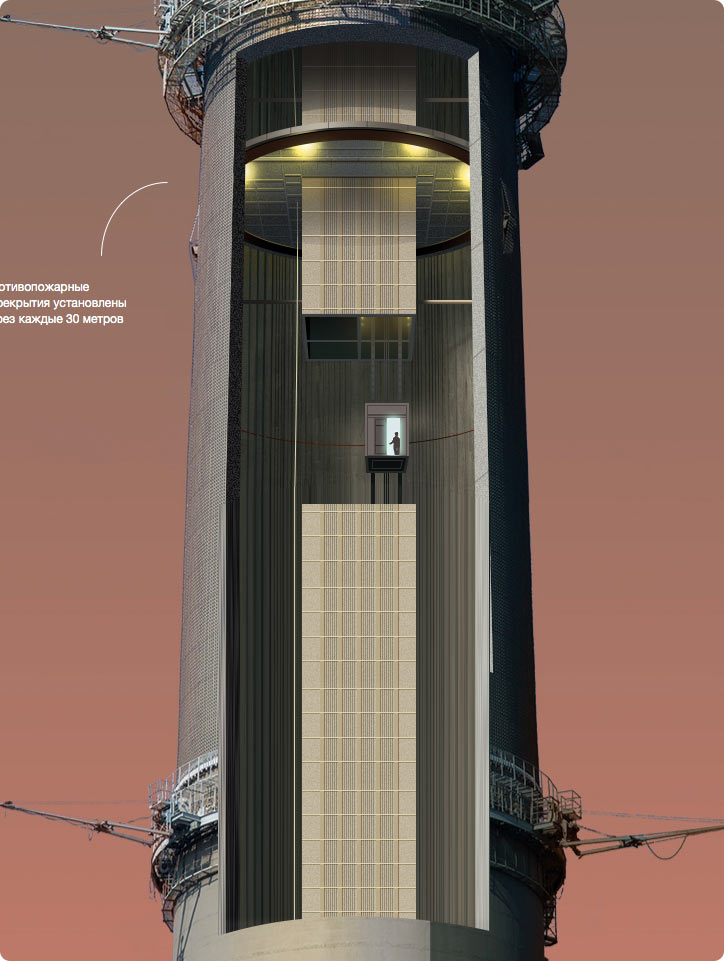
Time to add textures to the inside of the tower. Finding a suitable photograph, retouching and placing on the surface.
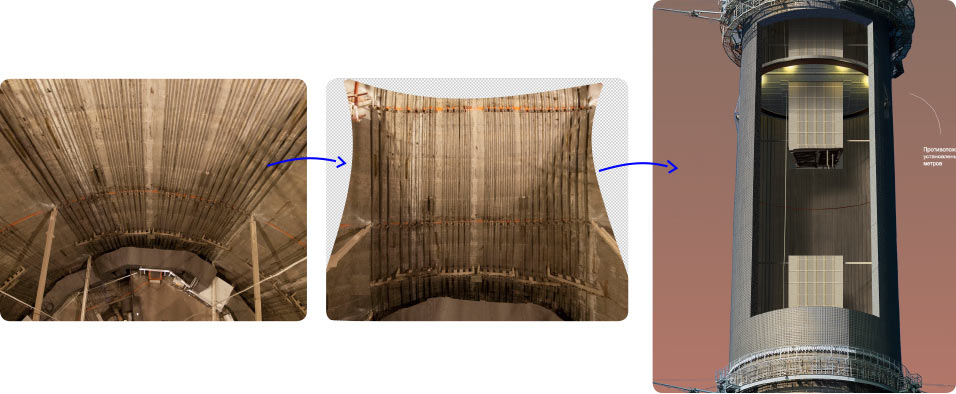
Detailing sections of the elevator shaft.
Drawing the niche
| 
Breaking the niche into segments, hanging the elevator
| 
Turning on the lights
|
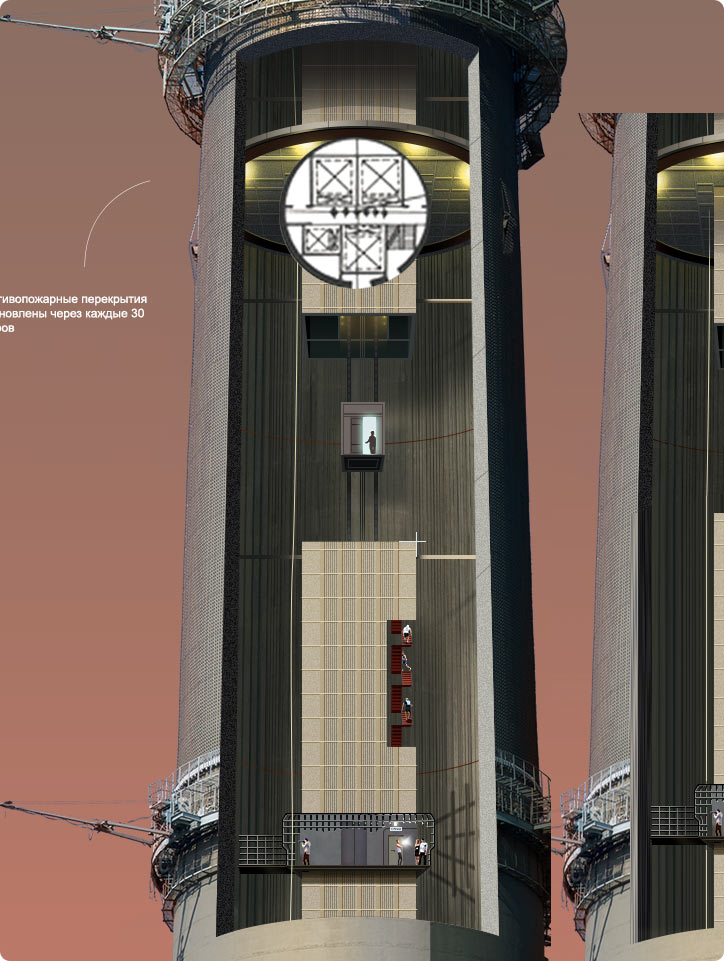
Later we discover tower blueprints that reveal its internal structure.
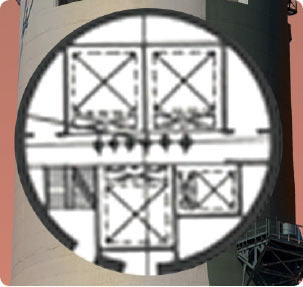
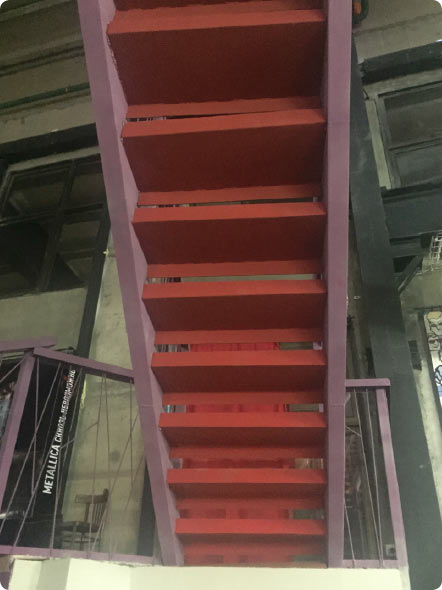
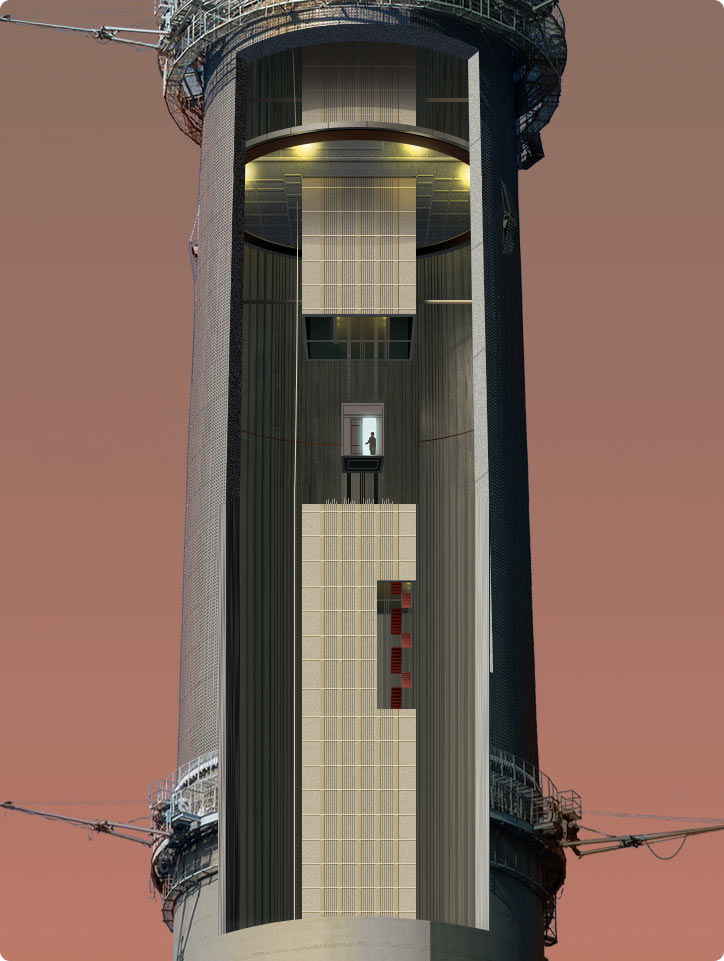
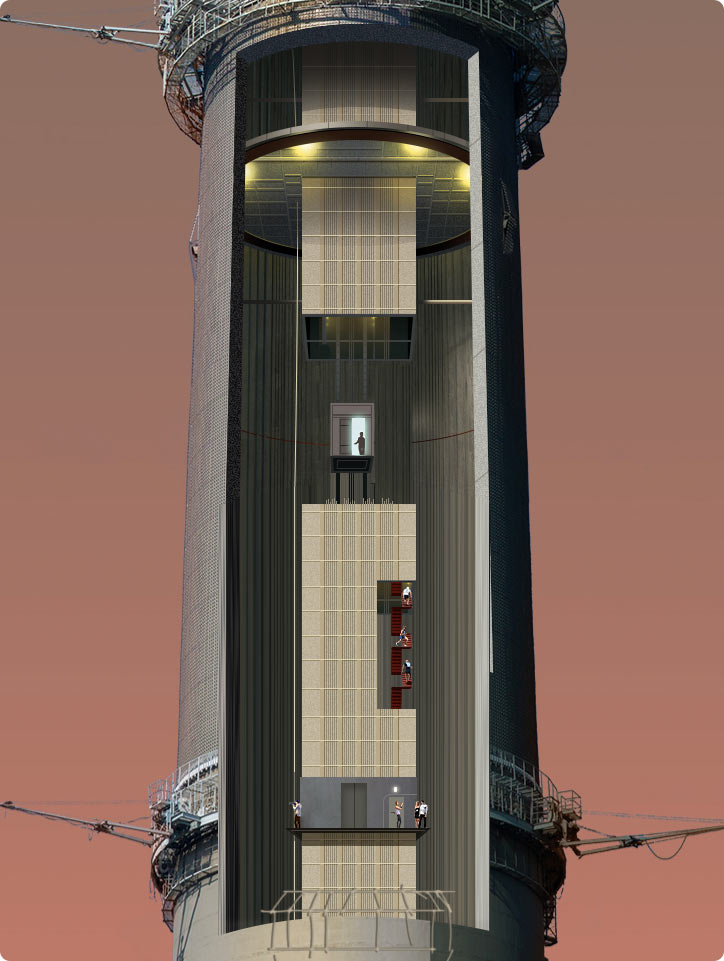
Making corrections: the high-speed elevator shaft is moved closer to the center; we get a clear understanding of the location of the fire escape where we decide to place runners who until recently have been taking part in speed climb competitions.
Now the elevator is in place
| 
Cutting out a shaft for the fire escape
|
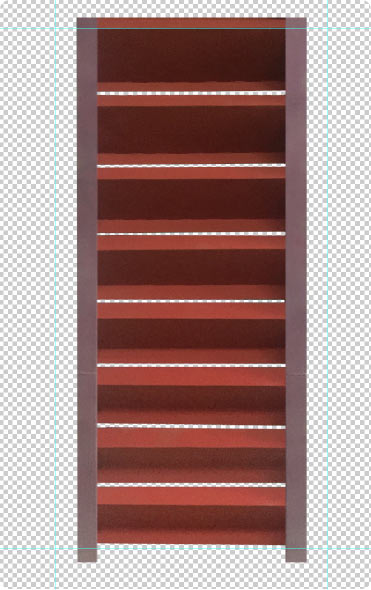
Using the stairs leading to the seventh floor of the studio. Fixing the geometry.
| 
|
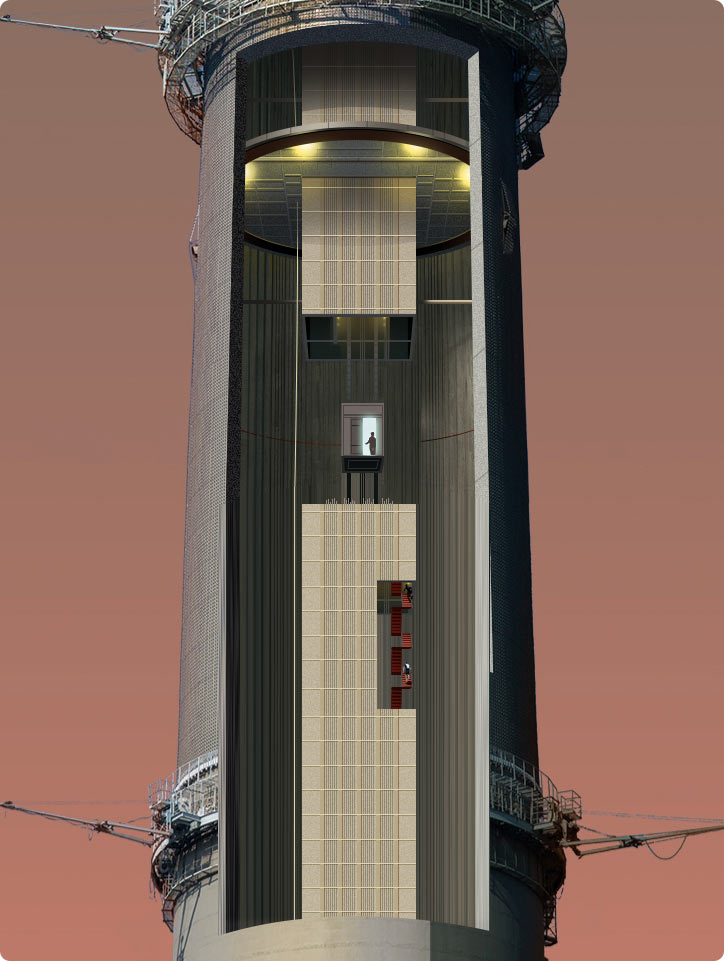
Attaching the stairs
| 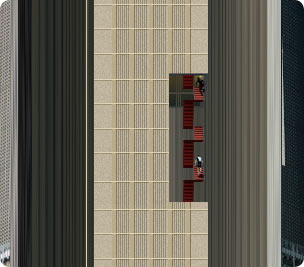
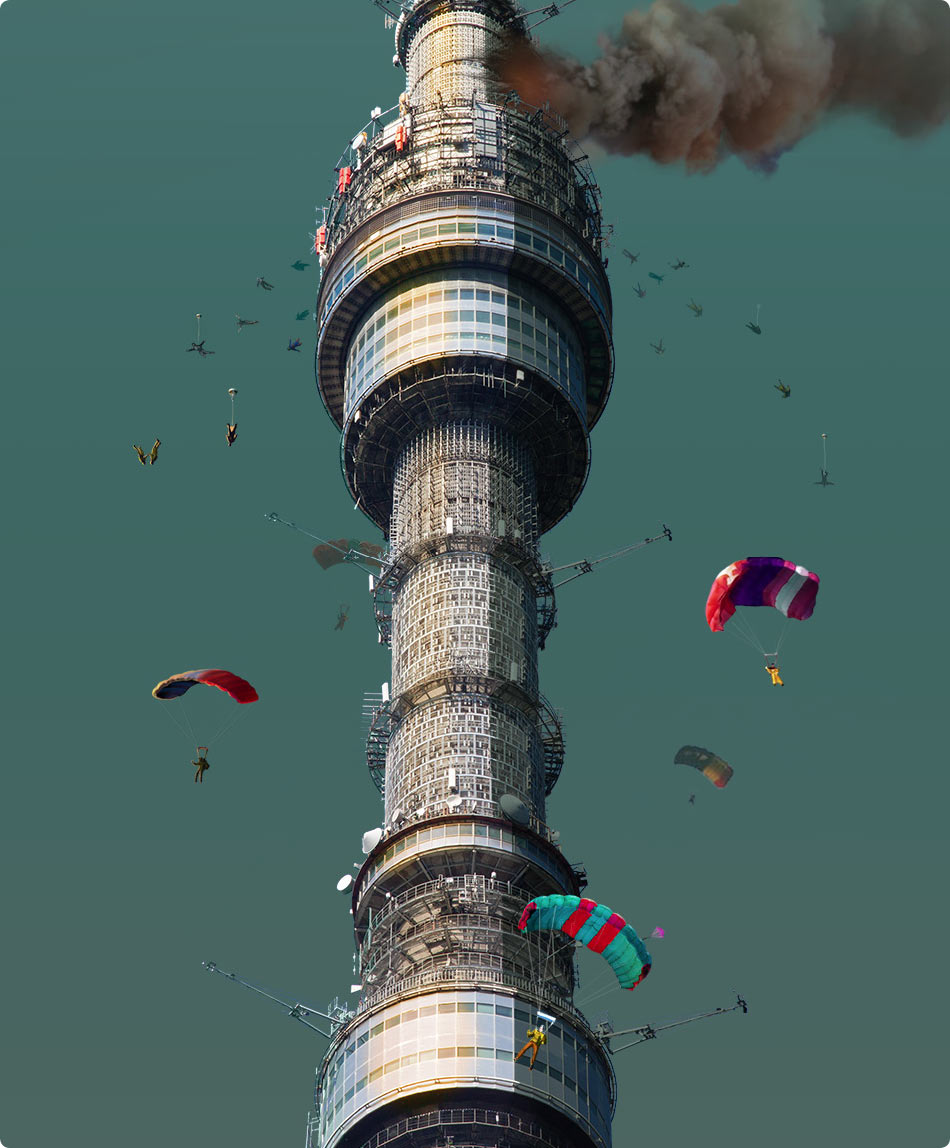
Adding athletes
| 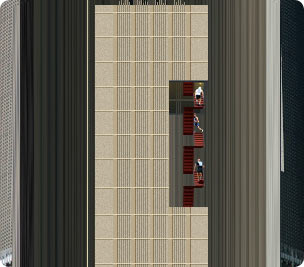
And more runners
|
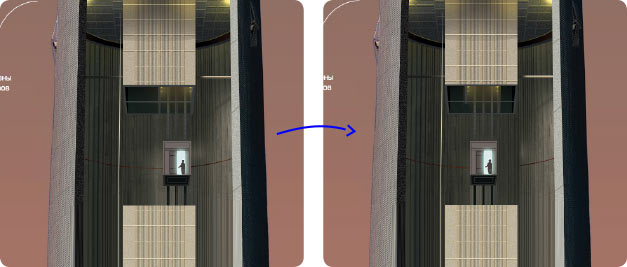
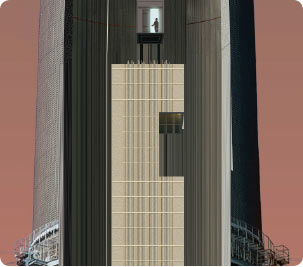
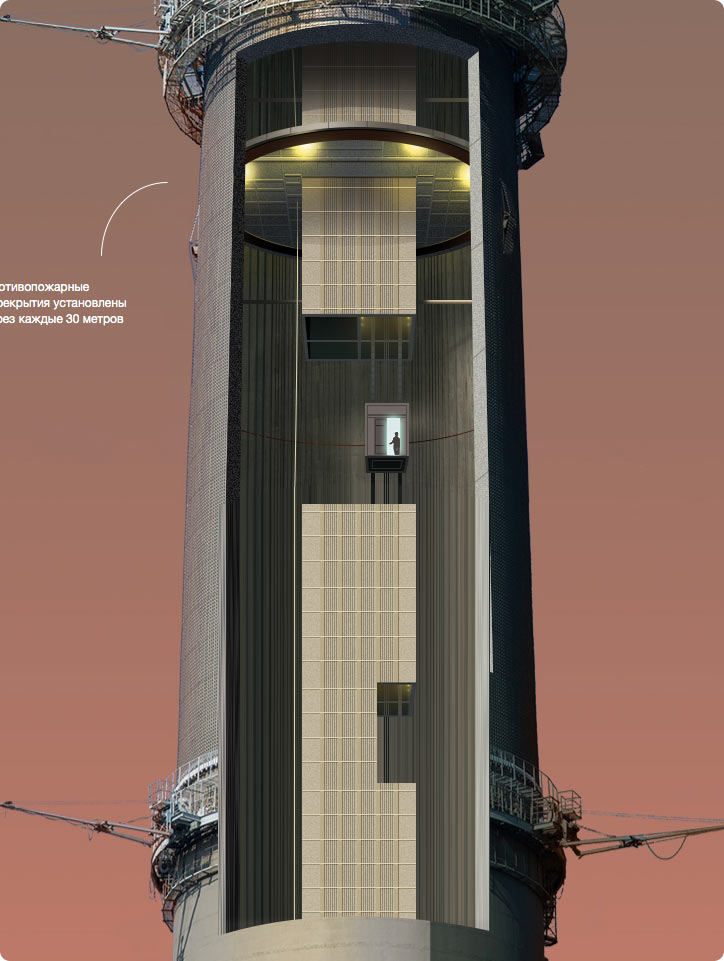
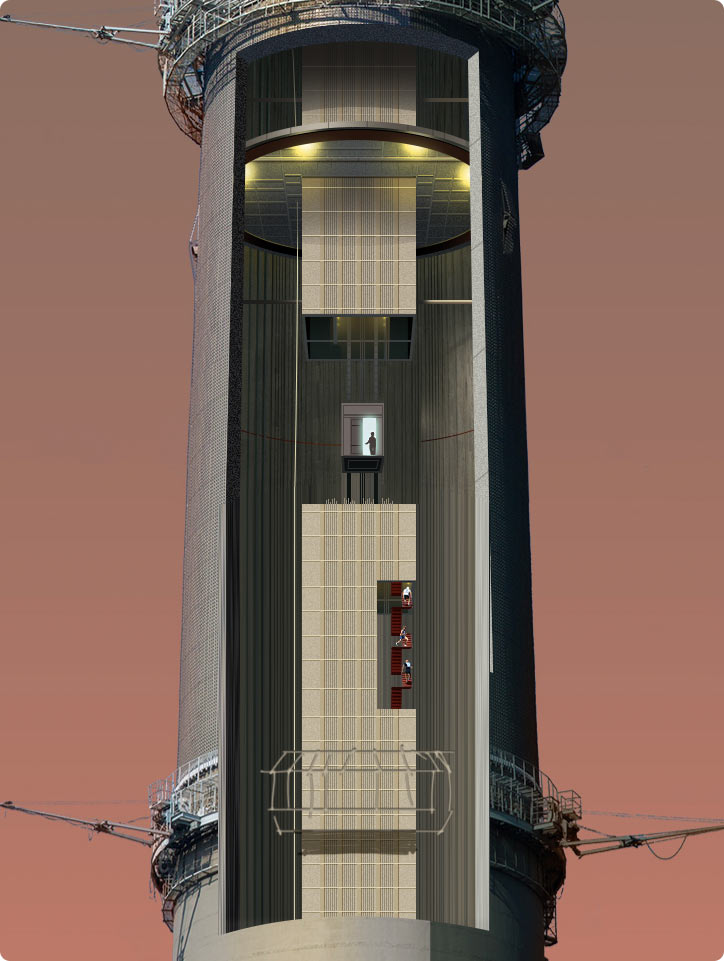
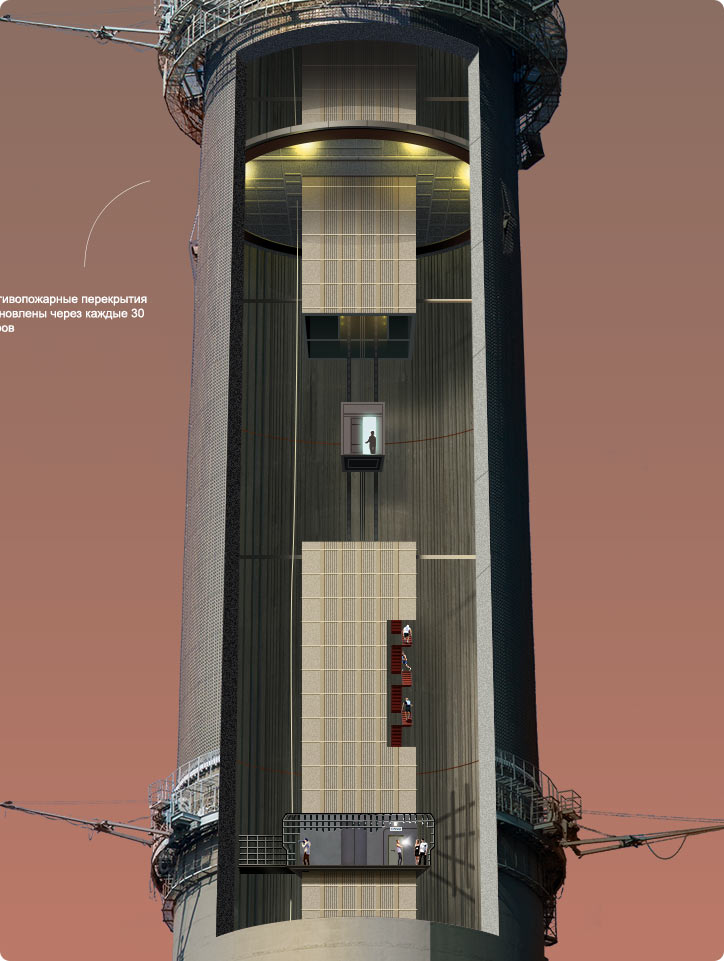
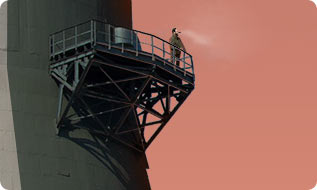
There is an observation deck in the center of the tower’s shaft. Turns out, it is located at the height of 85 meters (278 feet).
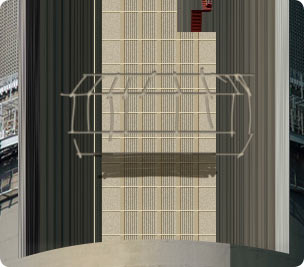
Making a sketch
| 
Adding a hint of the elevator and fire escape doors
| 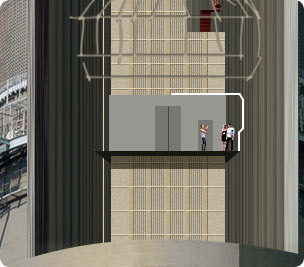
The first visitors are taking pictures
|

The central part of the protective railing is cut out to expose the tourists
| 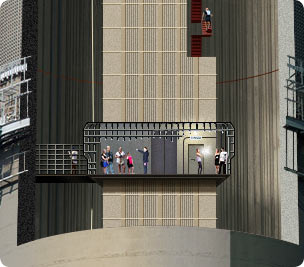
The crowd is growing
| 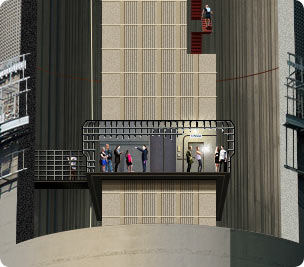
The segment is finished
|
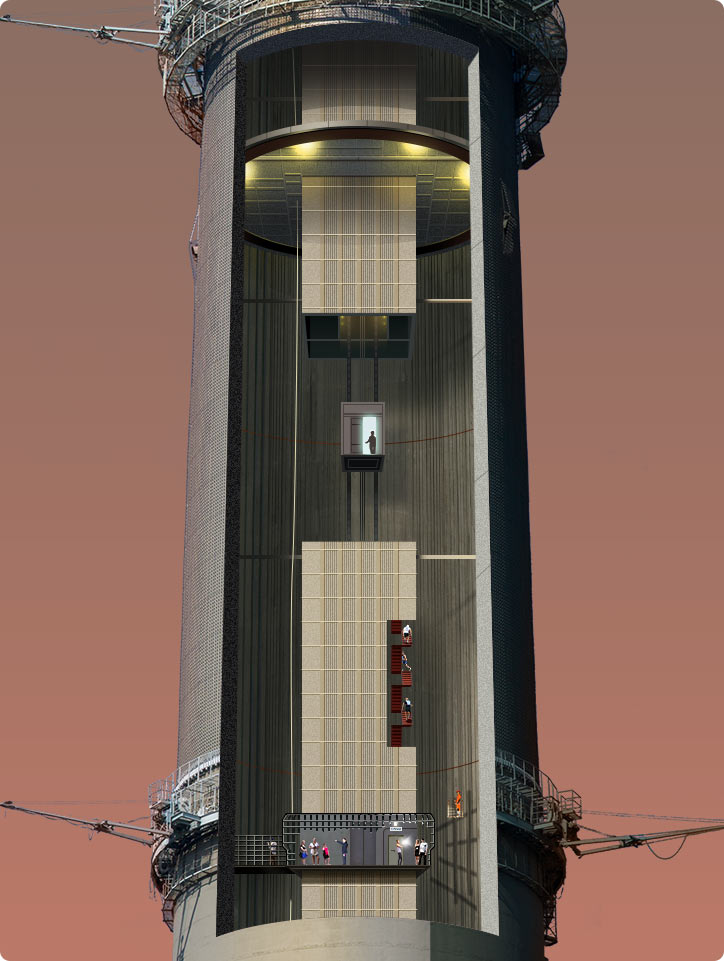
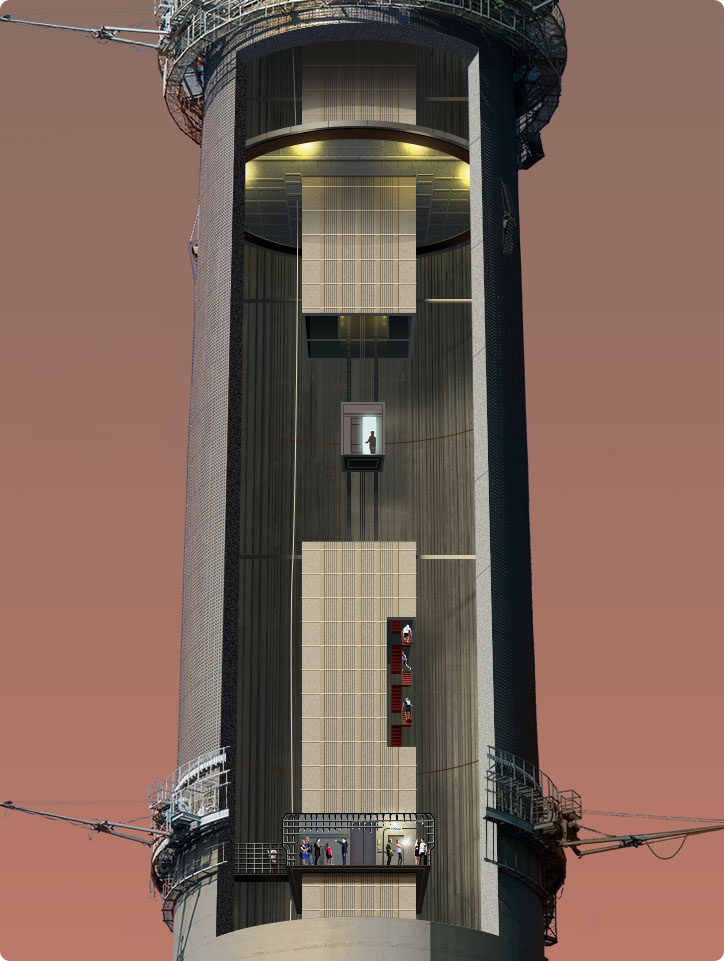
The number of events has increased, which means that the cut-away in the tower has grown in height.
Steps of drawing the quarter cut-away:


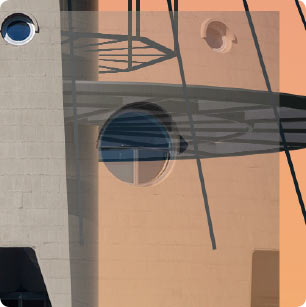
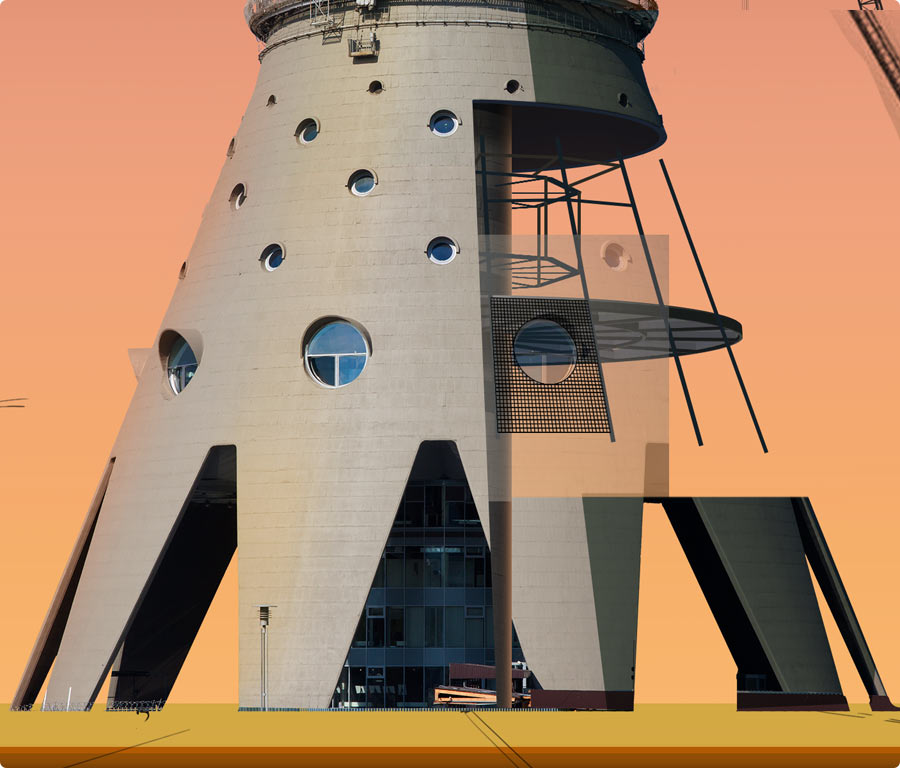
Display
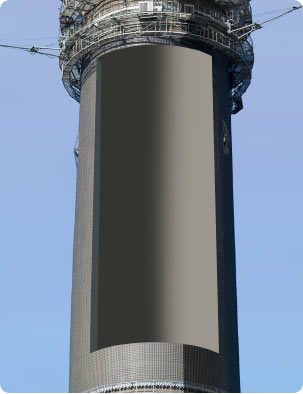
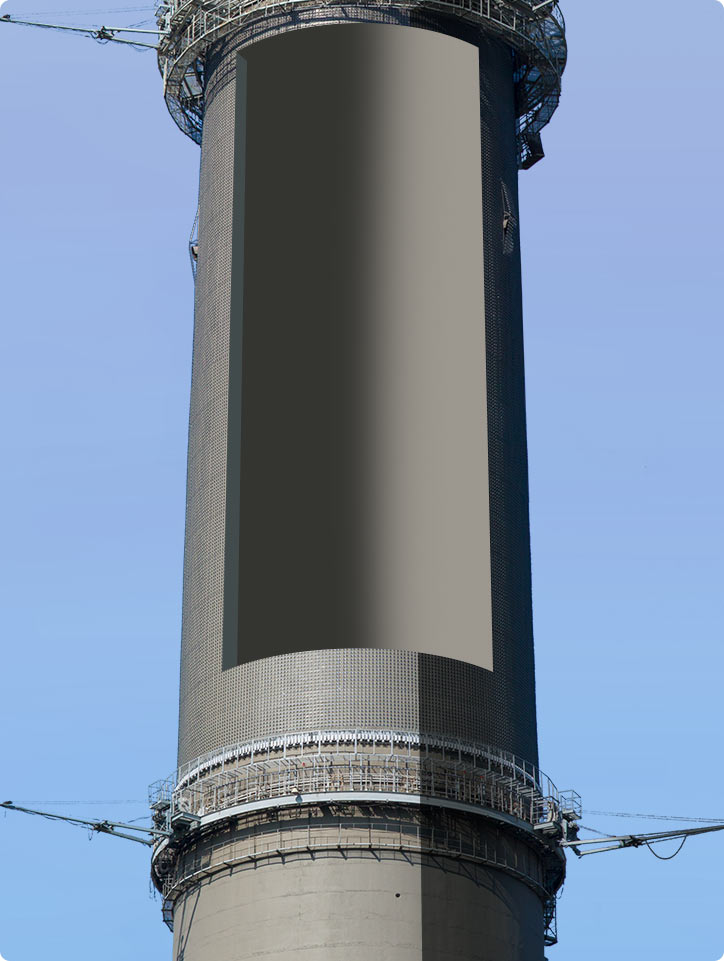
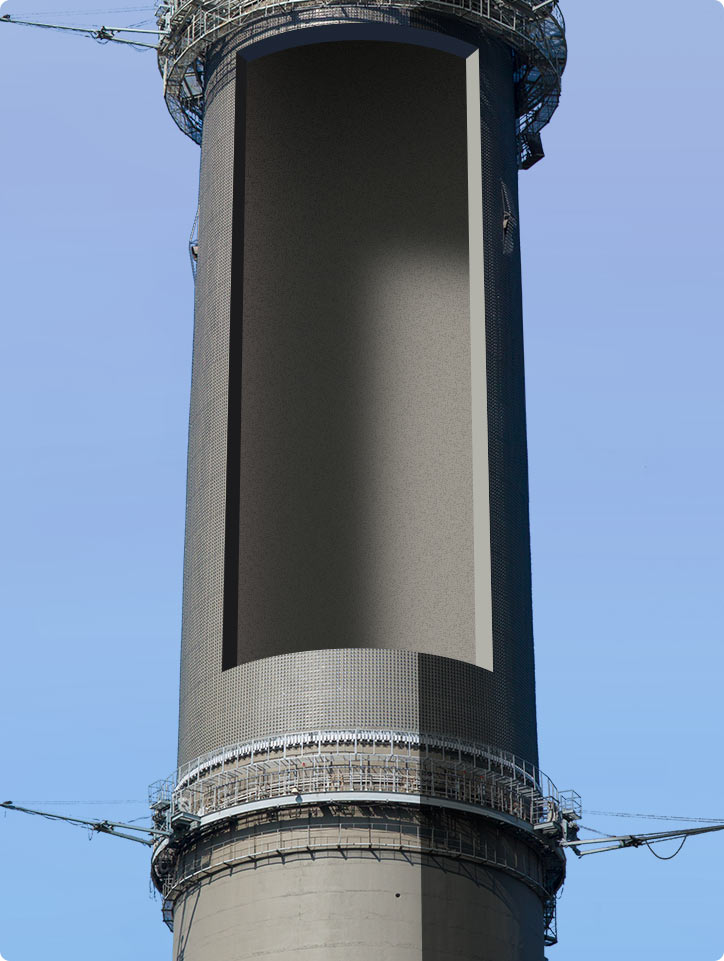
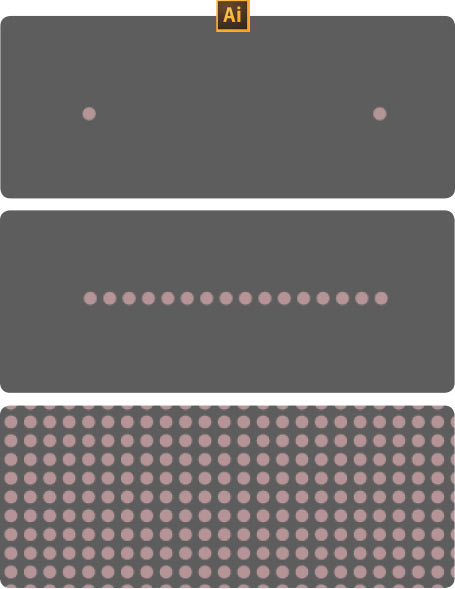
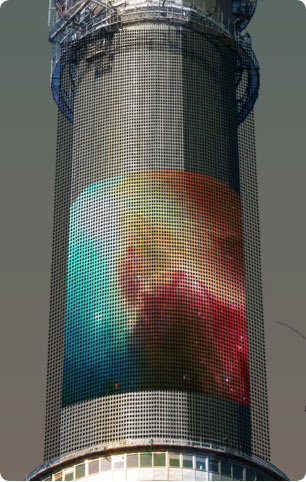
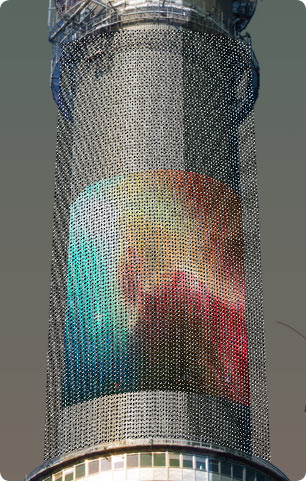
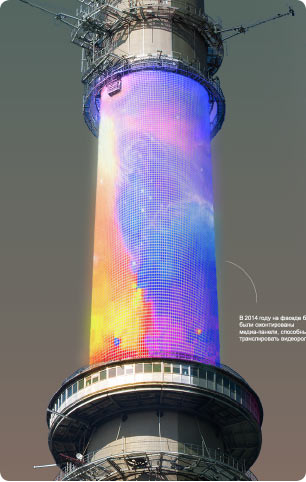
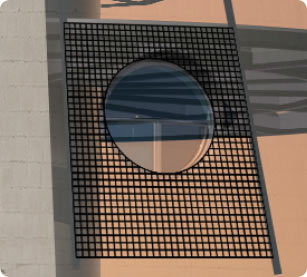
There is an LED display mounted on the tower, which is made of an array of luminous elements. To show it we simply need to prepare a mask that would modify the picture being displayed.
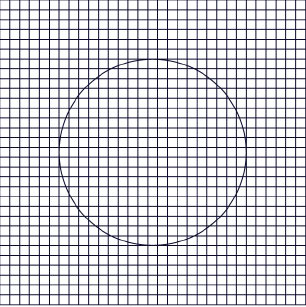
Preparing the mask template in Illustrator.
| 
|
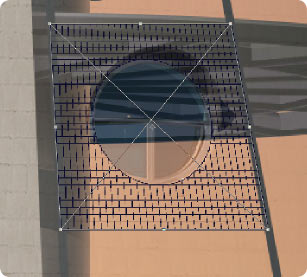
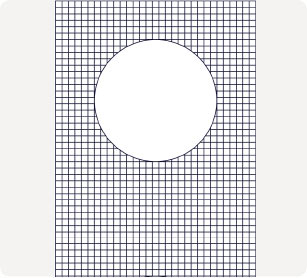
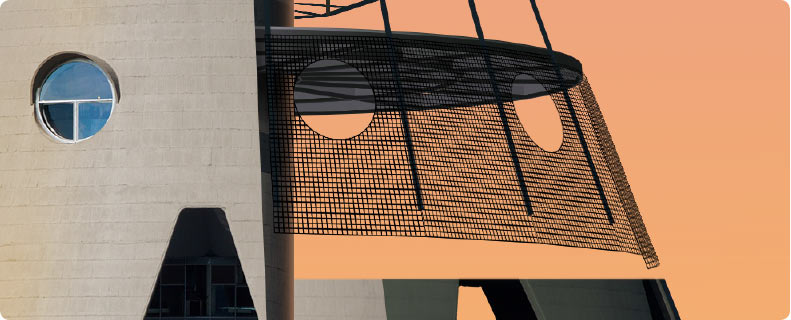
Bending the dotted canvas to match the shape of the tower
| 
Creating the selection
| 
Mask based on selection
|
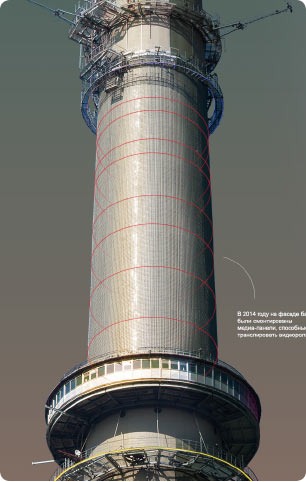
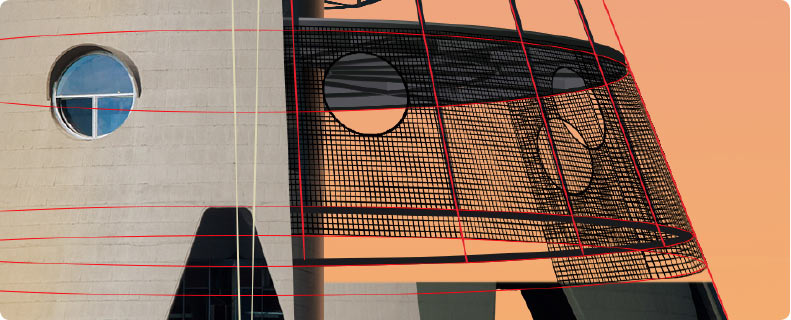
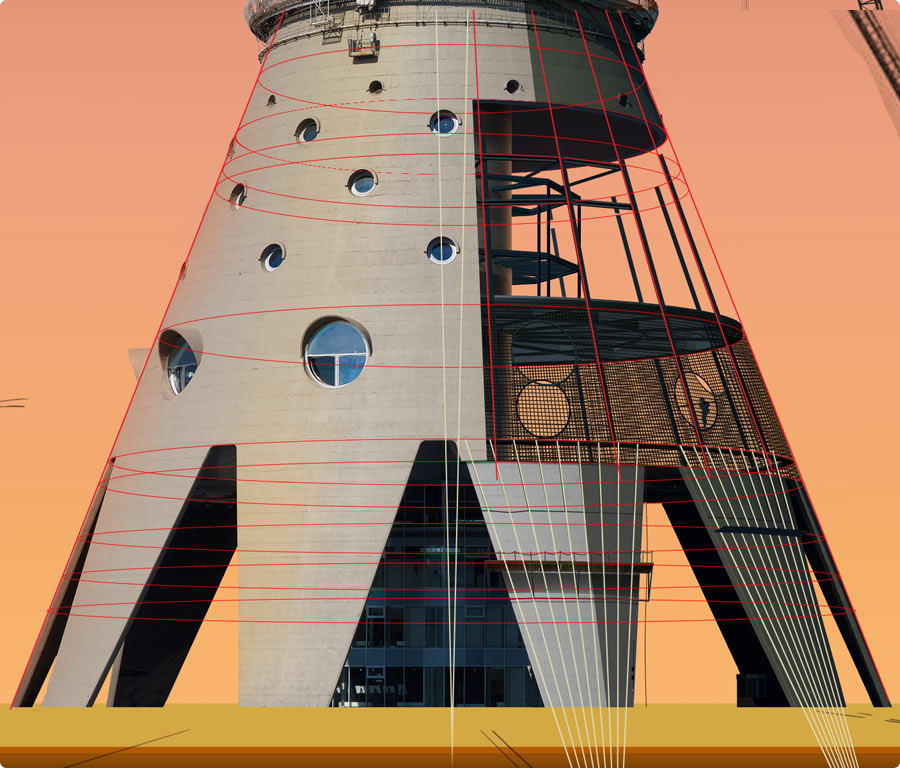
Drawing the guide lines
| 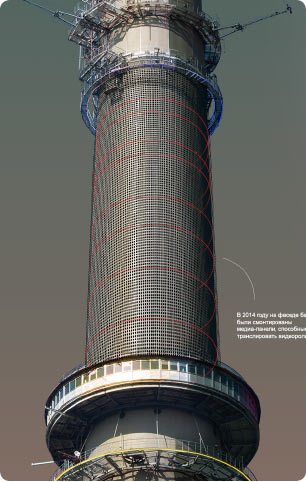
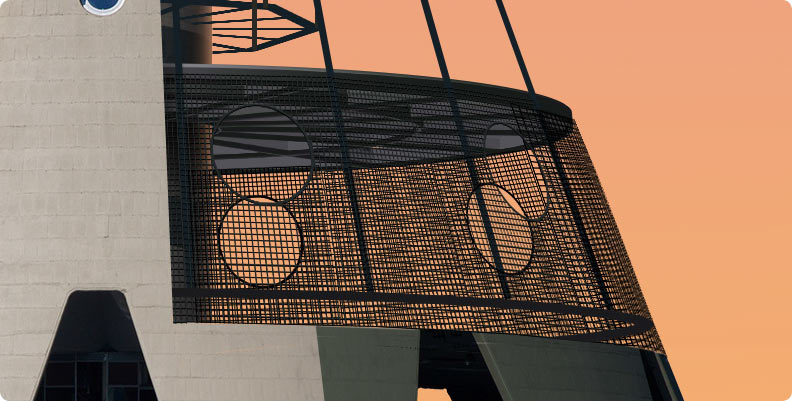
Adjusting the LED grid based on the guide lines
| 
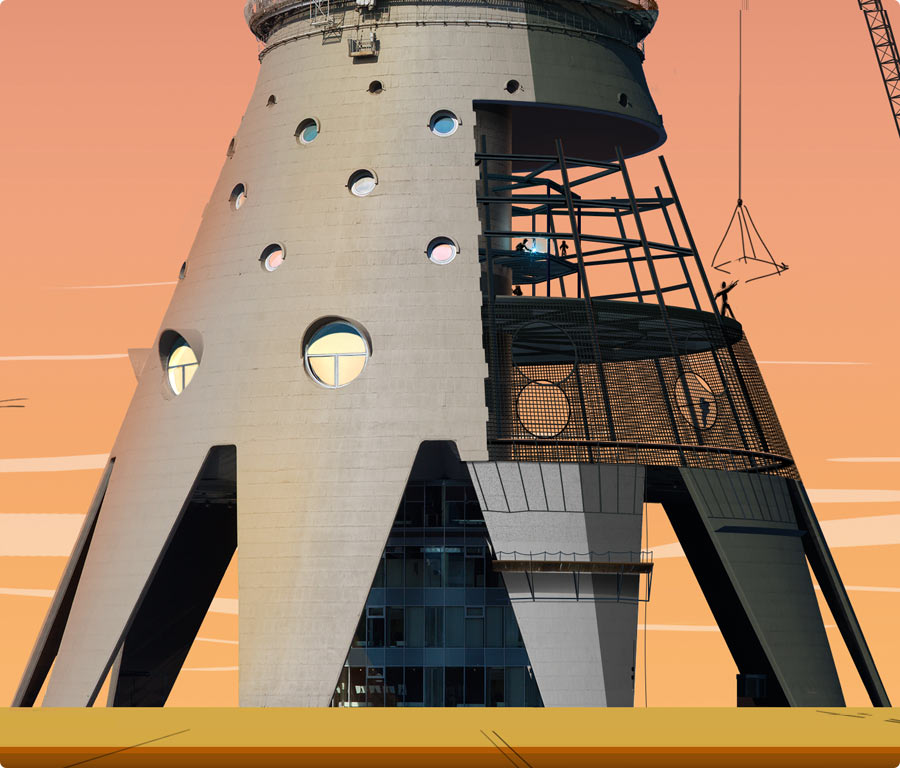
Activating the display
|
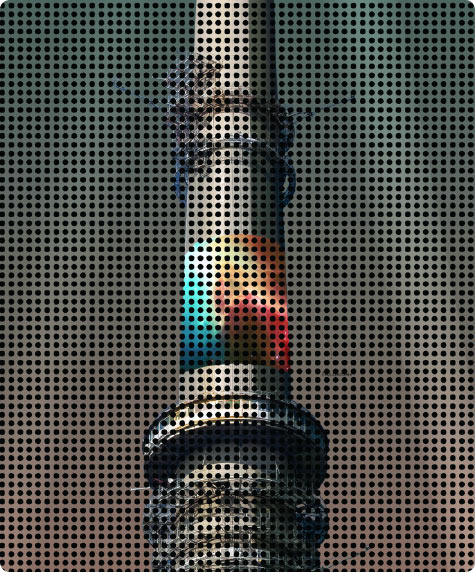
We get the idea to bring the display to life by creating an illusion of a rotating image. Giving the mask that can show any picture to the technologist.
Besides the LEDs, the mask includes reflections on the tower structures.

Dot mask for the display
| 
Operational display
|
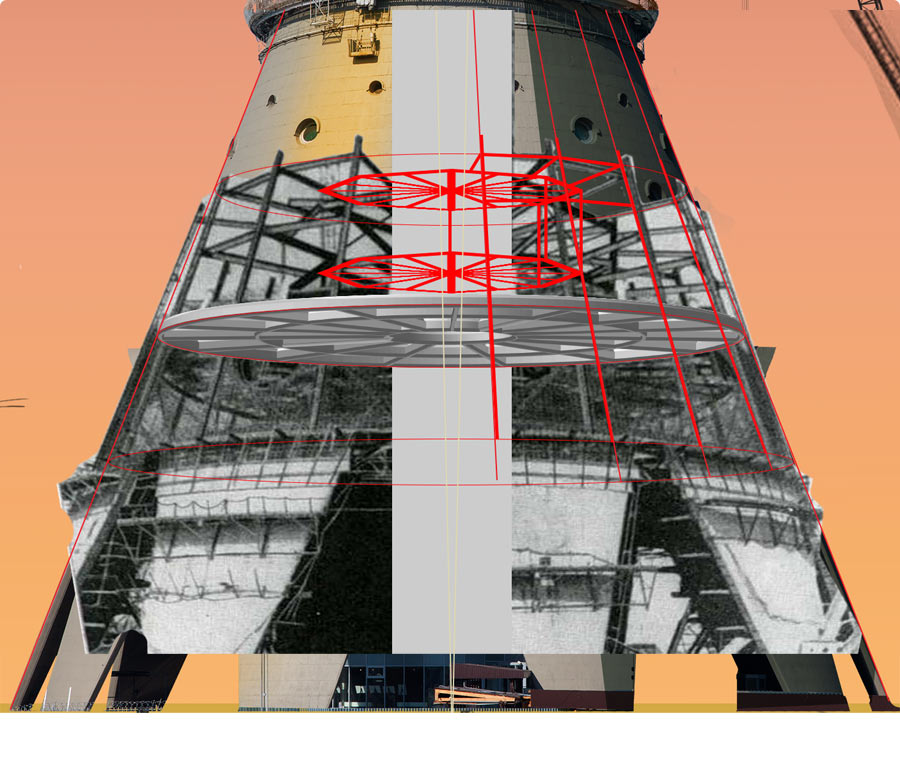
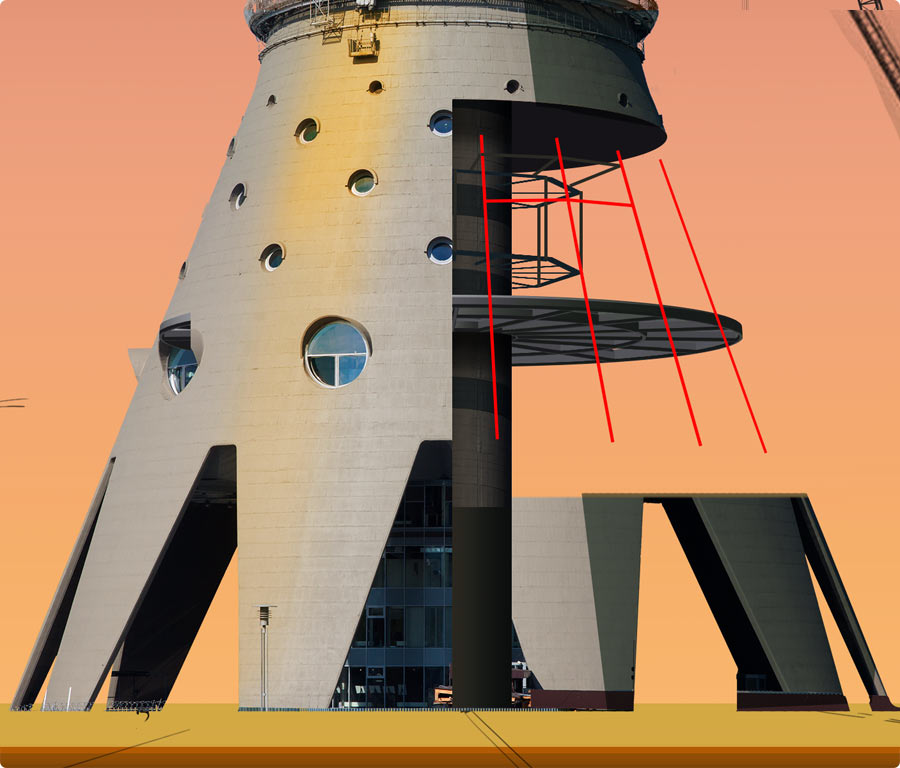
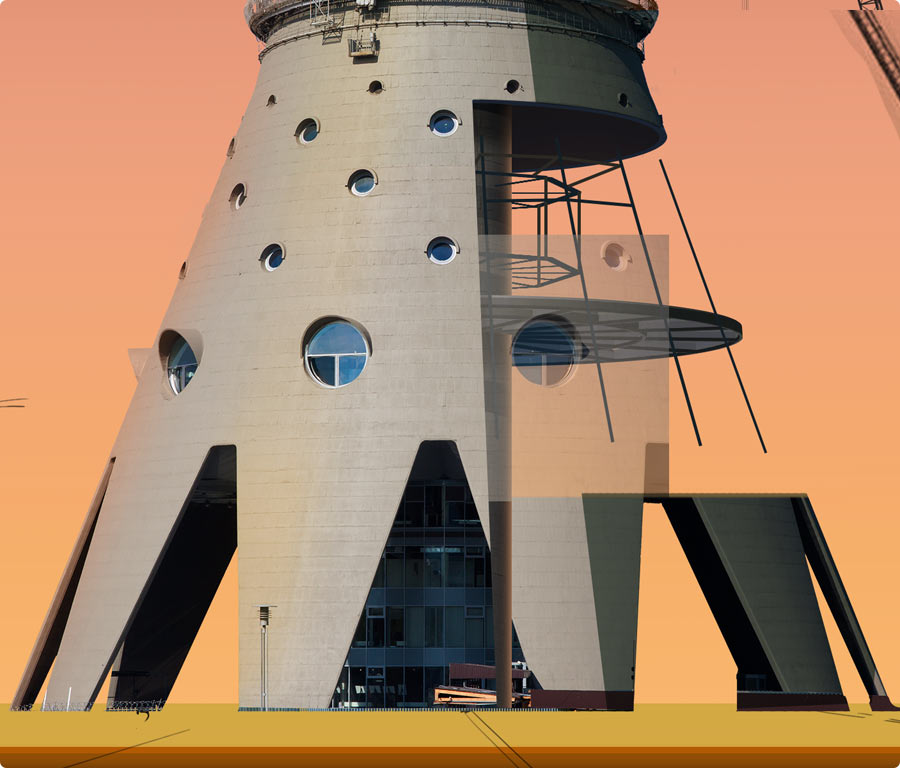
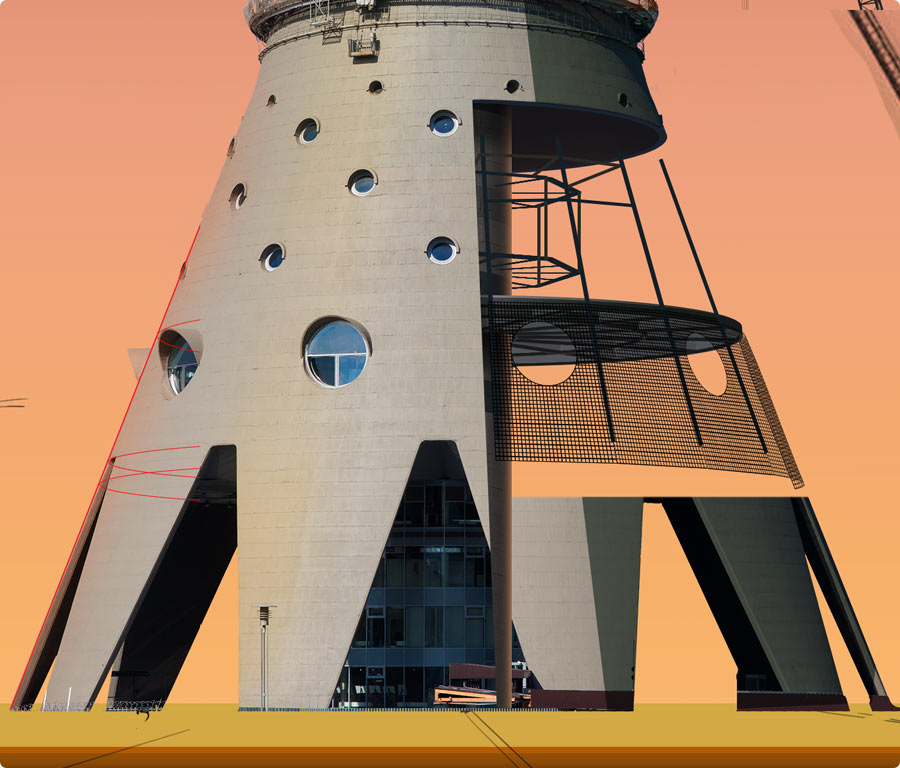
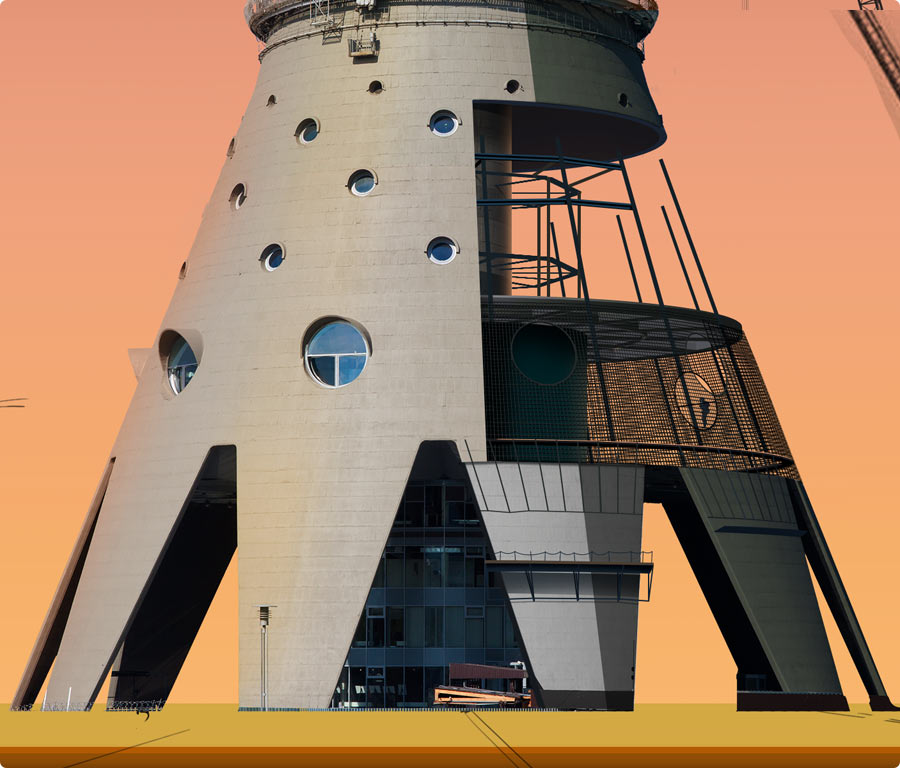
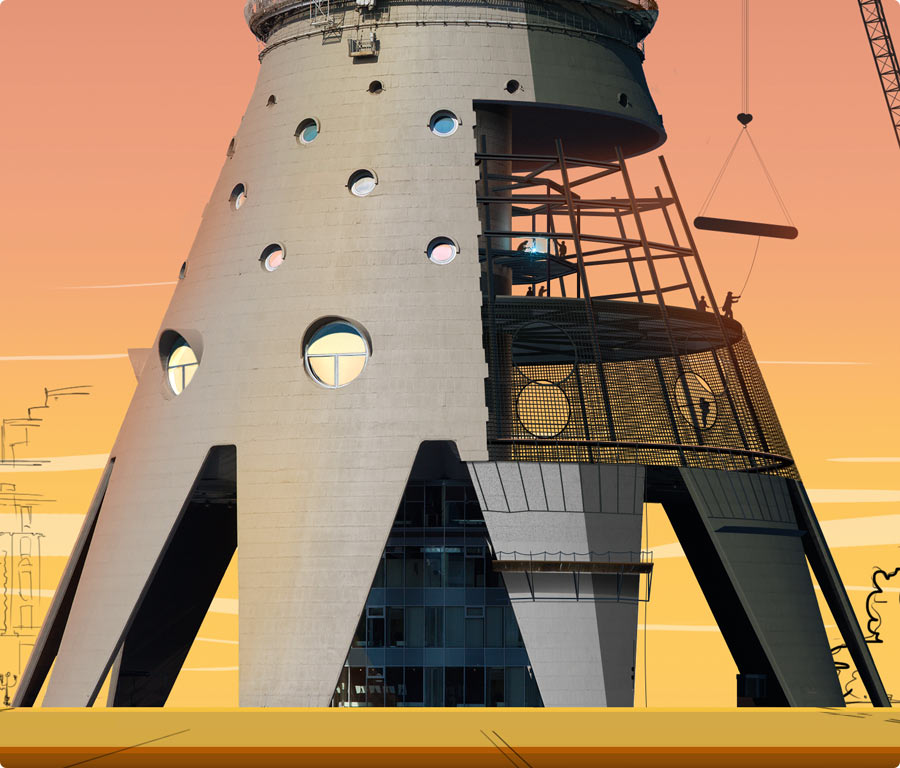
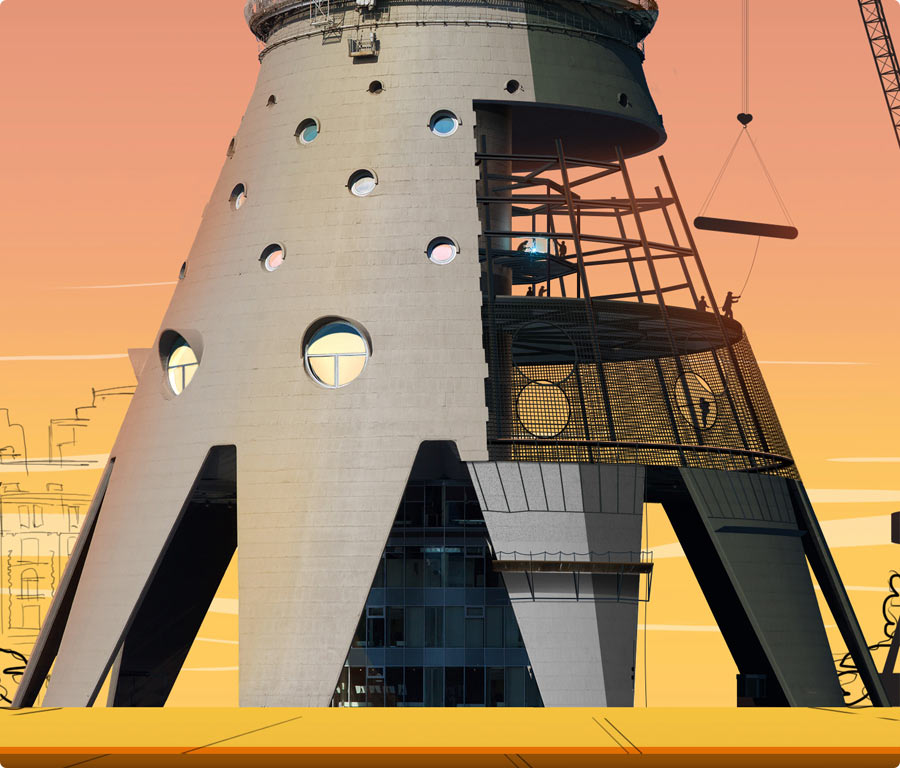
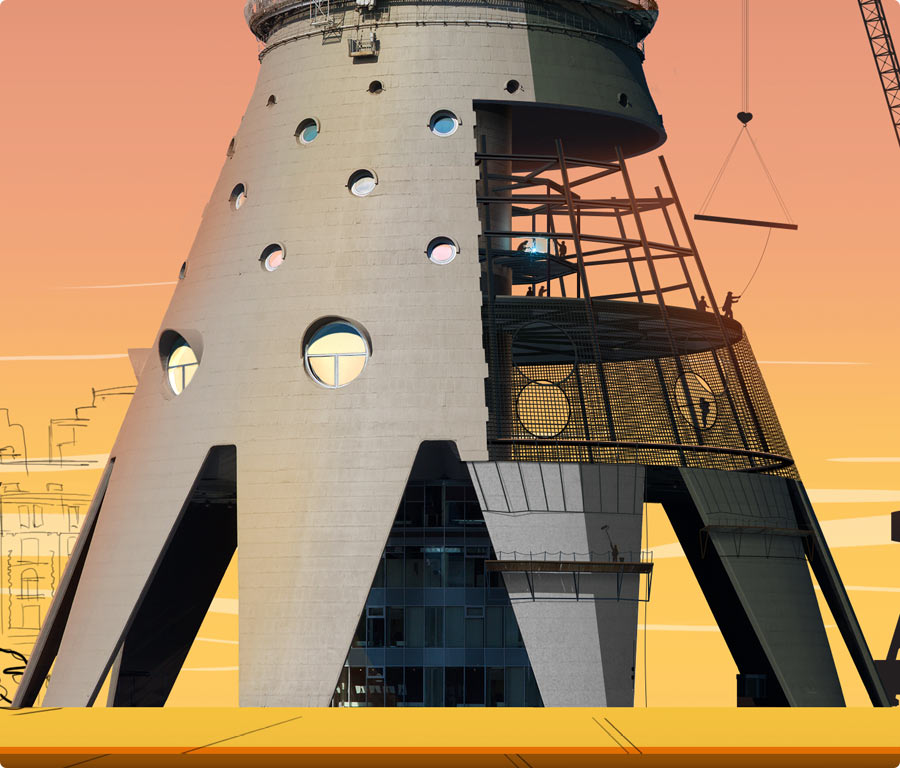
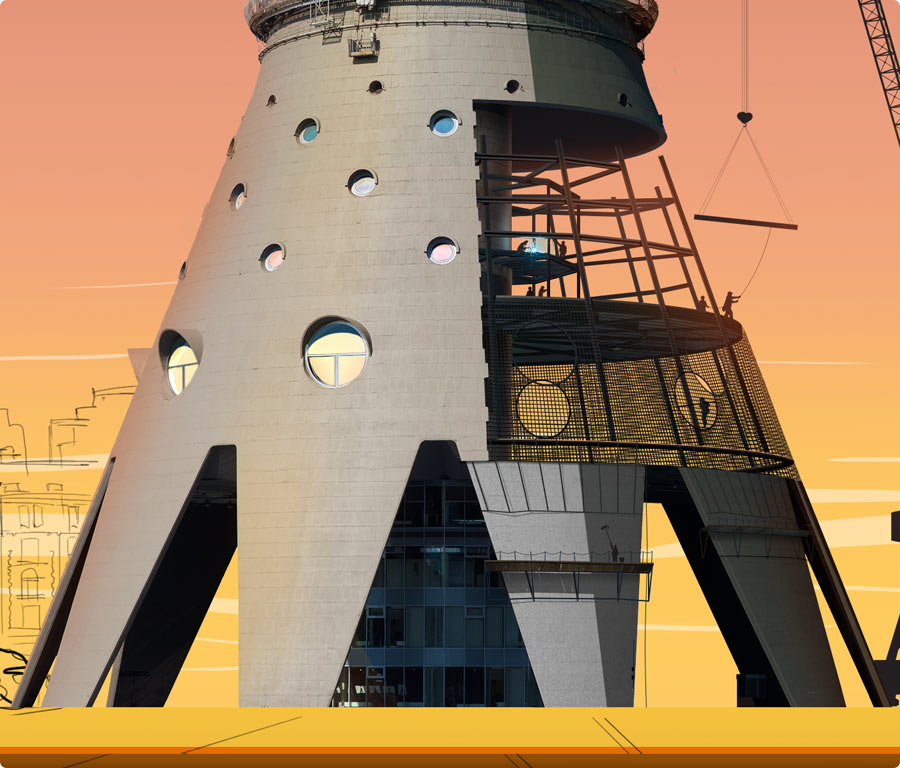
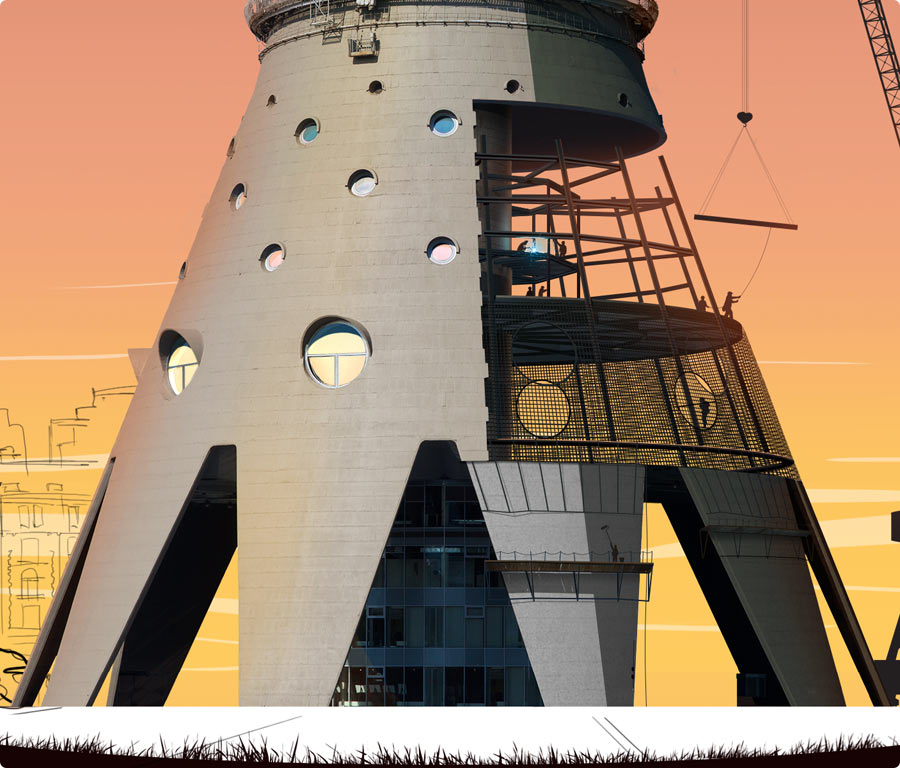
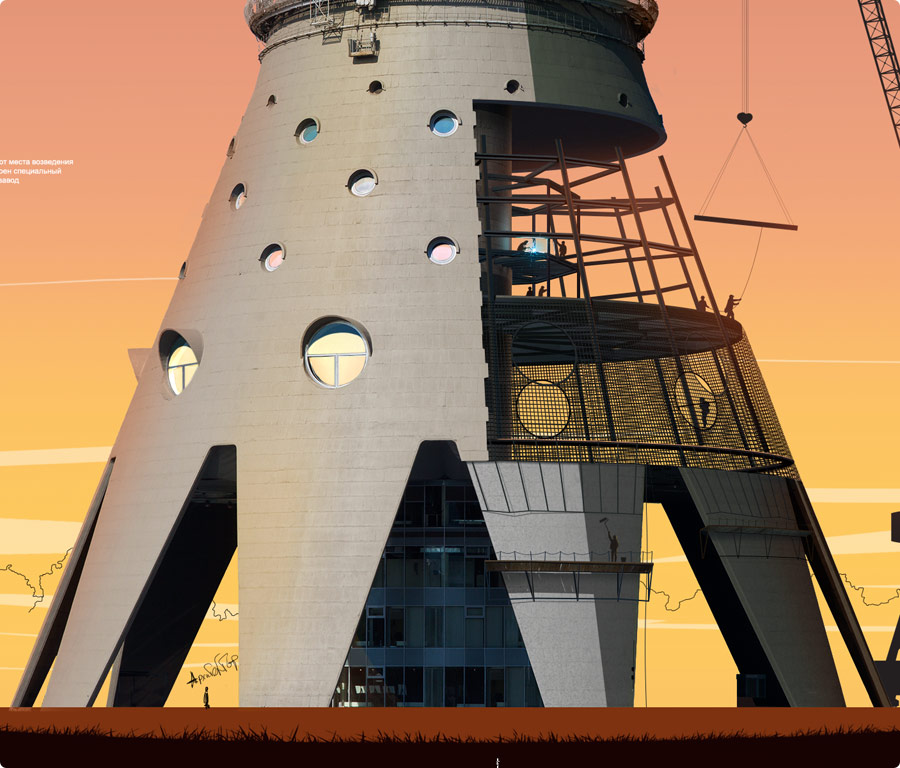
Construction
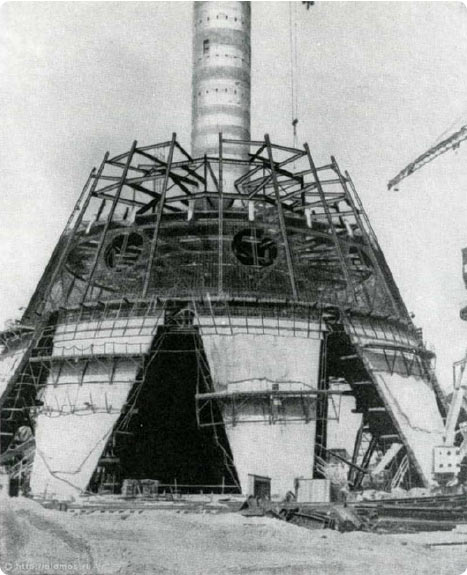
Finding a photo in the archive that shows construction of the tower base. Showing this on the website is an ambitious and interesting task.
| 
Trying the slide fragment on the tower
|
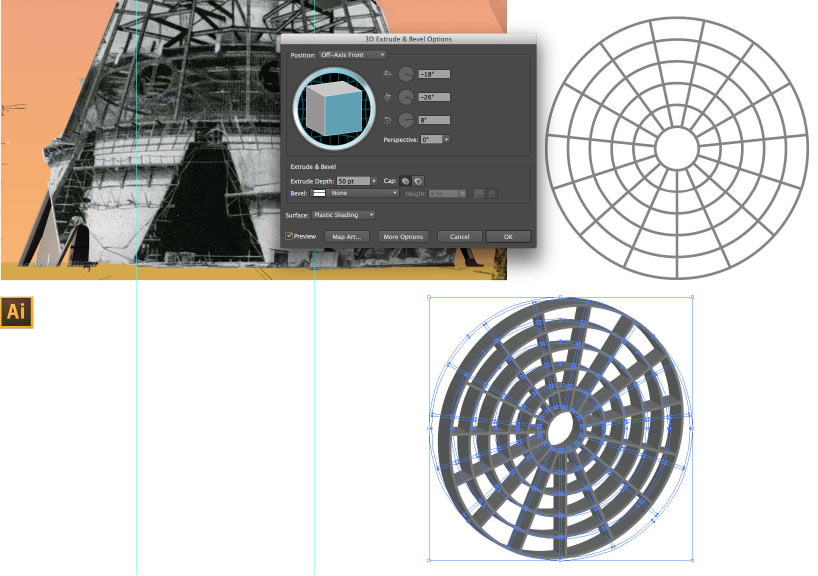
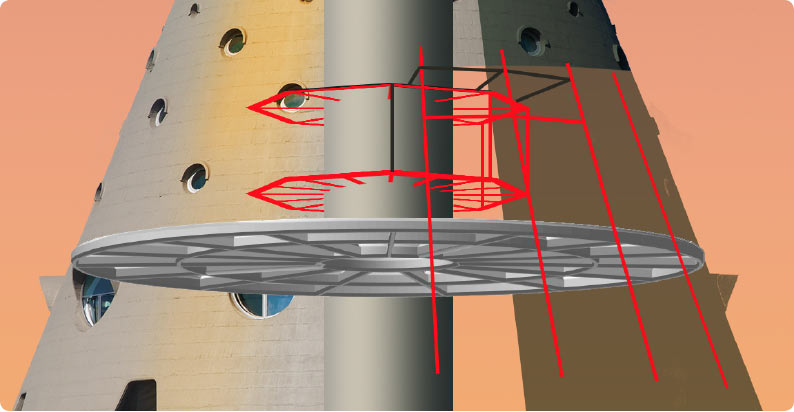
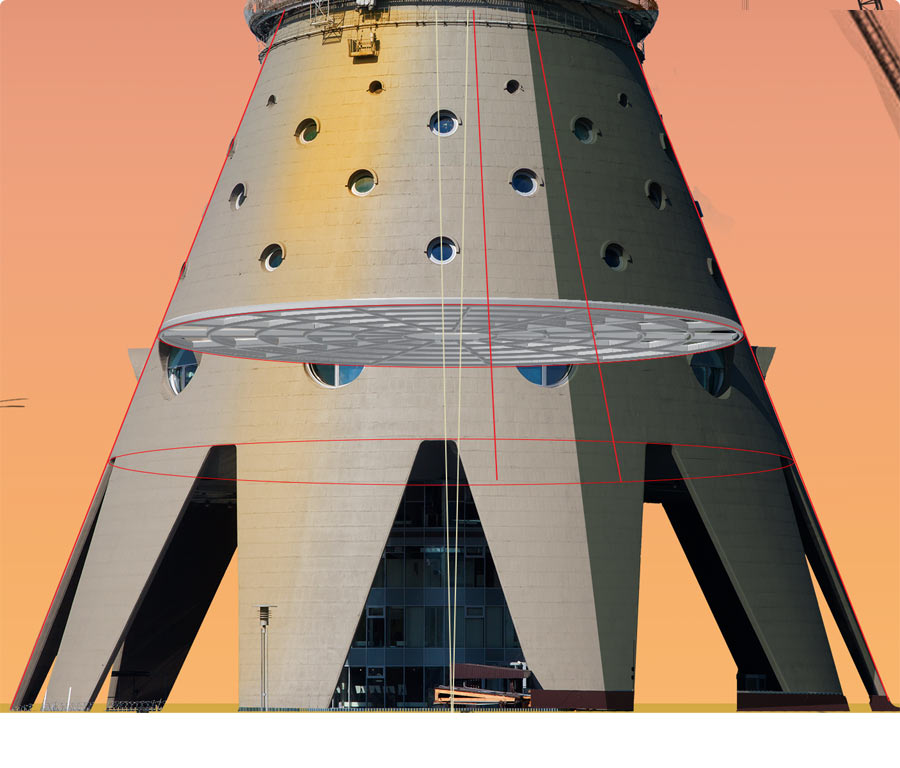
Using the photograph as the base, as it’s difficult to make out what’s what on it. There’s a round disk at the base of the structure, that’s what we’ll start with.
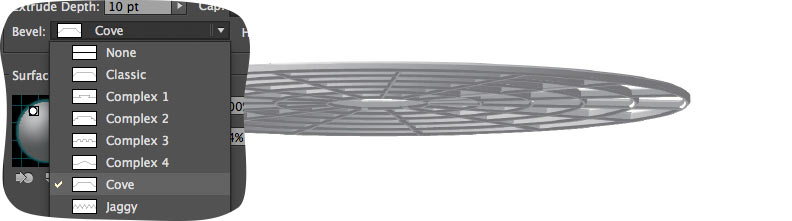
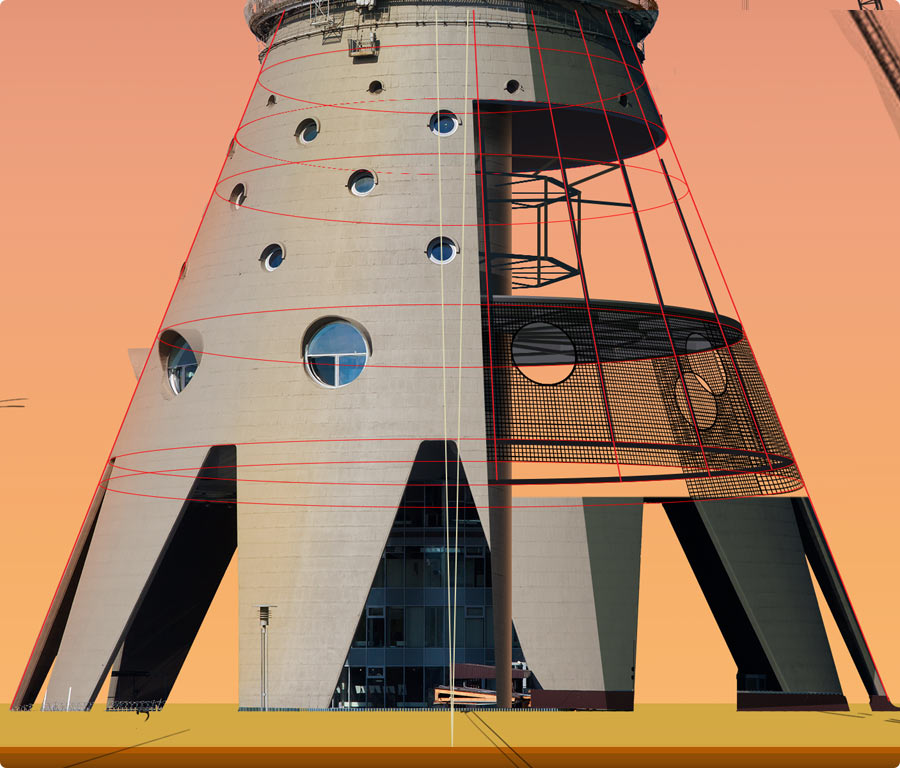
Using the Extrude & Bevel effect in Illustrator to create the disk.
|
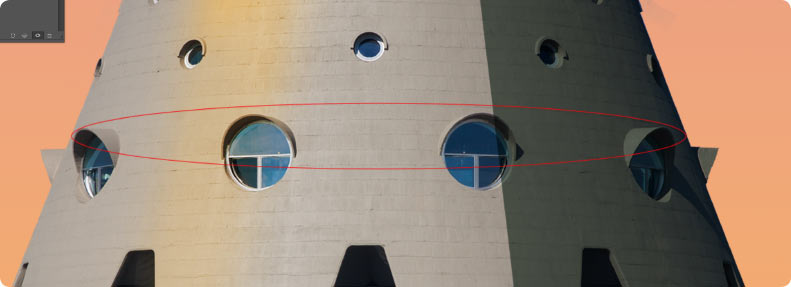
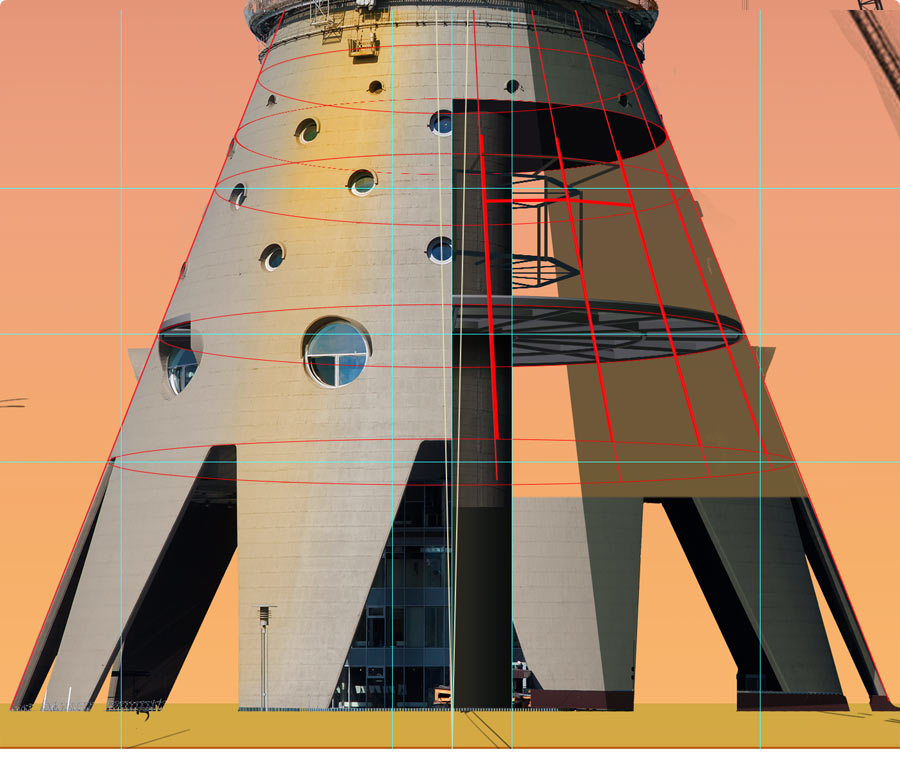
A guide line is drawn along the finishing tile line on the exterior of the tower
|

|
The guide line is used to adjust the angle of the prepared structure
|
|
The wheel is rotated several angles. To increase detalization, a cove is added in the Extrude & Bevel settings
|
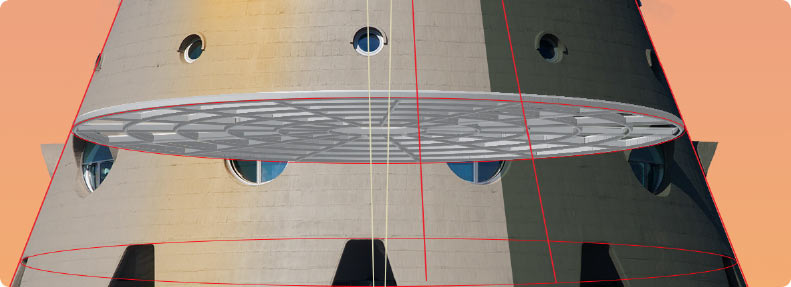
|
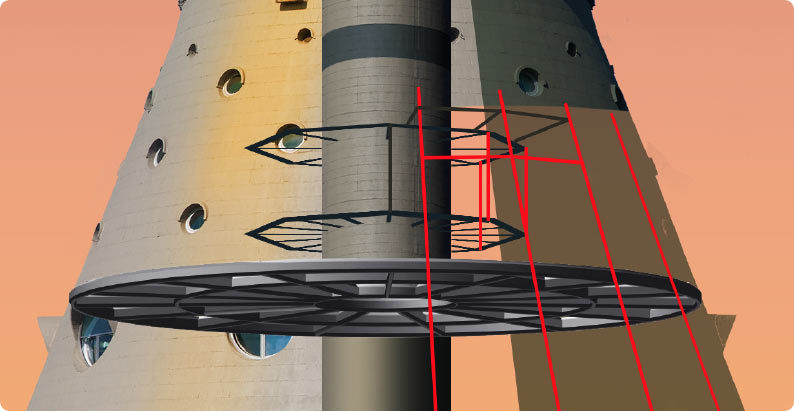
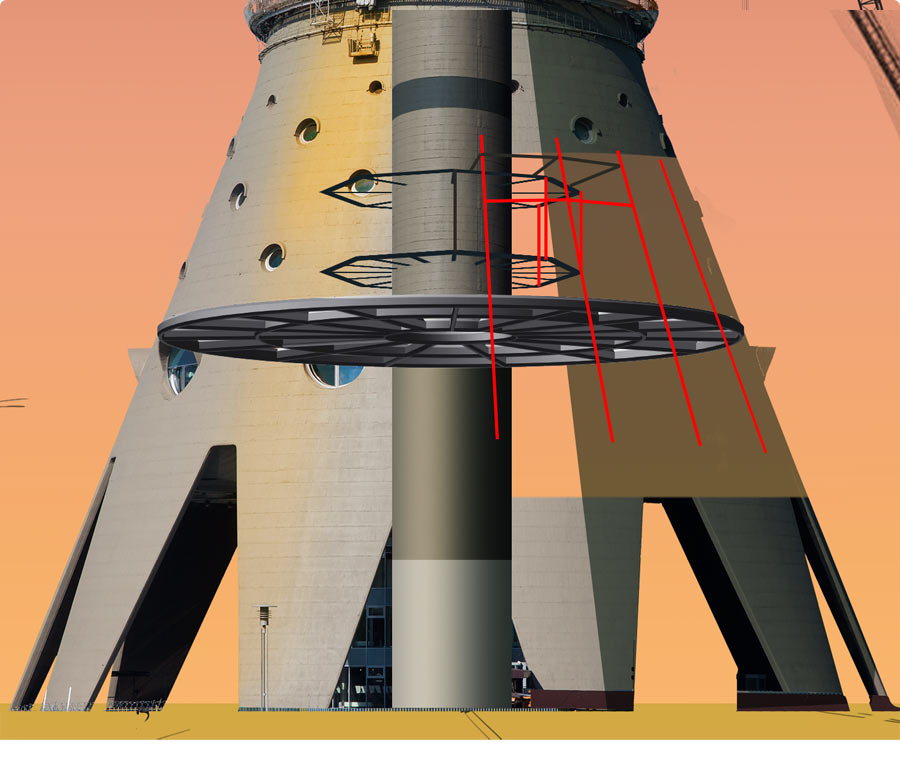
The structure is positioned at the tower base
|
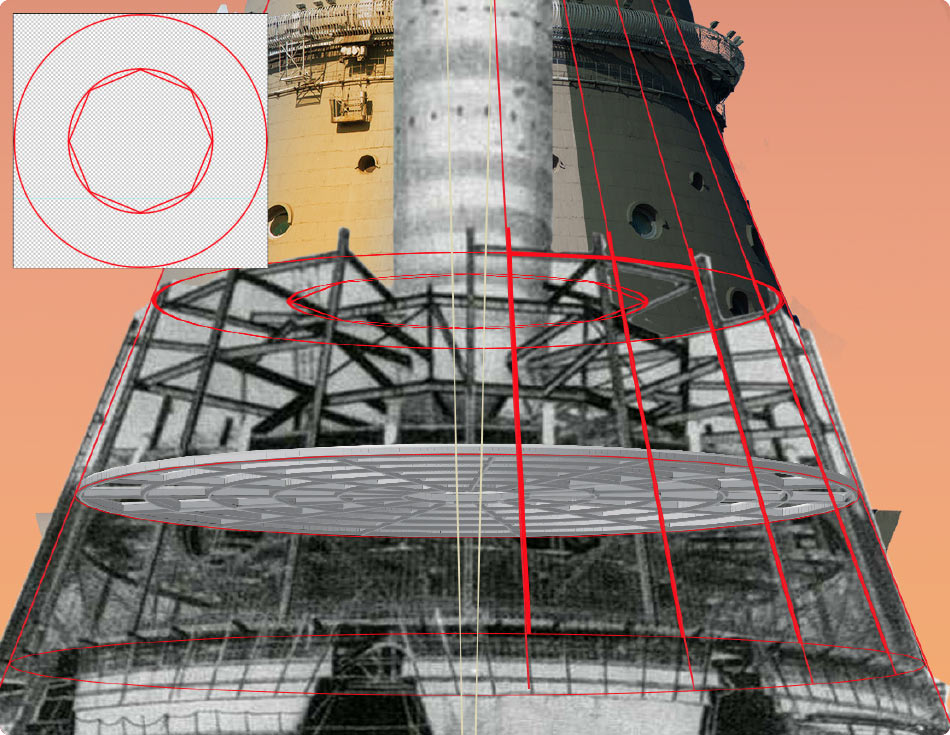
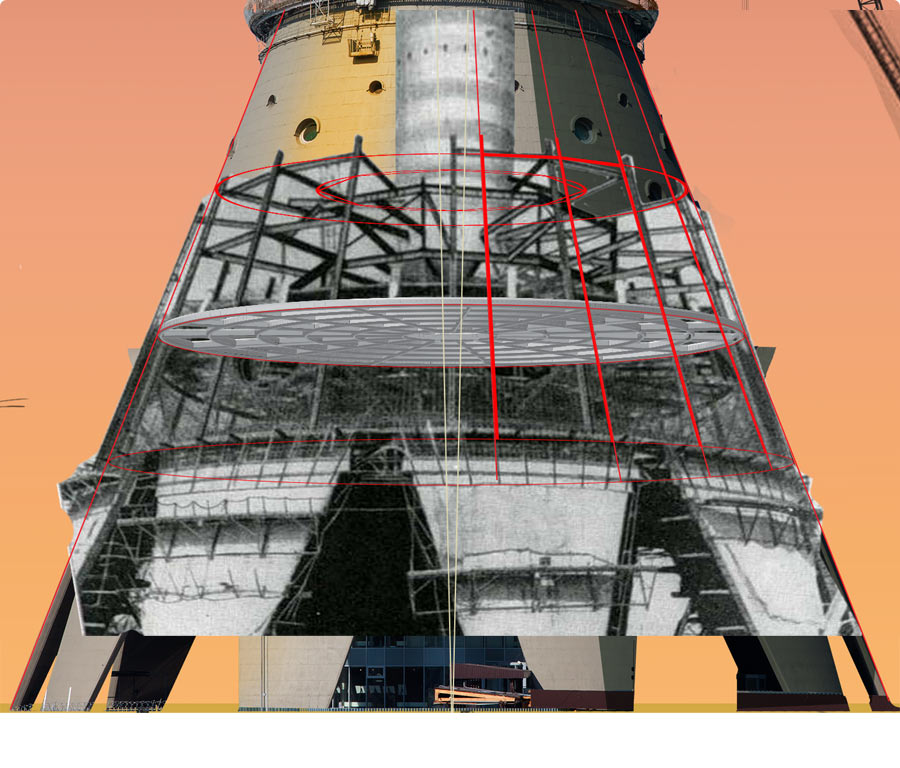
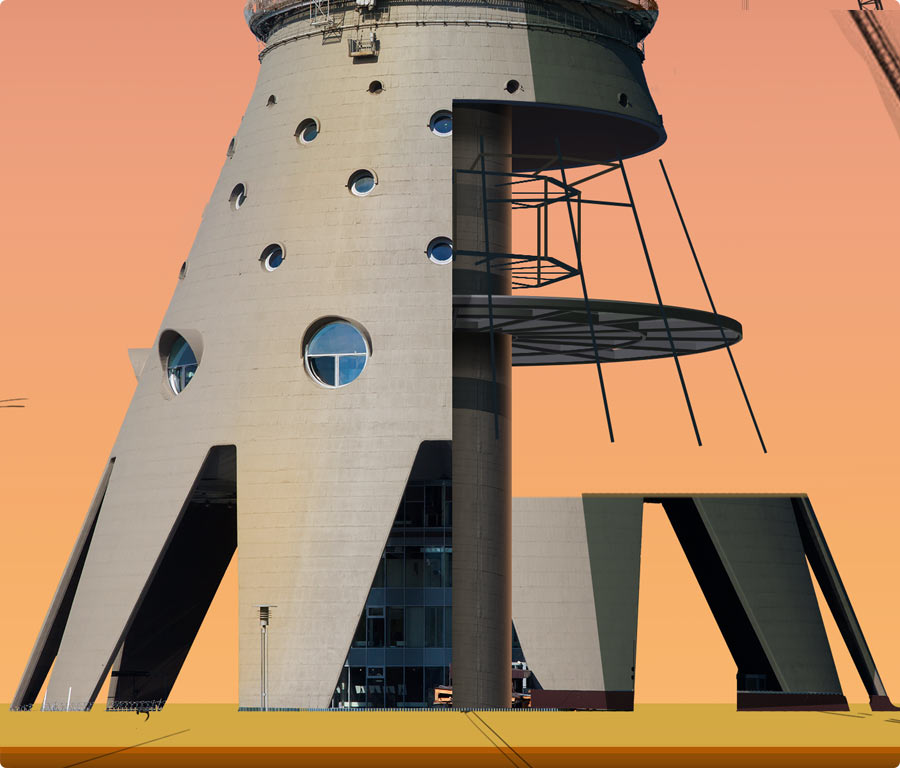
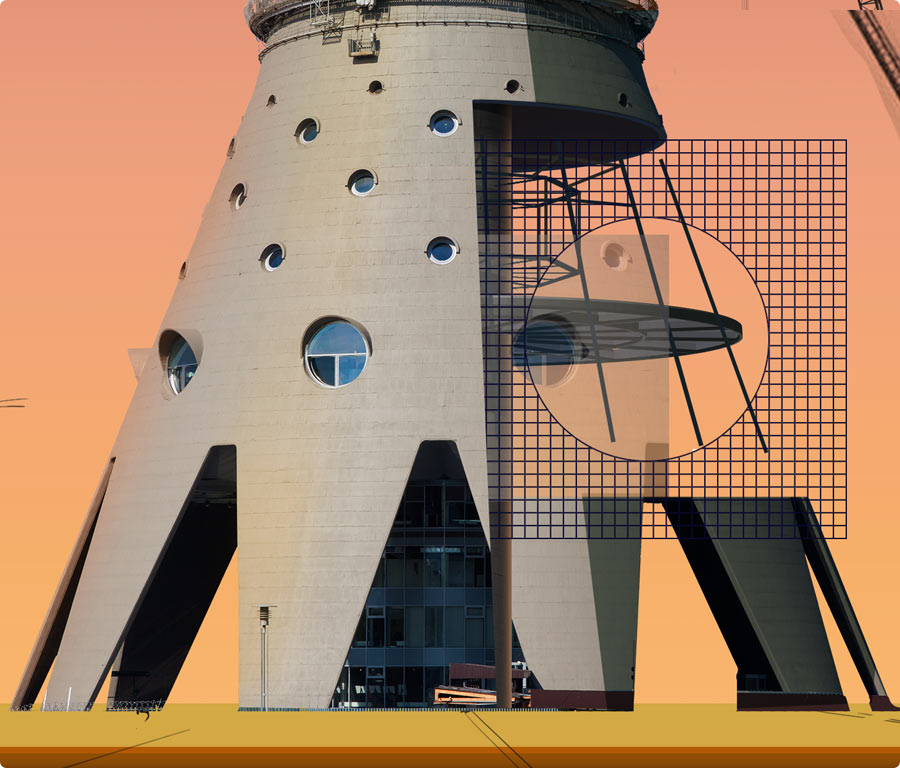
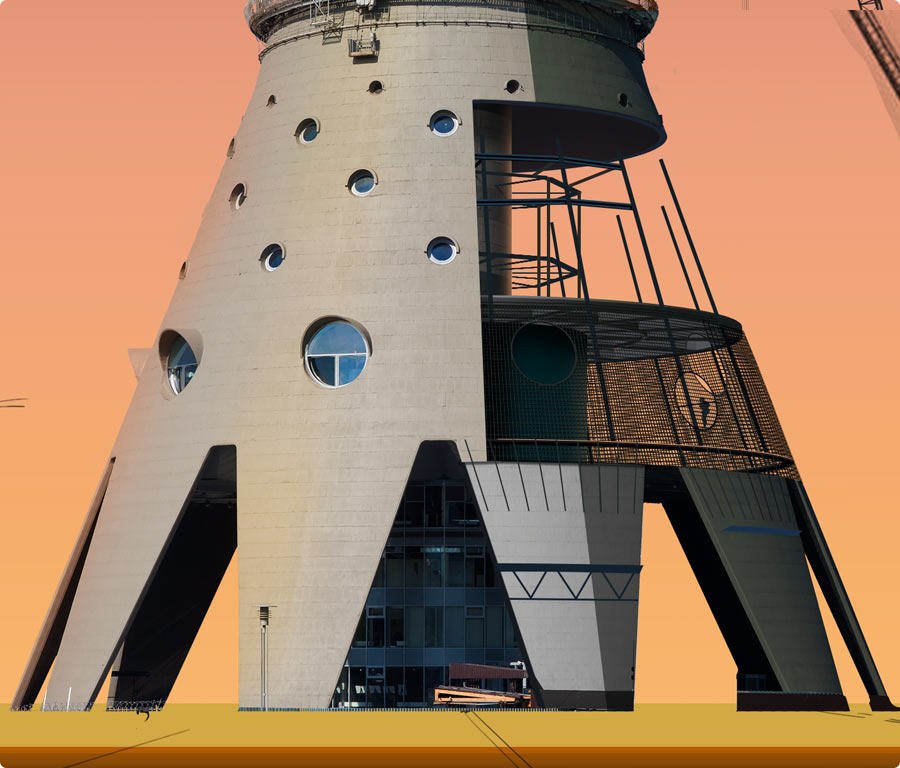
Time for the polygonal structure. The shape is sketched and aligned according to the perspective. Simultaneously adding the guide lines for the mesh structure.
|
The elevator shaft tube appears
|
|
A texture is applied to the tube. The structure’s color tone is equalized
|
|
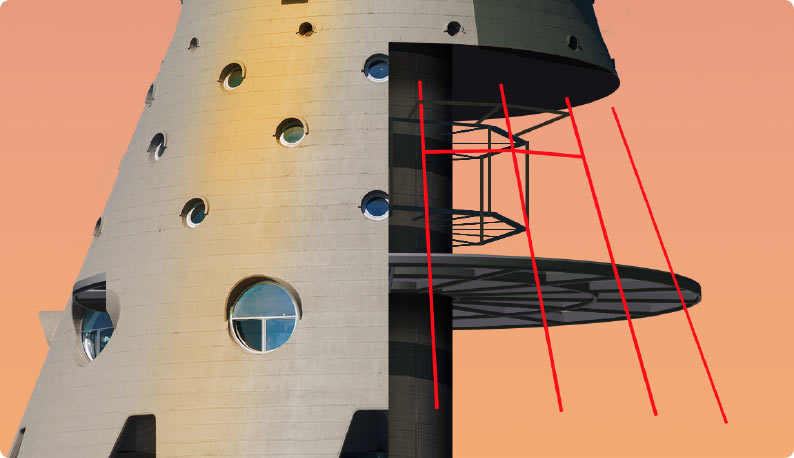
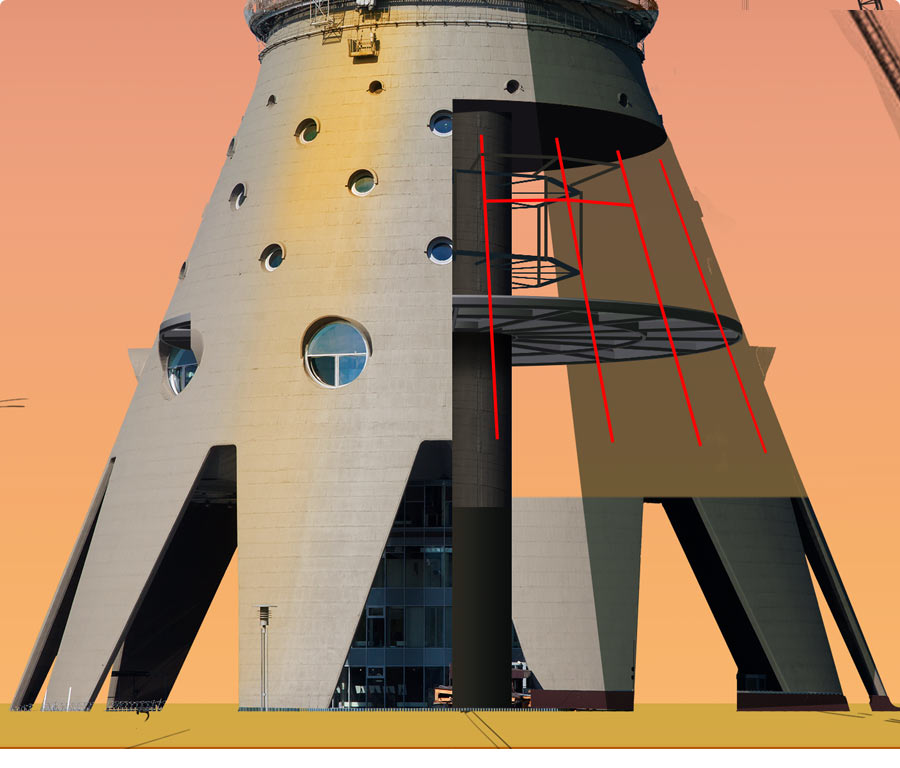
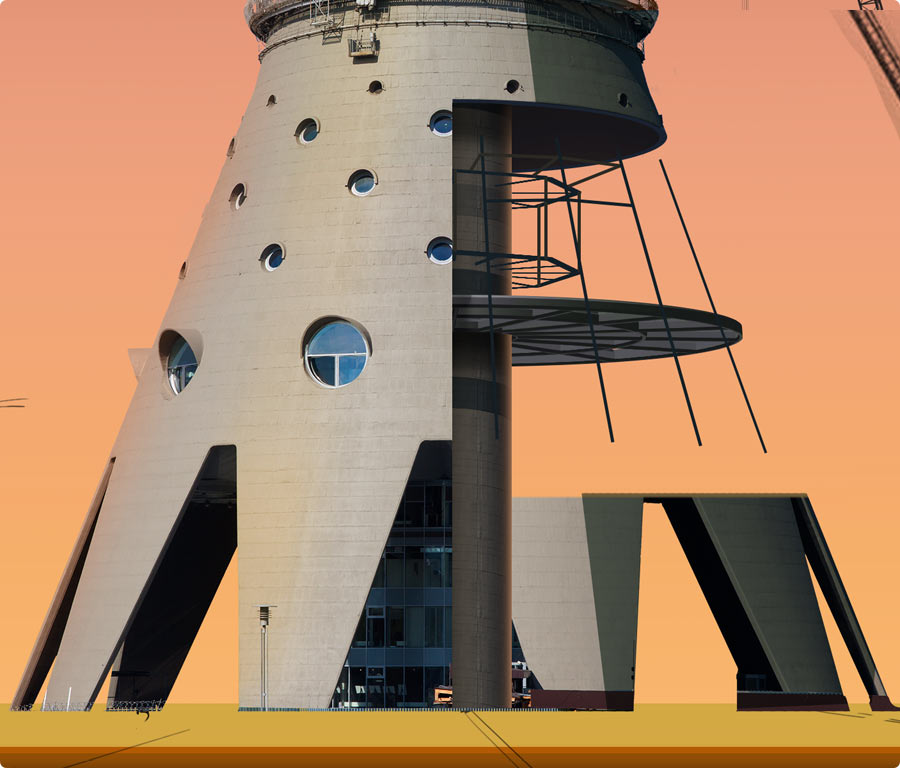
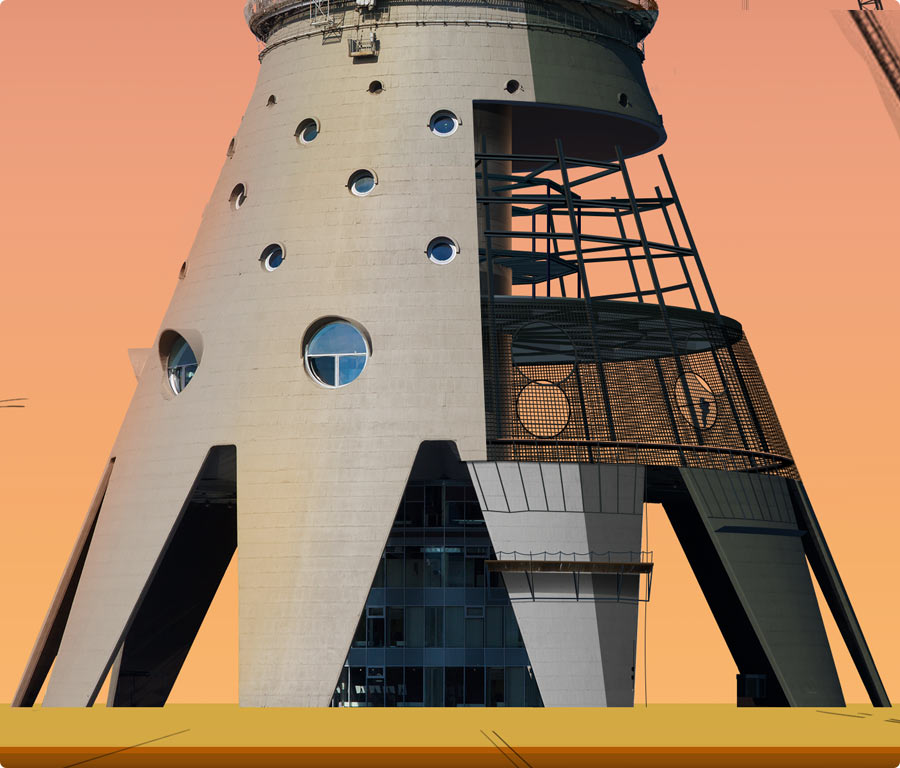
Only the left part of the tower will be “constructed,” the right part will remain untouched
|
|
A hint of lighting appears. The cut plane is moved a couple degrees to the right
|
Next we draw and install the reinforcing mesh structure. Most of the geometry elements are best created in Illustrator as it’s much easier to make changes when necessary.
| 
| 
| ||||||
| 
| 
|

|
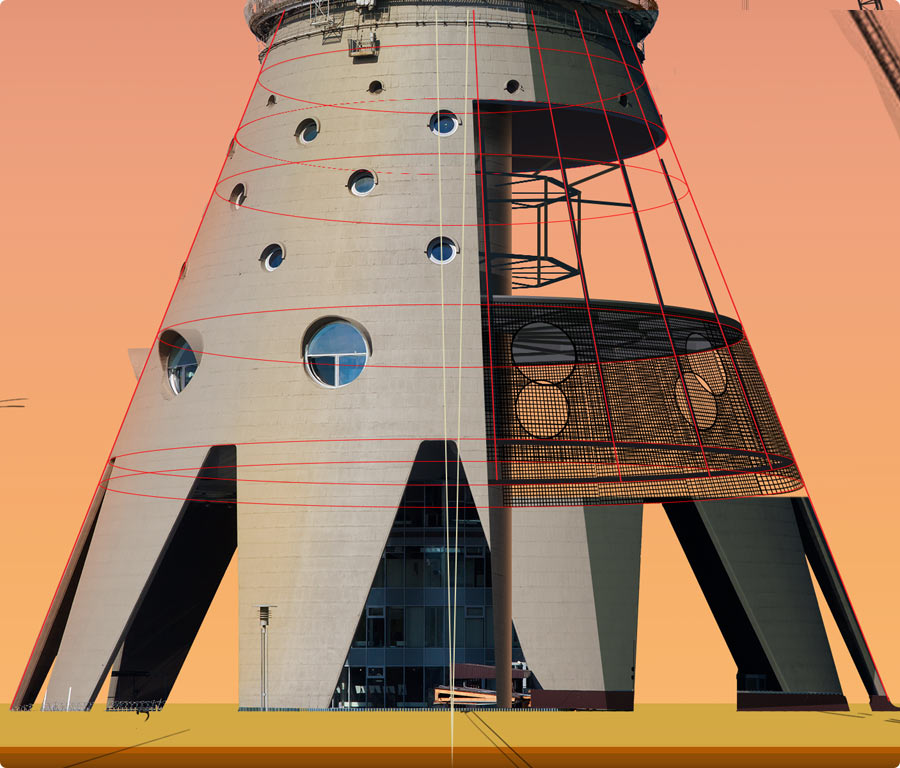
The structure is filled with mesh duplicates
|
|
Odd sectors are filled with a solid mesh
|
|
Continuing all around the tower
|
|
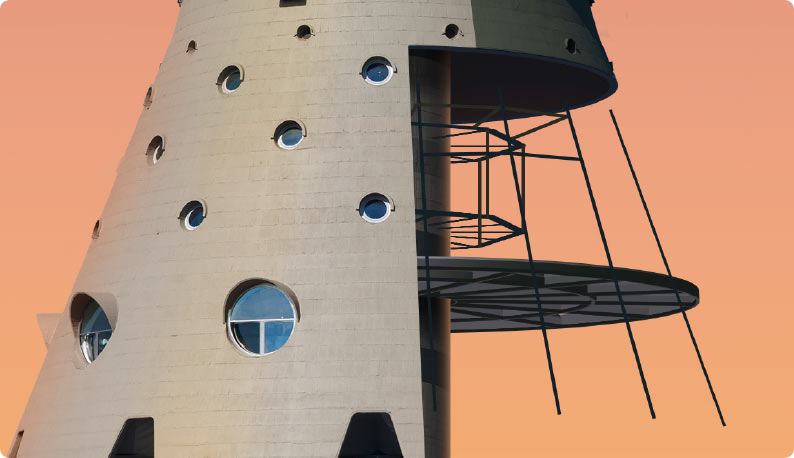
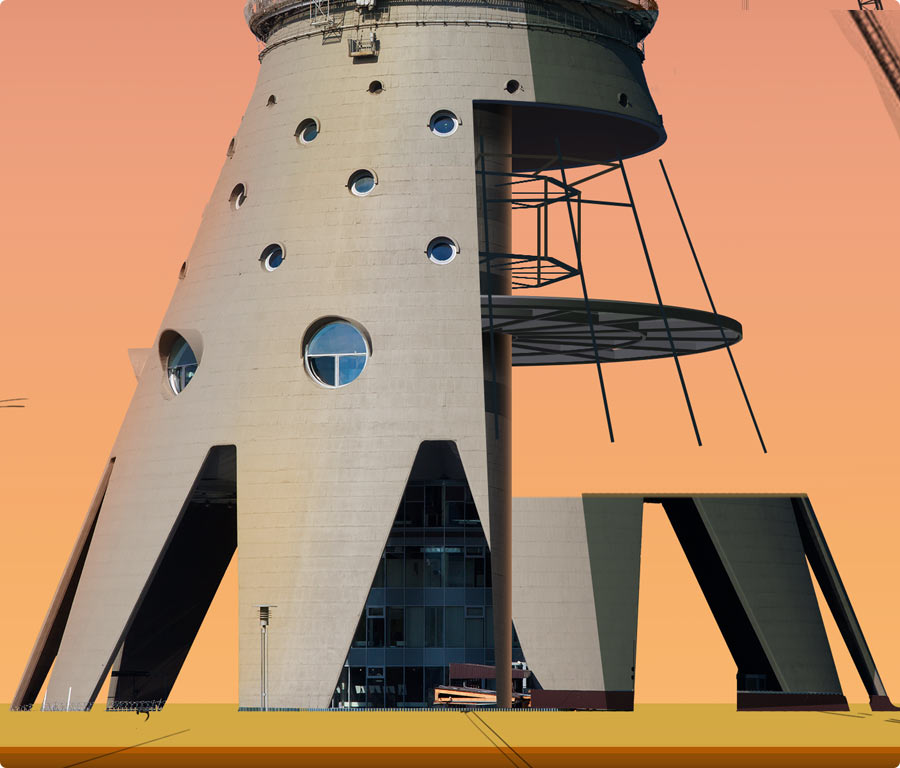
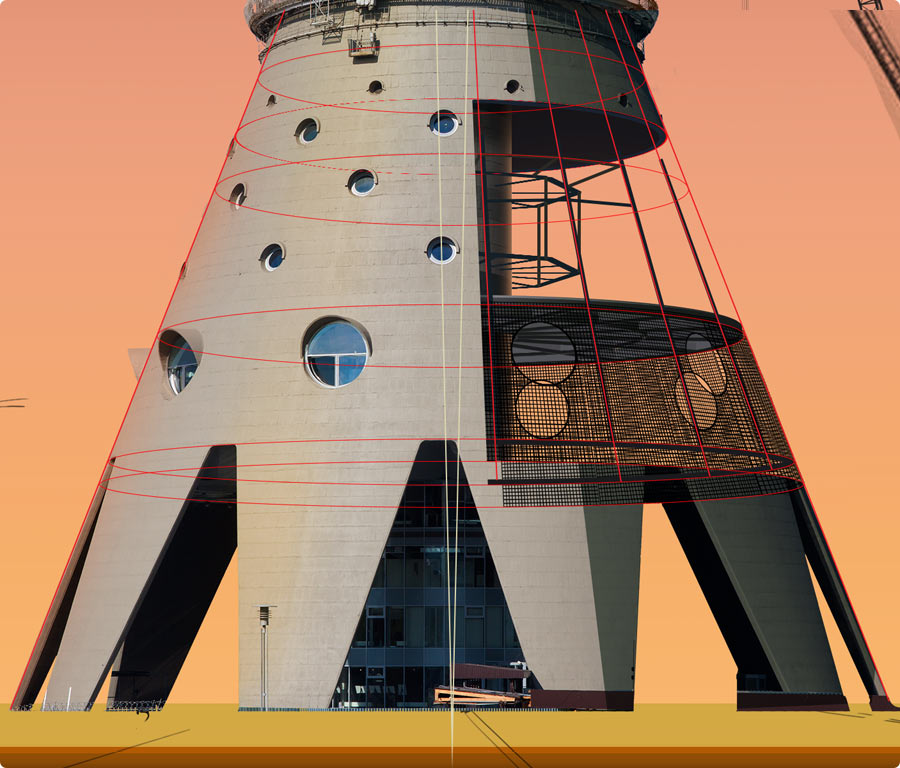
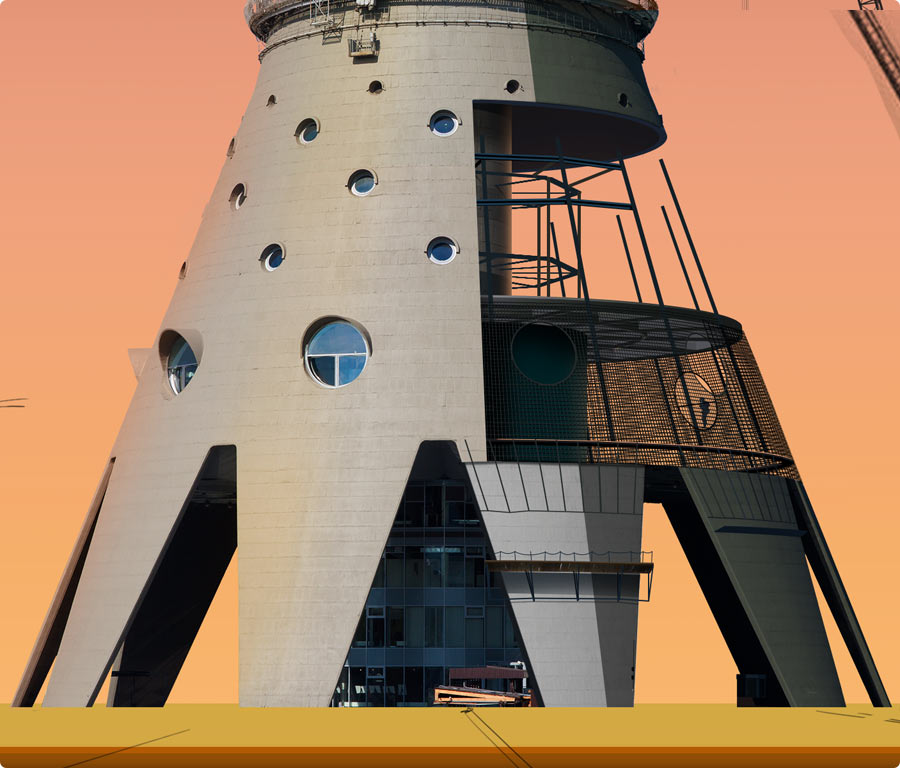
Adding volume to the reinforcing structure, making the base opaque where needed
|
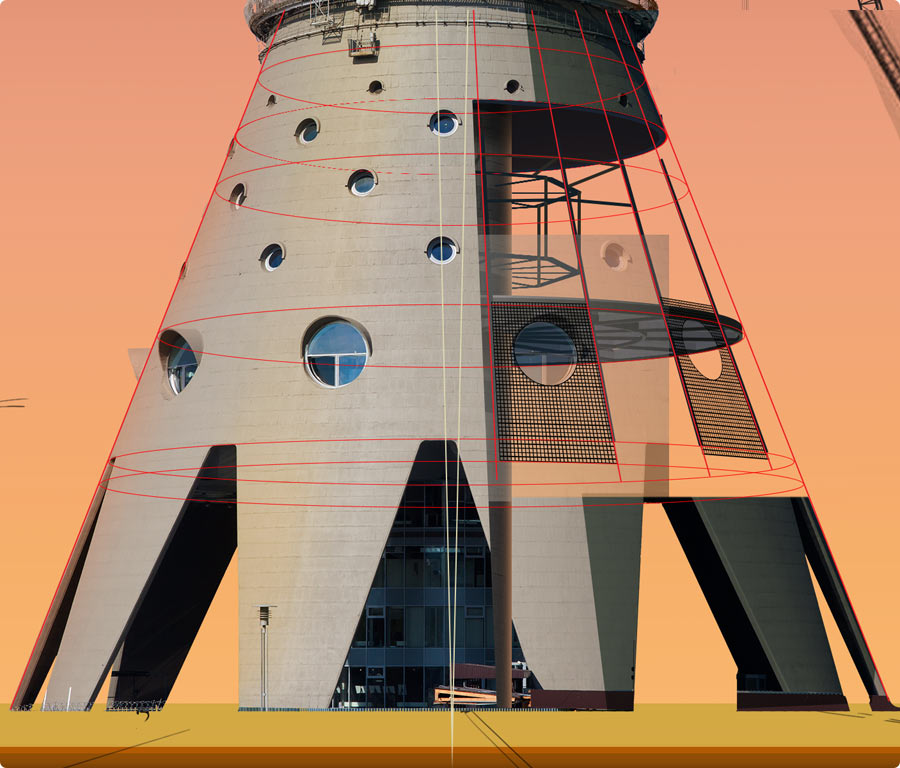
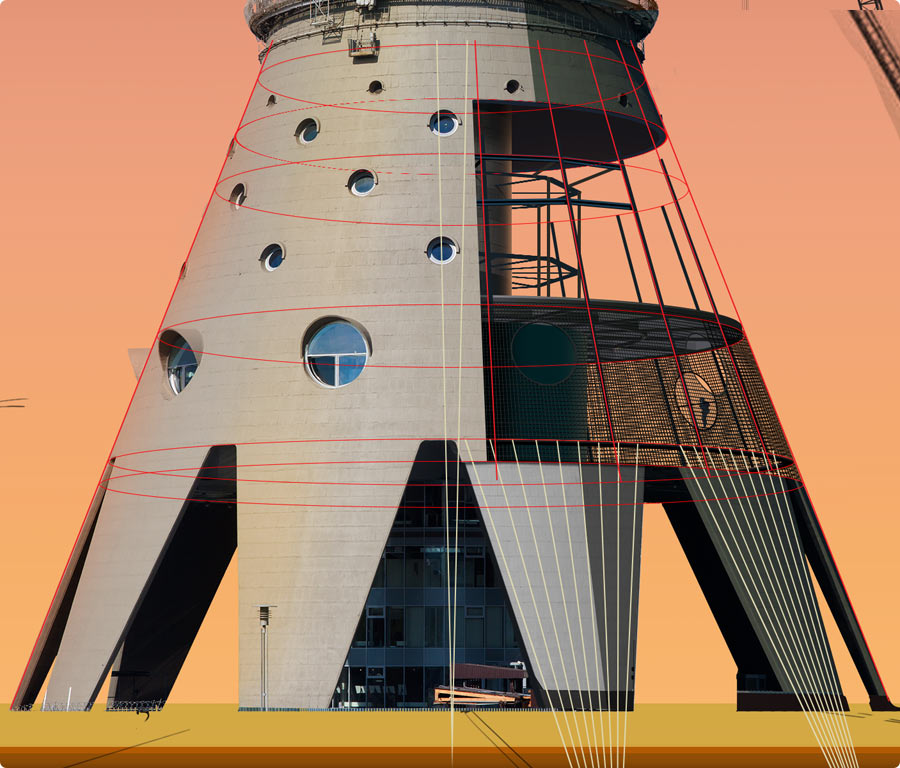
One secret to drawing a precise image is using enough guide lines. Just be careful not to get confused by so many of them.
Adding scaffolding to the supports.
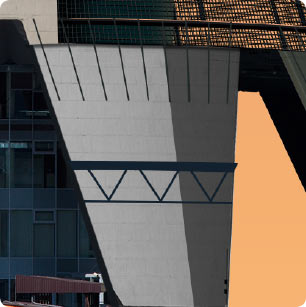
Drawing sketches using shapes
| 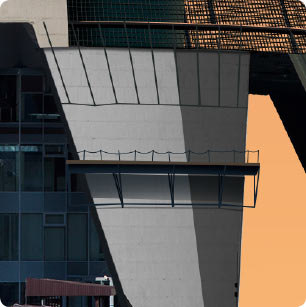
Adding railings and a drop shadow
| 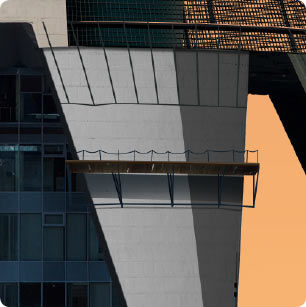
Detailing the wooden texture
|
Time to go back to the internal structure beams. There is a polygonal wheel around the elevator shaft. Similar to the previous disk, we use the Extrude & Bevel effect on the wheel and put it in place.
Adding more beams. Adjusting the color and some rough lighting.
| 
|
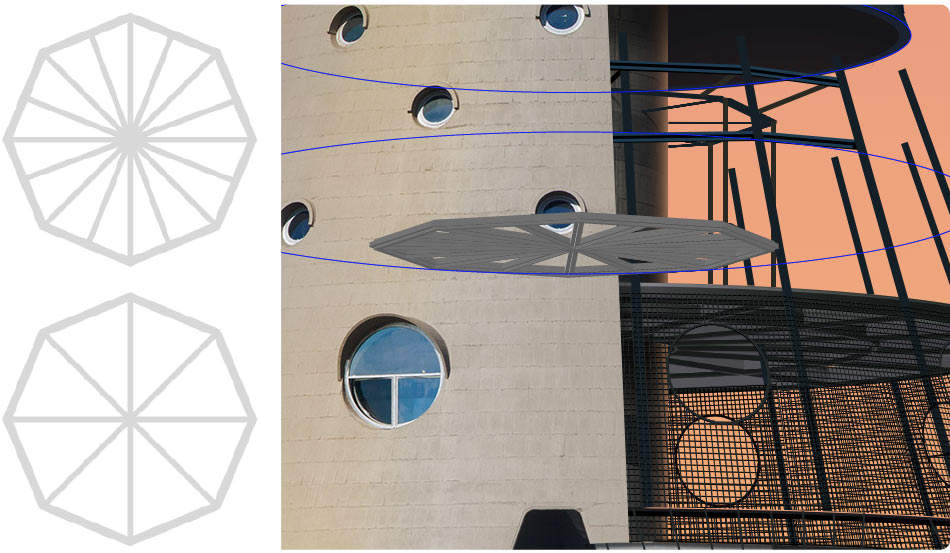
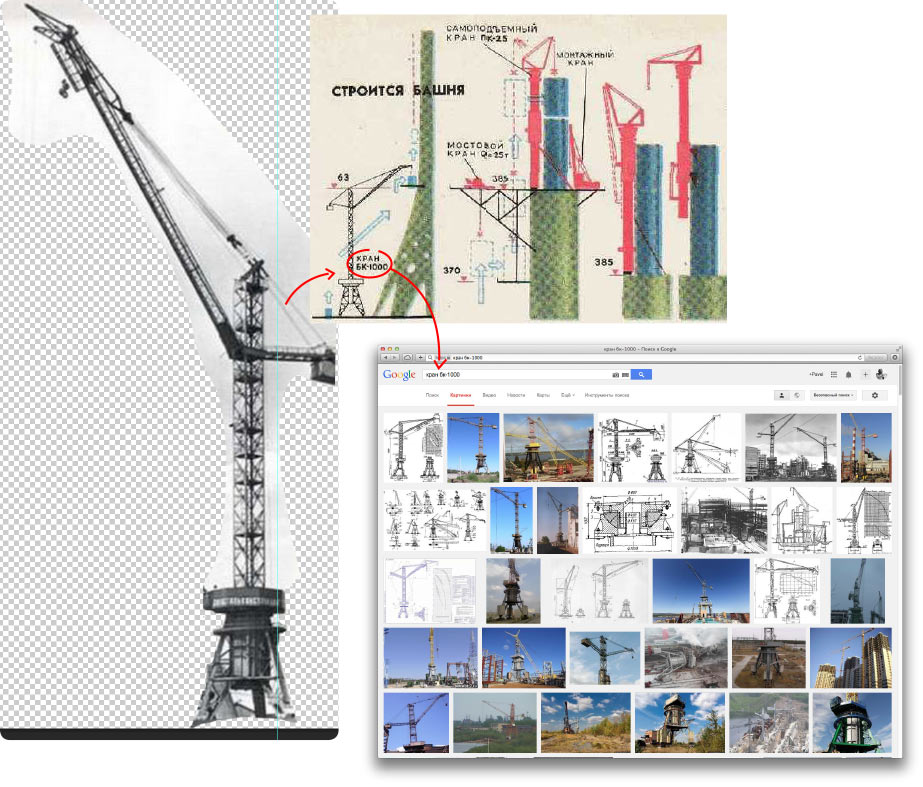
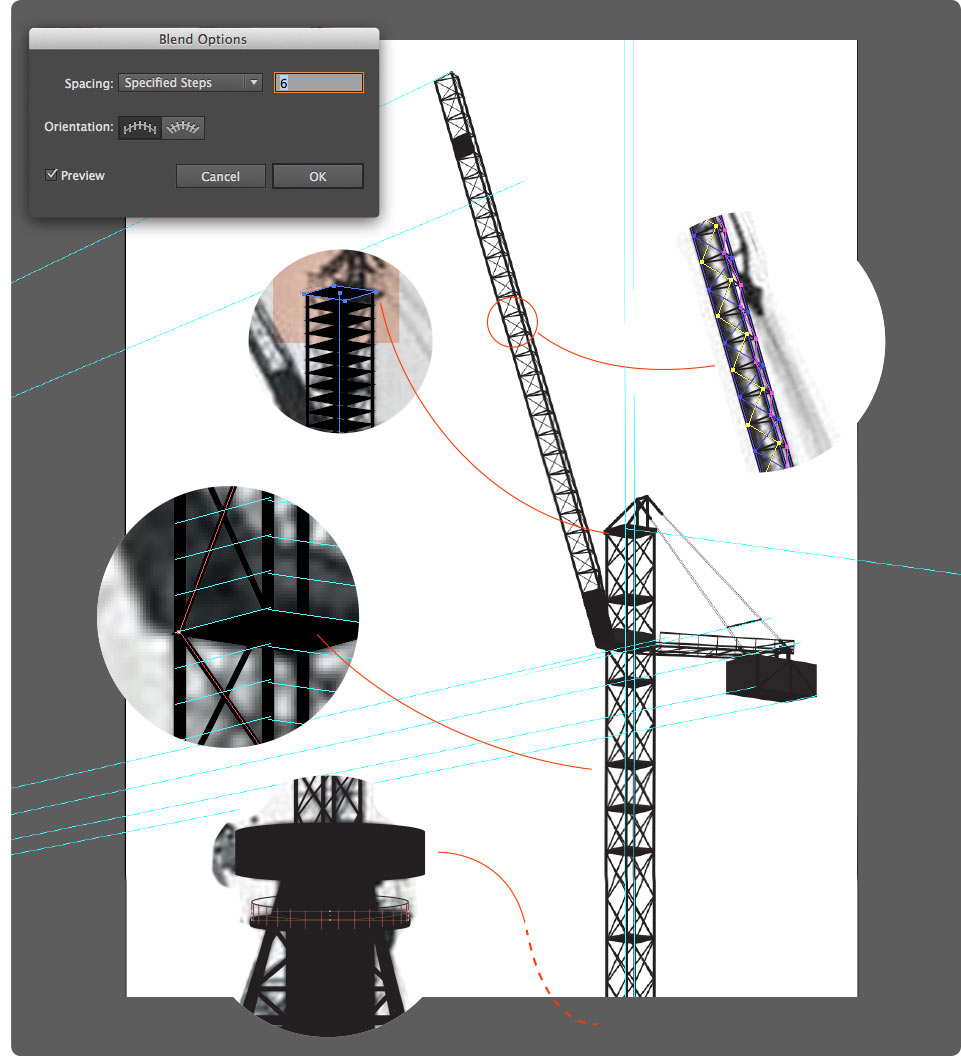
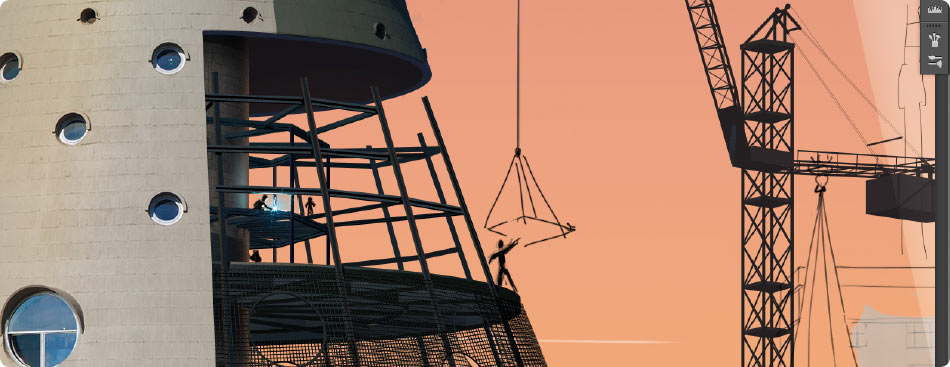
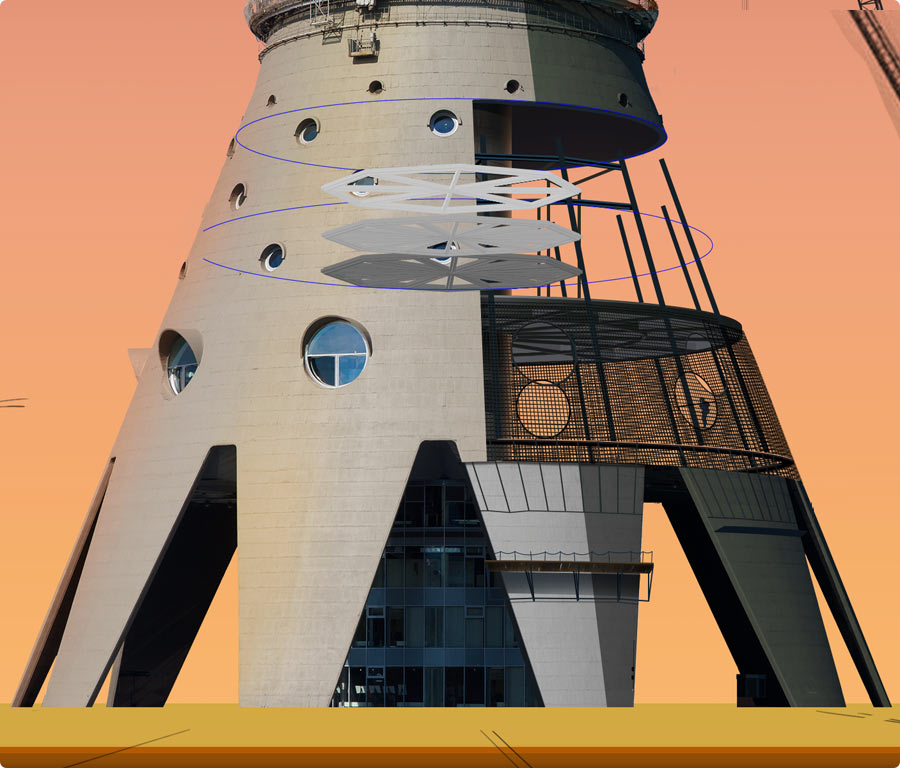
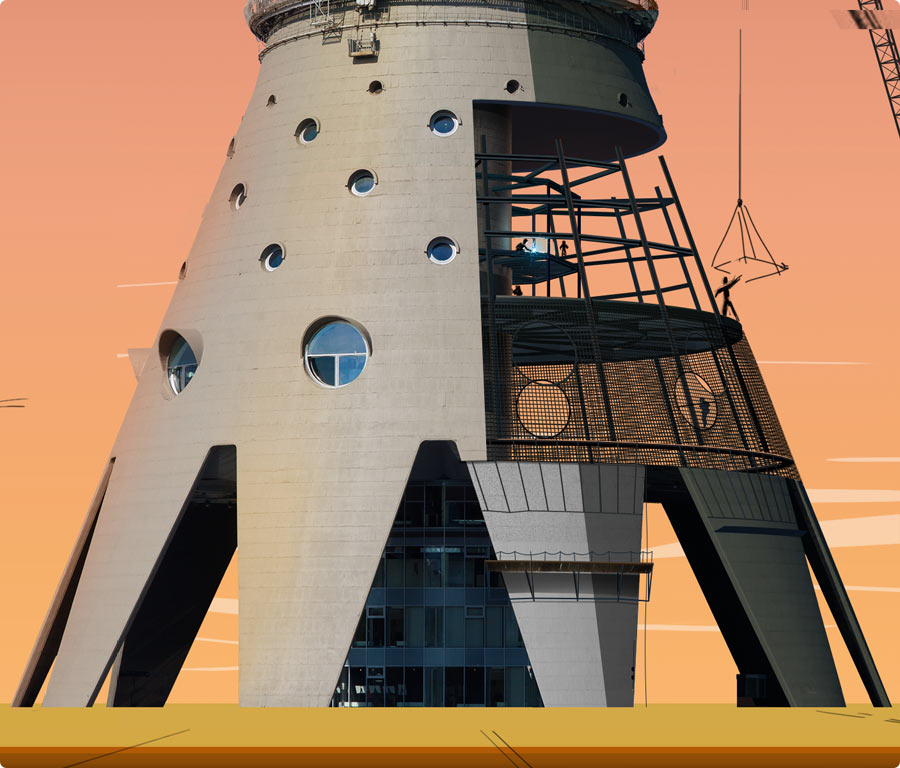
It would be a miss not to borrow the crane from the historical photo. In one of the articles we find an illustration with a caption mentioning the crane’s model. Using it to find lots of useful materials.
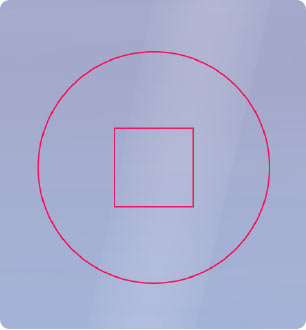
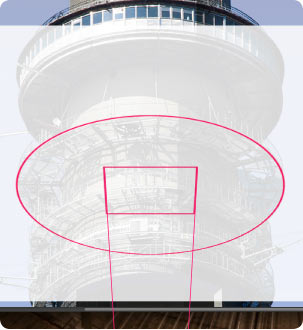
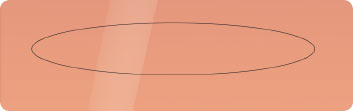
To determine the exact perspective, we resort to the traditional method of using ellipses, smart objects which circumscribe rectangular shapes.
|
1. Drawing an ellipse with its dimensions matching the level above the horizon
|

|
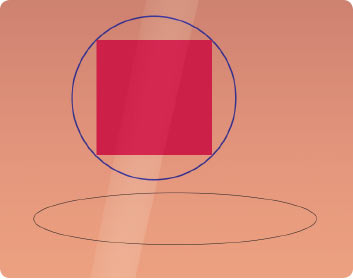
2. Drawing a circle circumscribing a square
|
|
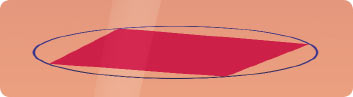
3. The shape is placed inside the ellipse
| ||

|
4. And rotated to a required degree
| ||
|
5. The shape is placed on the photo of the crane
|
Using our workflow we can now easily draw the crane. There are many repeating elements in its design which can be easily reproduced in Illustrator using the Blend instrument.
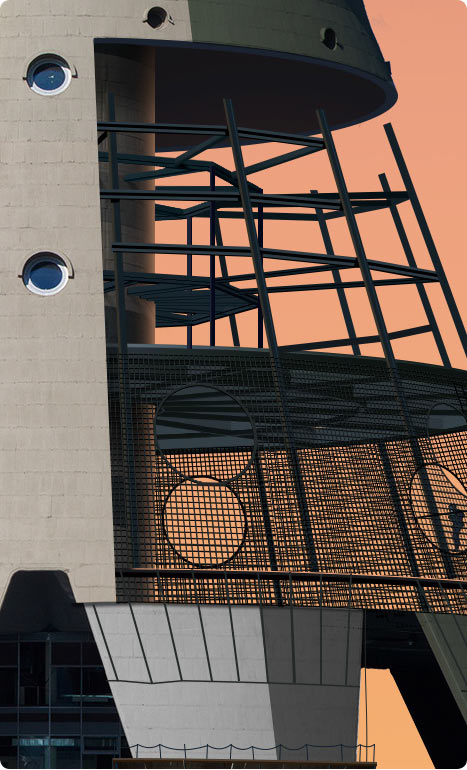
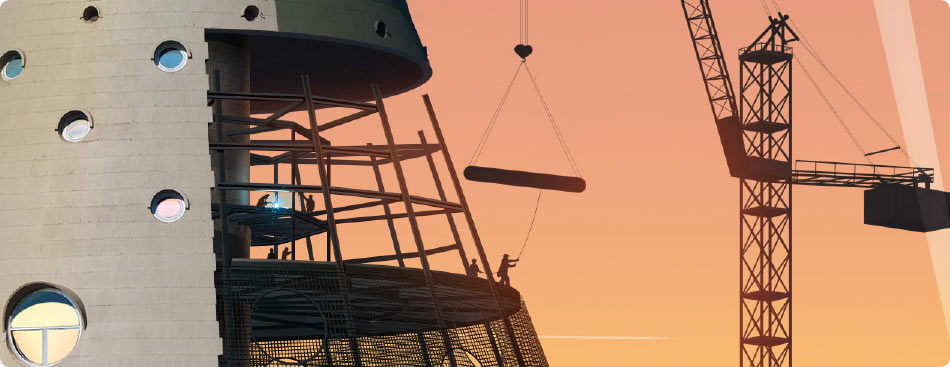
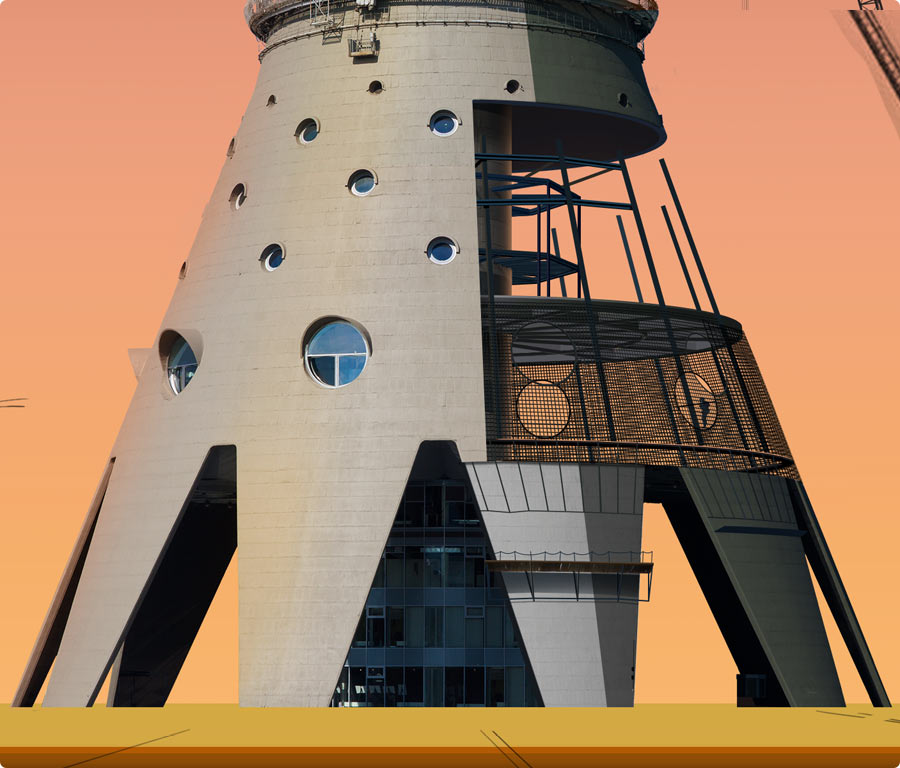
The final touch of the construction segment are workers and back sunset lighting that allows us to avoid adding too much details to the crane and the tower’s beams.
Key stages of drawing the construction of the tower’s base.


At this time the tower goes to the technologist as most of the work has been finished. The only question that remains is the number of illustrated facts that can be added at any moment.
New interesting events that come from the press office or that we find on the internet are drawn and immediately sent to the technologist.
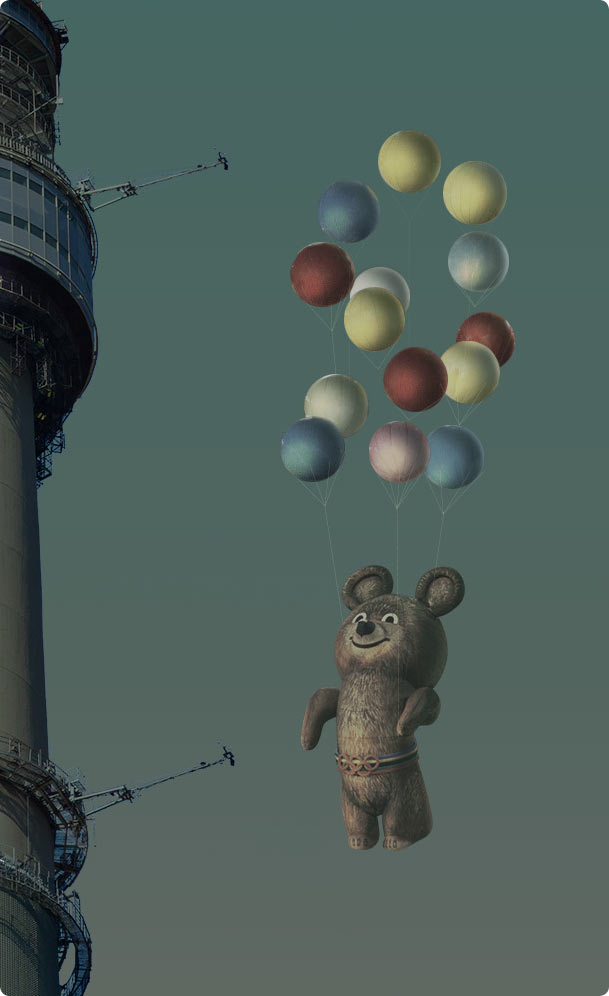
Olympic Bear
| 
Fidel Castro visiting the tower
|
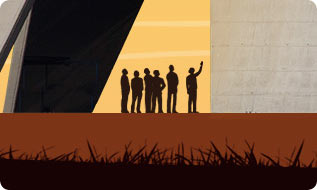
An architect with a delegation
| |
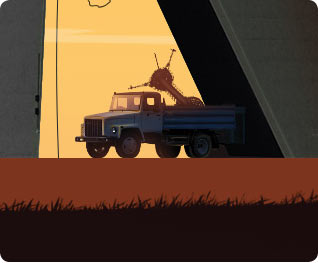
Truck with an antenna part
| |

Satellites
|
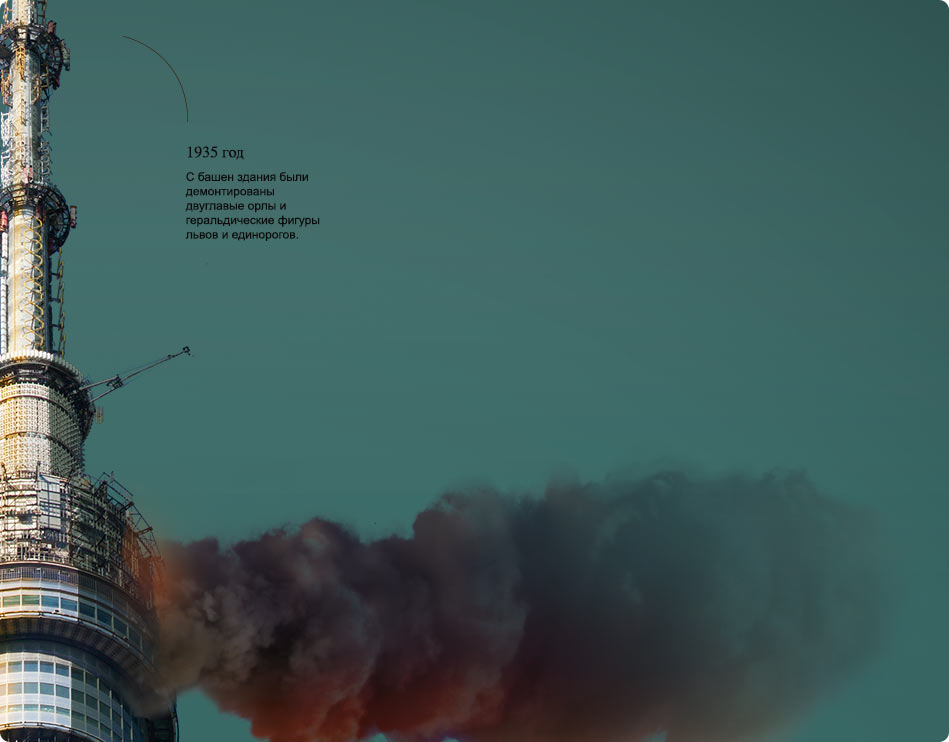
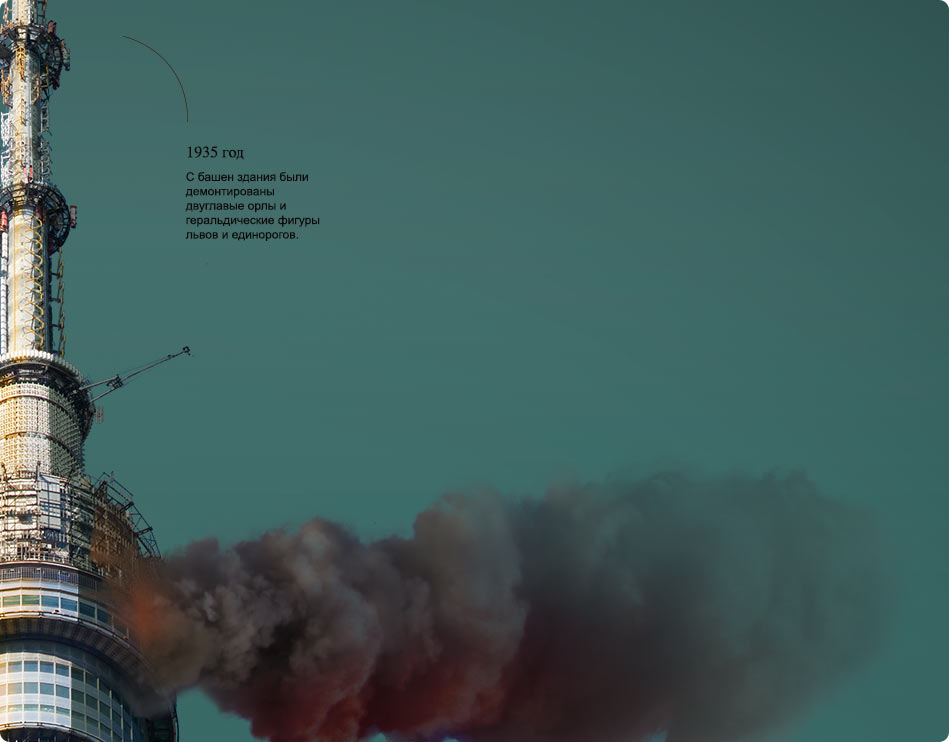
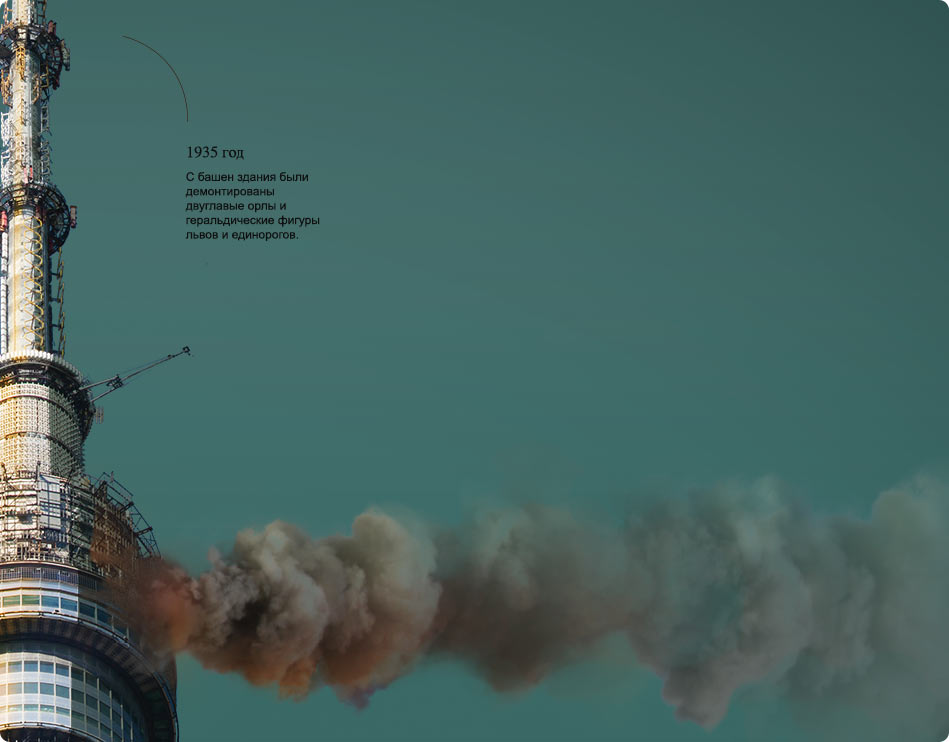
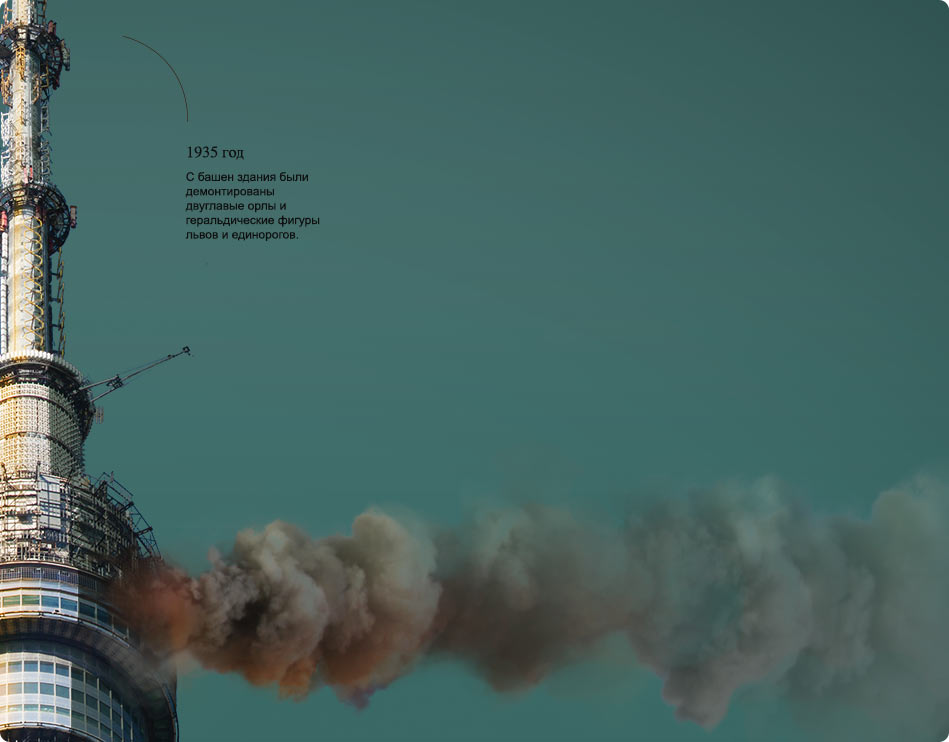
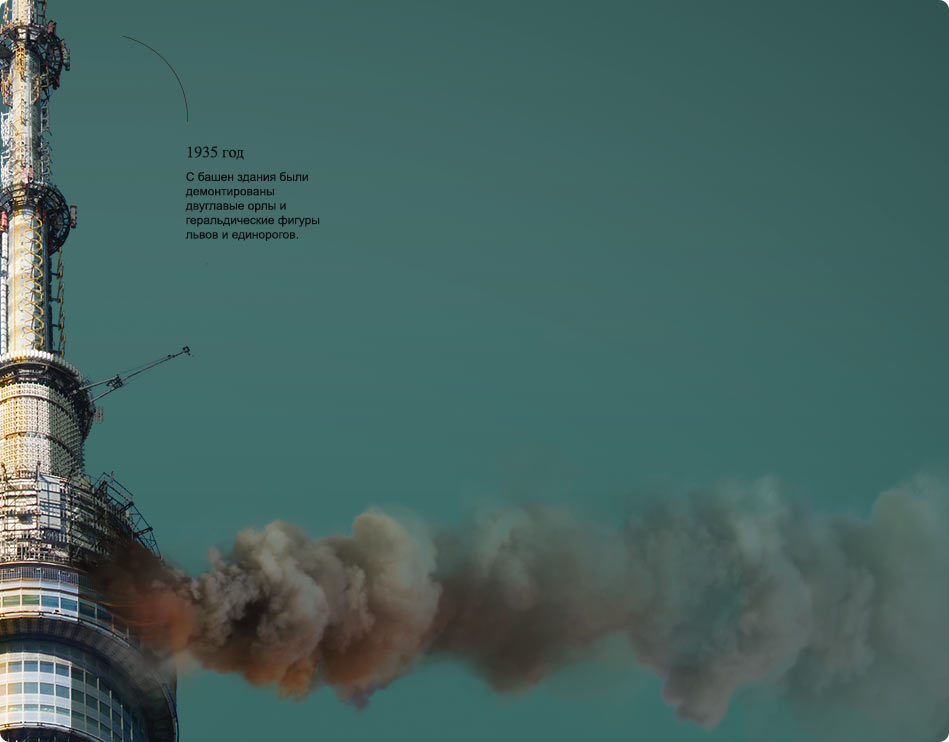
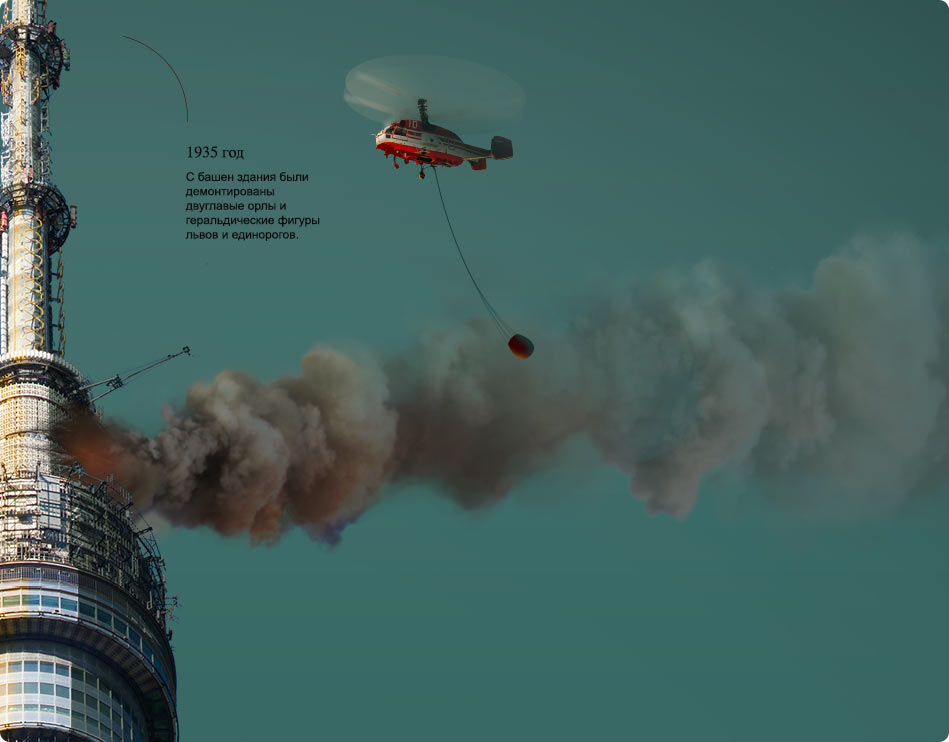
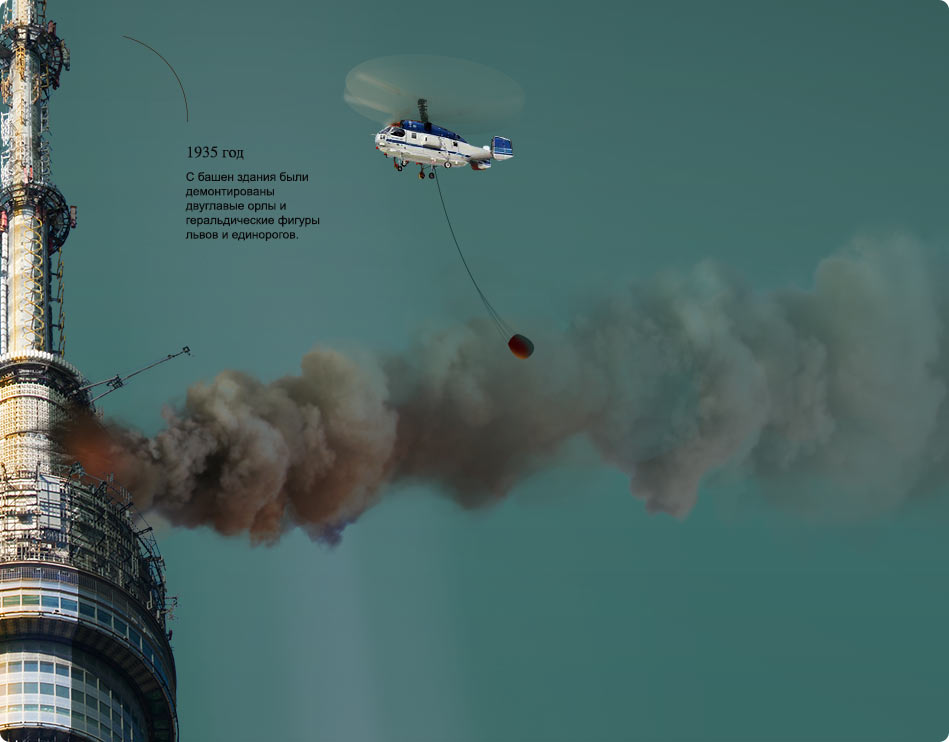
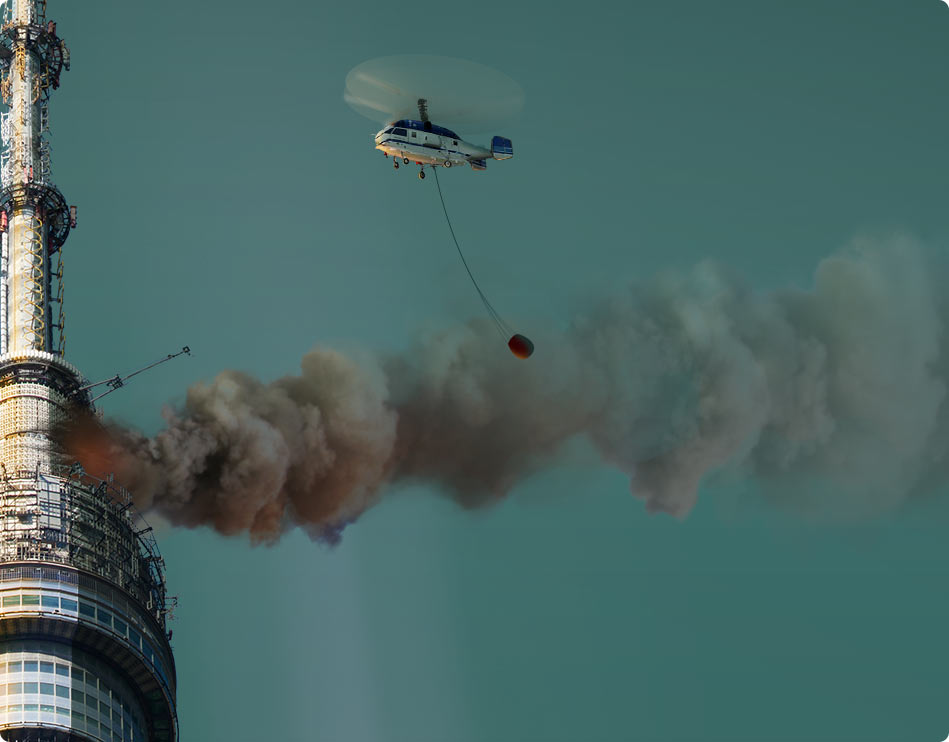
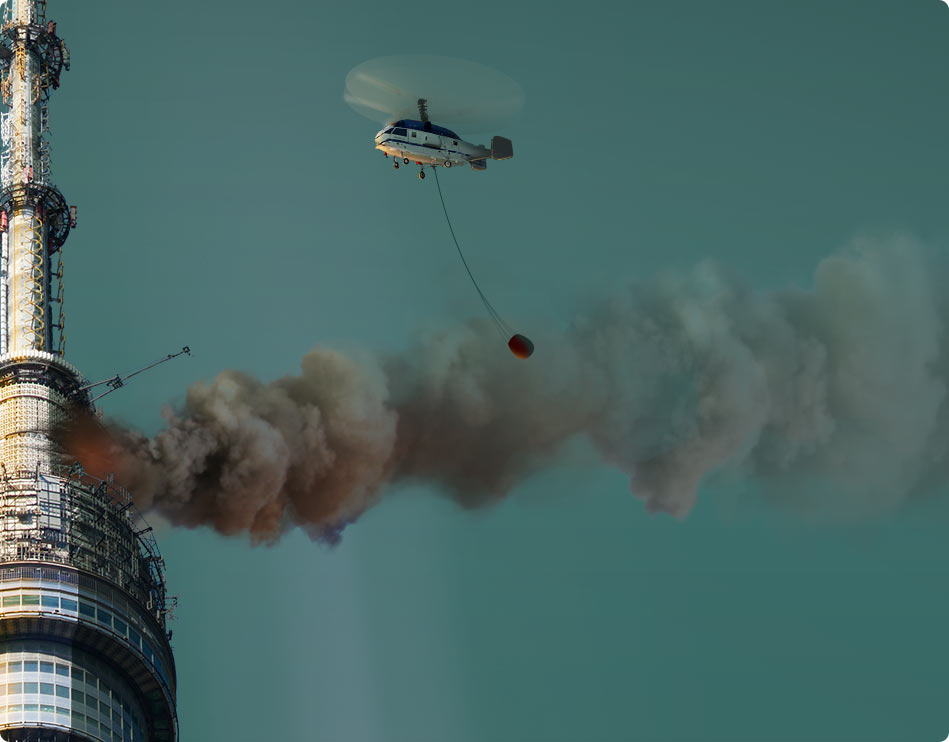
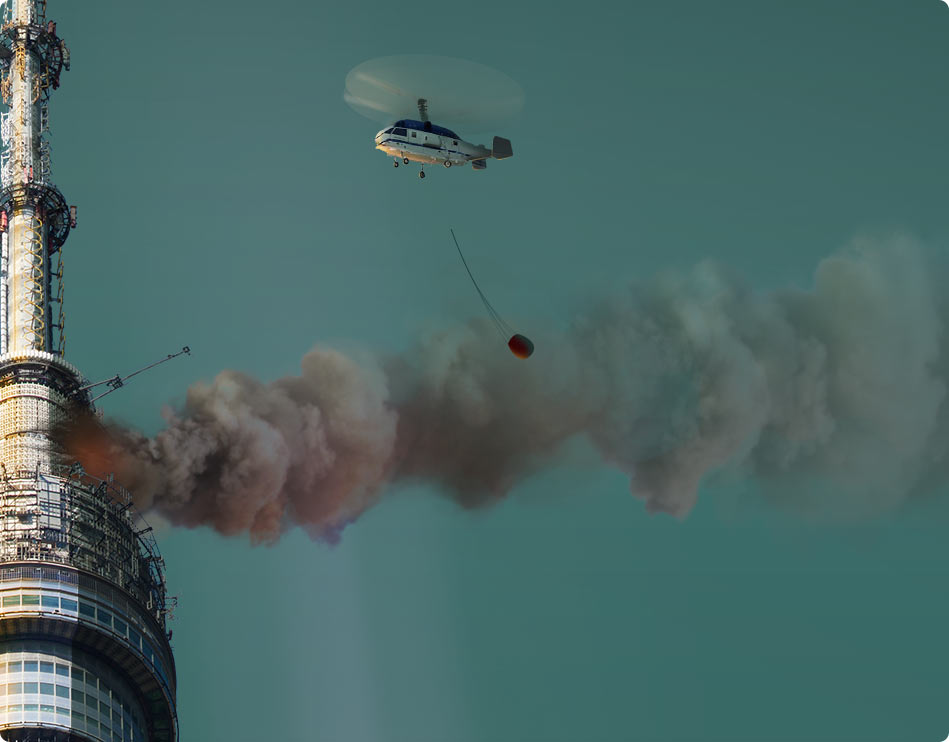
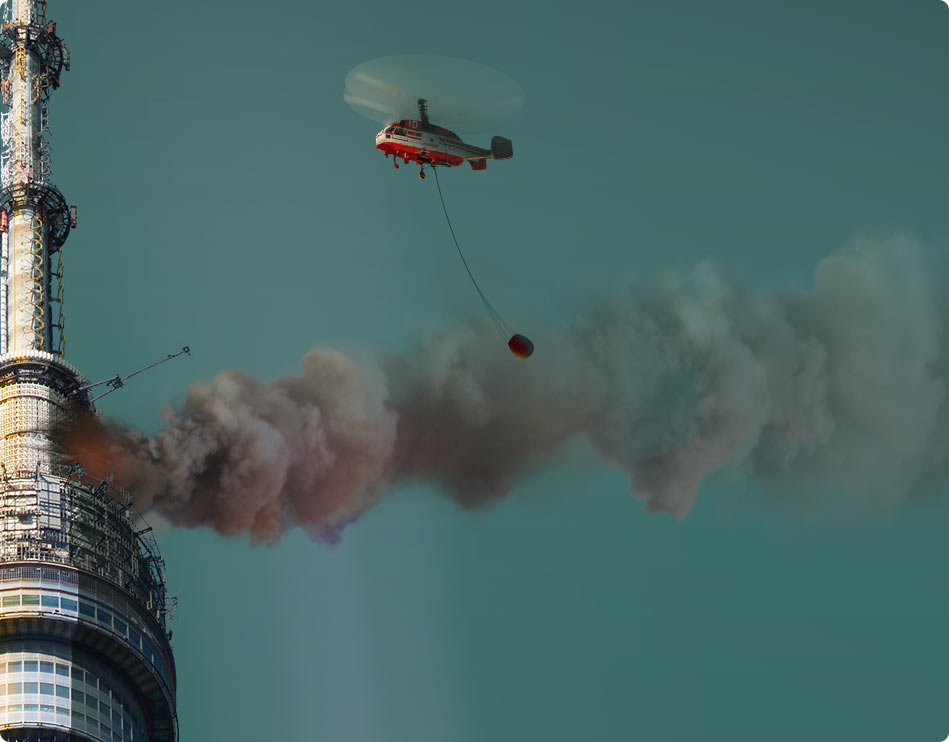
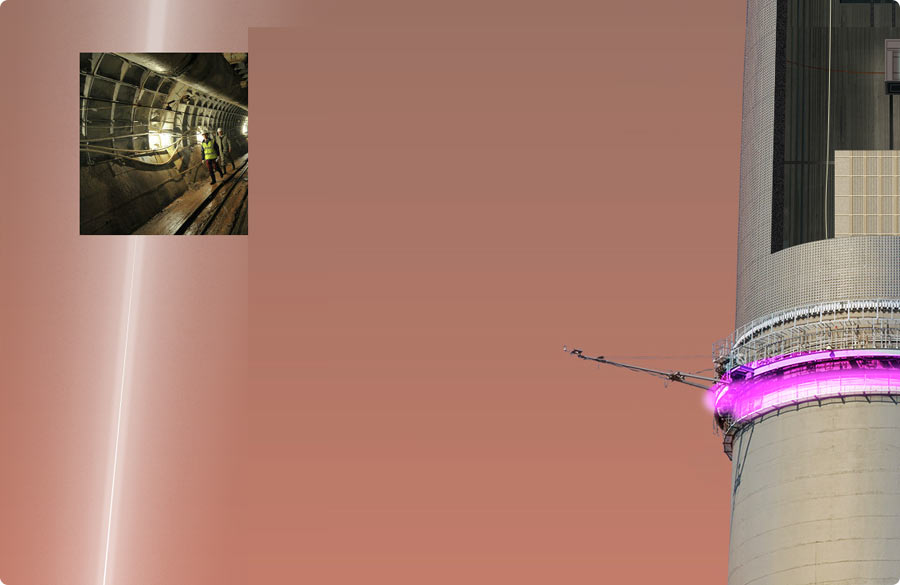
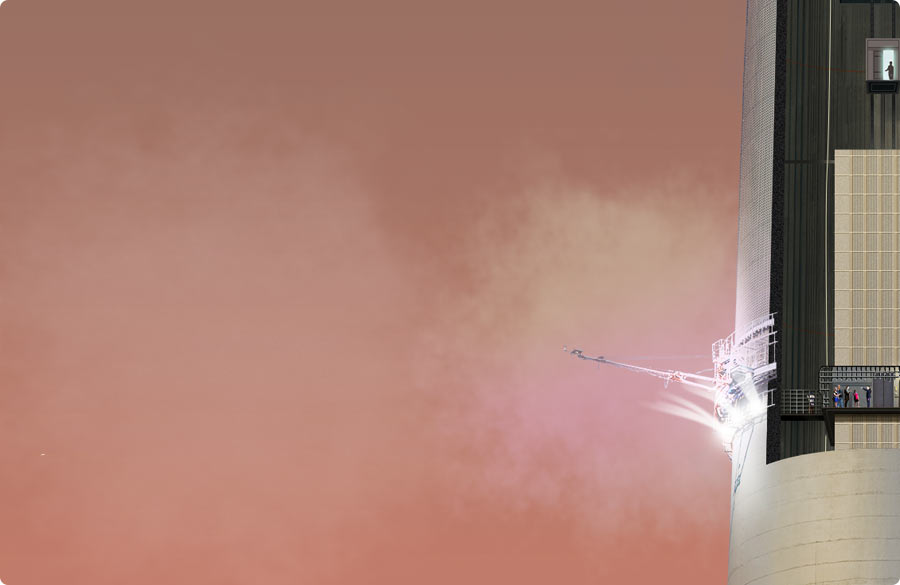
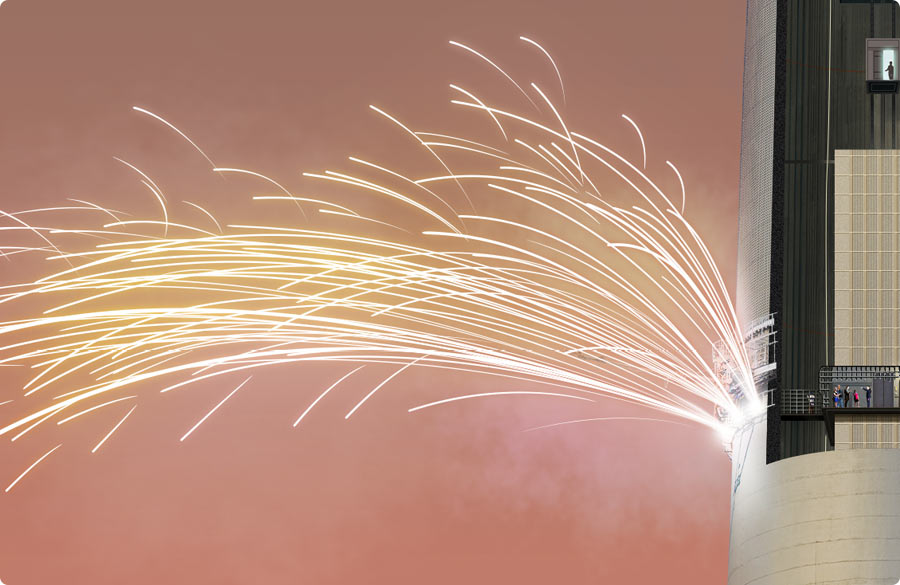
Main stages of drawing the fire:


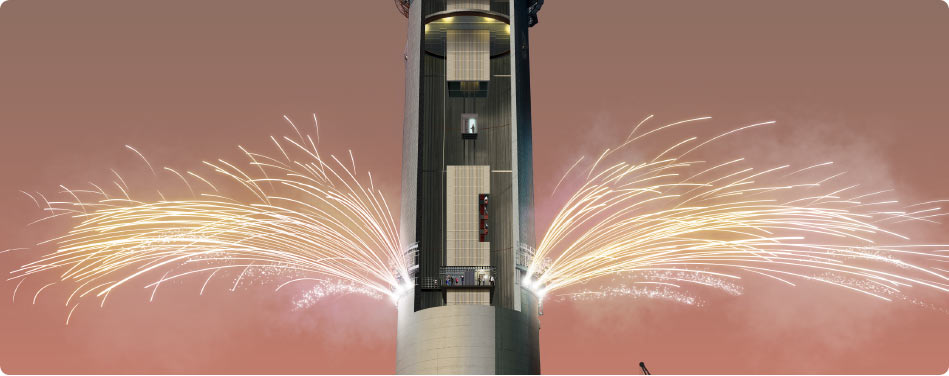
Fireworks
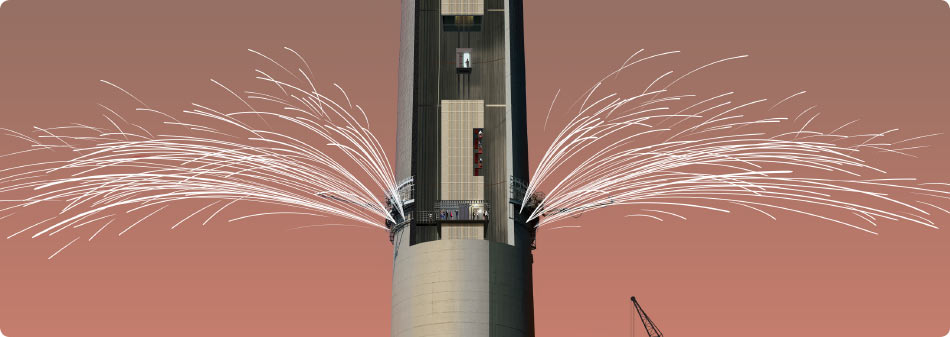
When working with such a long vertical illustration it’s important to make sure each screen features a bright and attractive element. It feels like there is a shortage of graphics around the elevator area. An elegant way to solve this is to add some fireworks.
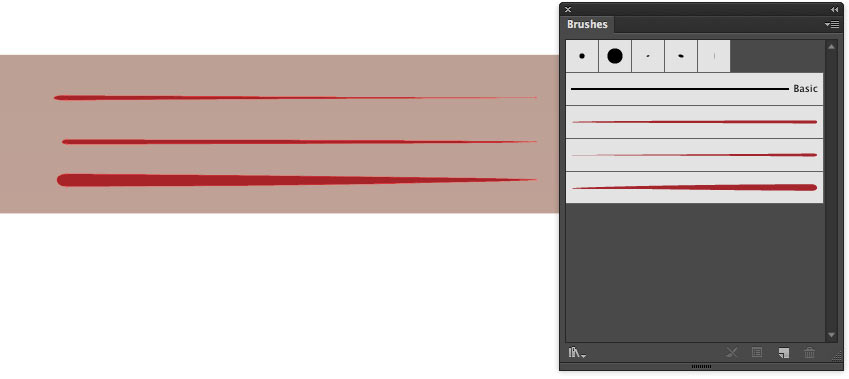
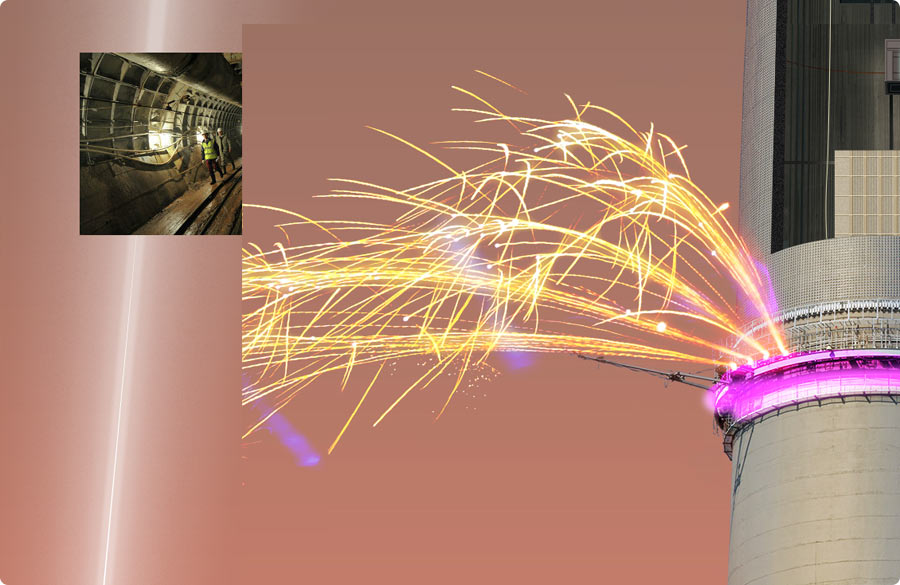
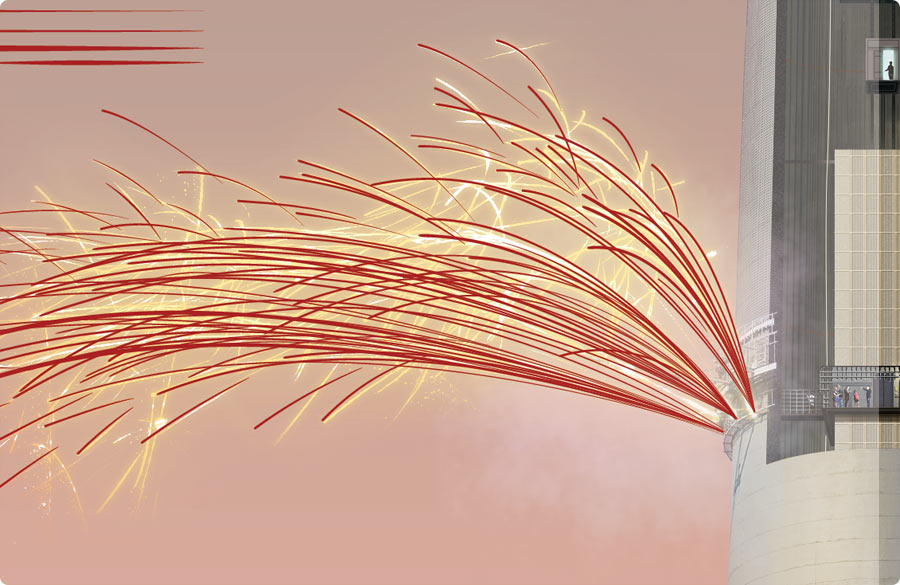
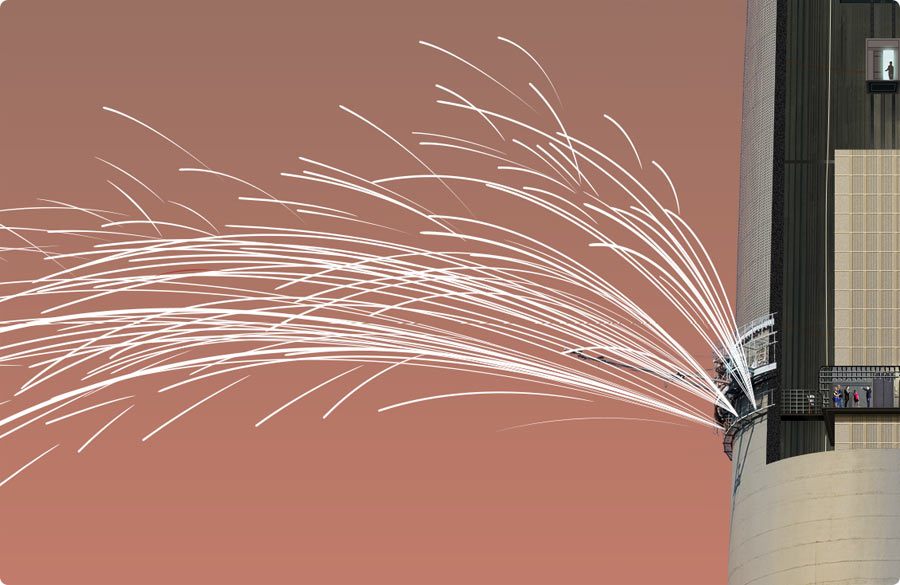
Templates of sparks are drawn in Illustrator. Preparing simple brushes to draw them. The more brushes there are, the more different shapes there will be and the more diverse and interesting the final drawing will become.
Working on the firework “body” spark by spark. First the left part.
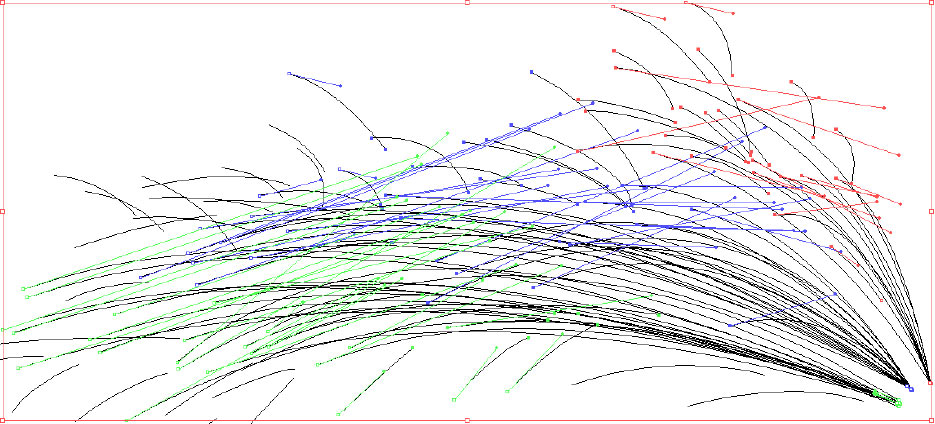
Now the right.
The sparks are transferred into the main scene in Photoshop as smart objects.
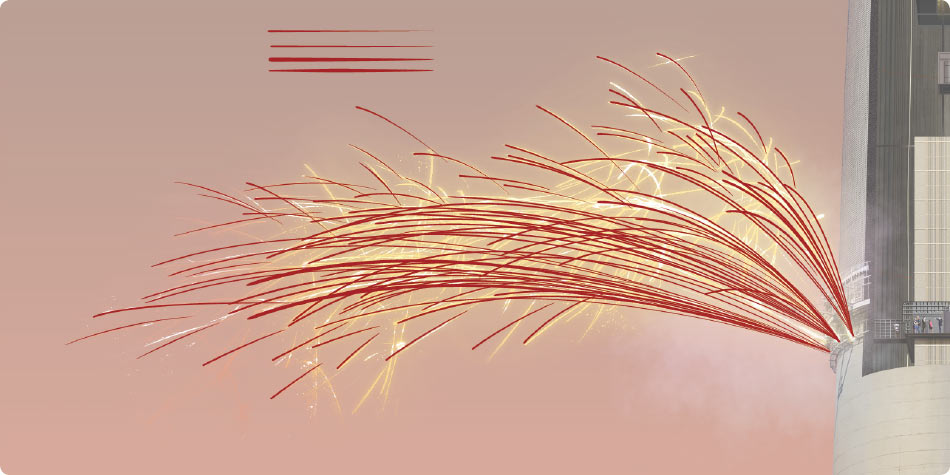
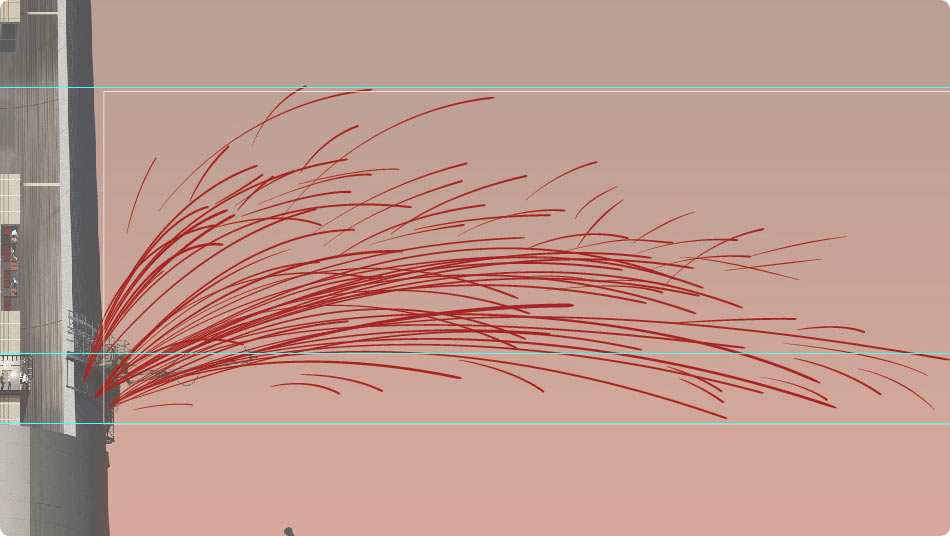
One after another, adding filters and effects that allow us to achieve the required level of realism.

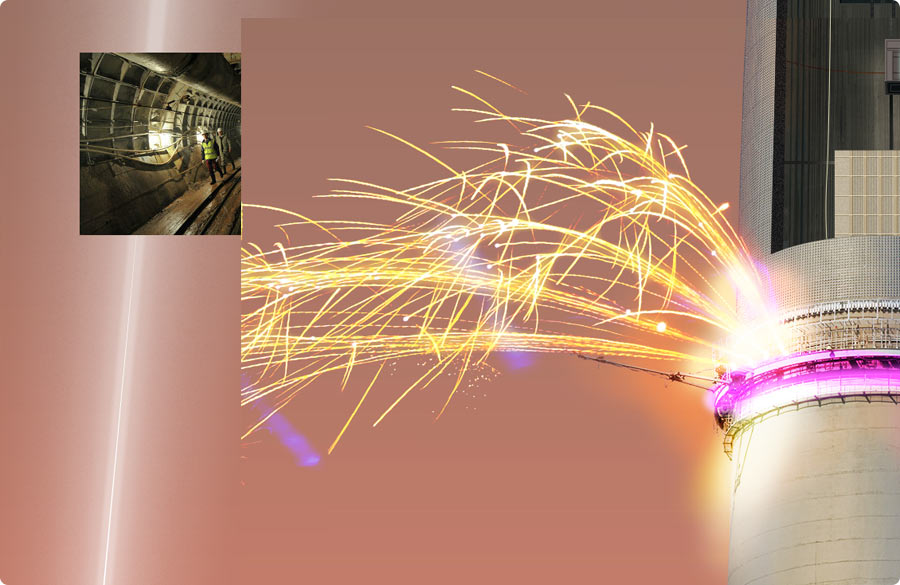
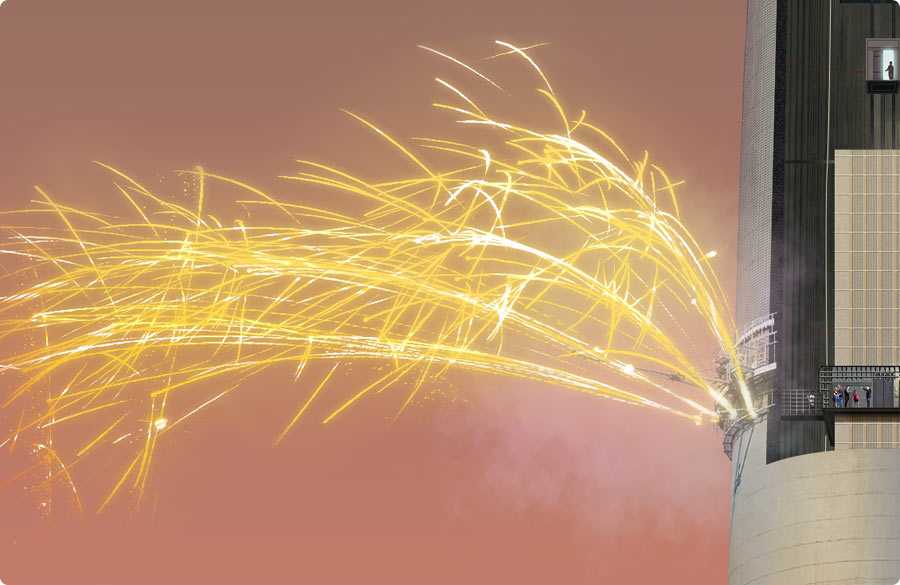
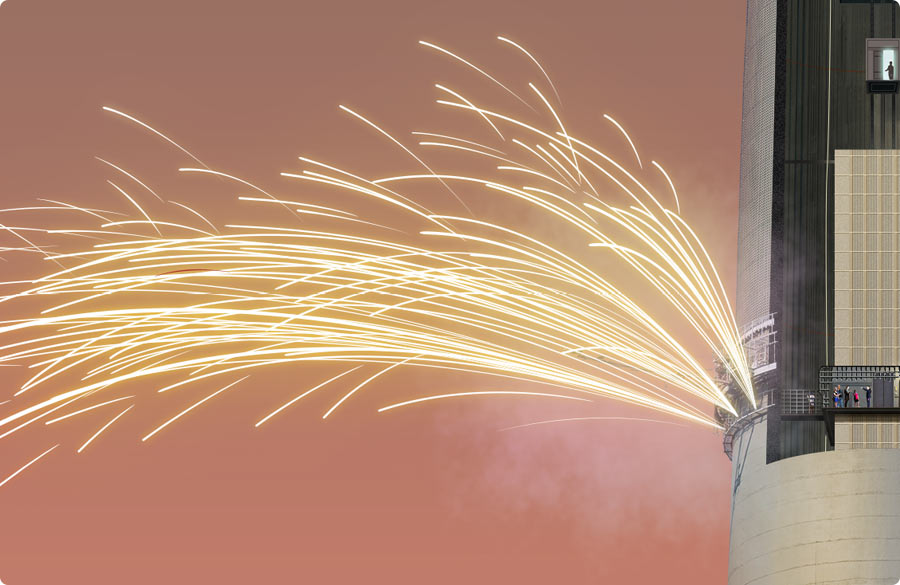
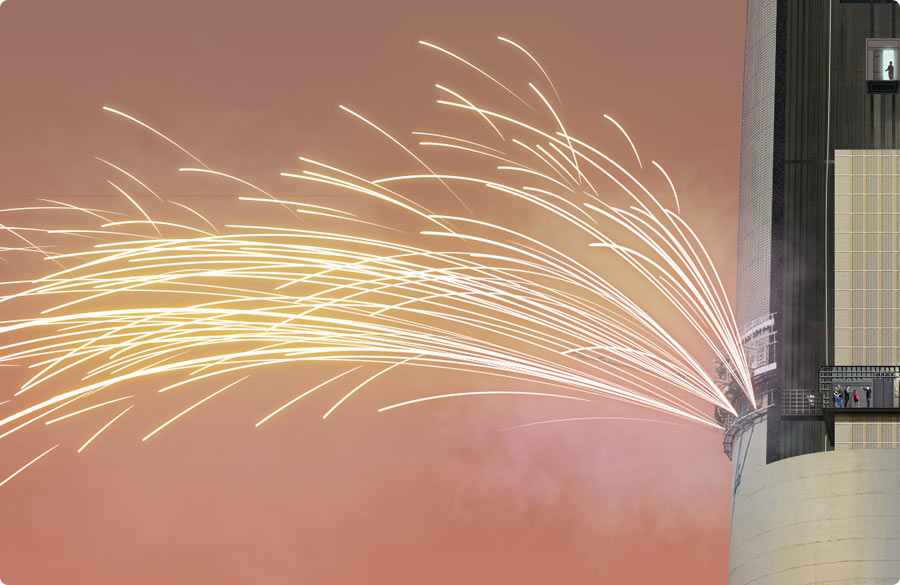
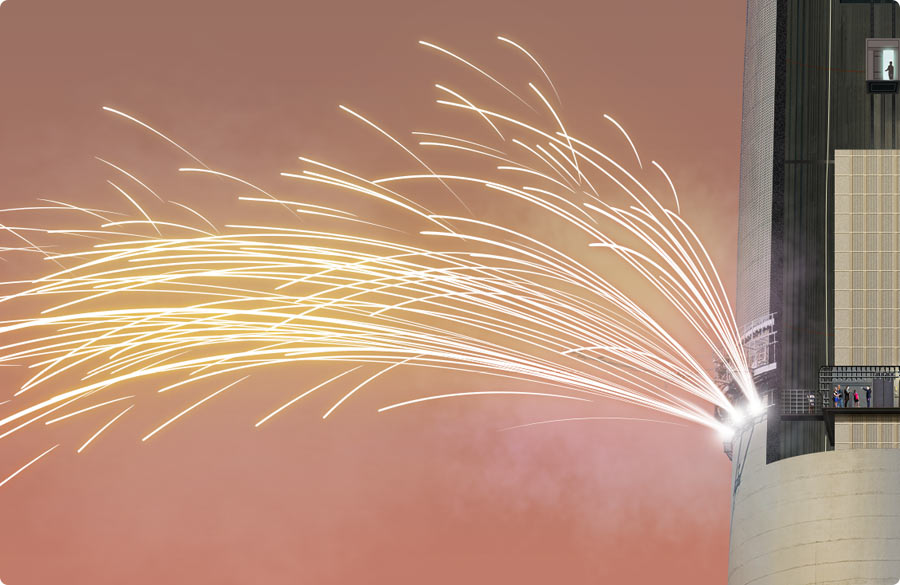
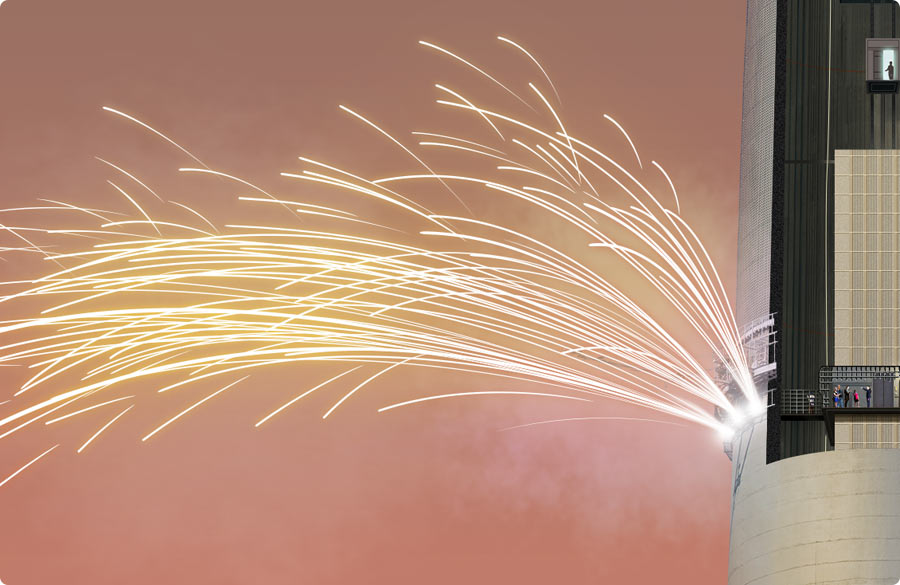
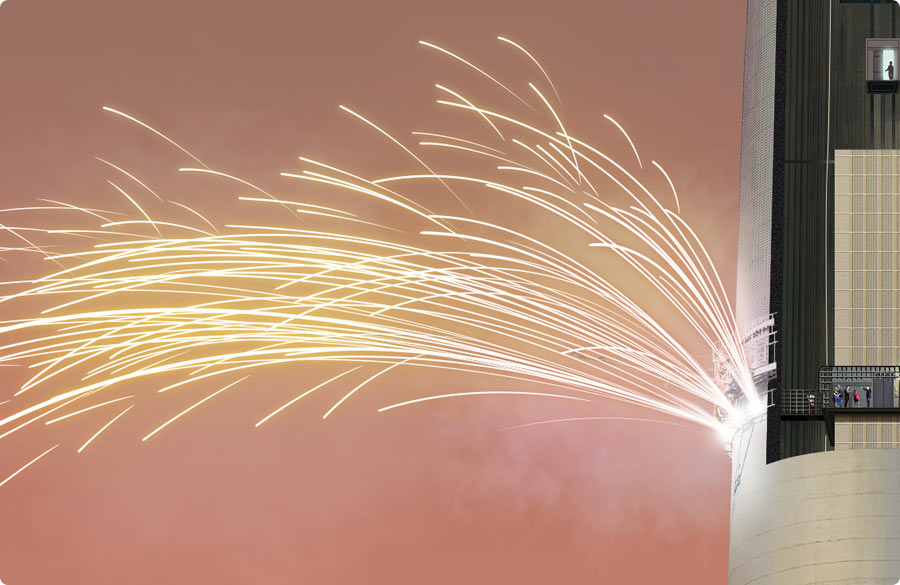
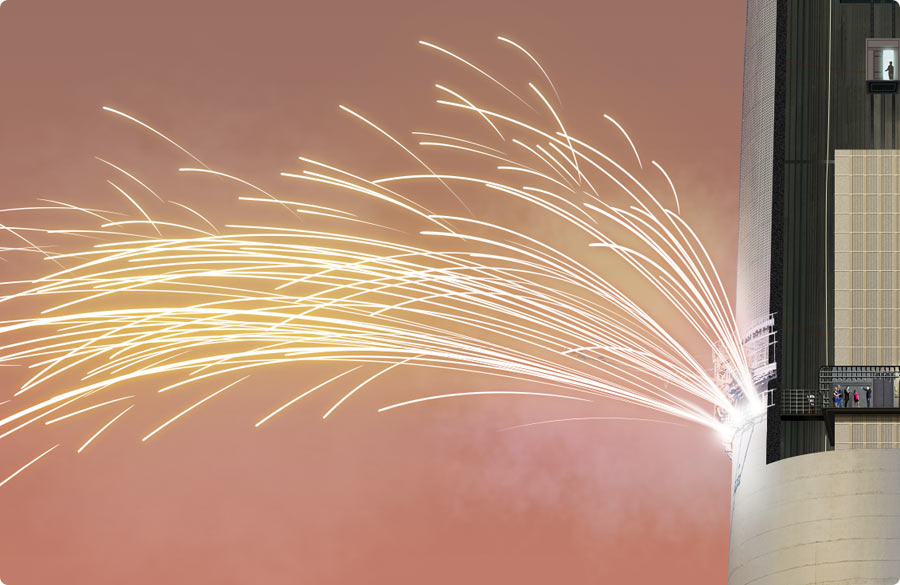

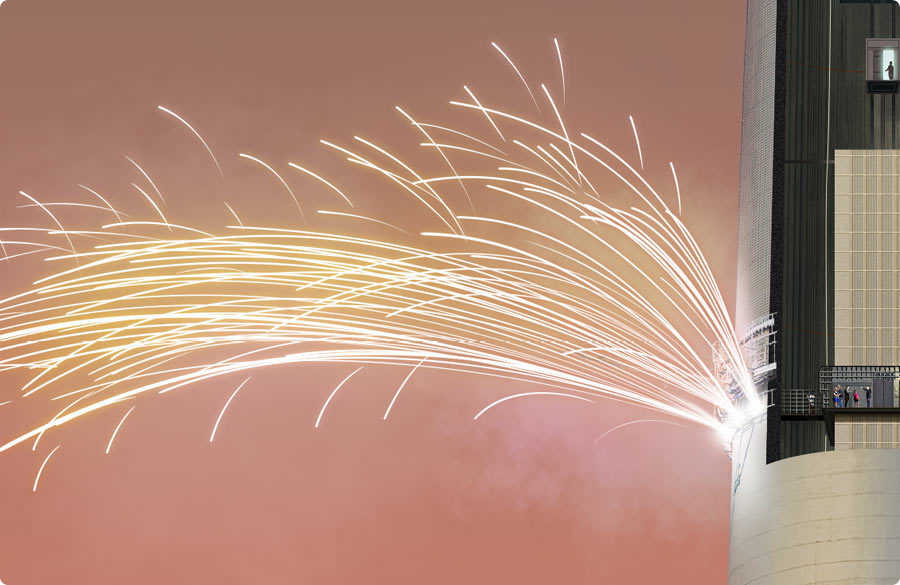
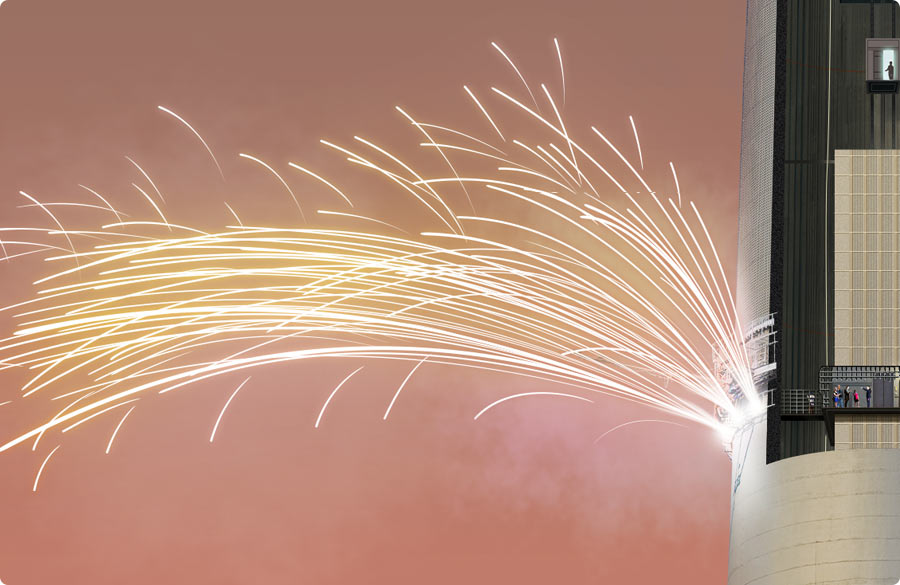
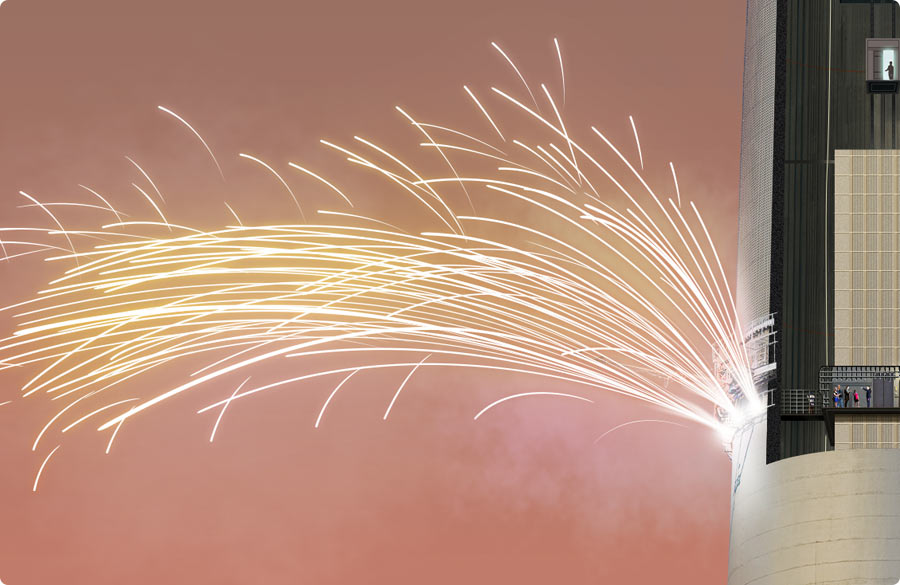
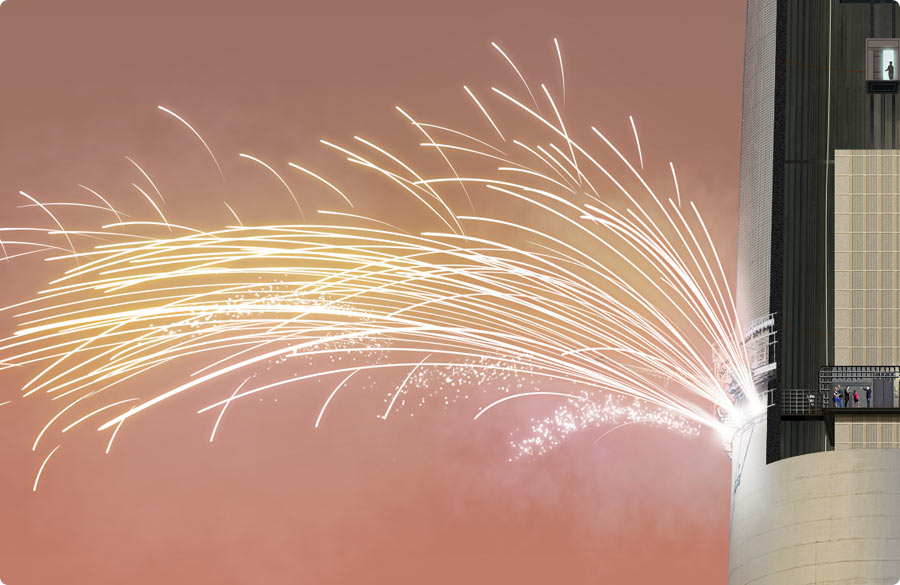

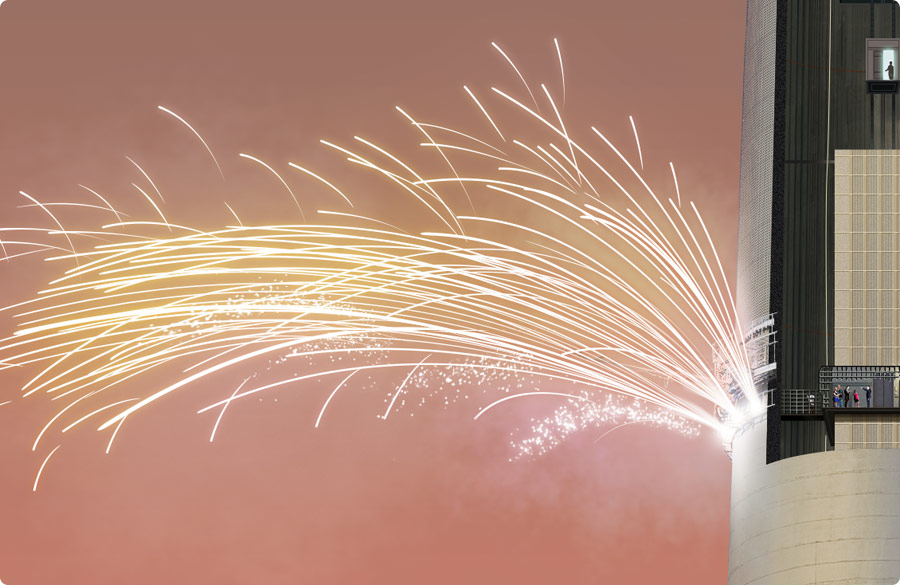
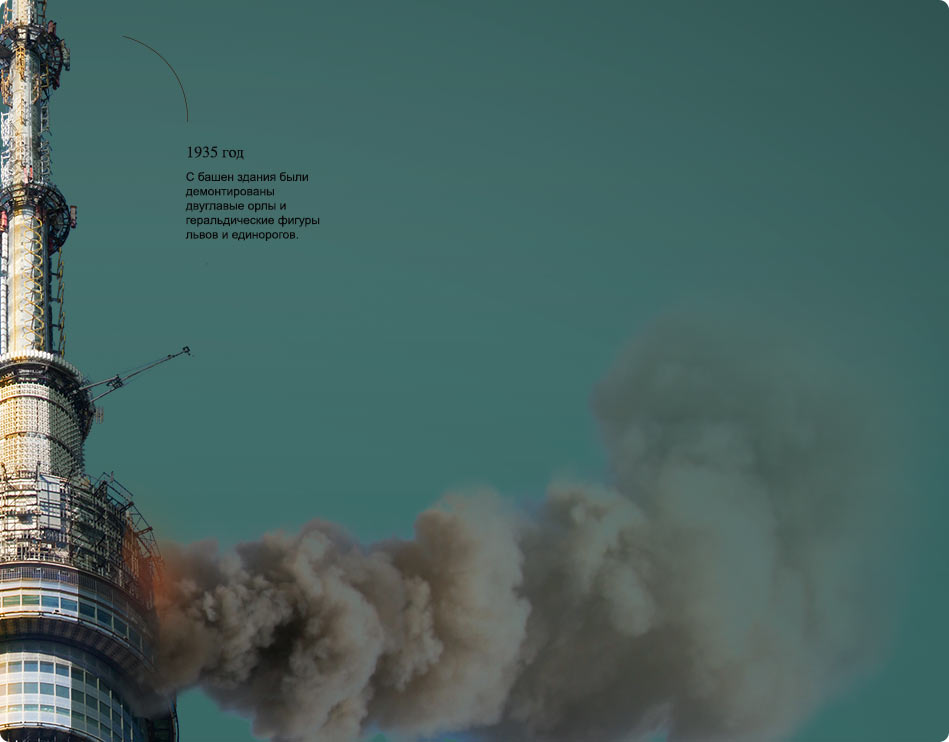
The smoke from the fire on top of the tower is going right, which means the wind is blowing to the left. This should also be reflected in the fireworks by moving the spark direction slightly to the right.
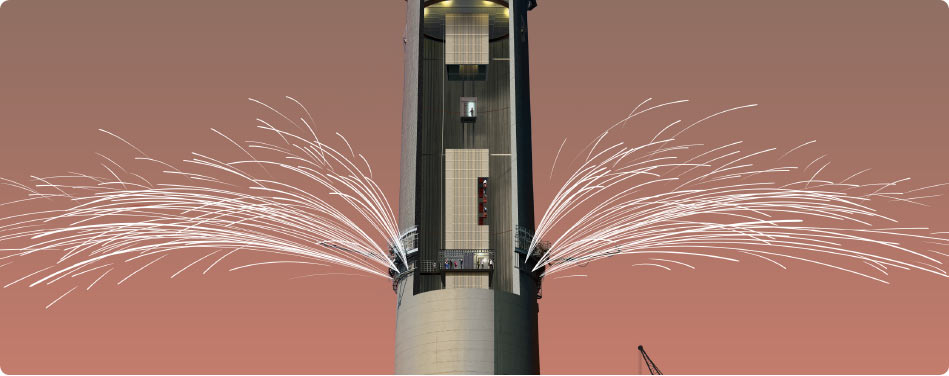
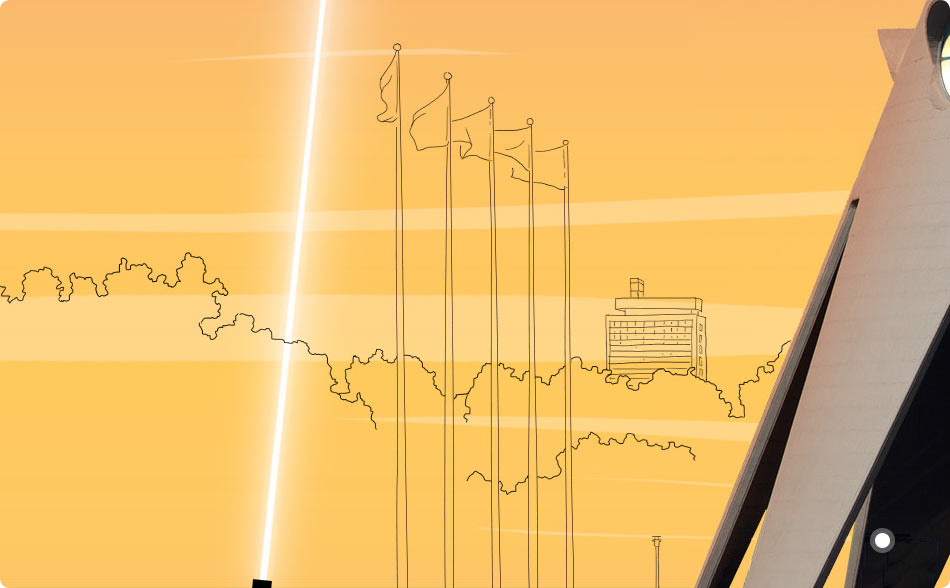
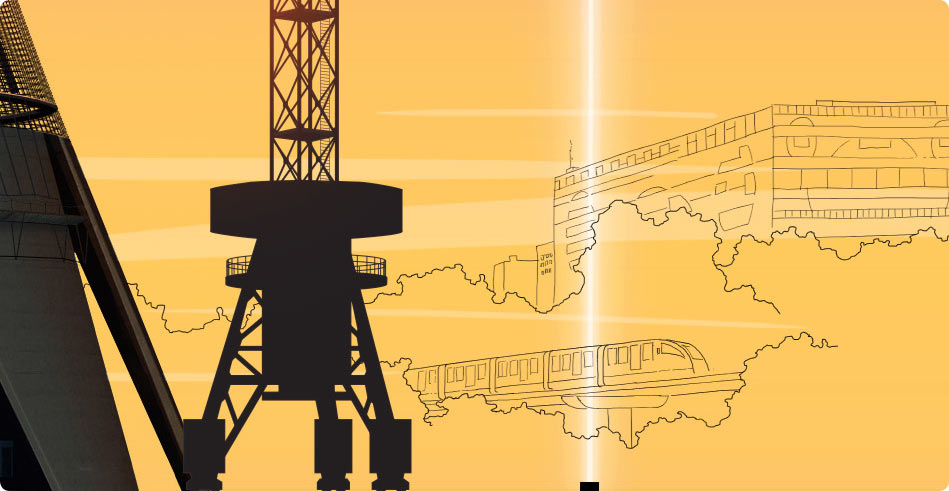
The final touch is to add linear background illustrations.
Adding the text in both languages to the illustration.
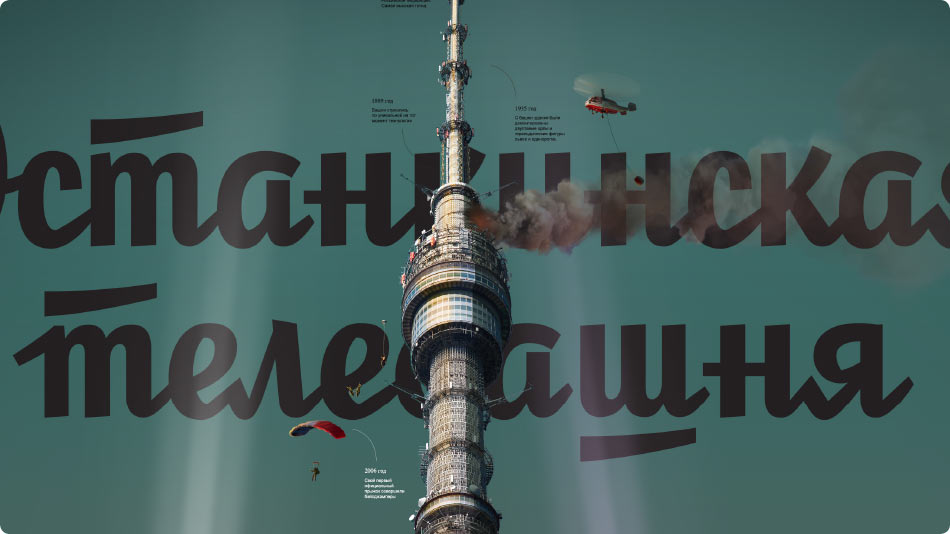
Deciding to go with the more laconic design.
The tower is ready. Sending all the elements to the technologist.
