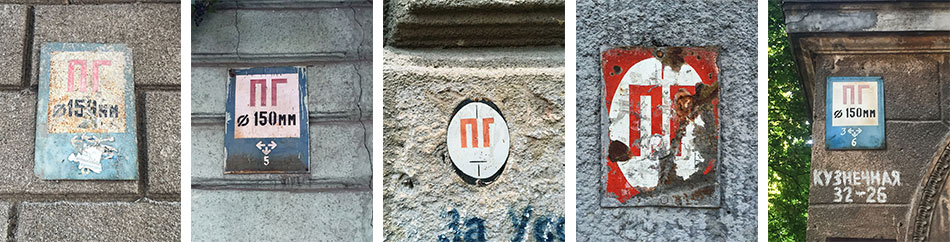
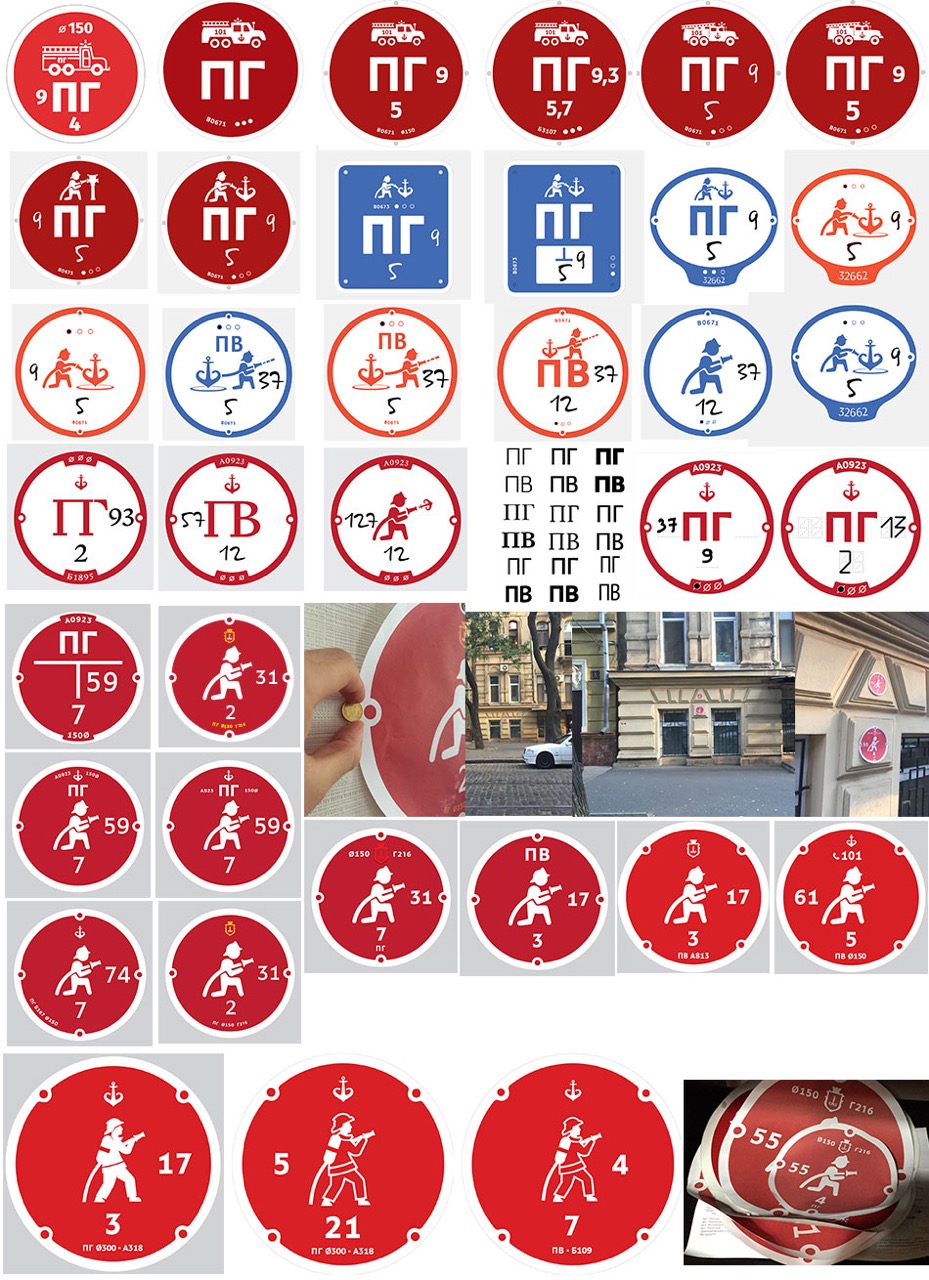
Studying all signs in use in the city.
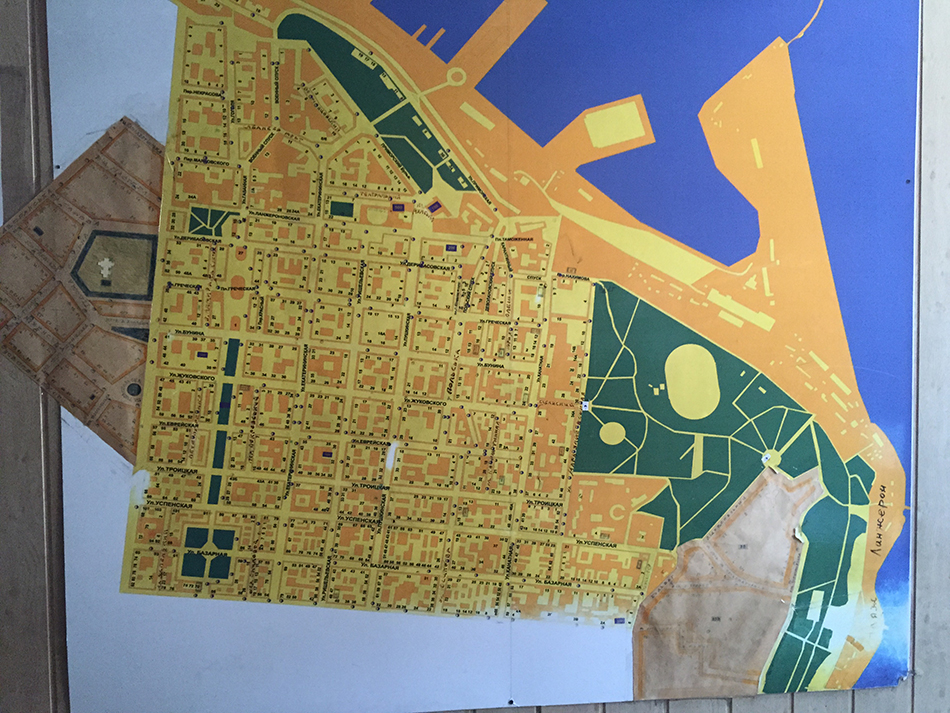
Looking at the map of fire valves and estimating scope of work.
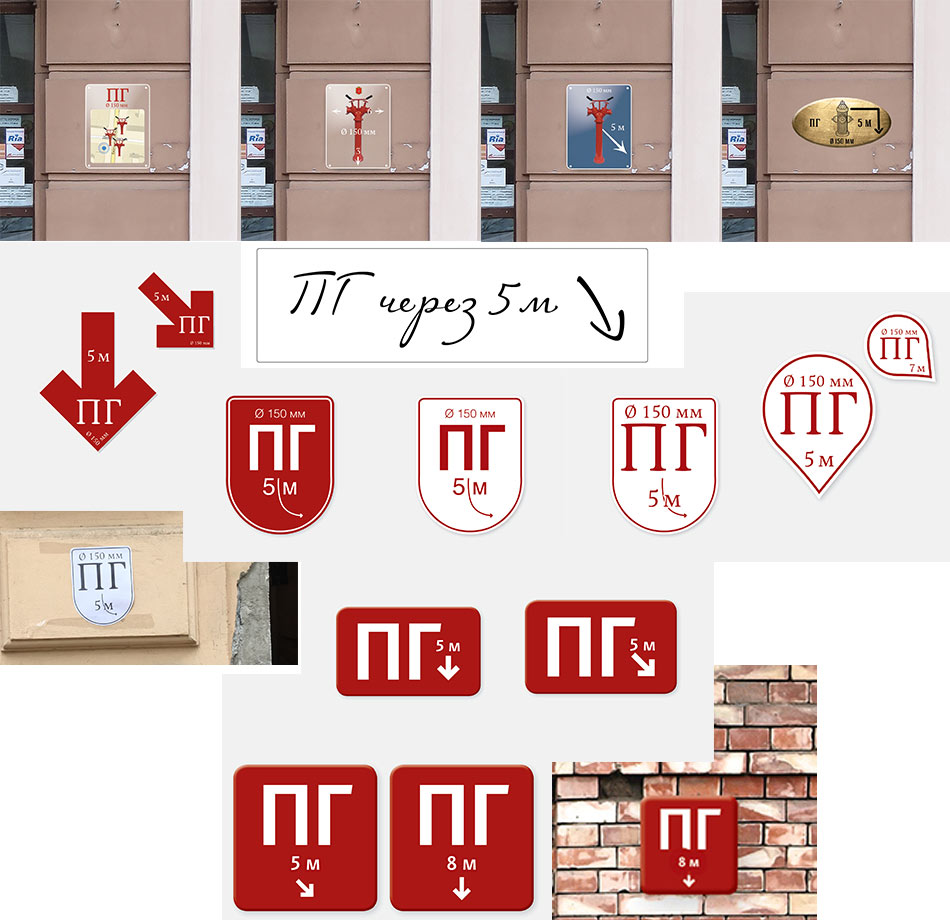
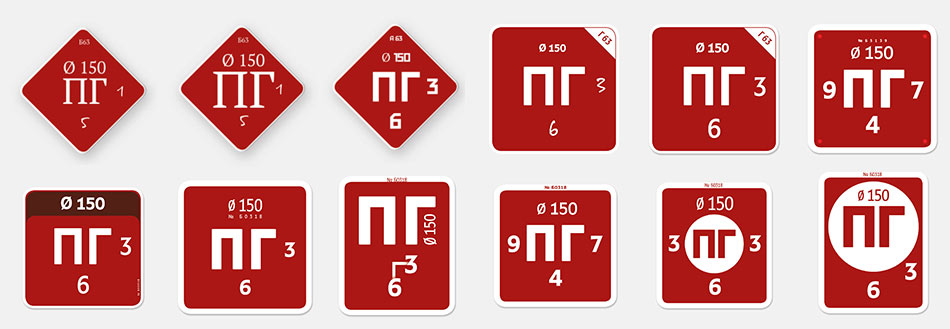
Making first sketches, searching for accents and choosing the best layout. We need to make sure our sign is easily readable and cannot be confused with other signs.
Receiving comments and taking them into account.
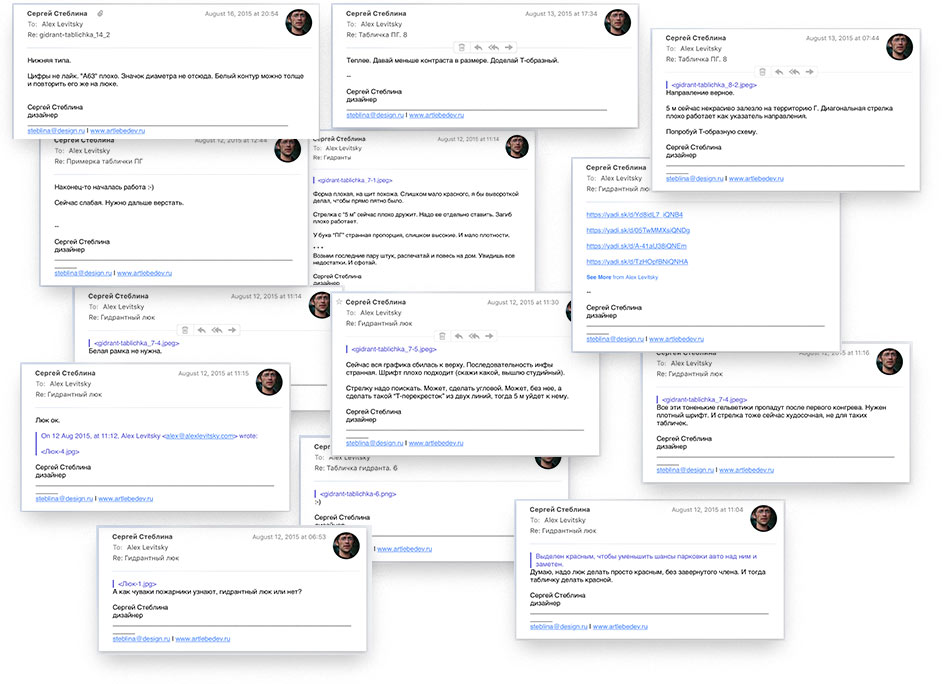
Deciding that it’s time to talk to fire services. Finding out which elements are important to them and must be on the sign. Making another attempt.
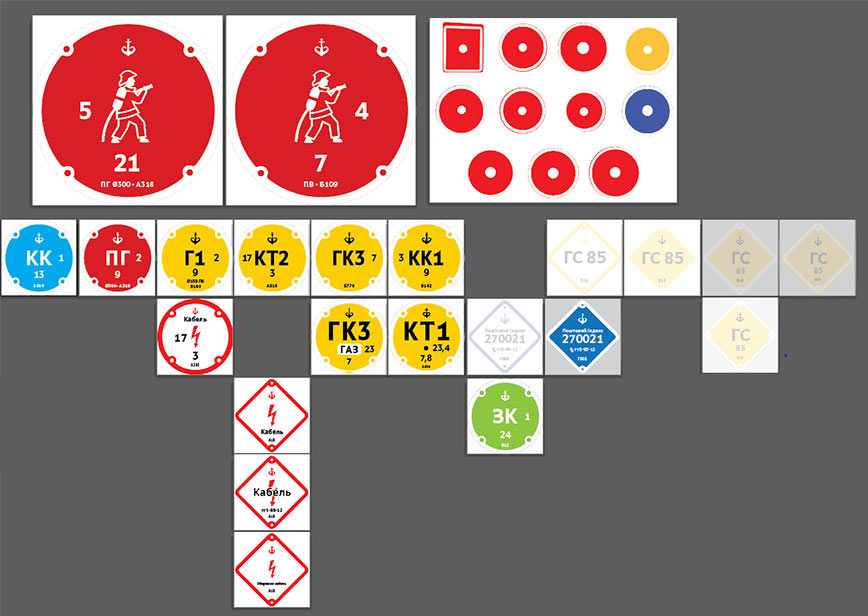
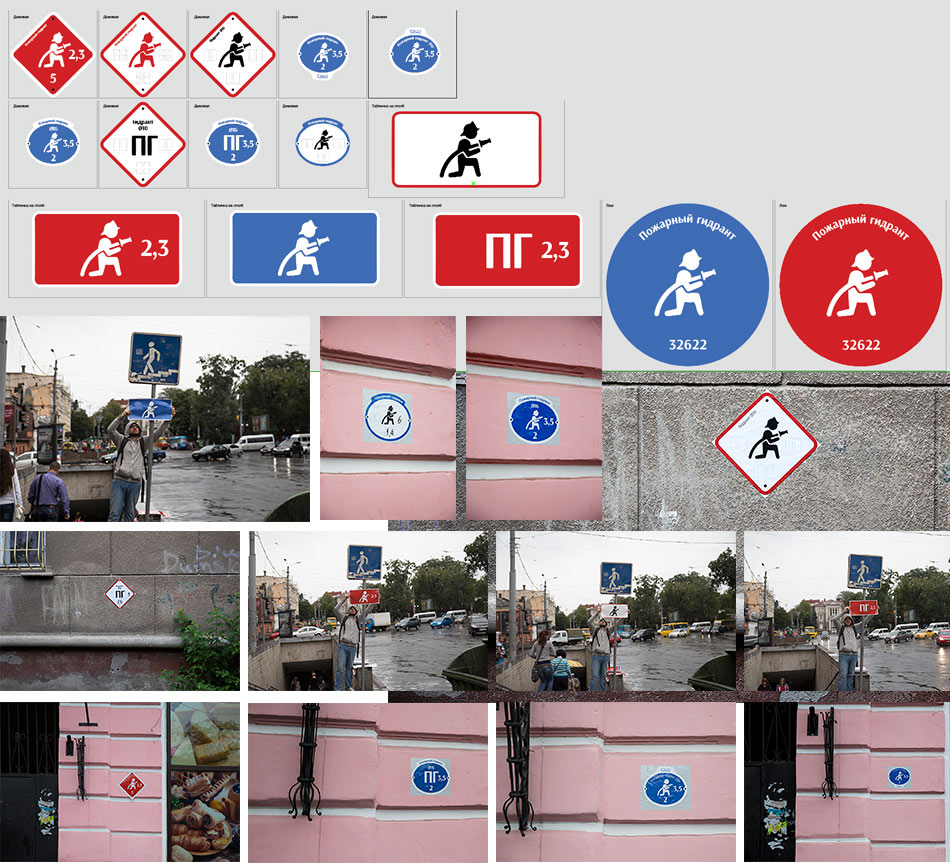
Other designers join in suggesting a sign with a heroic fireman. Taking note.
The art director suggests to make a round sign, referencing the shape of manhole covers.
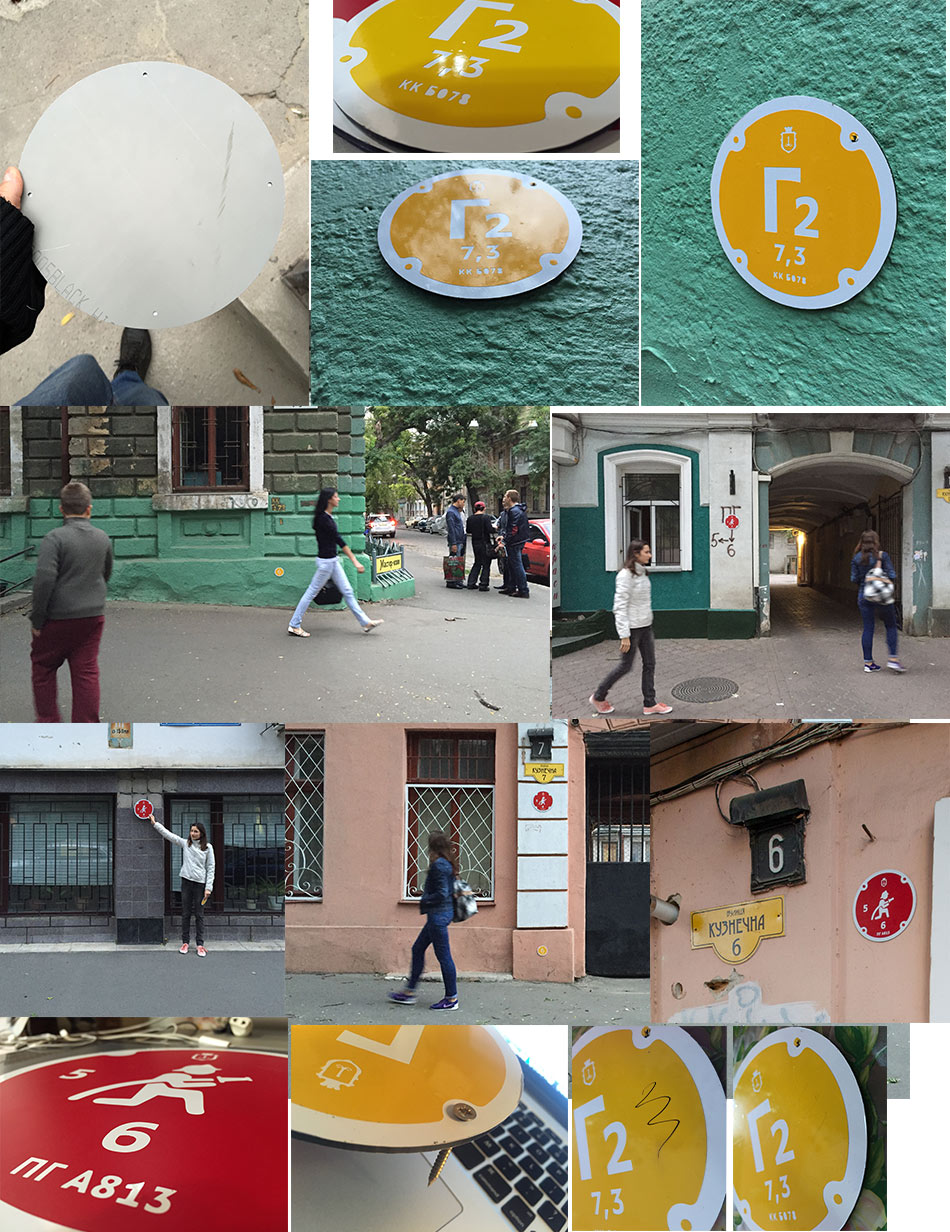
Going to look at the covers in the city. As it turns out, not all of them are round.
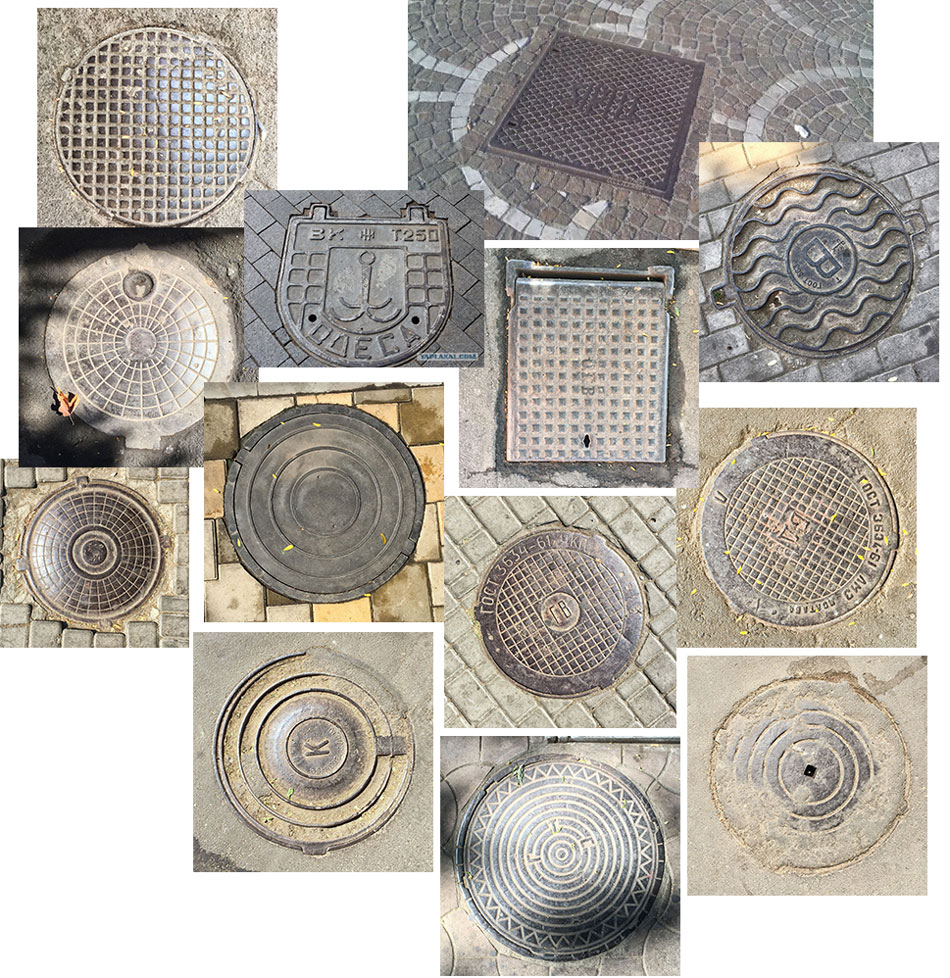
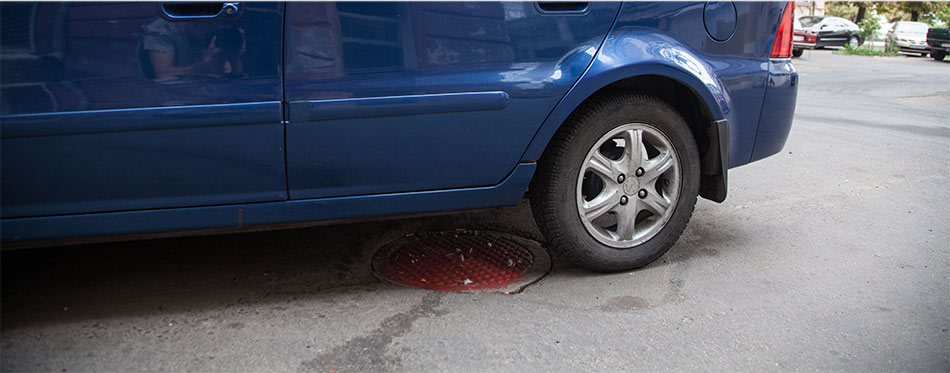
Many of the covers are already painted. However, that doesn’t prevent cars from parking on top of them.
Thinking of the best way to show the type of manhole to the driver. Maybe using a firetruck?
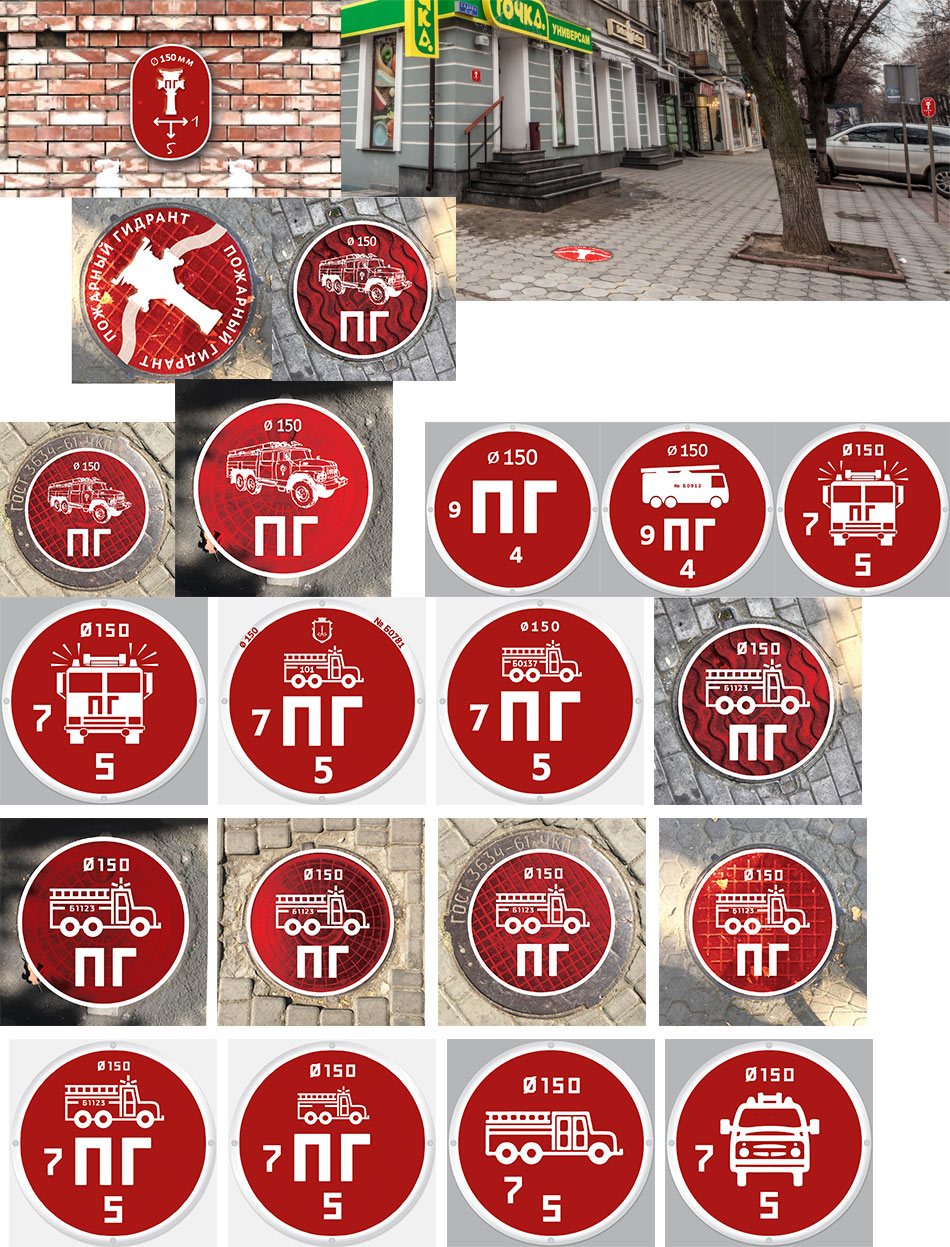
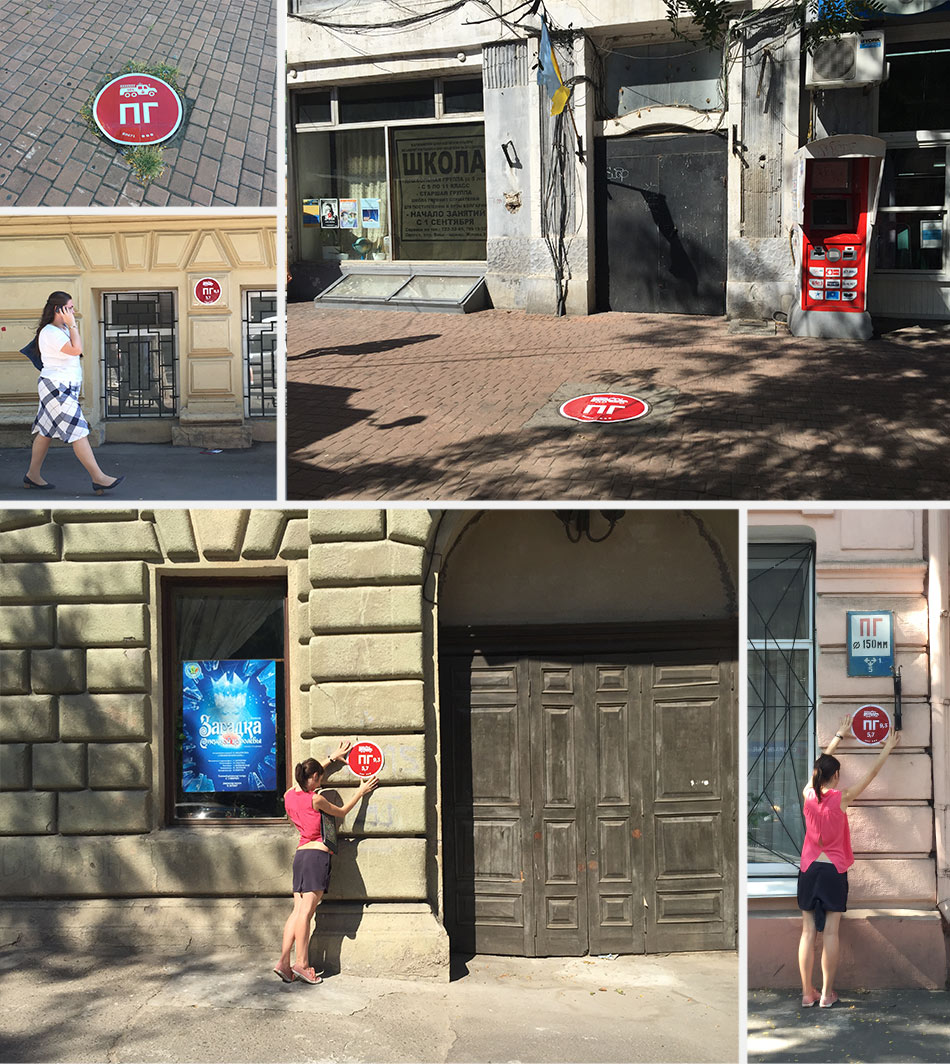
Trying it out in real life.
Coming to realization that we need better solutions. Also deciding to abandon manhole numbering for the sake of faster implementation.
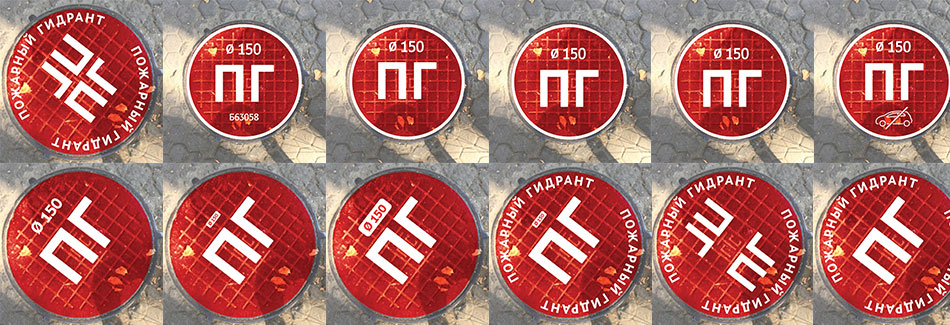
Understanding that the task was poorly formulated from the start. Continuing to work and making emphasis on the fireman icon.
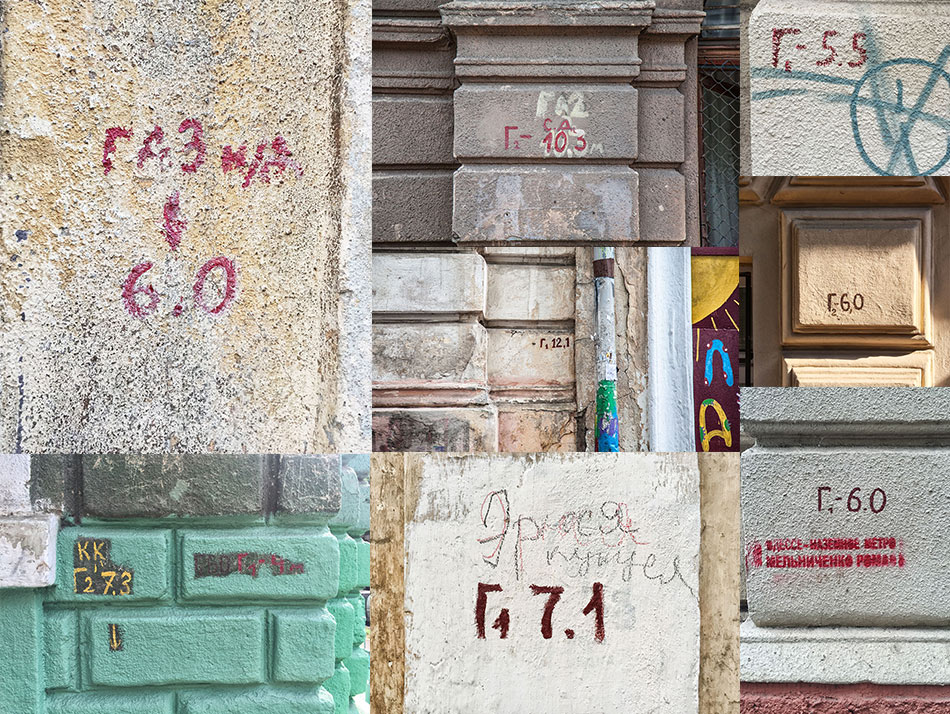
Finding out that there are other types of signs as well, such as for gas pipelines.
Trying out a sample.
Working on the fireman icon.
Art director: They look like schoolboys. The right one is better, but he has a belly and looks battered.

Creating the fireman, preparing the cover design and finding out exact dimensions of the signs.