Su-27 Su-80
Su-27SKM airplane paper model assembly
|
This model was assembled by a person who has never assembled or glued anything before. Any similarities to actual people are welcome. First let’s get all the necessary tools ready. We’ll need a Swiss army knife, a metal ruler, tweezers from the knife, a blade, white glue, good scissors and a brush. 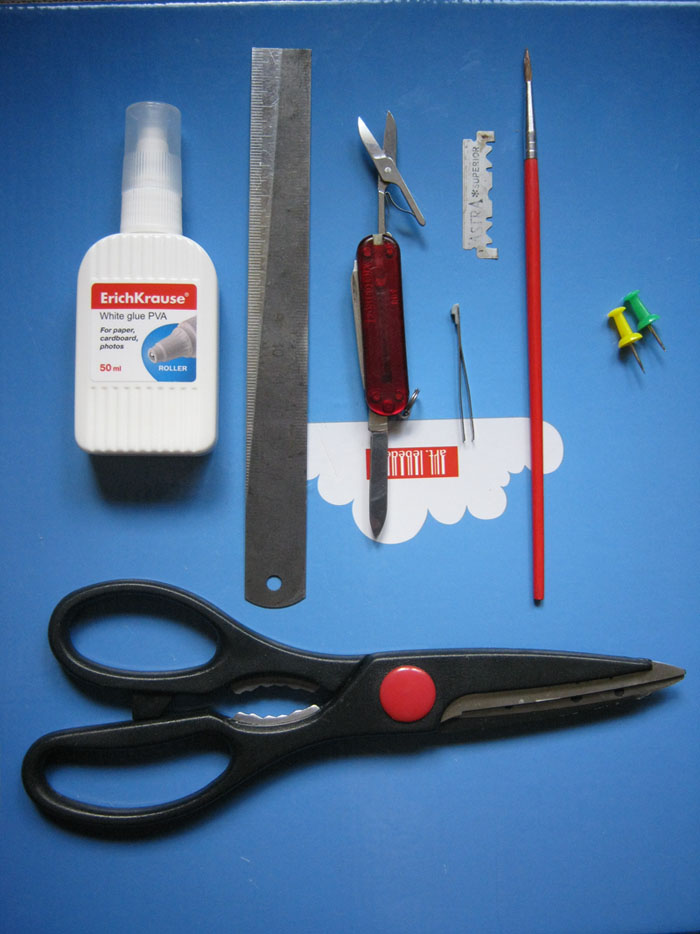
Examining the scope of work, choosing the first steps. 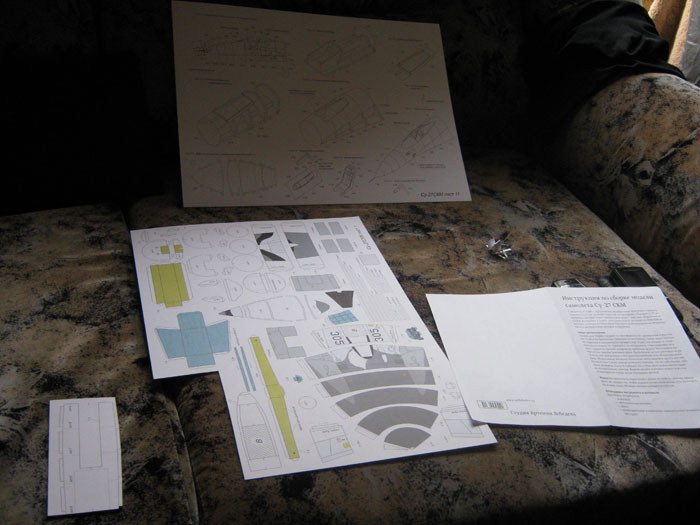
Scissors work well for straight cuts while the knife or the blade are better for perpendicular cuts. 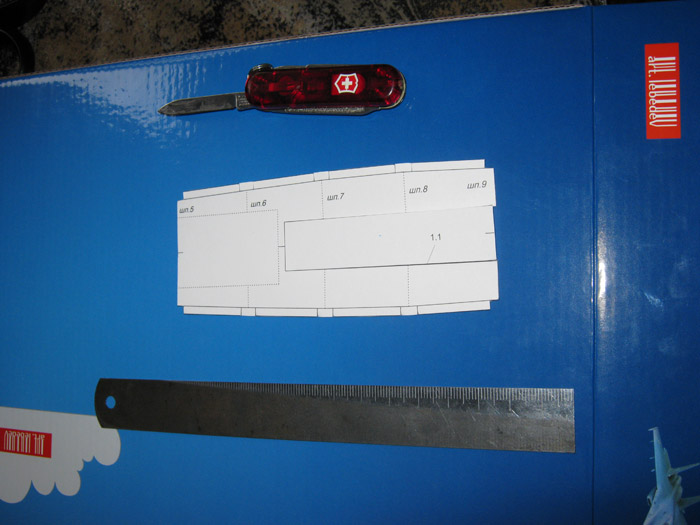
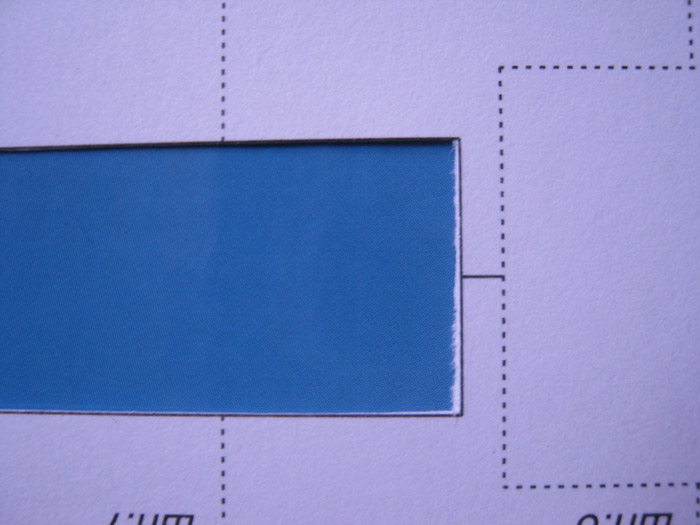
To make a neat fold it’s better to run over the fold line with a knife several times while aligning the fold with the ruler. 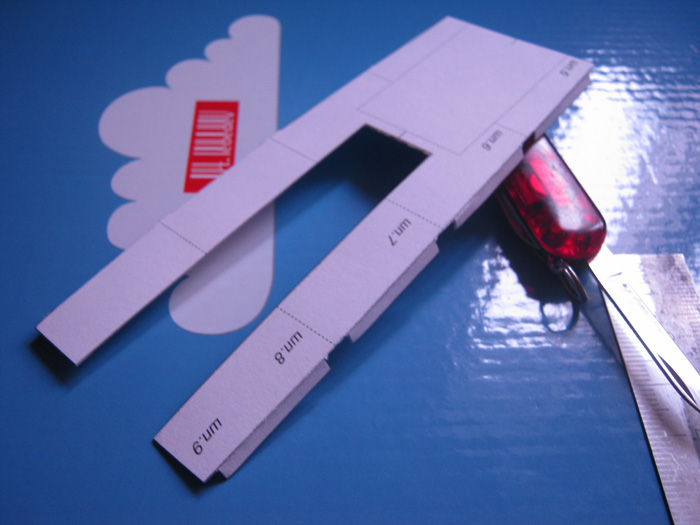
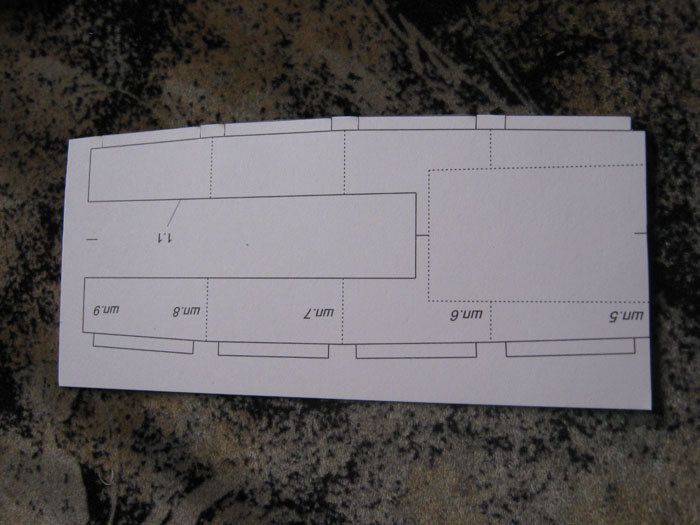
The folds aren’t always on the face side of the drawing, careful examination of the visualization helps. 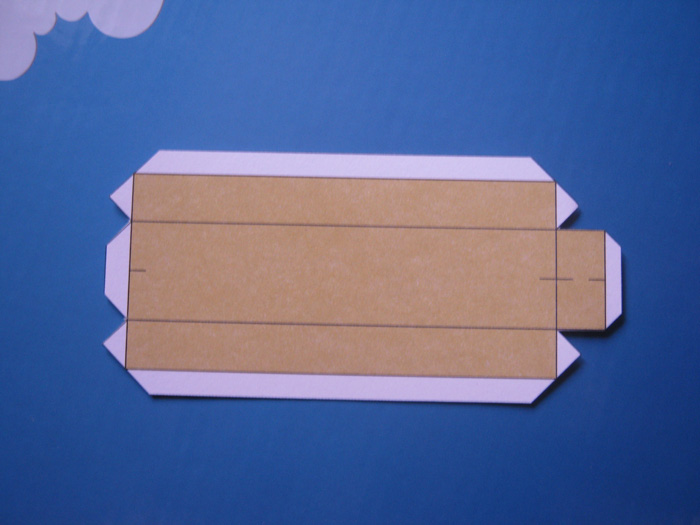
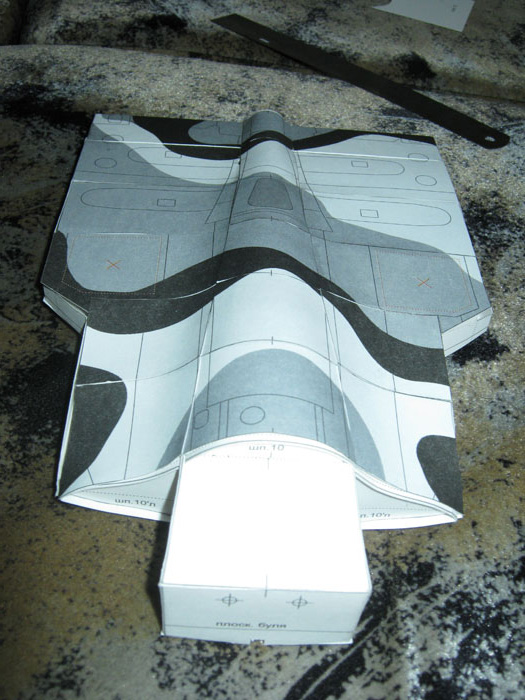
Making folds on the reverse side of the piece using the ruler and the knife. By the way, the yellow parts of this part had to be guided inside, which we realized only after the entire plane was completed. 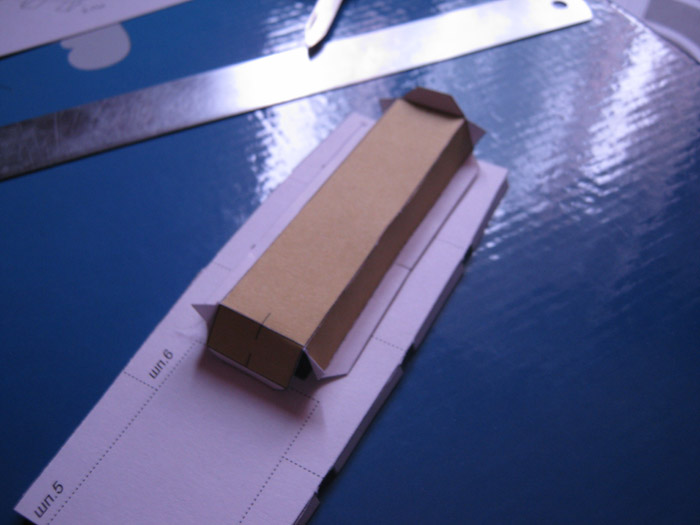
Getting ready to glue the first elements. 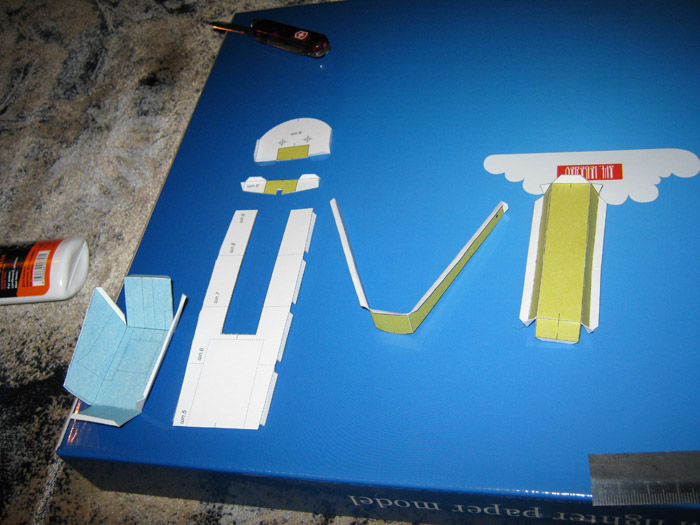
Gluing the top. 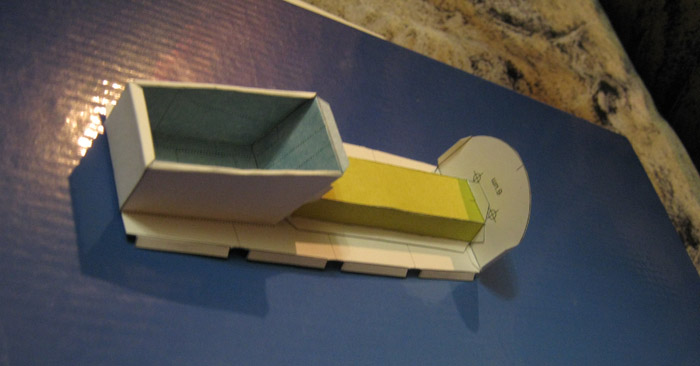
And the bottom. 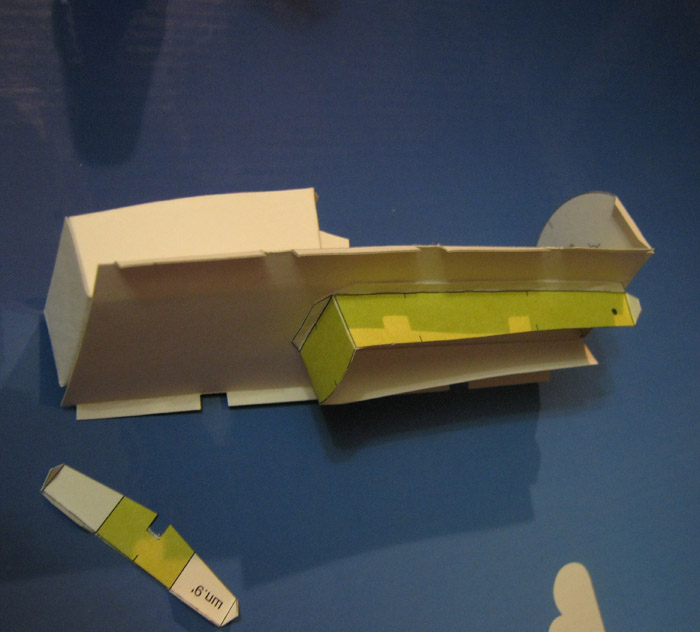
The first piece is assembled. 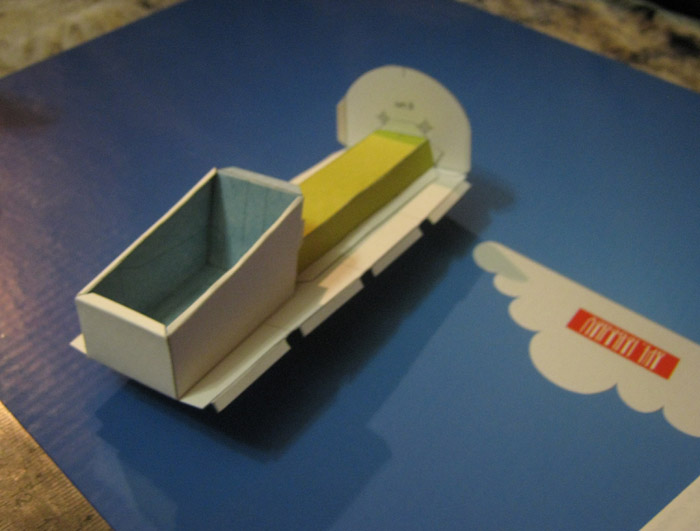
Moving on to the top part of the cockpit. 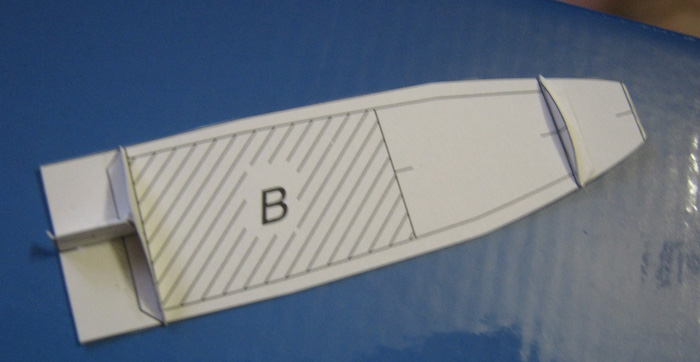
While the top is drying, assembling the frame and gluing the formers. 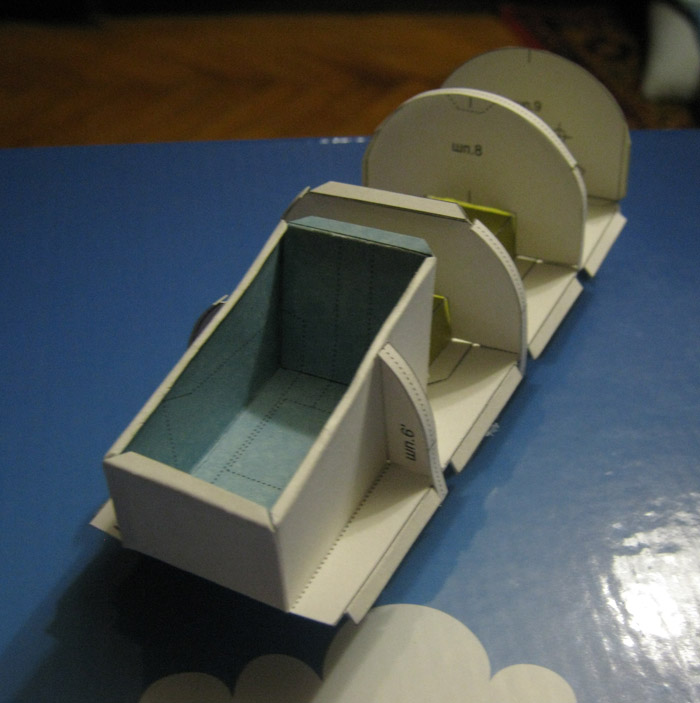
Attaching the top having used the knife to cut off the excess. Nice. 
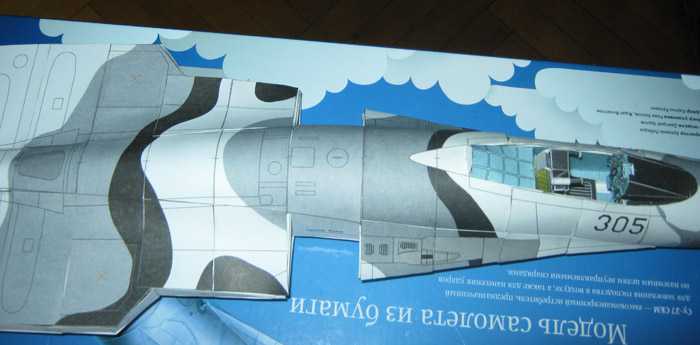
Very carefully applying the paneling. 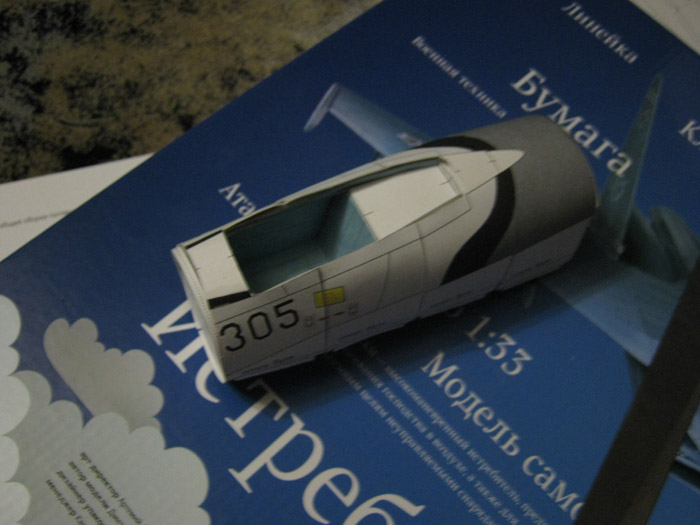
Be careful not to get such a hump, otherwise you would have to start over. 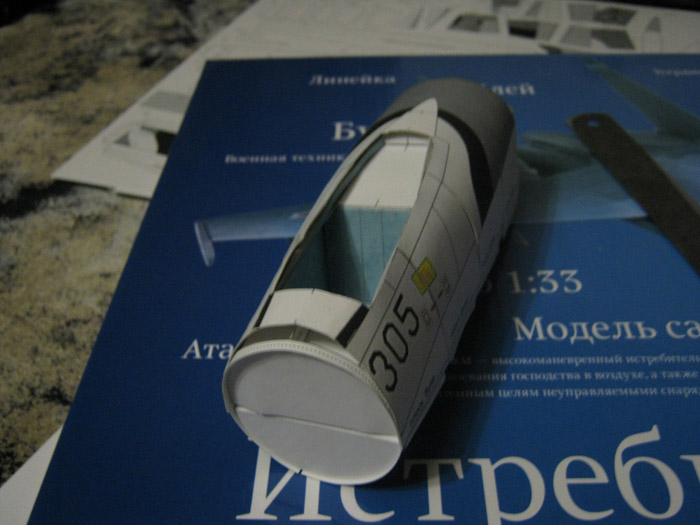
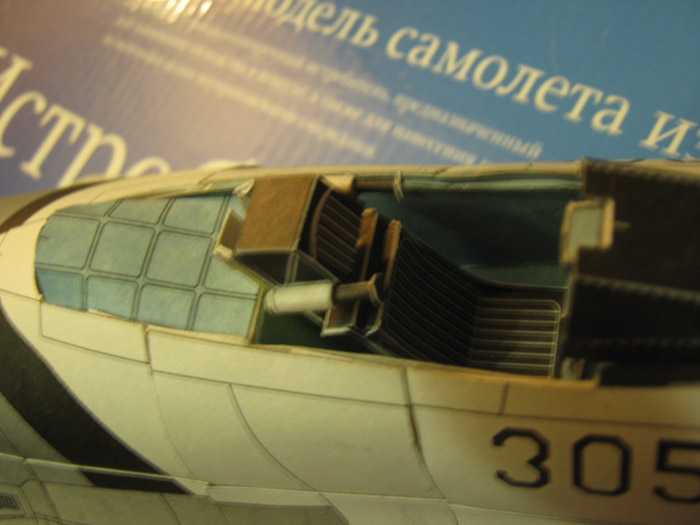
While everything dries, making the nose, gluing it all together and attaching to the fuselage. 
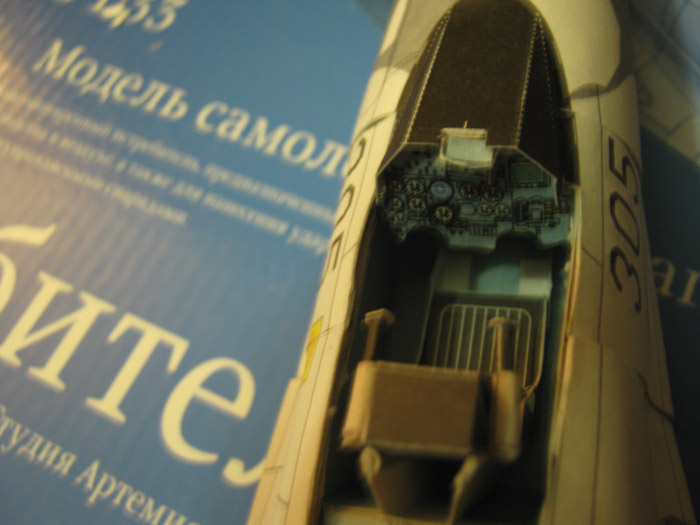
Putting together the insides of the cockpit. 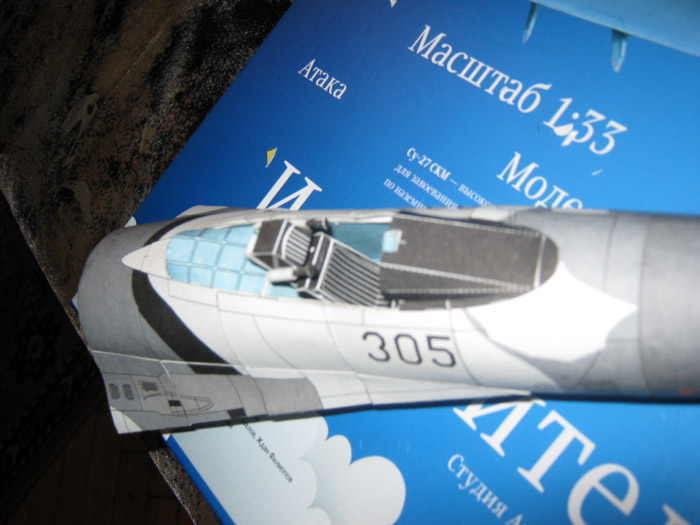
Moving on to the second part of the plane, assembling the frame. 
Installing the ribs. 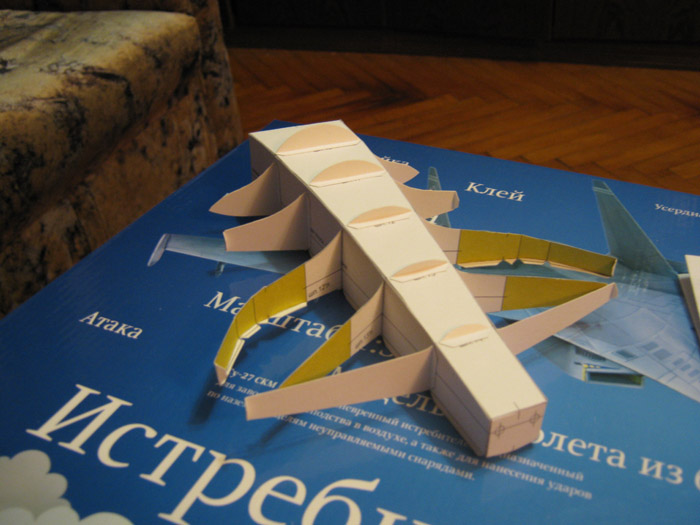
Forming the shape. 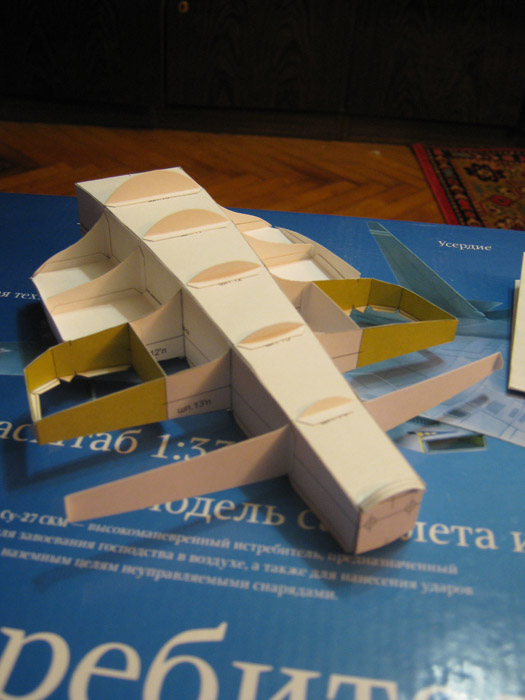
Attaching the formers and getting ready to put on paneling. 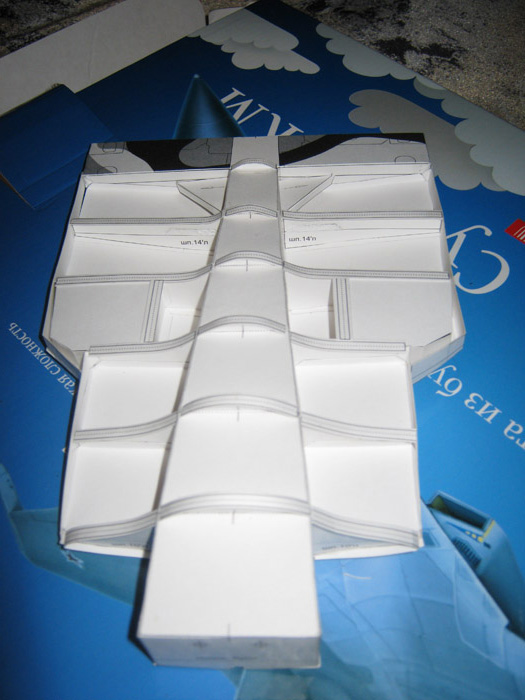
You might have to grow some of the formers because the fold was made too high. Growing them. 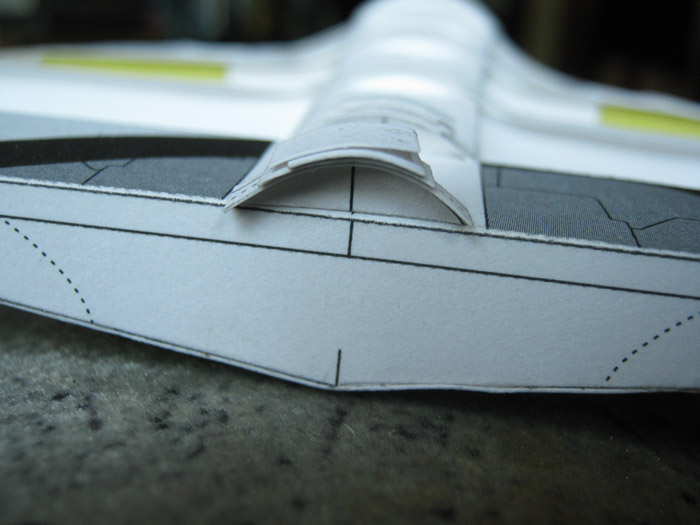
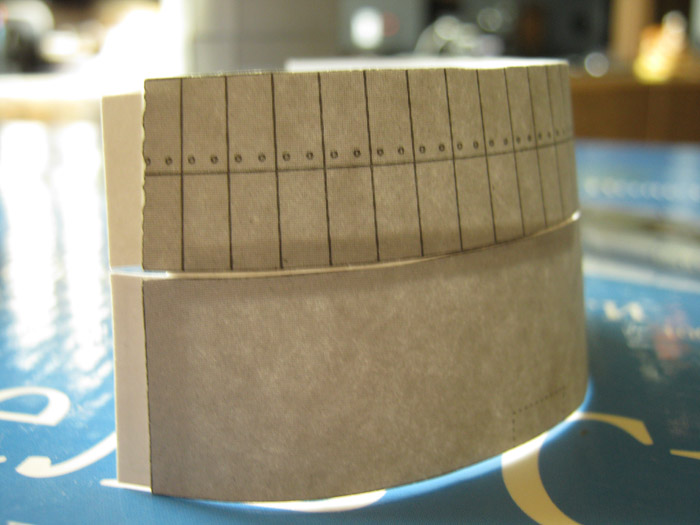
Applying paneling. 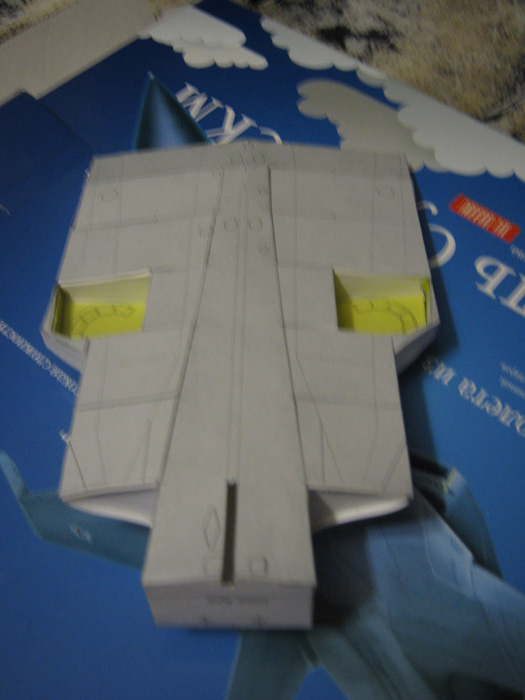
Looking at the overall view, getting ready for gluing. 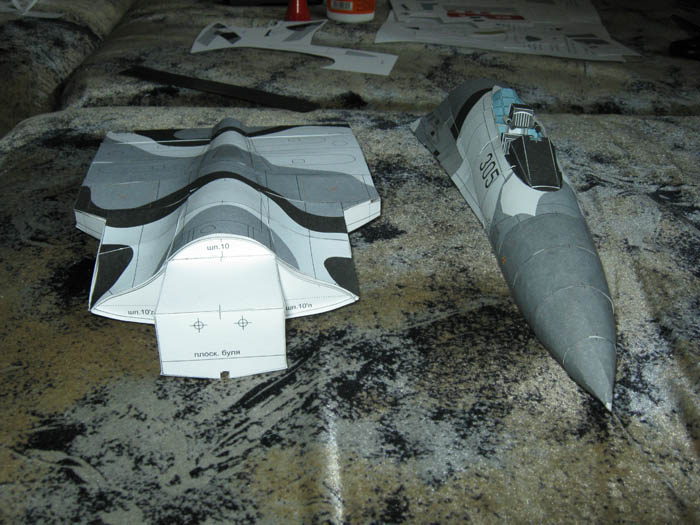
Gluing everything together very carefully, attaching the paneling. 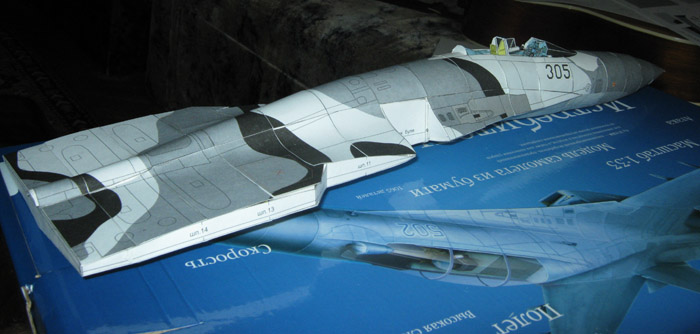
The result looks like this. 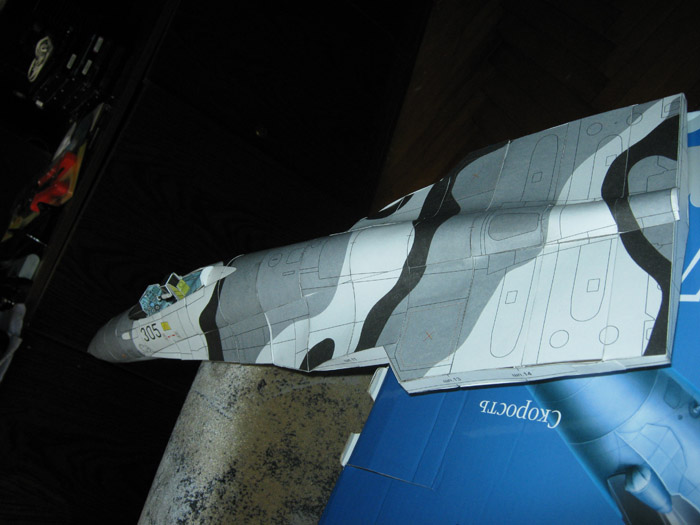
Starting to assemble the airscoop. 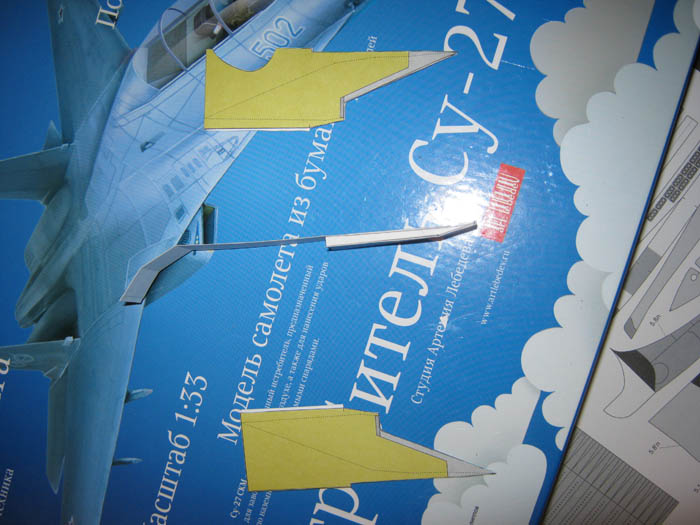
Gluing. 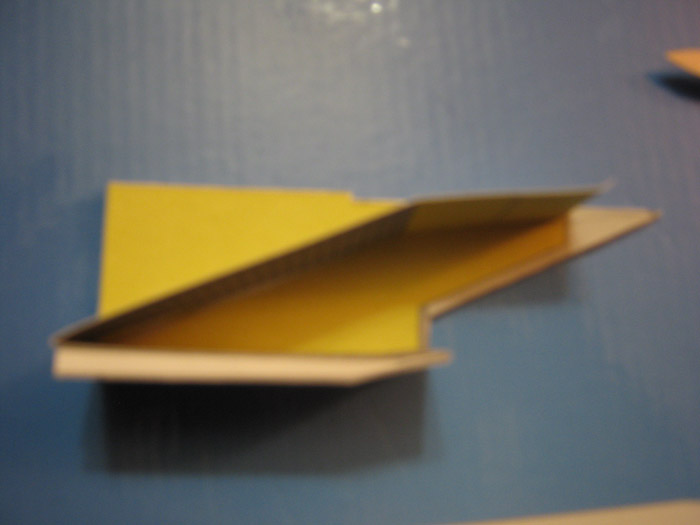
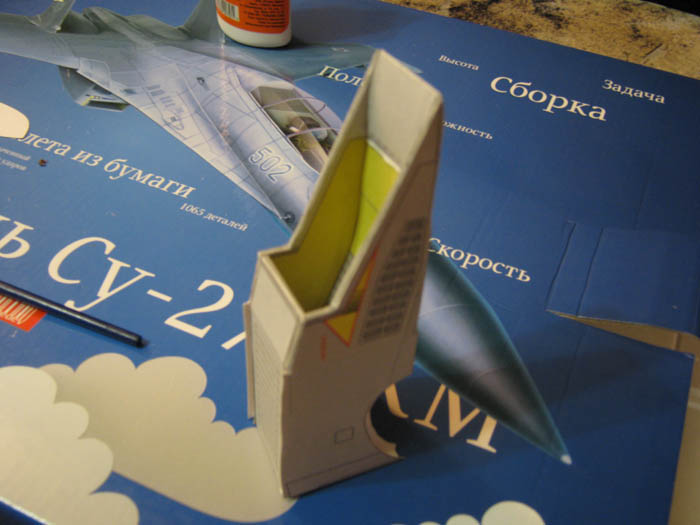
Installing all the tricky parts on the scoop. 
Installing airscoops, attaching engine ribs. 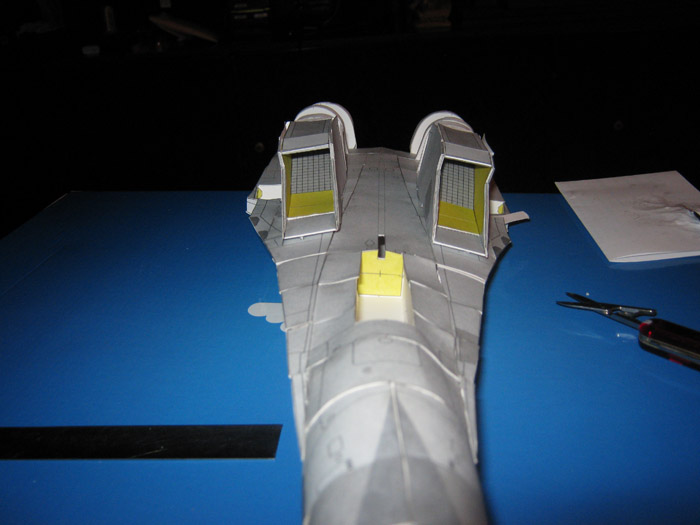
Applying paneling to the engines. 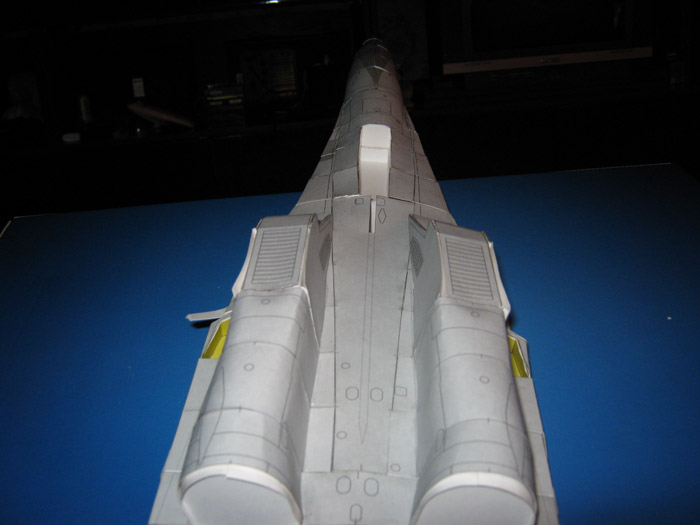
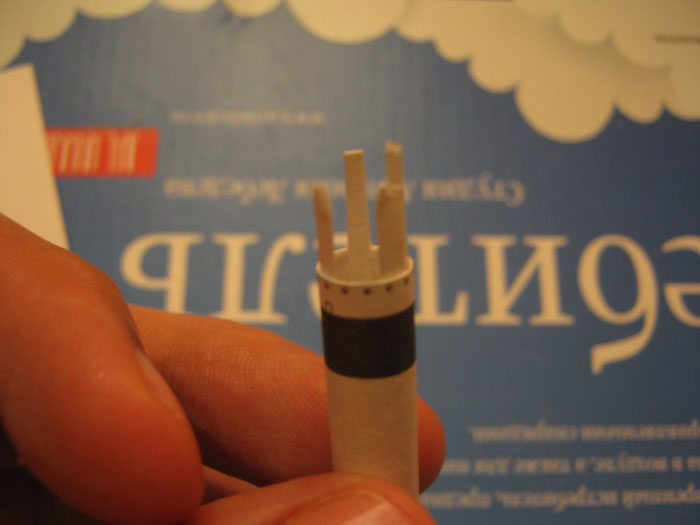
Starting to assemble one of the engine nozzles. 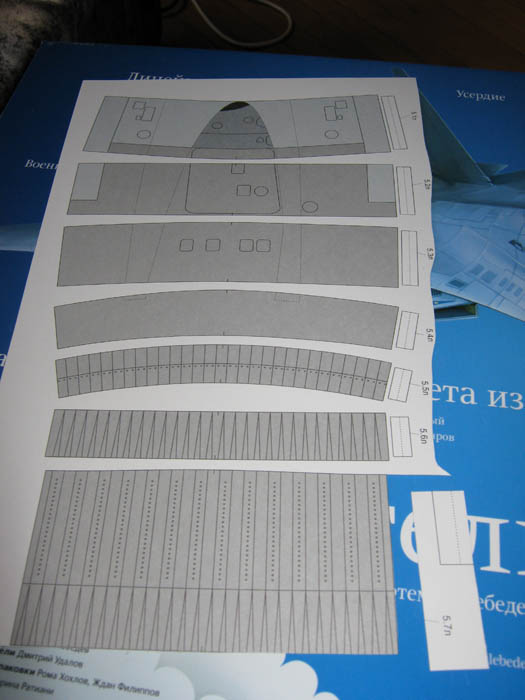
Cutting out pieces and making connecting elements. While assembling, you can make your own formers using the discarded paper, make them wider or narrower, duplicate certain parts. You can do anything. 

Round pieces will look better if you roll them with something round, like a pencil. 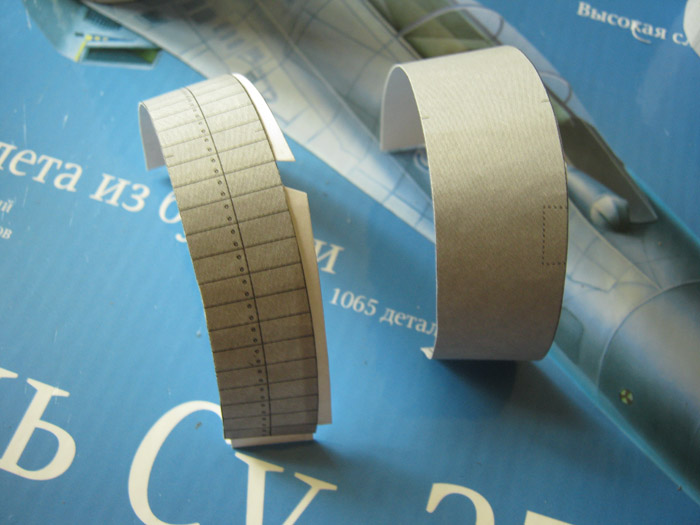
Connecting the elements together, preparing the nozzle for assembly. 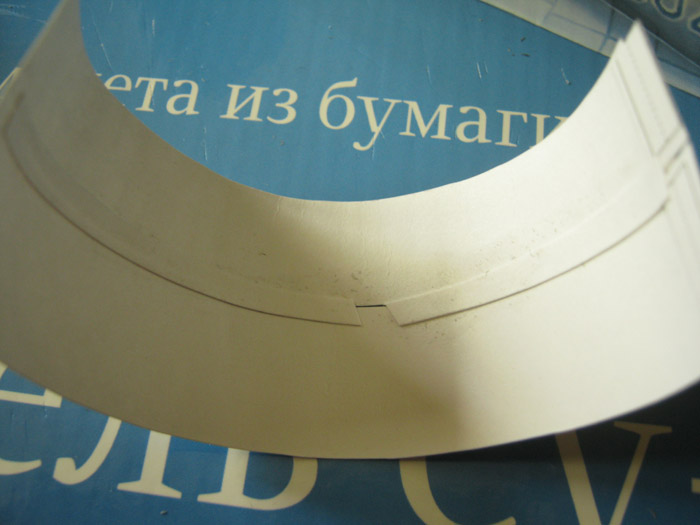
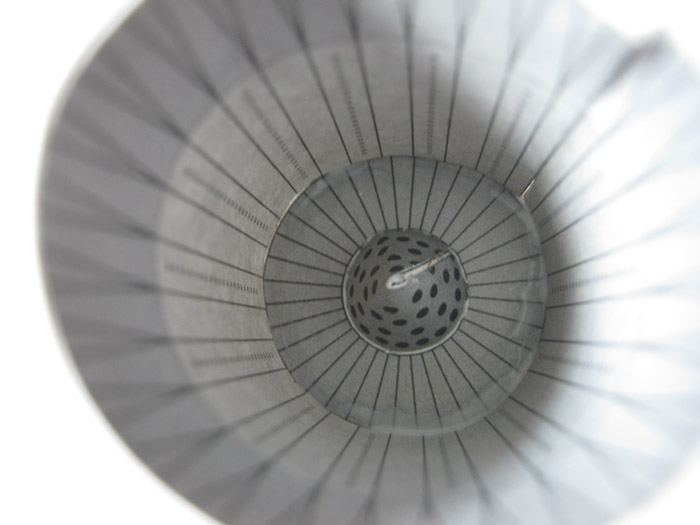
Simultaneously creating the inside of the turbine. 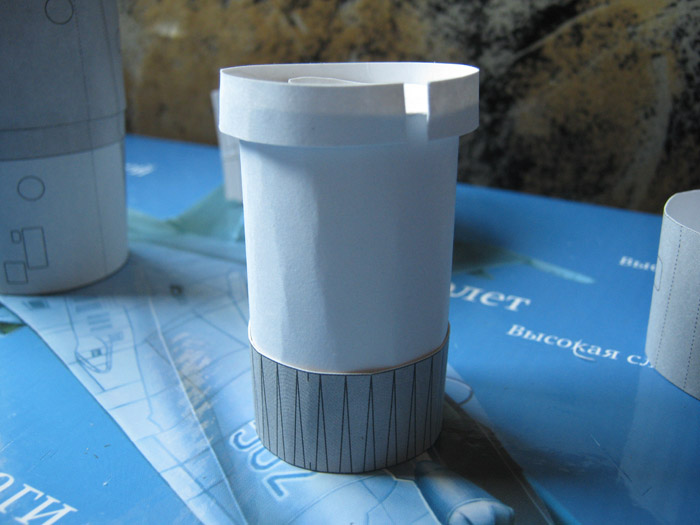
Preparing the parts. 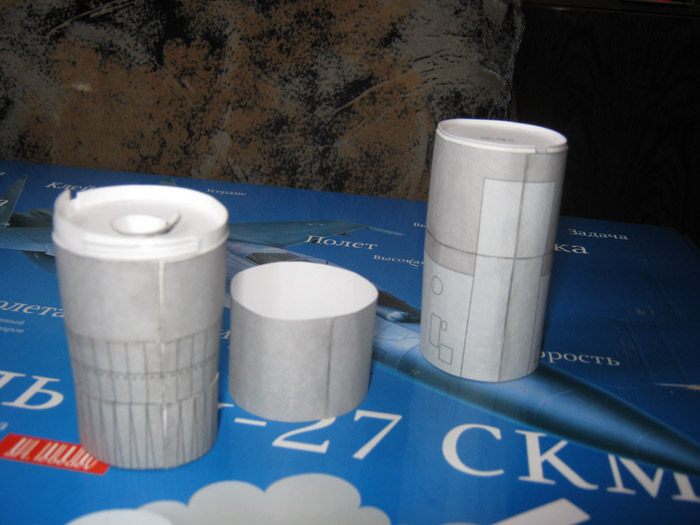
Installing. 
Gluing. 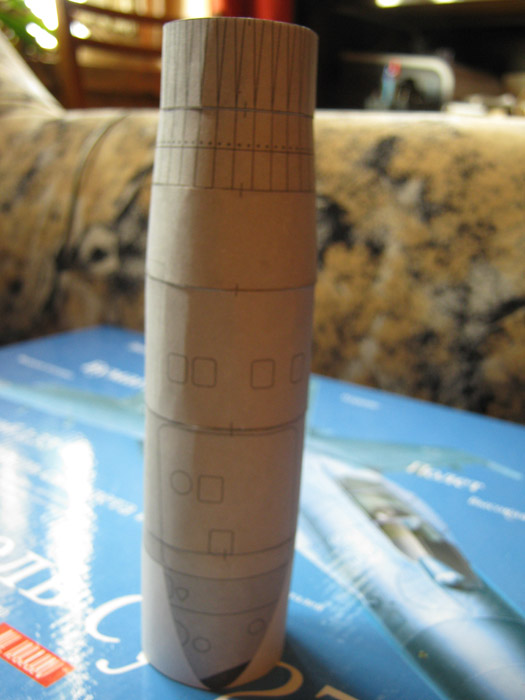
Comparing the engines. 
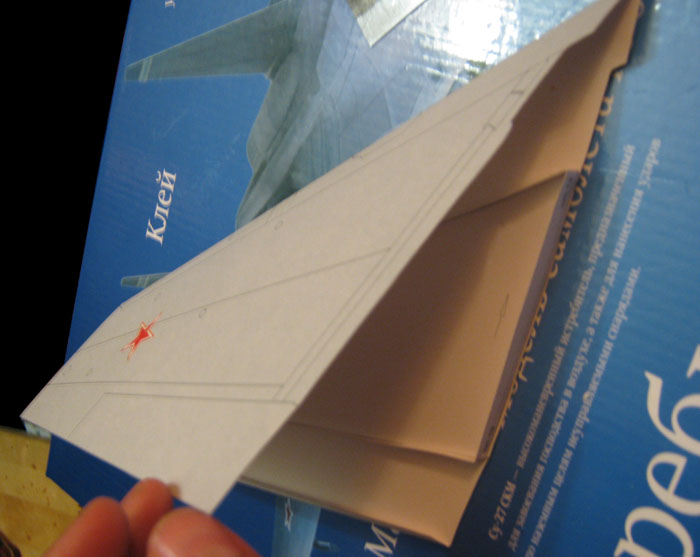
The wings are much easier to make. Looking at the vertical fins. 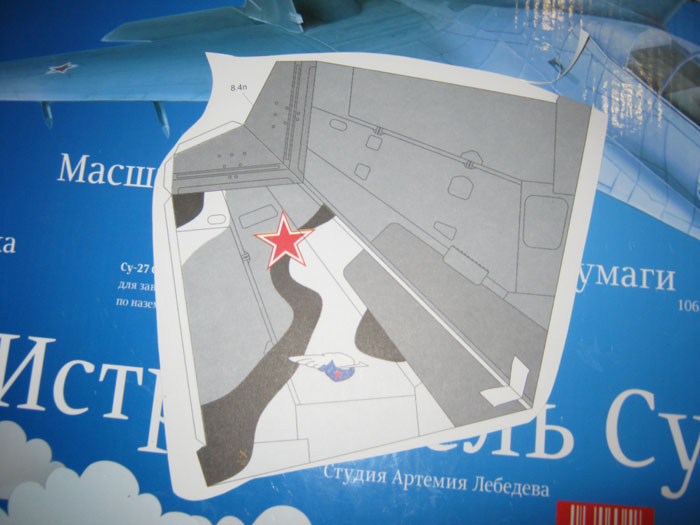
Cutting out and gluing internal ribs. 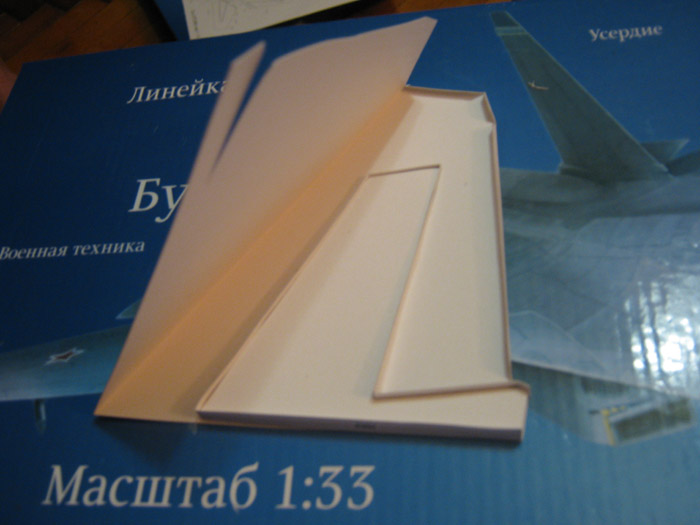
Making an interesting find, the wing should look like this. 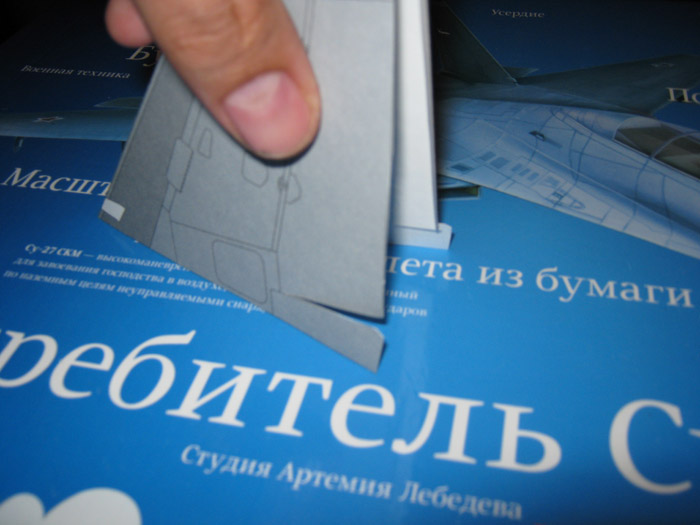
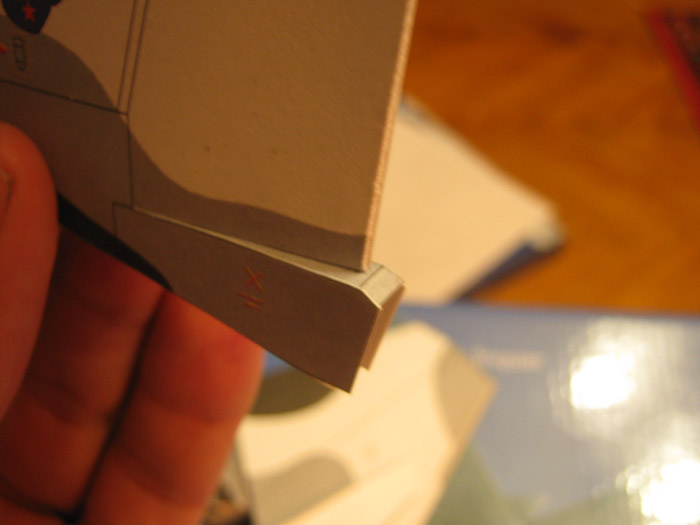
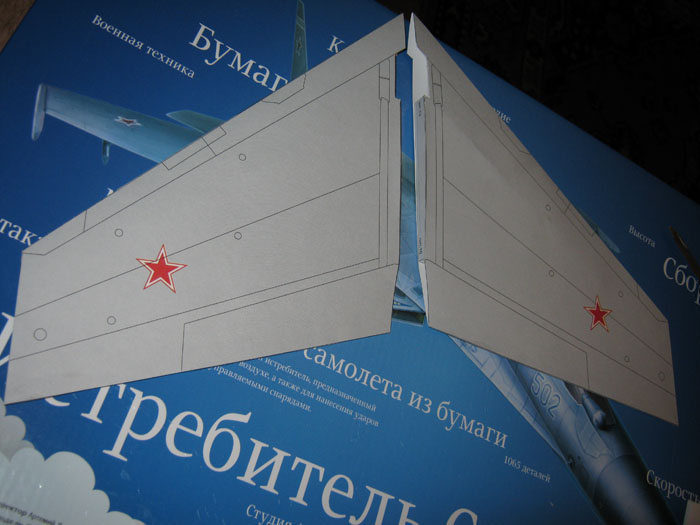
Attaching side elements to the wings. 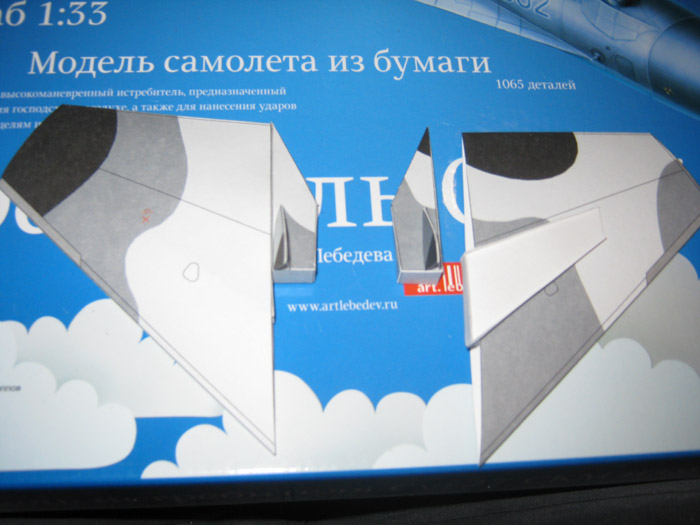
Making the large wings following the same principle. 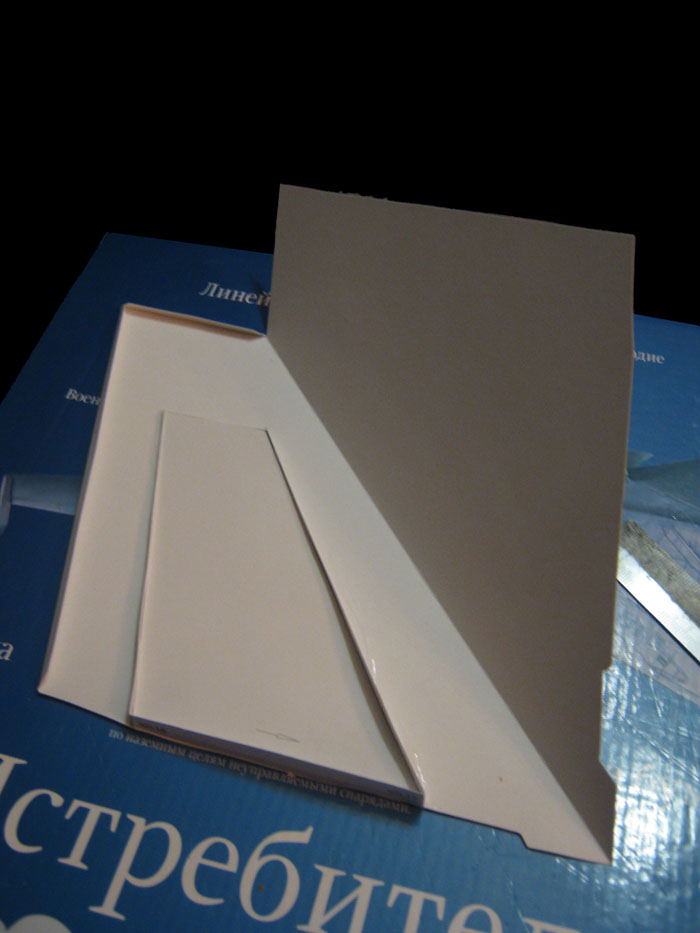
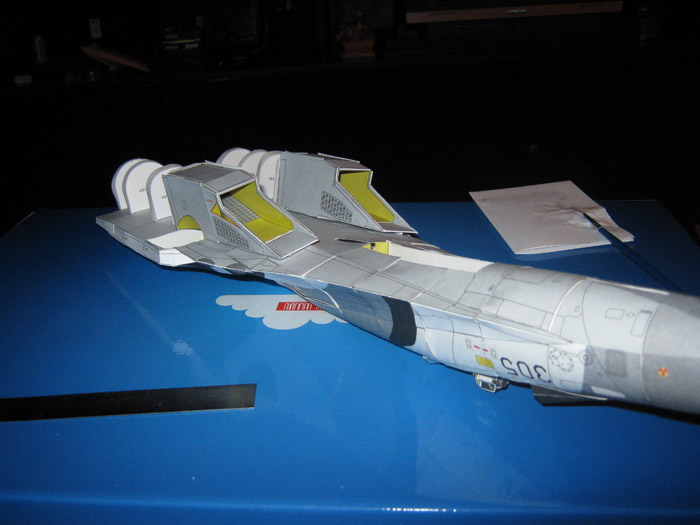
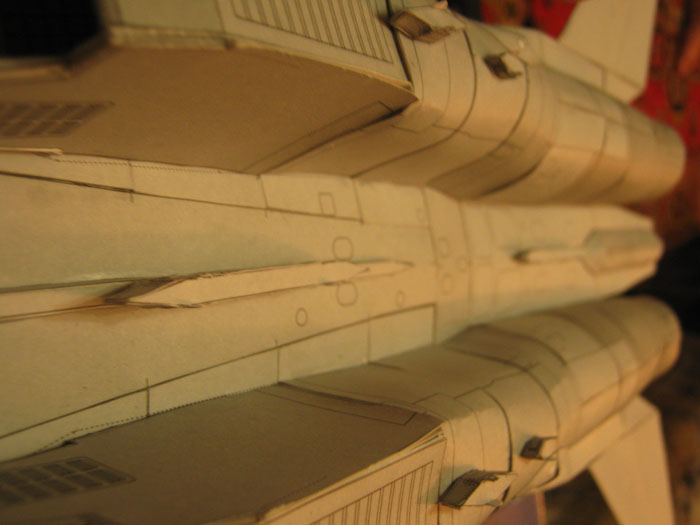
All the assembled elements of the plane look like this. 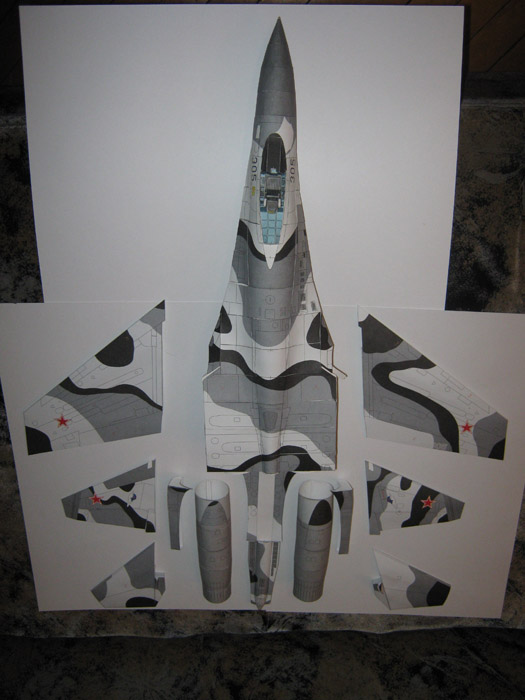
Turns out, the most interesting part is the missiles. But first we need to assemble the launching devices. 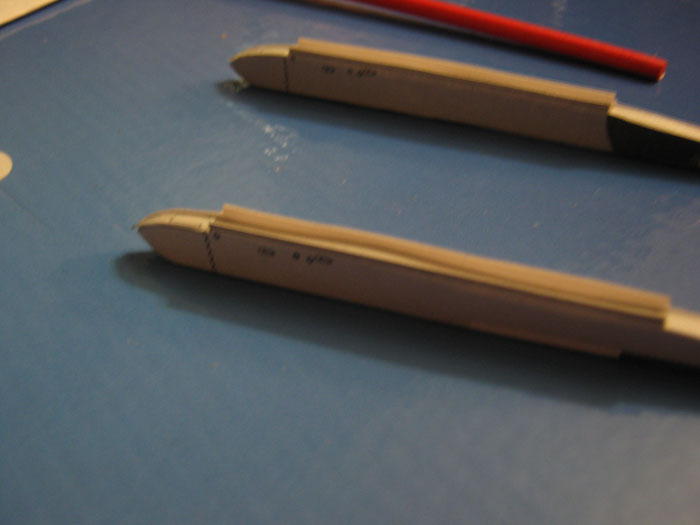
Attaching them to the wings, then to the fuselage. 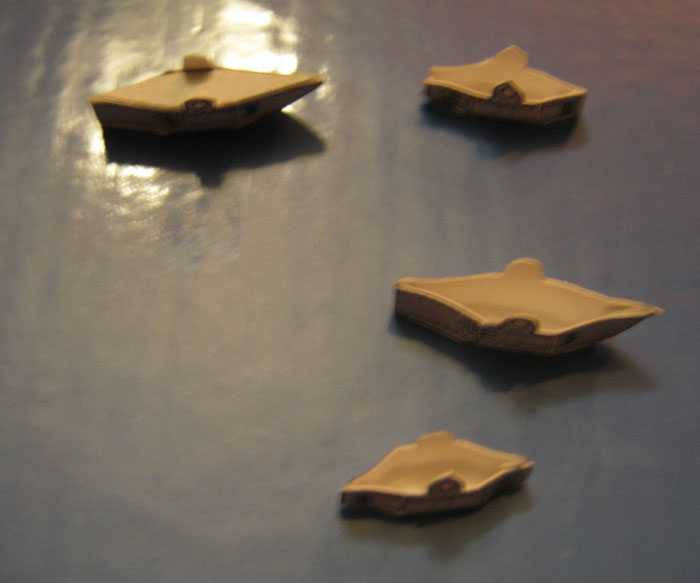
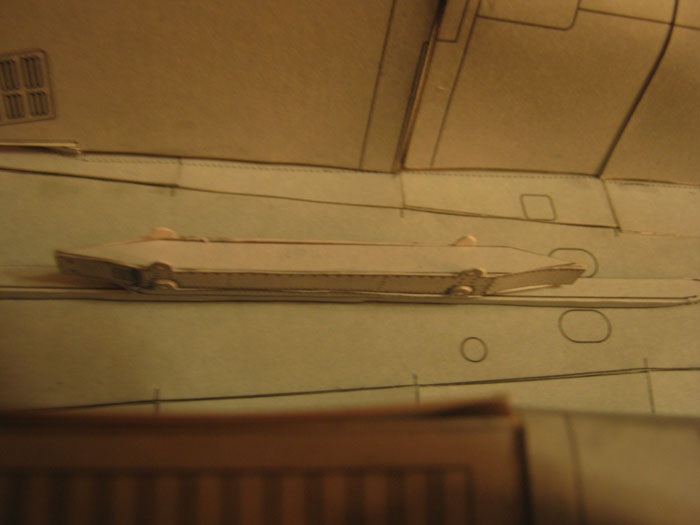
Starting to work on the missiles. Using the brush handle to make the elements round. 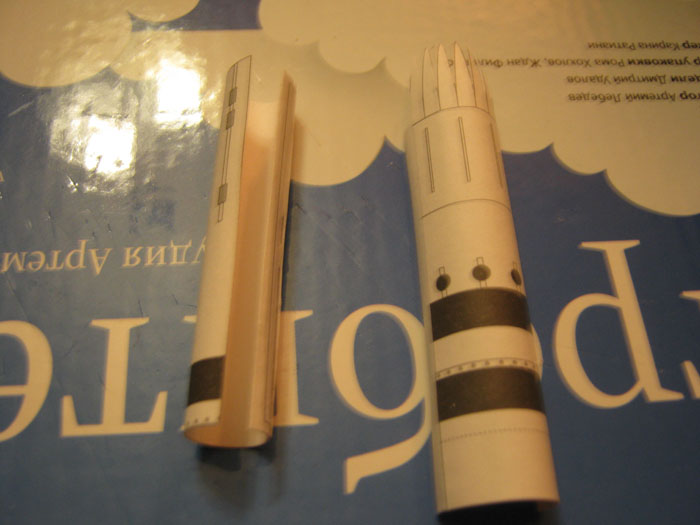
Rockets made of two parts are easier to assemble with the help of additional ribs. 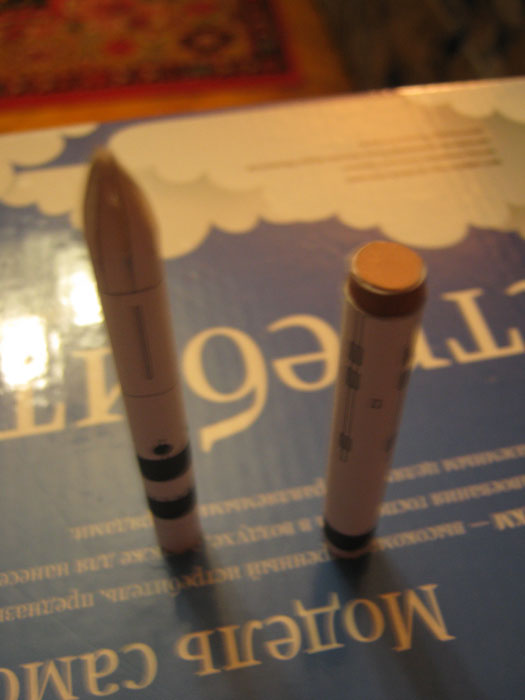
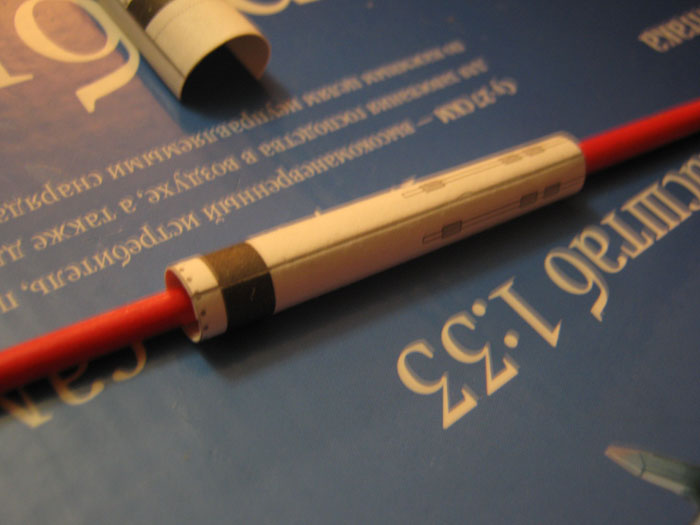
A finalized missile looks like this. 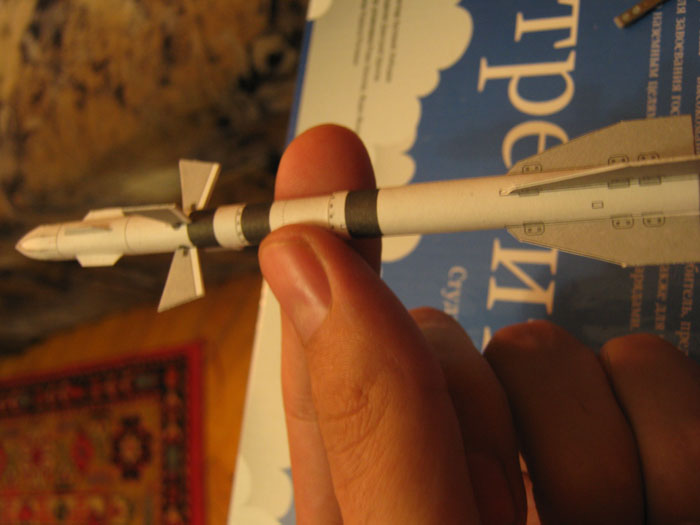
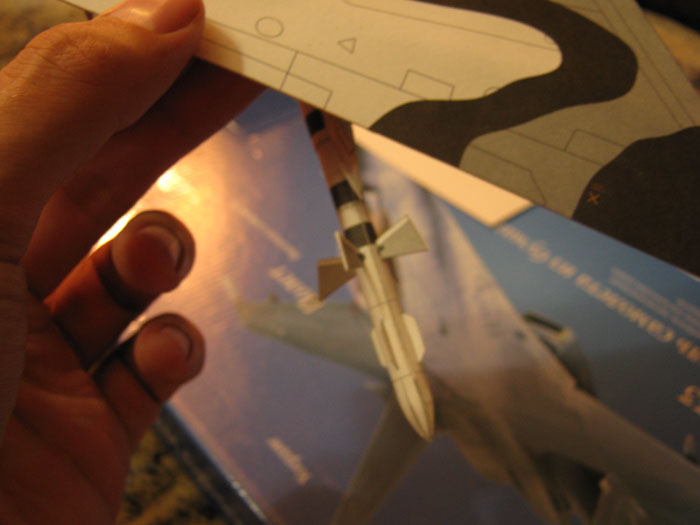
It attaches to the slides and looks cool. Very easy to transport. 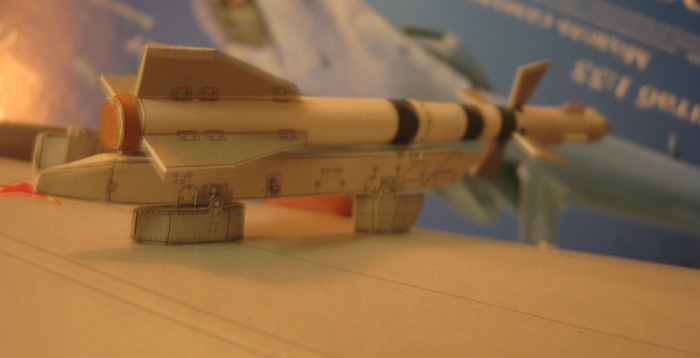
All the missiles ready. 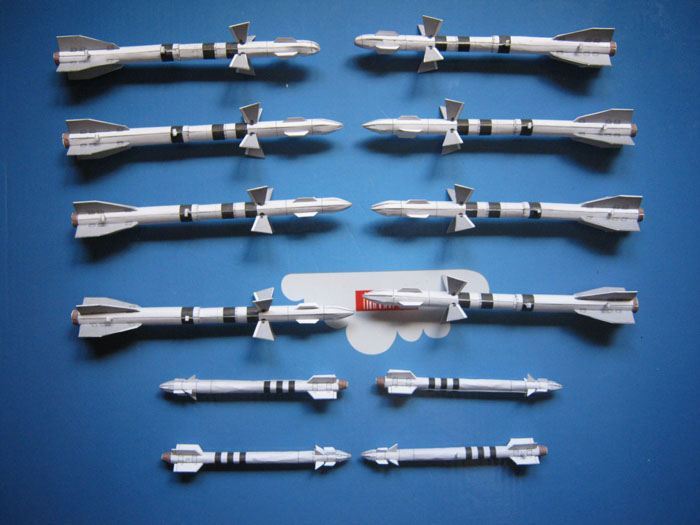
The final stage is attaching the mylar film and the wings. The last part is easy, but the mylar brought up some concerns. Mylar is a sort of a polyethylene film that can be easily cut to shape without the risk of punching holes through it. We glued the film for laminating, the result was ideal. Placing the film over a template, fixing it in place. 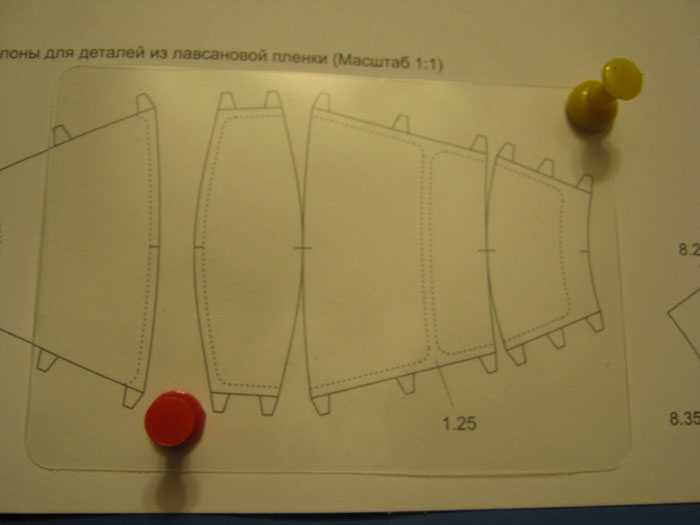
The final template looks like this. If yours turned out to be missing cutouts, make the bottom fastenings wider, as you see fit. 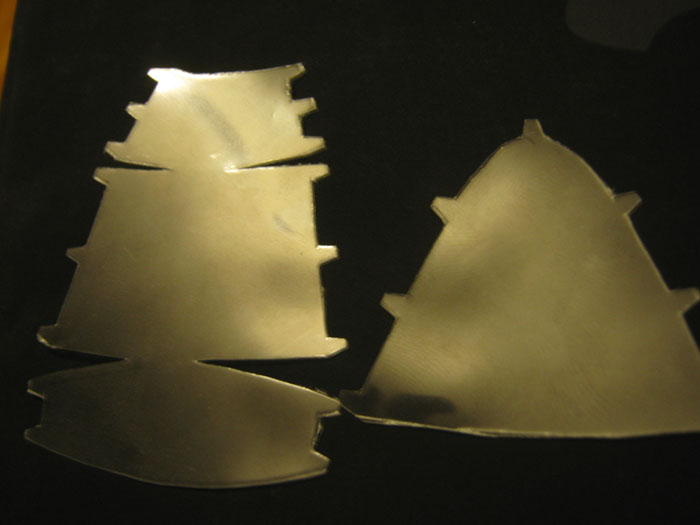
Very carefully putting the film in place. 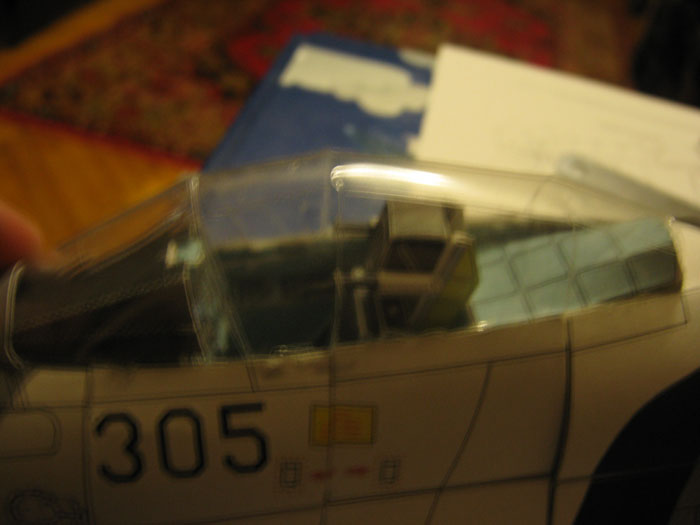
Fixing the flaps. 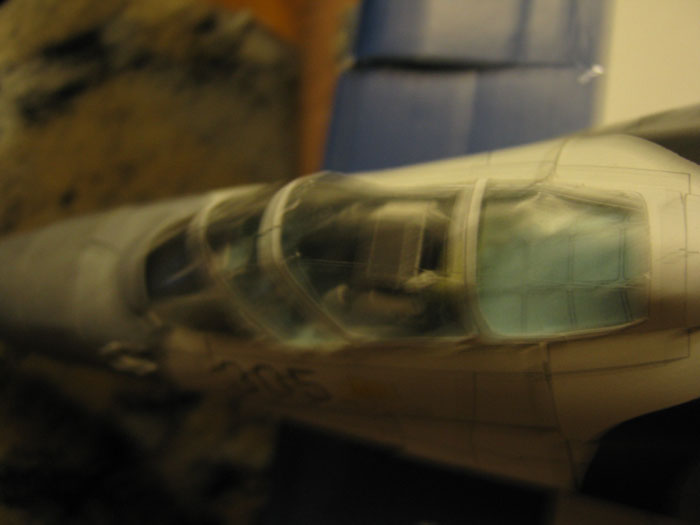
Gluing the plane. 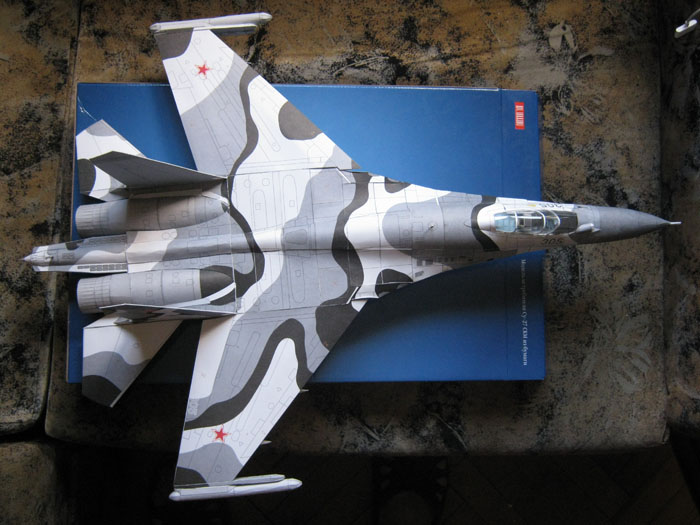
Good luck. I’m already assembling the next one. |
|