Once Ludwig offered designers to draw 23 rubles in exchange for a position in the studio.
Quite an interesting task, why don’t we give it a try?
Stage 1: defining the concept of the illustration.
After a couple of sketches I decided to draw a macro shot of the coin.
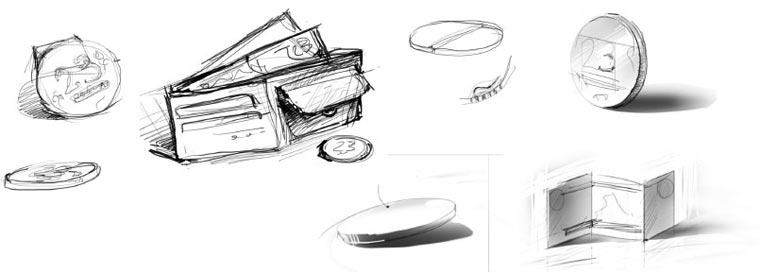
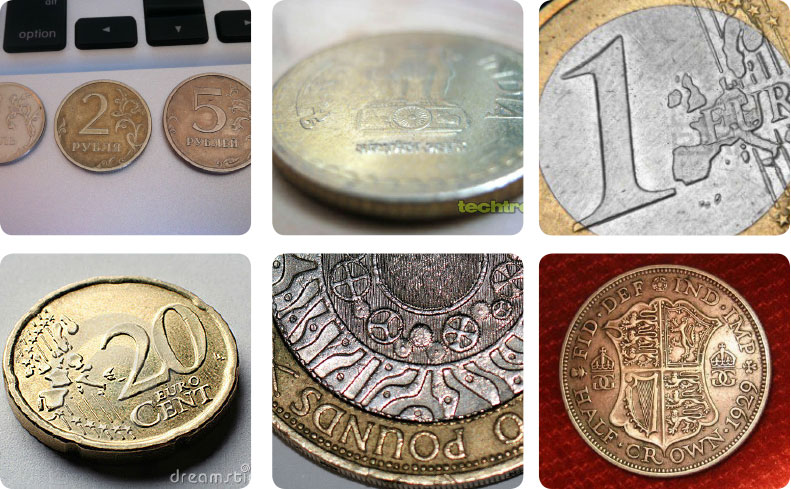
First we need to study basic elements on real coins.
Stage 2: composing
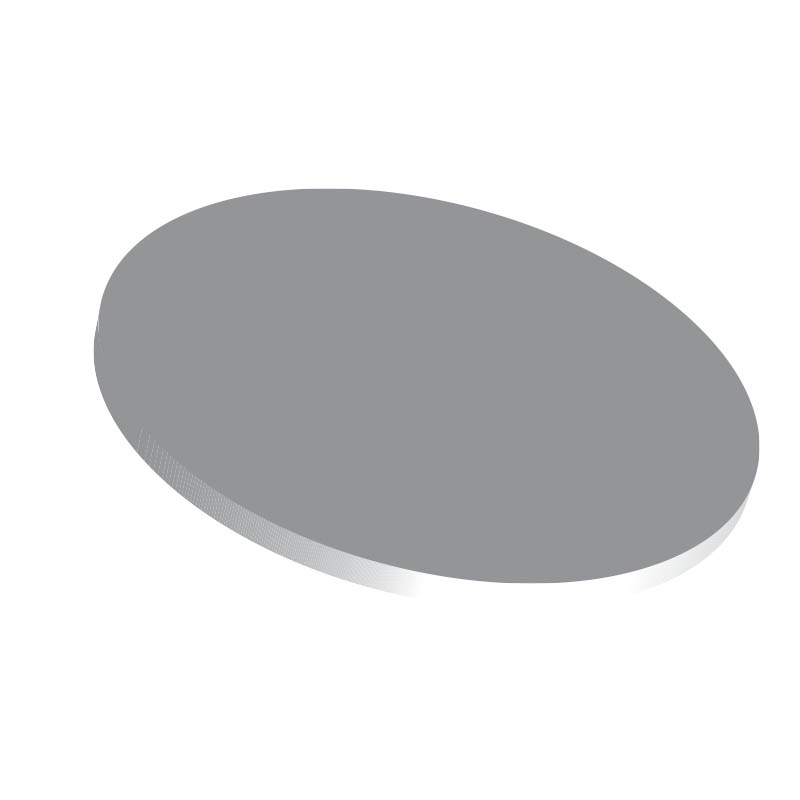
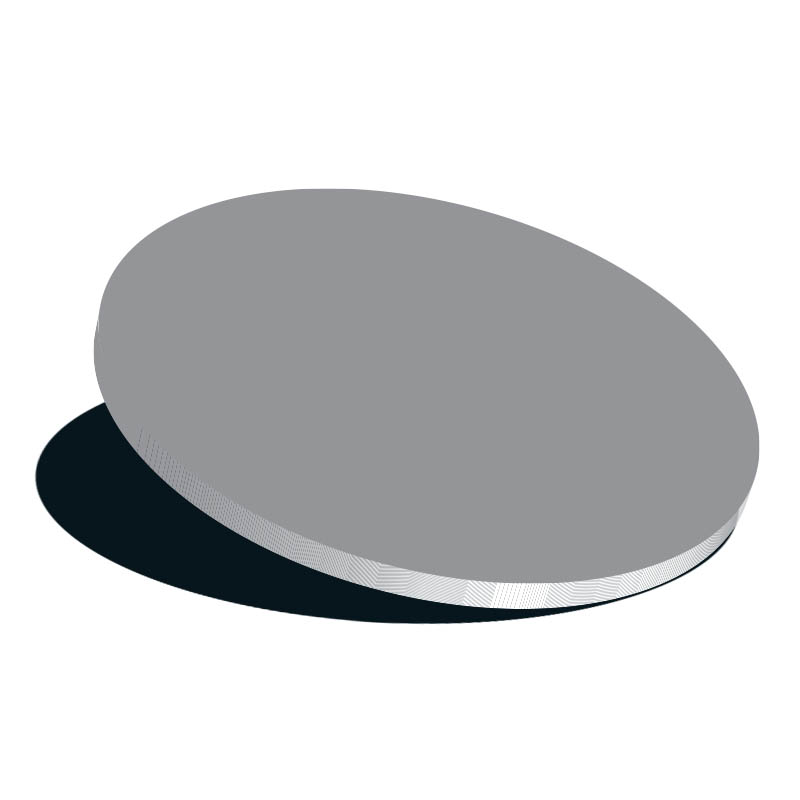
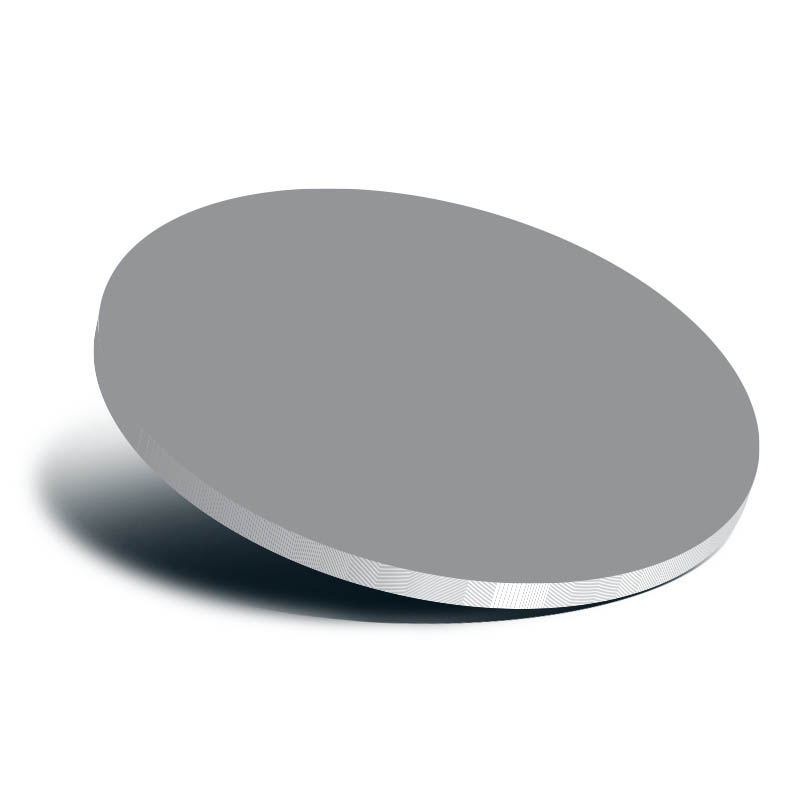
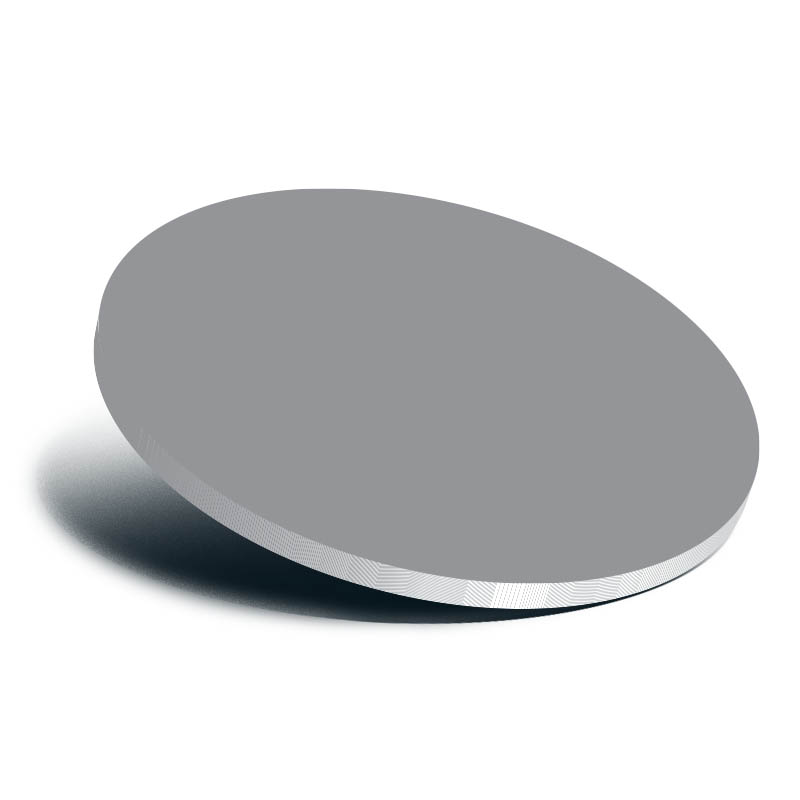
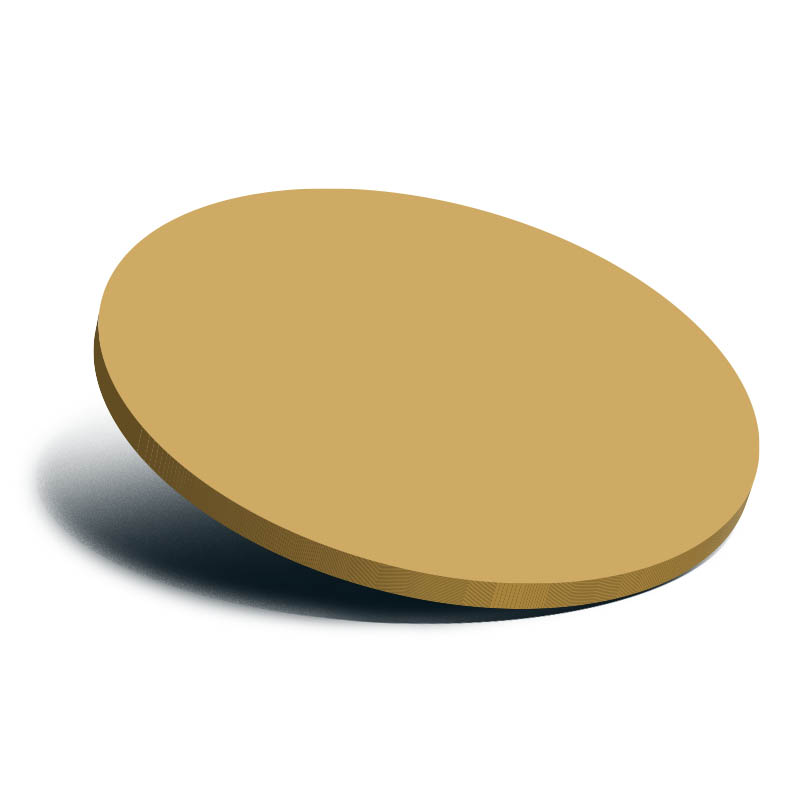
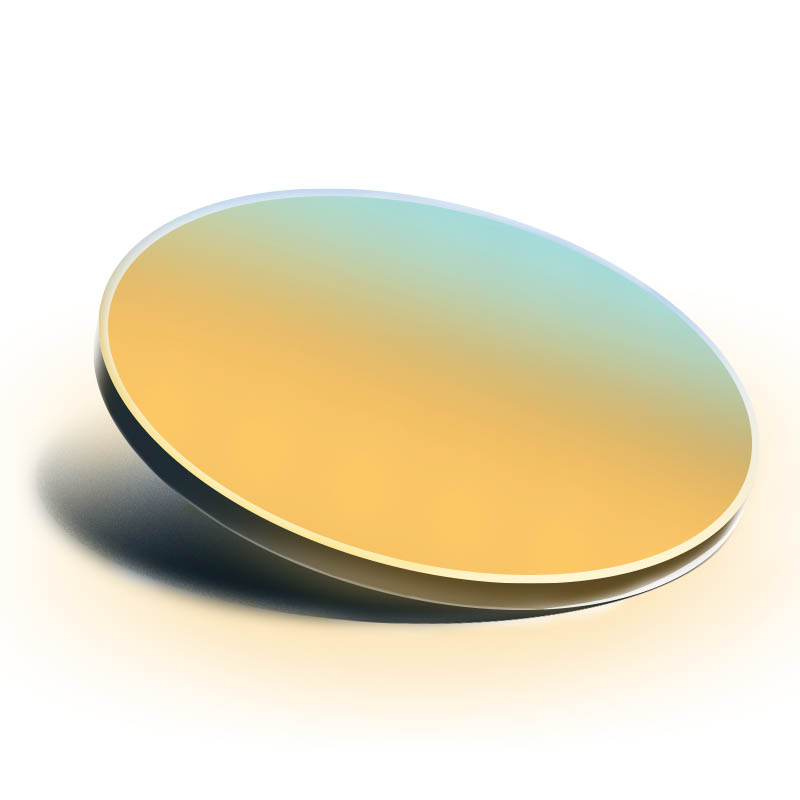
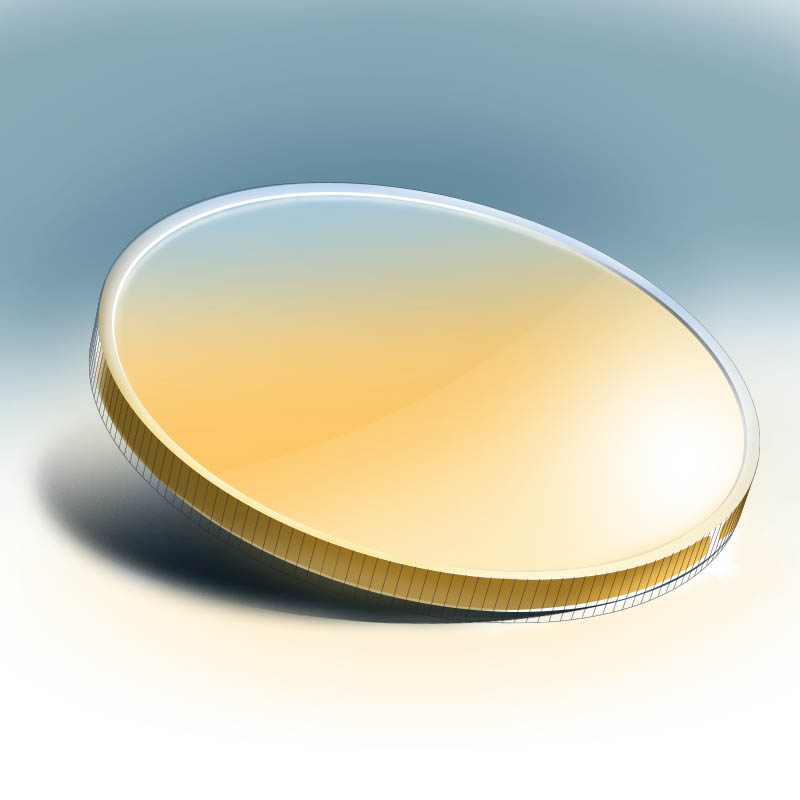
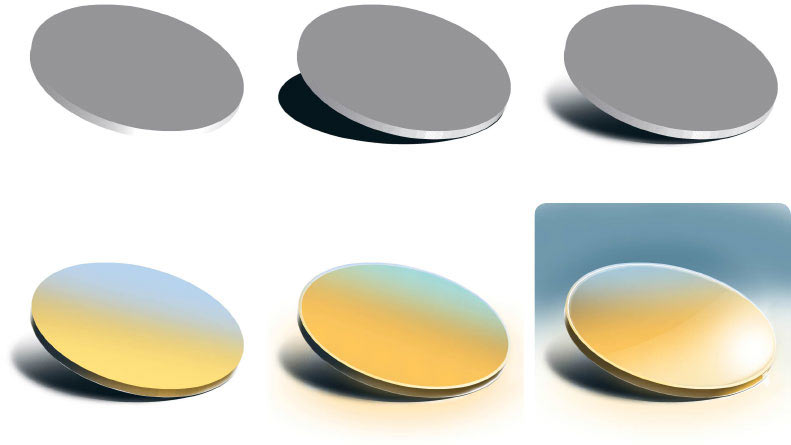
The position of the coin and the light source, direction of reflections and the shadow cast by the coin are the core elements of the composition of the future illustration. The easiest way to experiment with arrangement of elements is to use a 3D effect: Adobe Illustrator’s Extrude & Bevel.
Once the perspective is found, it’s time to move on to Photoshop. To do that, it’s best to convert the coin into curves (Expand Appearance tool) which will allow us to work with the face and the edge individually. After you do this, editing the Extrude & Bevel effect in Illustrator becomes impossible, so it’s better to save a copy as we’ll need properties of this effect later on.
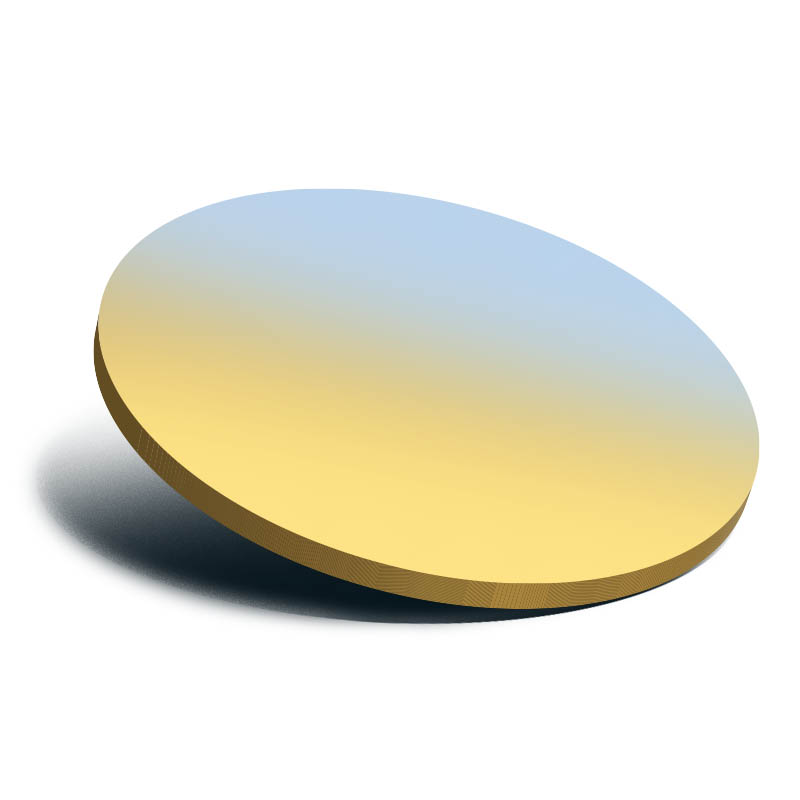
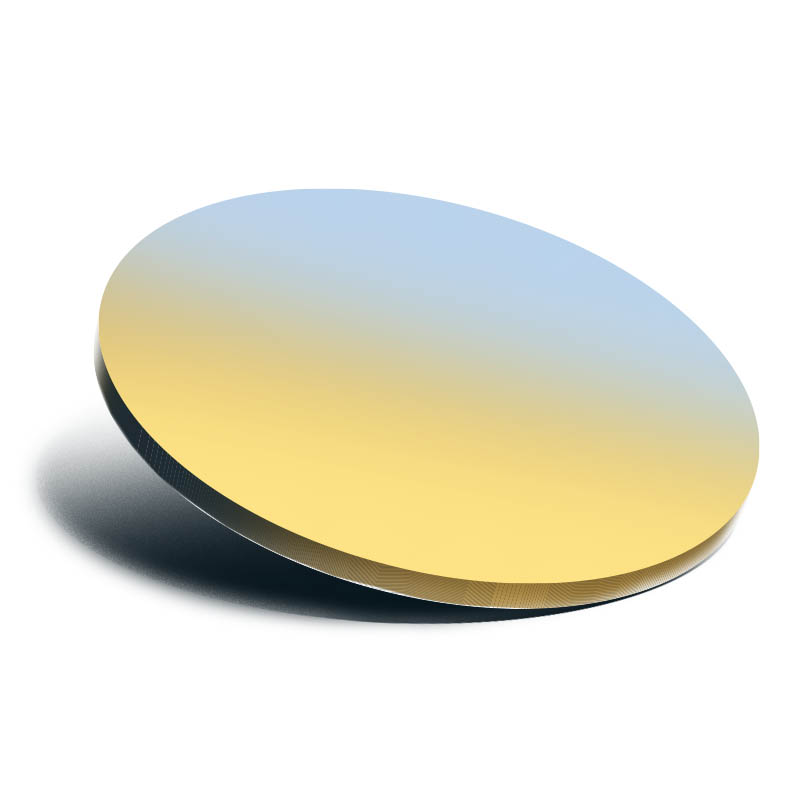
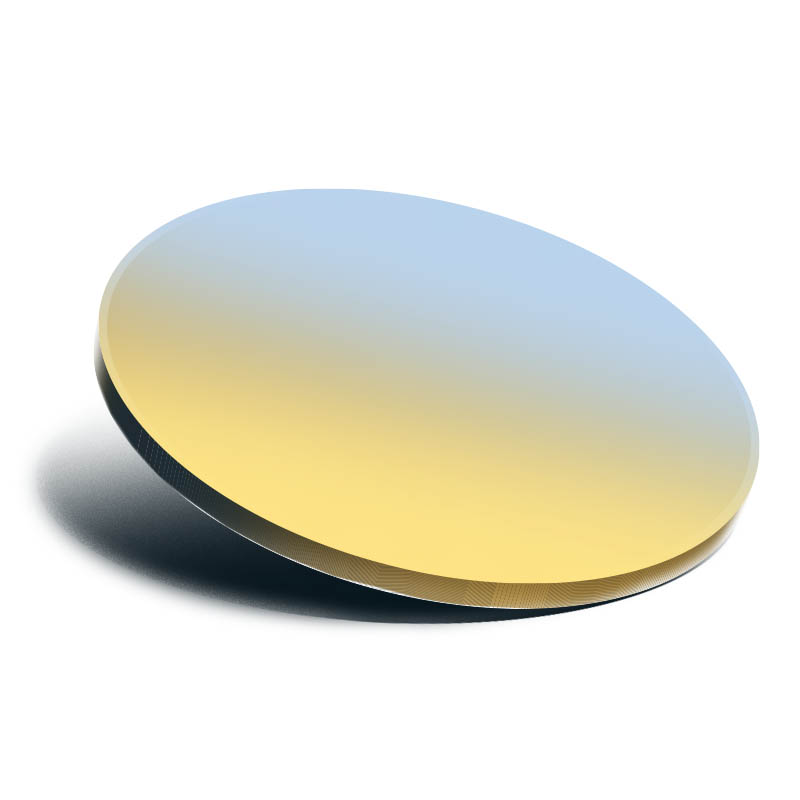
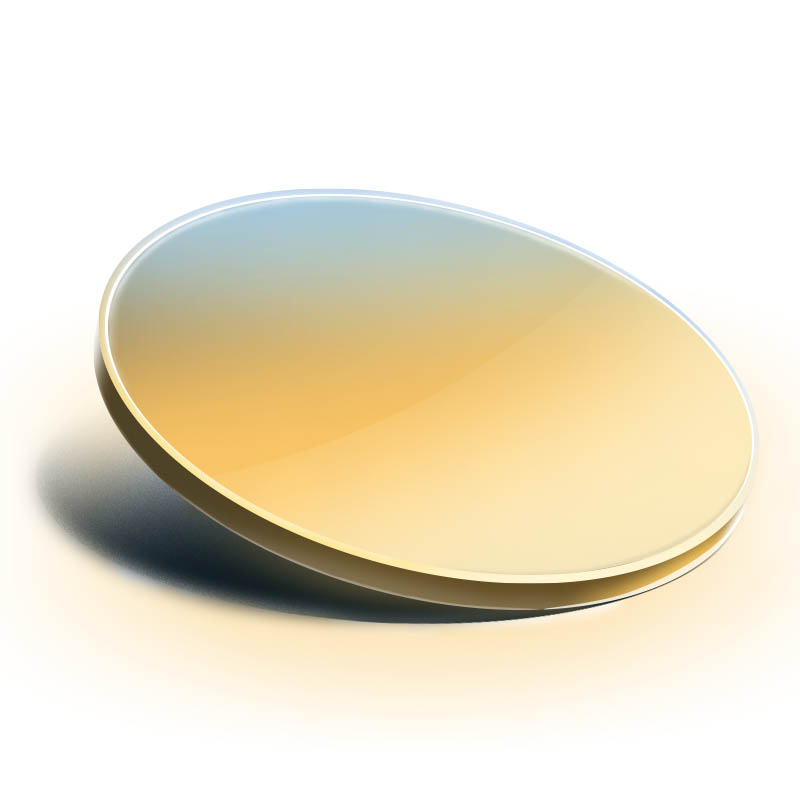
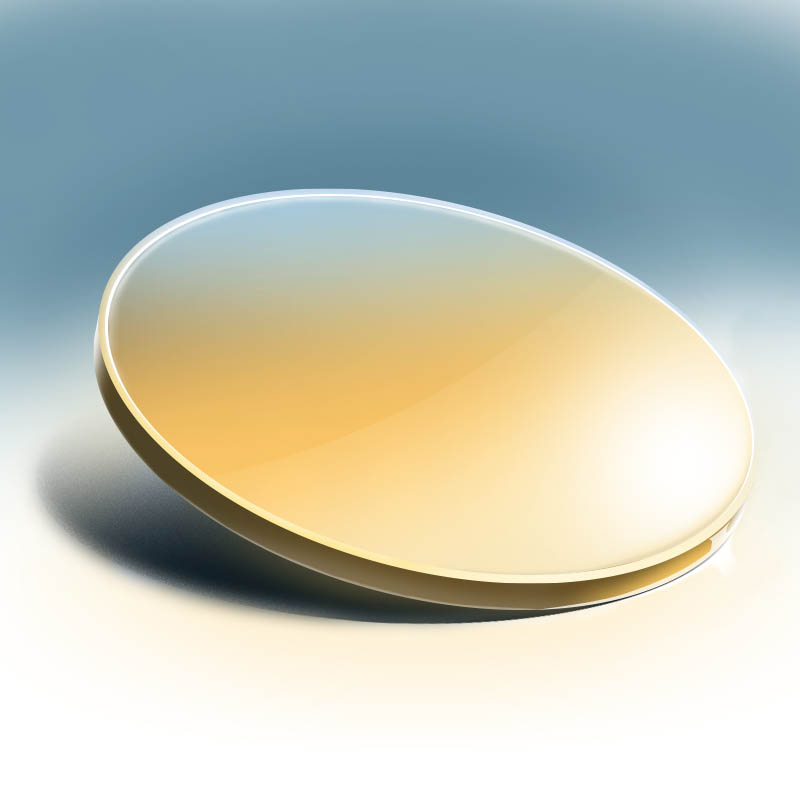
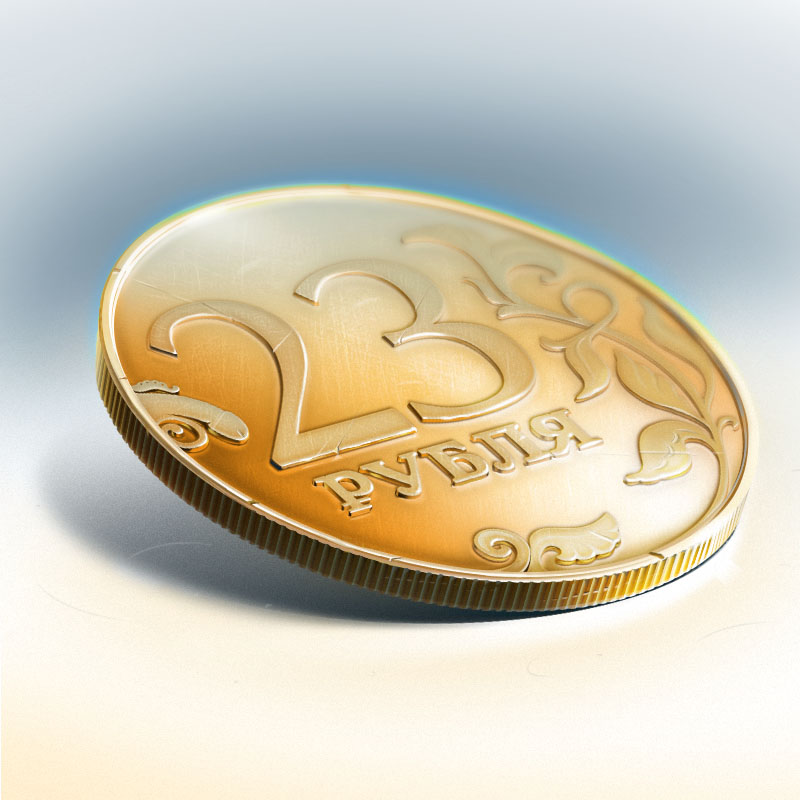
To give the illustration additional spatiality, we need to decide on the color of light and shadows: usually the shadows have a colder tint, while the light is warmer. This means we’ll have to color the background, the further edge of the coin and its shadow in blue and the table—in yellow.
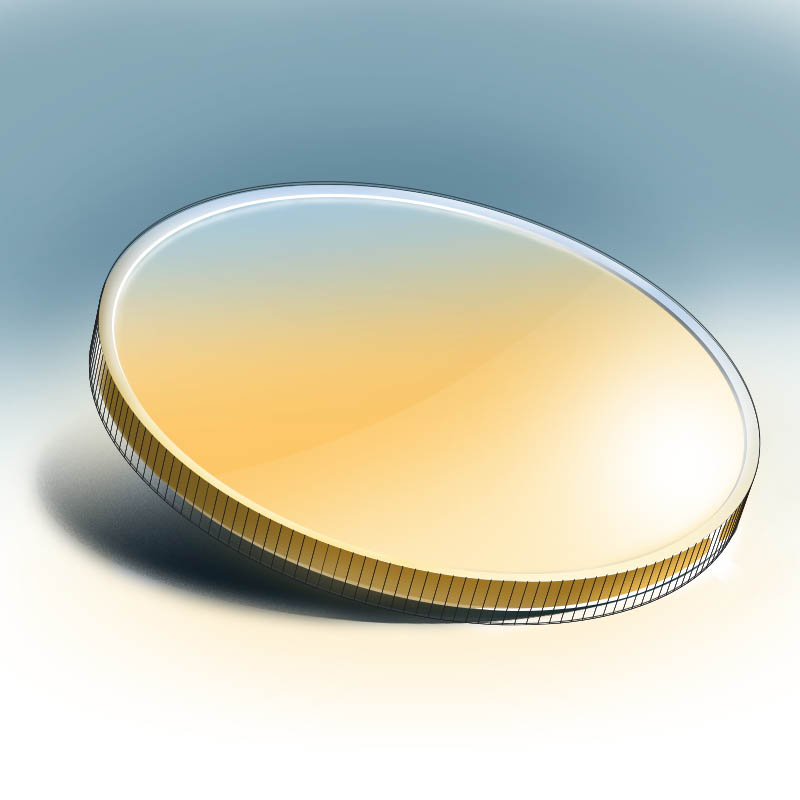
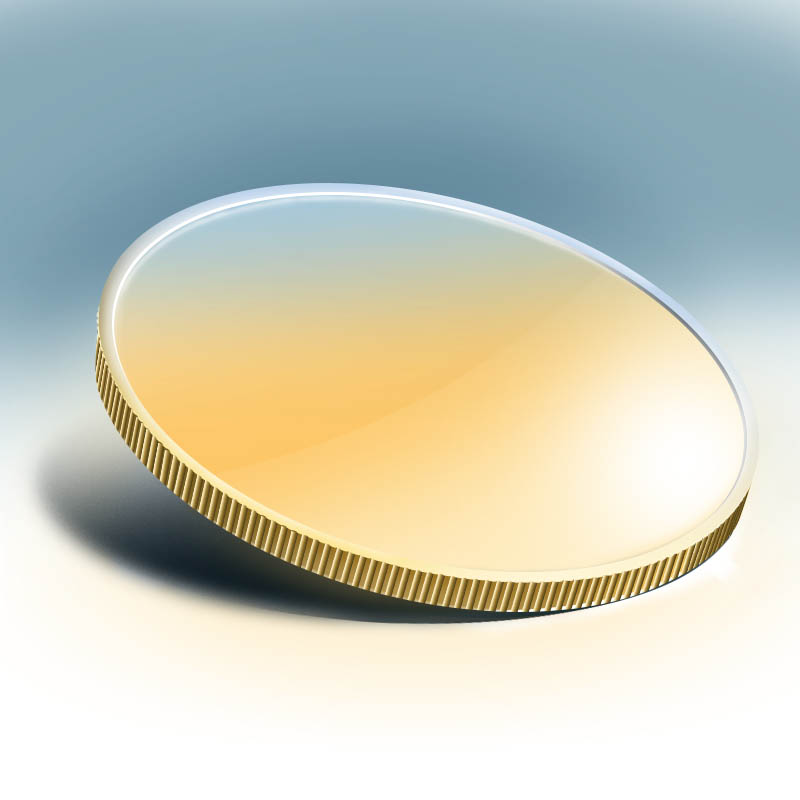
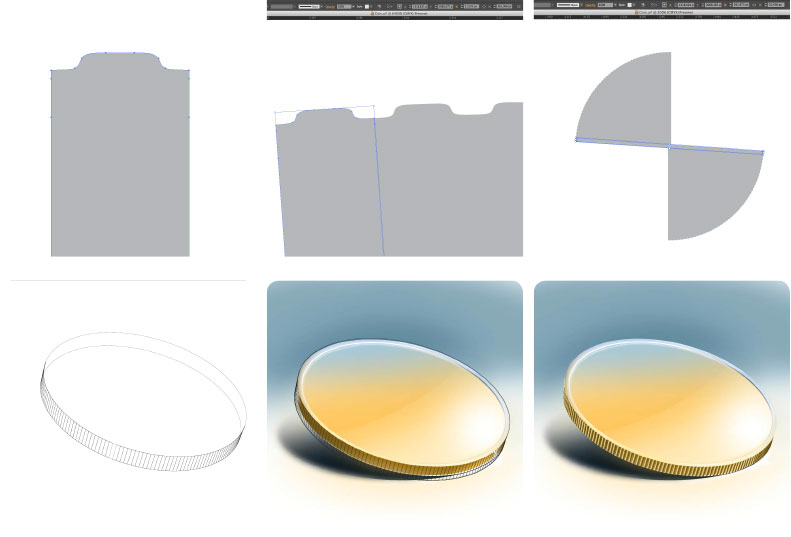
Working on the edge. In Illustrator we draw a vertical shape with grooves on both sides. Using the repeat action tool (Cmd+D) we rotate its copy as many times as we need until the circle comes together (the main thing here is to choose the right rotation angle).
Next we group all shapes and apply the Extrude & Bevel effect to them. Now we need the properties of the effect we copied when we applied it to the coin we created in the first step—we will apply them to our new group. It will allow us to synchronize the perspective precisely. In our case surface type changes to Wireframe.
At the end we have a grid which can be used to easily draw the grooves.
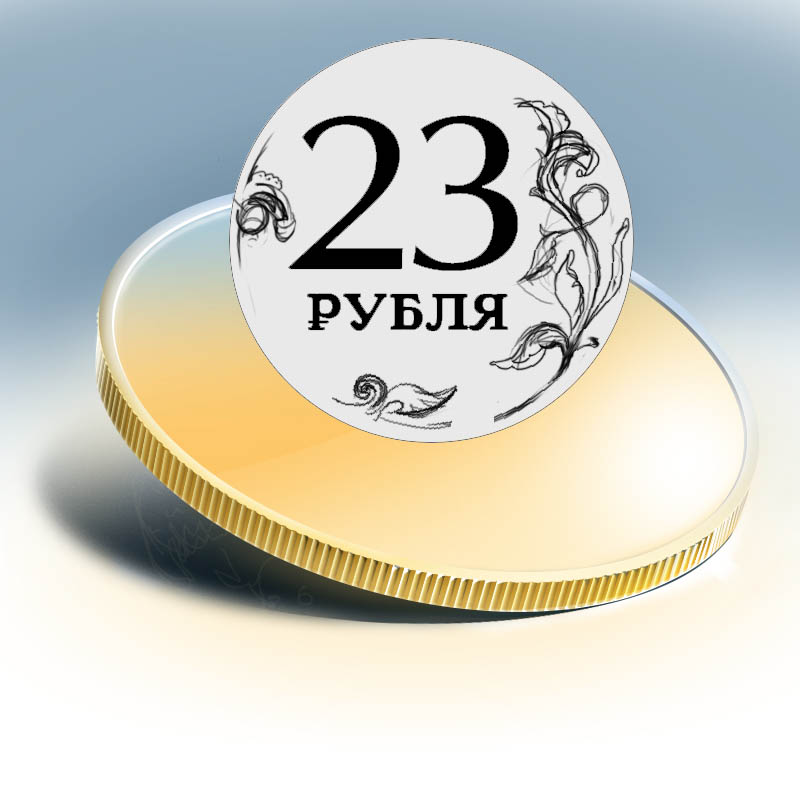
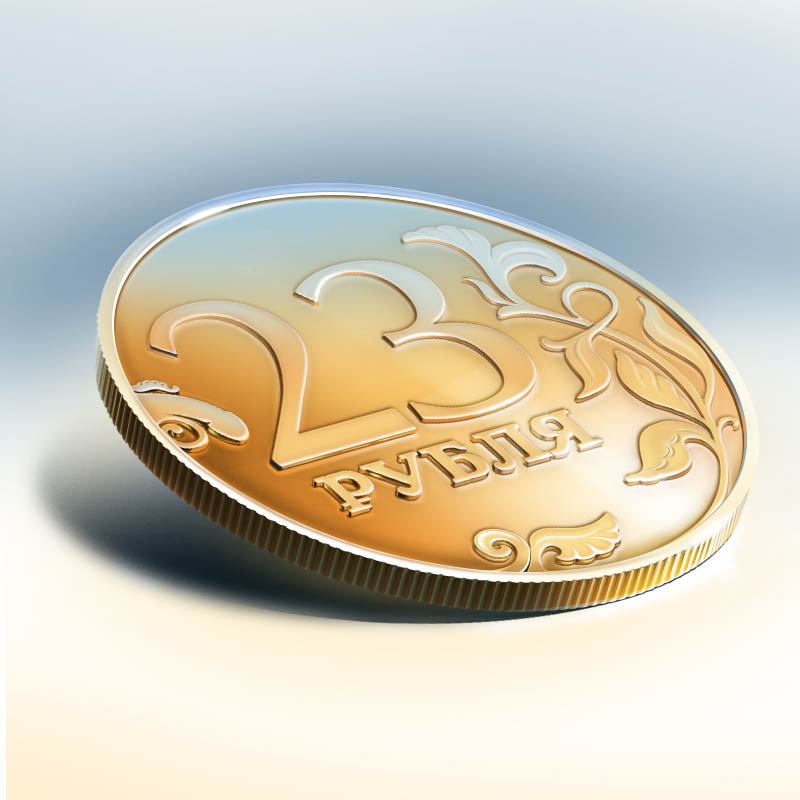
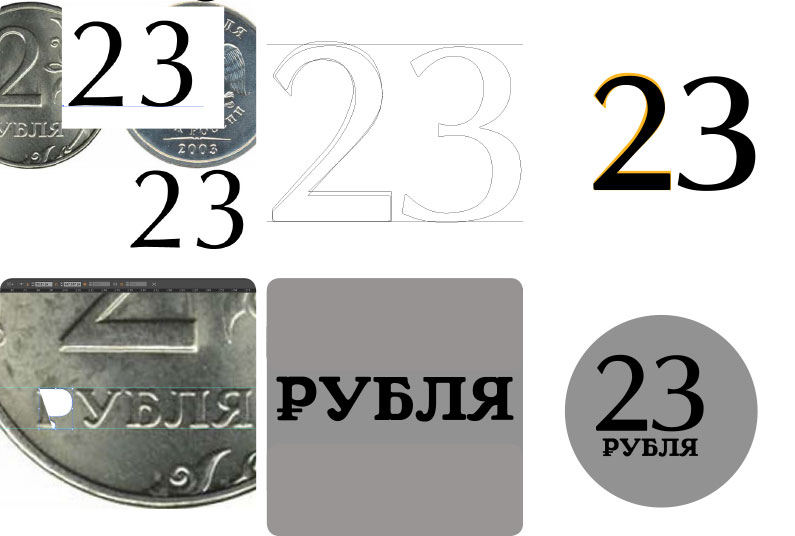
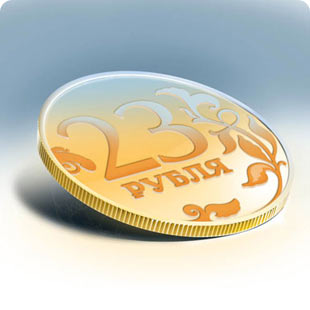
Stage 3: tail side
Now we need to draw “23” and “rubles.” We use a 2-ruble coin as an example: it already has two thirds of the information we need. We find a matching 3 to the 2 already on the coin and adjust character proportions.
All that’s left is to draw the word “rubles.”
The text part is ready. Time to work on the ornament maintaining the style of Russian coins. Why not say hi to Euro while we’re at it?
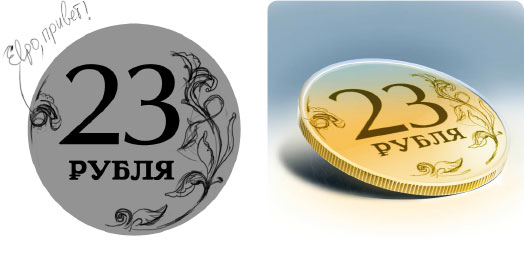
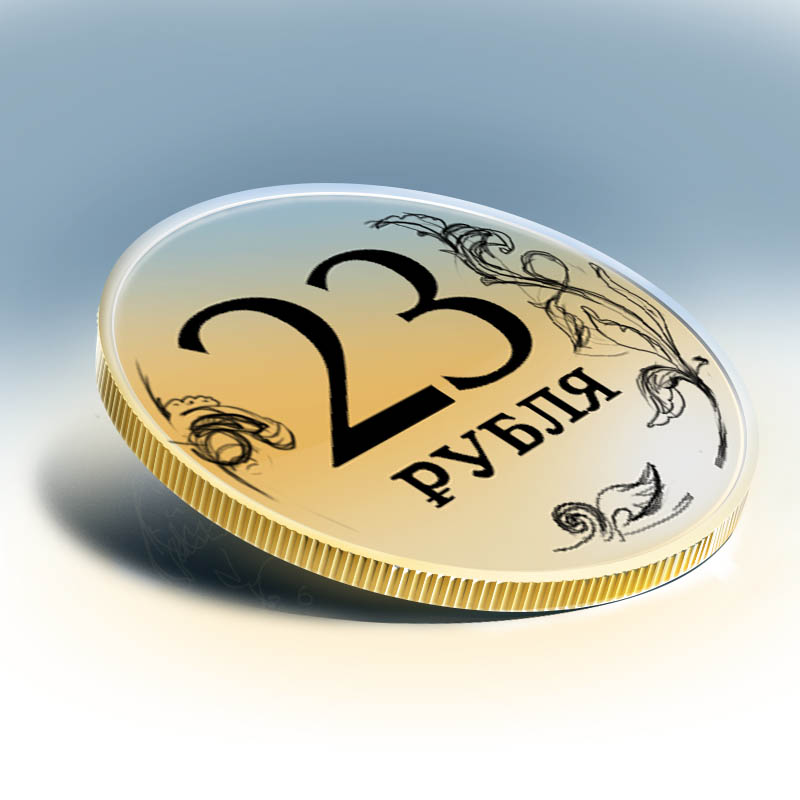
Now when the draft is ready we have to go back to Illustrator and outline the tail side draft.
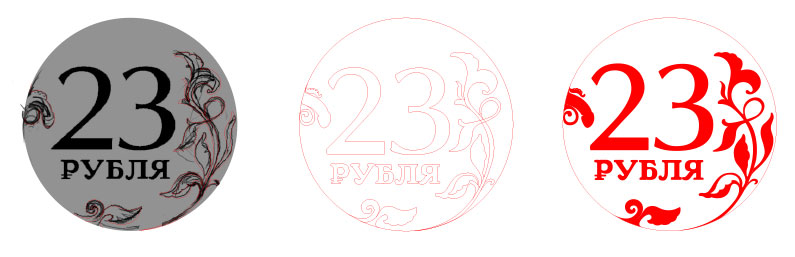
The result looks good enough. We copy the tail side to Photoshop as a smart object, convert it to smart object again, since the one copied from Illustrator does not support many of transformations, and position the picture on the coin taking the perspective into account.
Next we rotate the tail side to the desired angle, it’s best to do it inside the smart object. The beauty of smart objects is that they keep the source image which can be edited in Illustrator.
Converting layers to smart objects can be useful for many reasons, some of them are:
— they can be transformed infinite number of times
— you can apply smart filters to them, adjusting their intensity and hiding their effects using masks
— you can edit the original and the changes will be seen right after saving
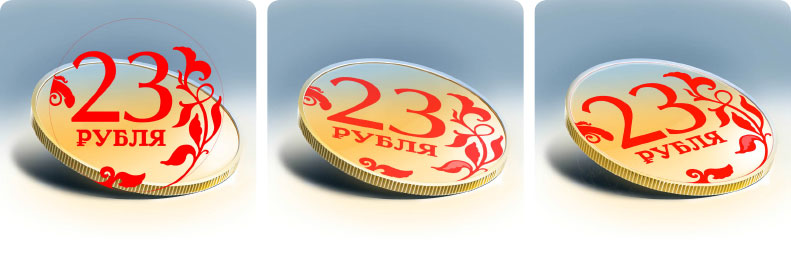
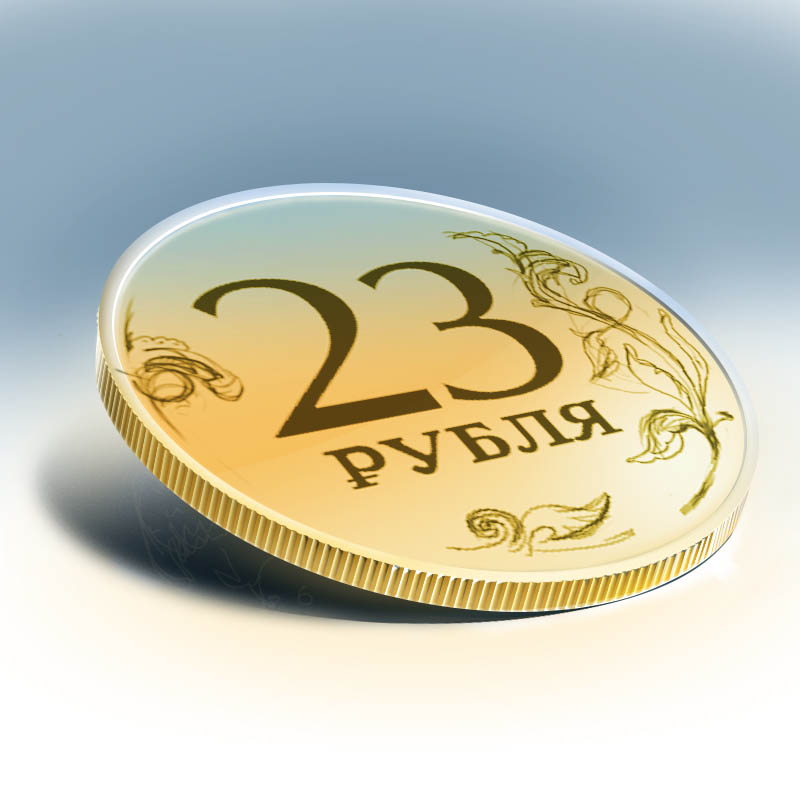
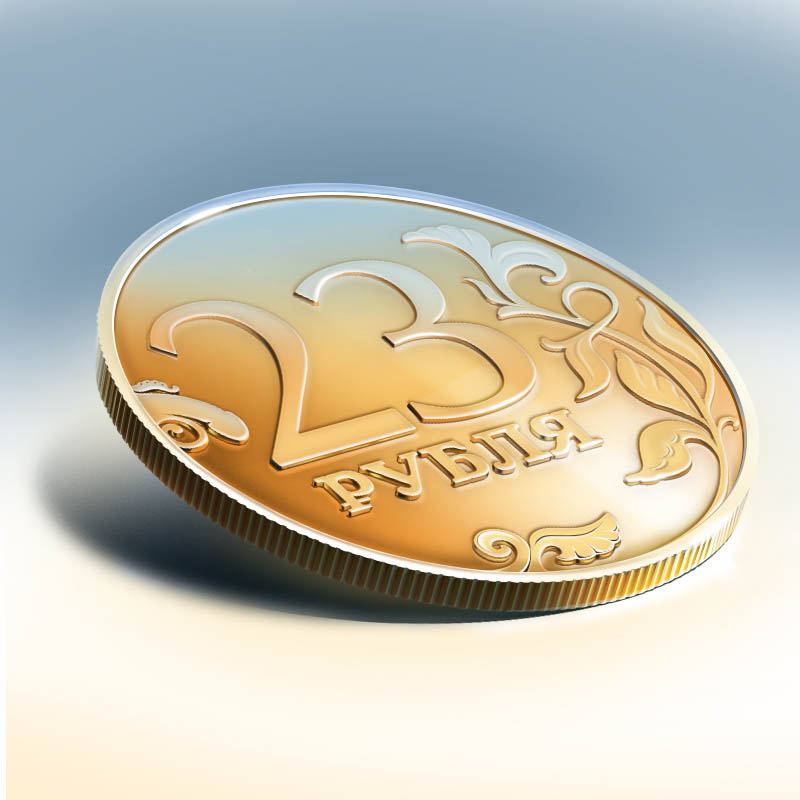
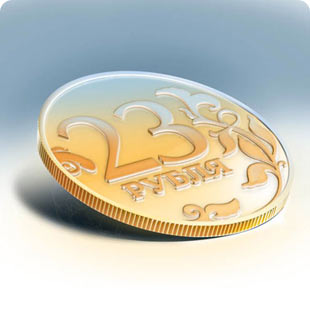
Stage 4: relief
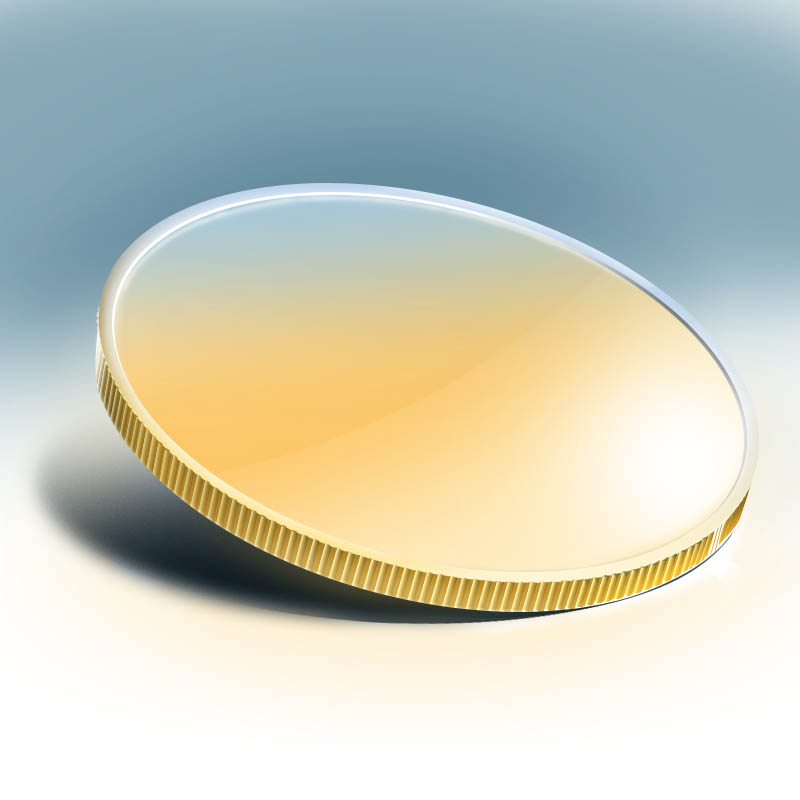
By copying and moving the smart object, applying filters and masks to it we make the relief look more or less natural. Meanwhile the grooves on the edge are also finalized.
Another benefit of smart objects is that all changes made to one copy are instantly propagated to other copies. If for some reason we would need to add or remove something from the tail side, all we’ll have to do is make the changes—the copies will be transformed automatically.
To create an independent smart object you have to right-click the required smart object and choose New Smart Object via Copy.


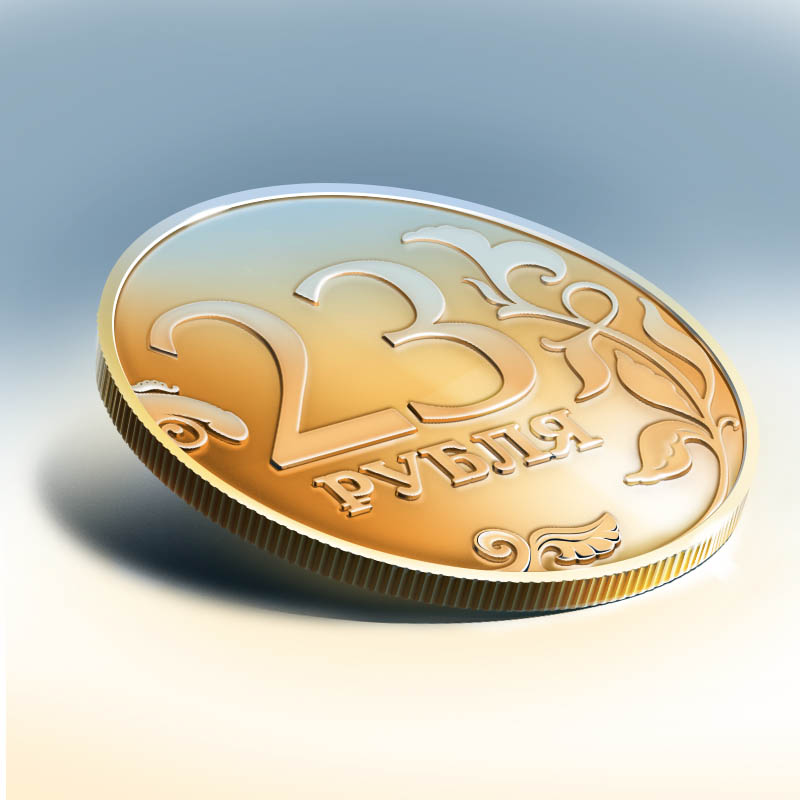
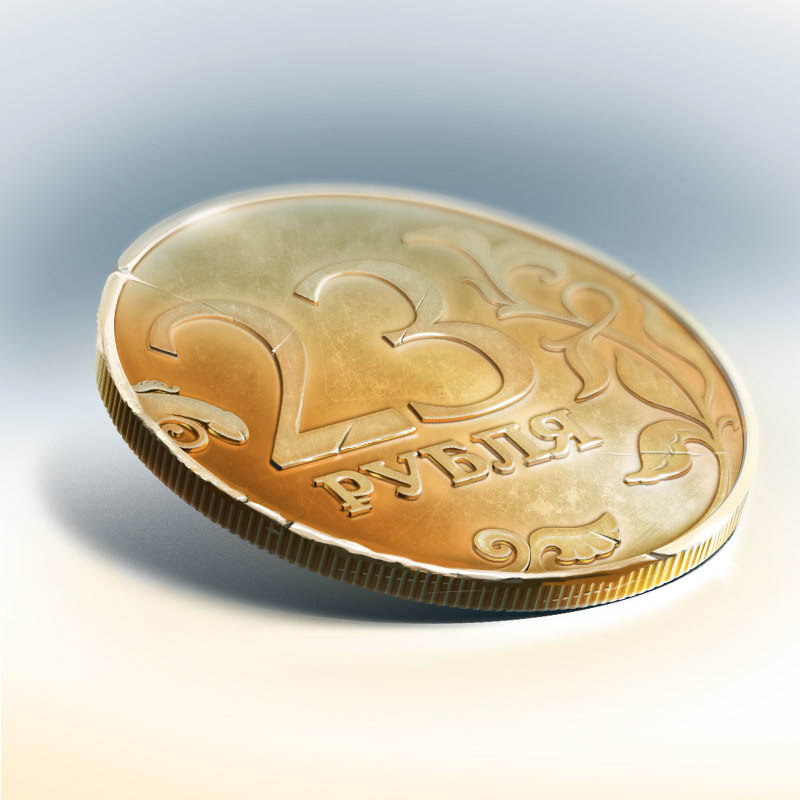
Stage 5: working with details
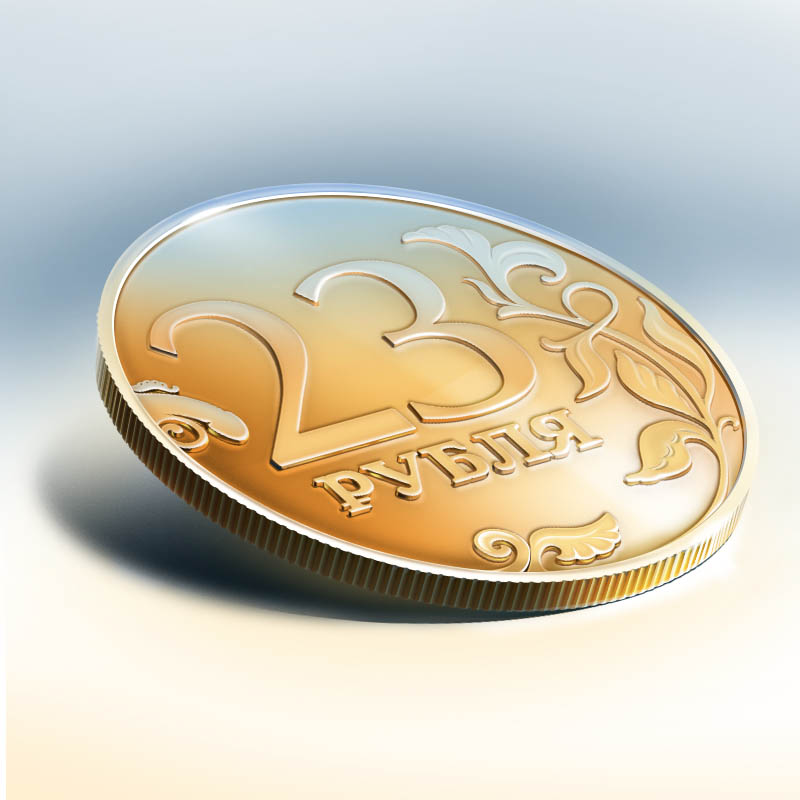
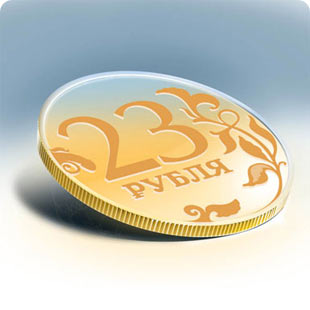
We add reflections, glare and shadows where needed.
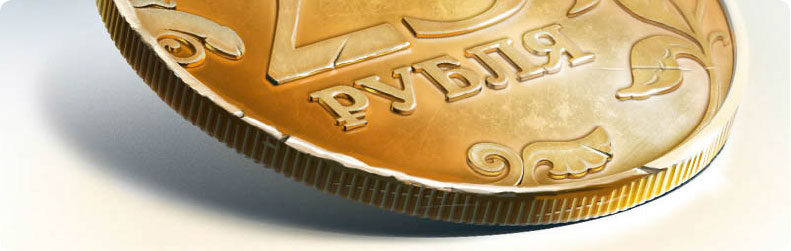
It’s best to make sure the areas most visible to the viewer have most details. In our case it’s the edge of the coin closest to the viewer, here the contrast is at its maximum.


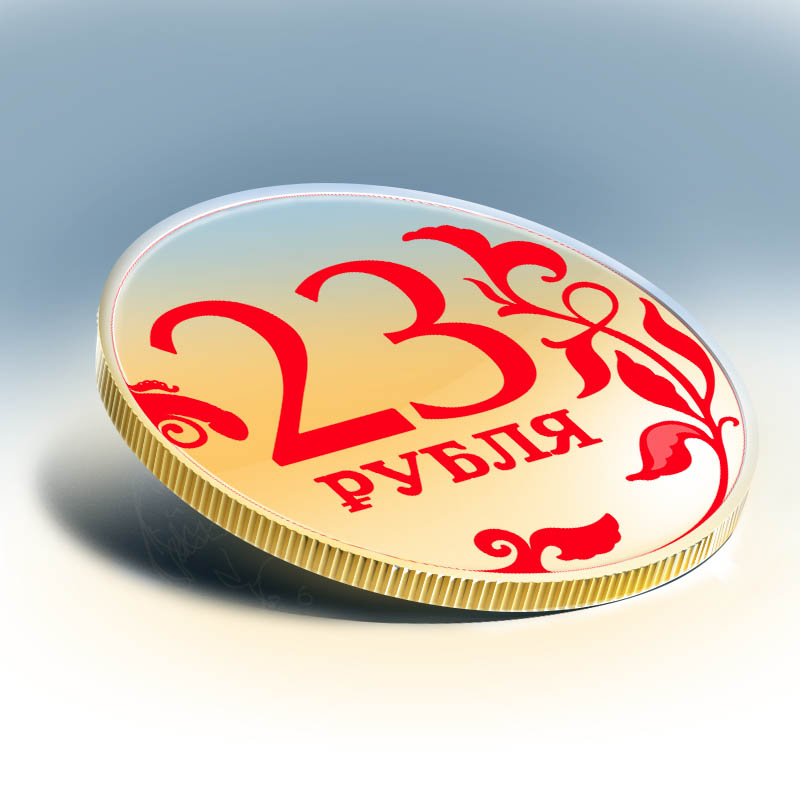
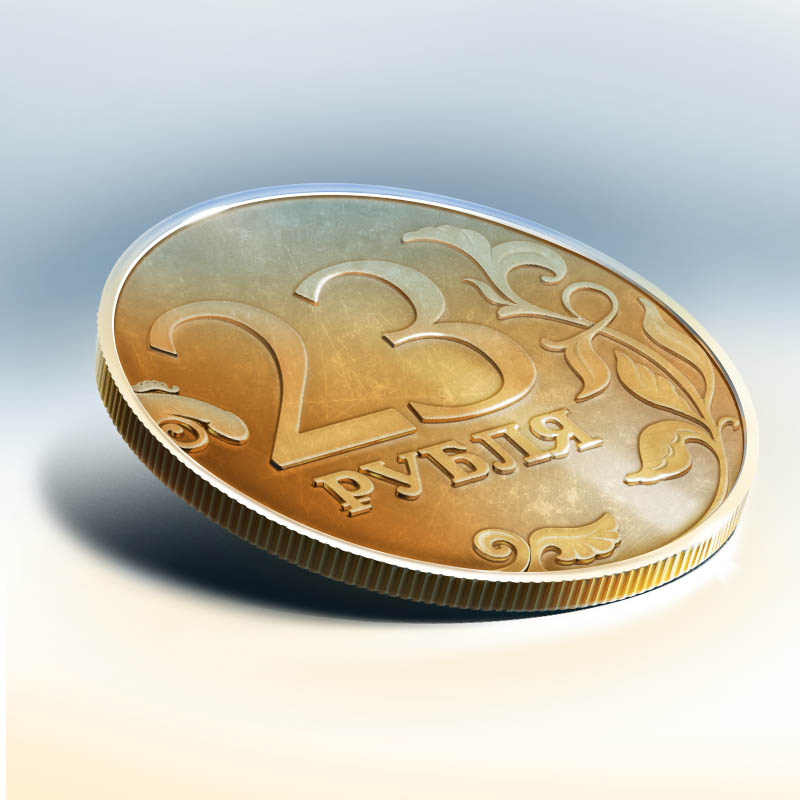
Now we need to make the coin look older: add texture, scratches, make edges less straight. It’s important to understand that the closer the surface of the coin to the relief, the less scratches it will have. On the surface of the digits and the ornament the scratches have to be toned down towards the edges.
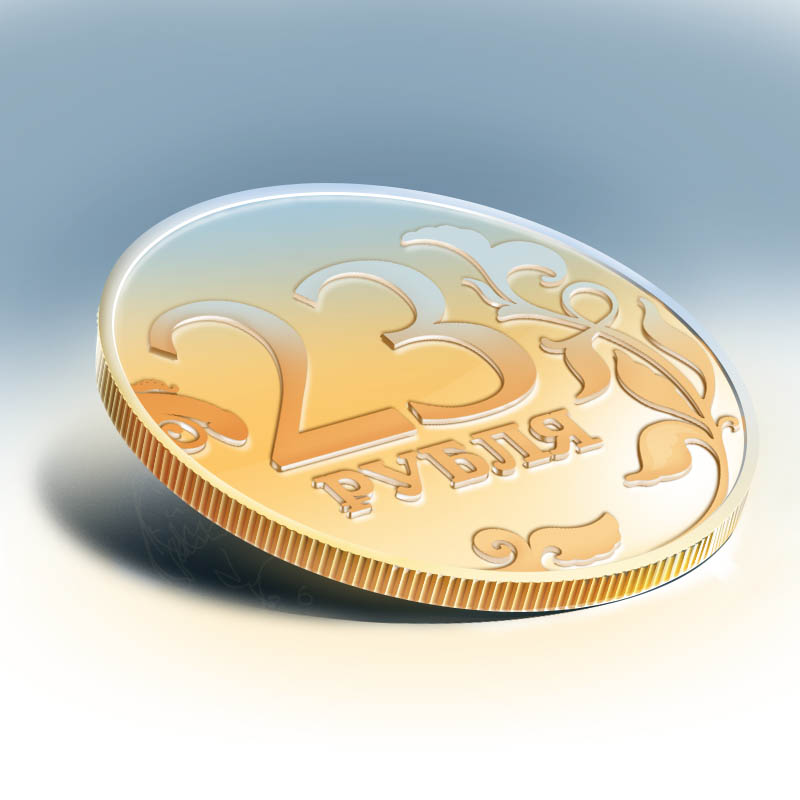
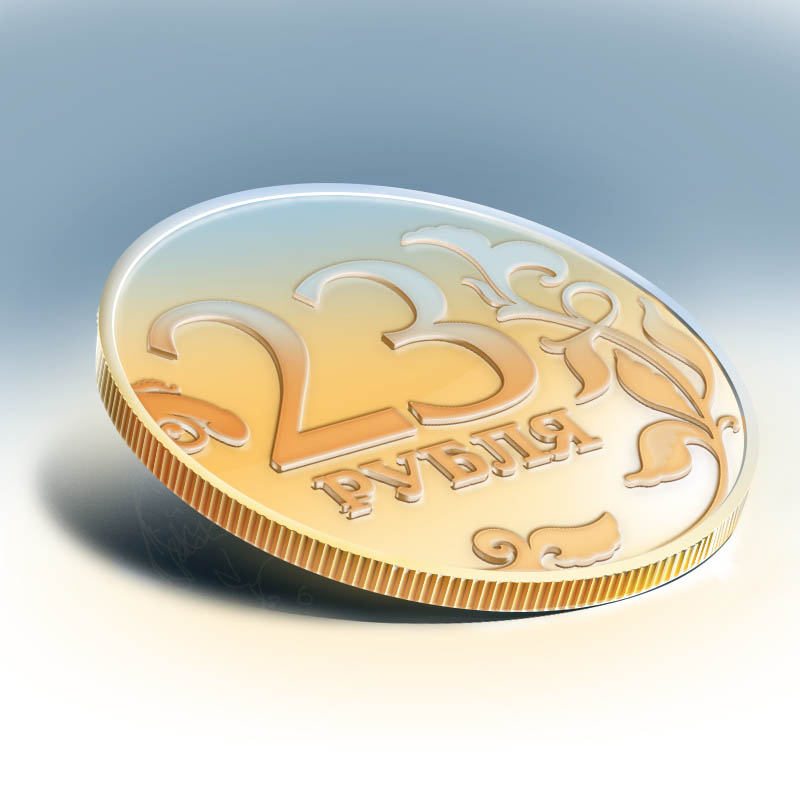
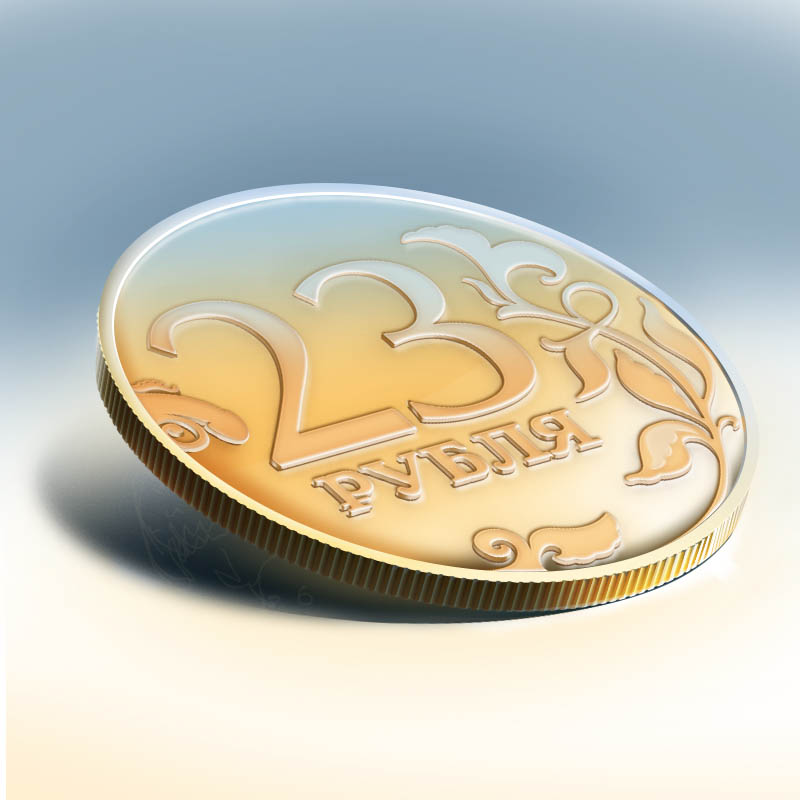
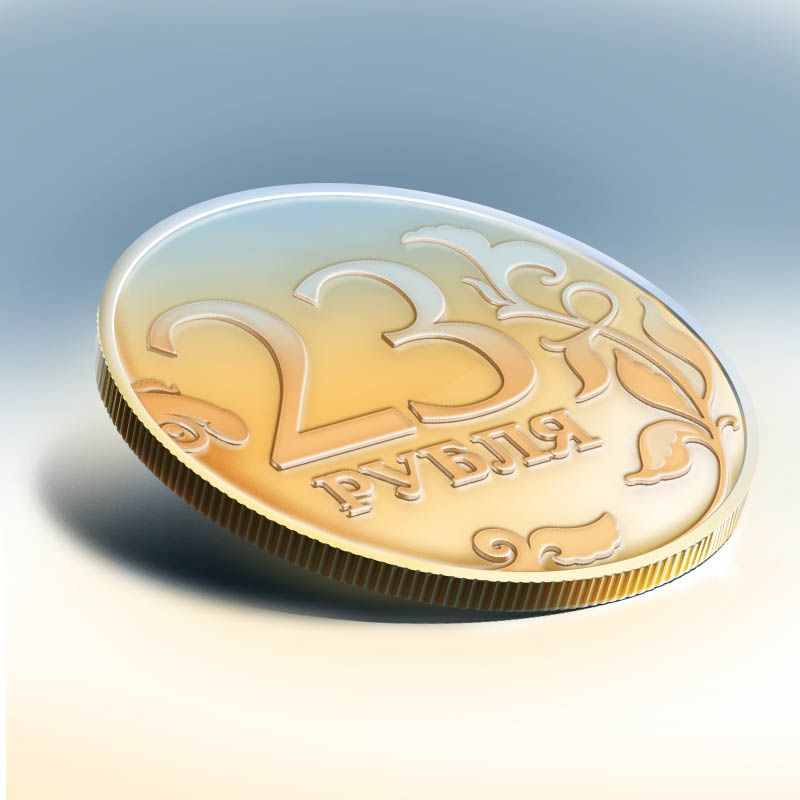
A sketch and its implementation.
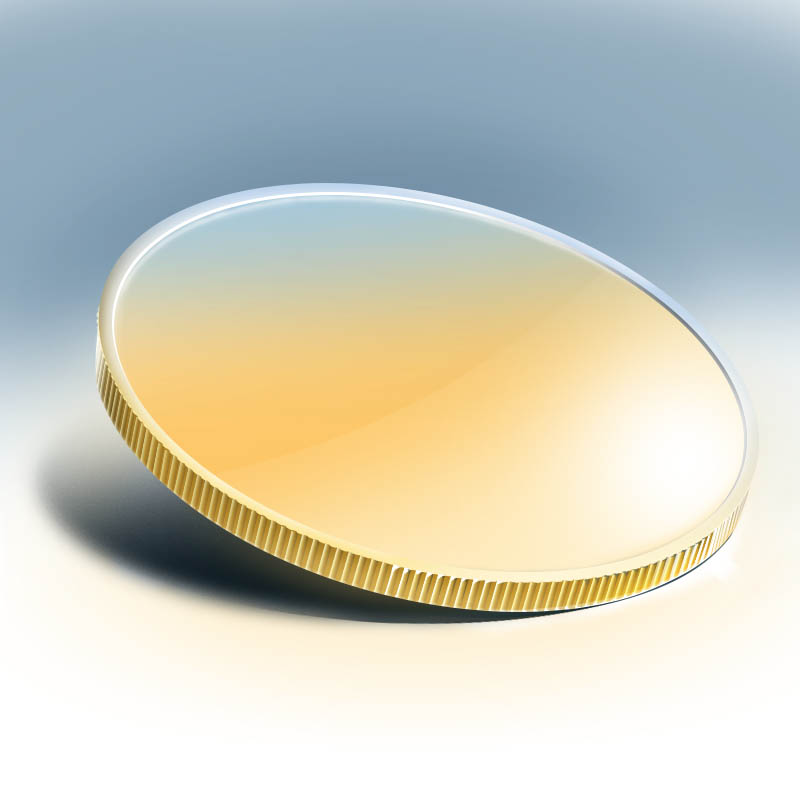
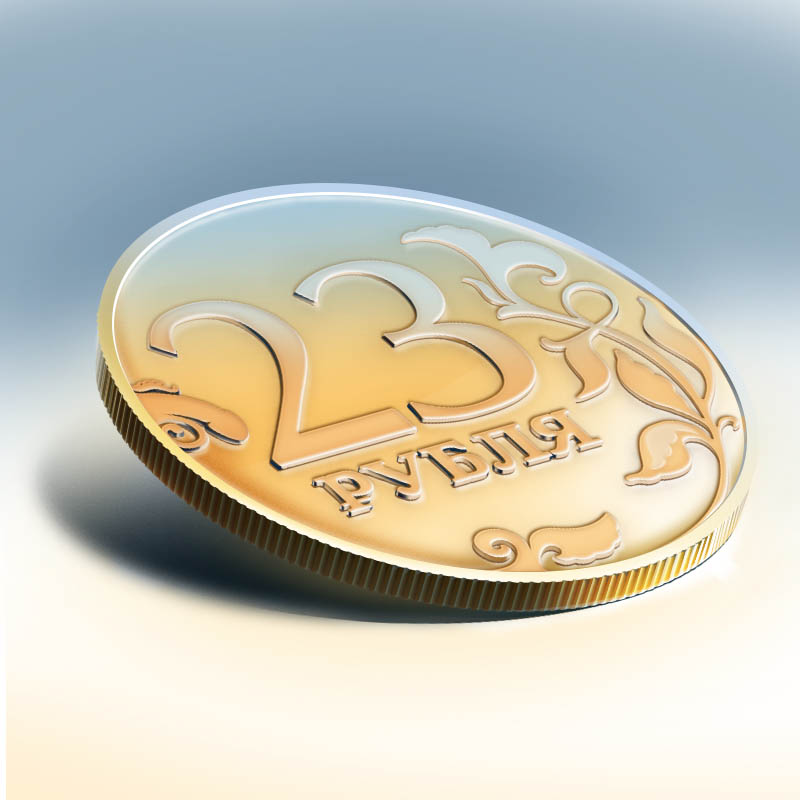
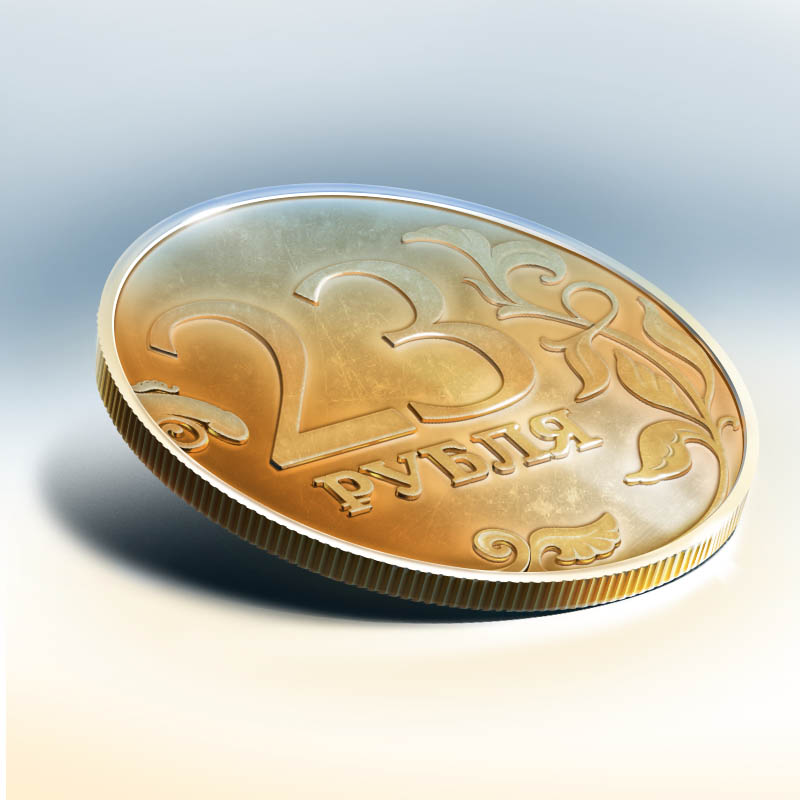
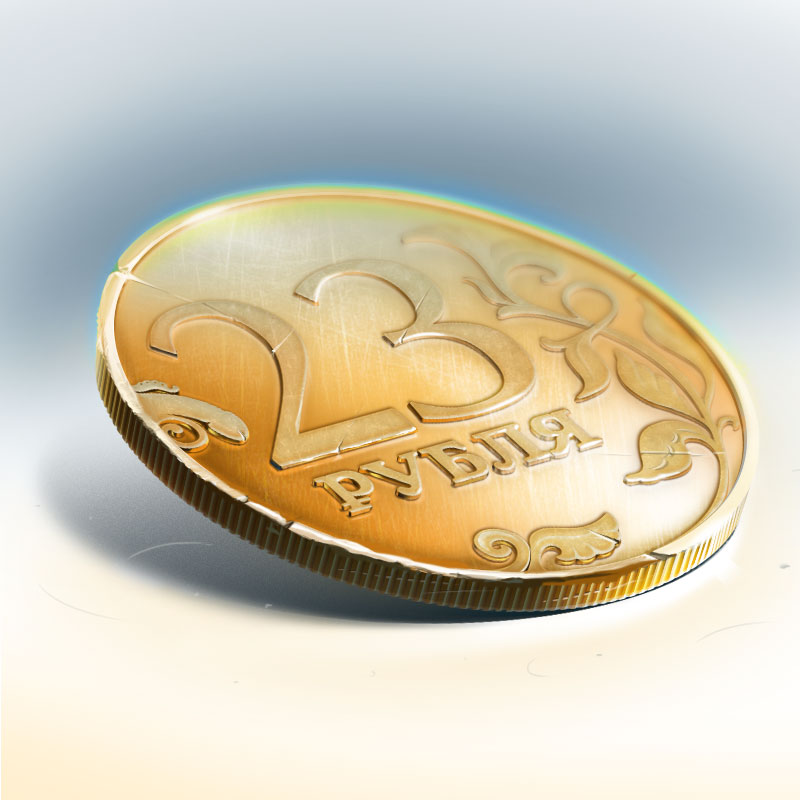
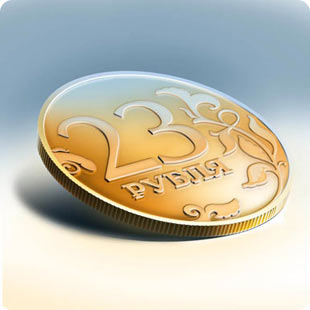
Stage 6: adding macro effect
All we have to do is convert all coin layers to a smart object, blur it and mask the filter where necessary.
Next we add aberrations, dust on the table and a bit of noise.
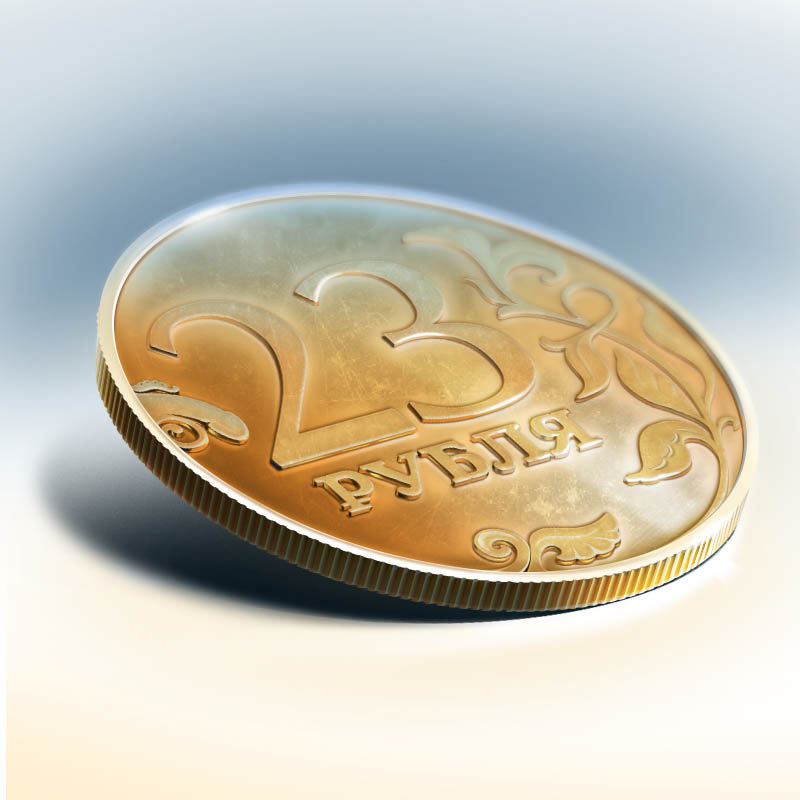
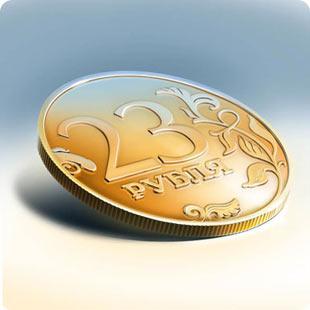
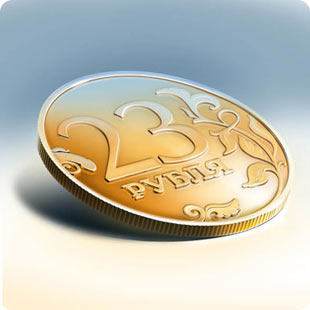
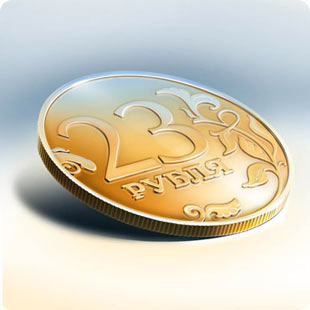
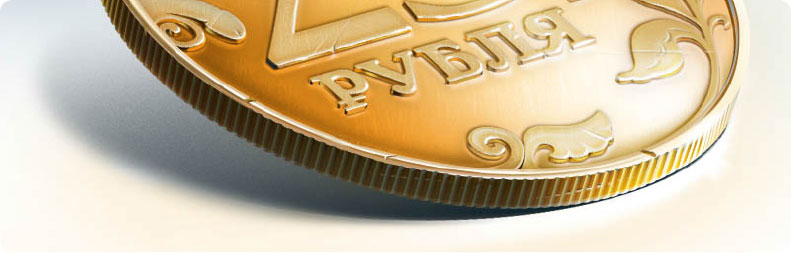
The coin is finished.
Main stages of the process: