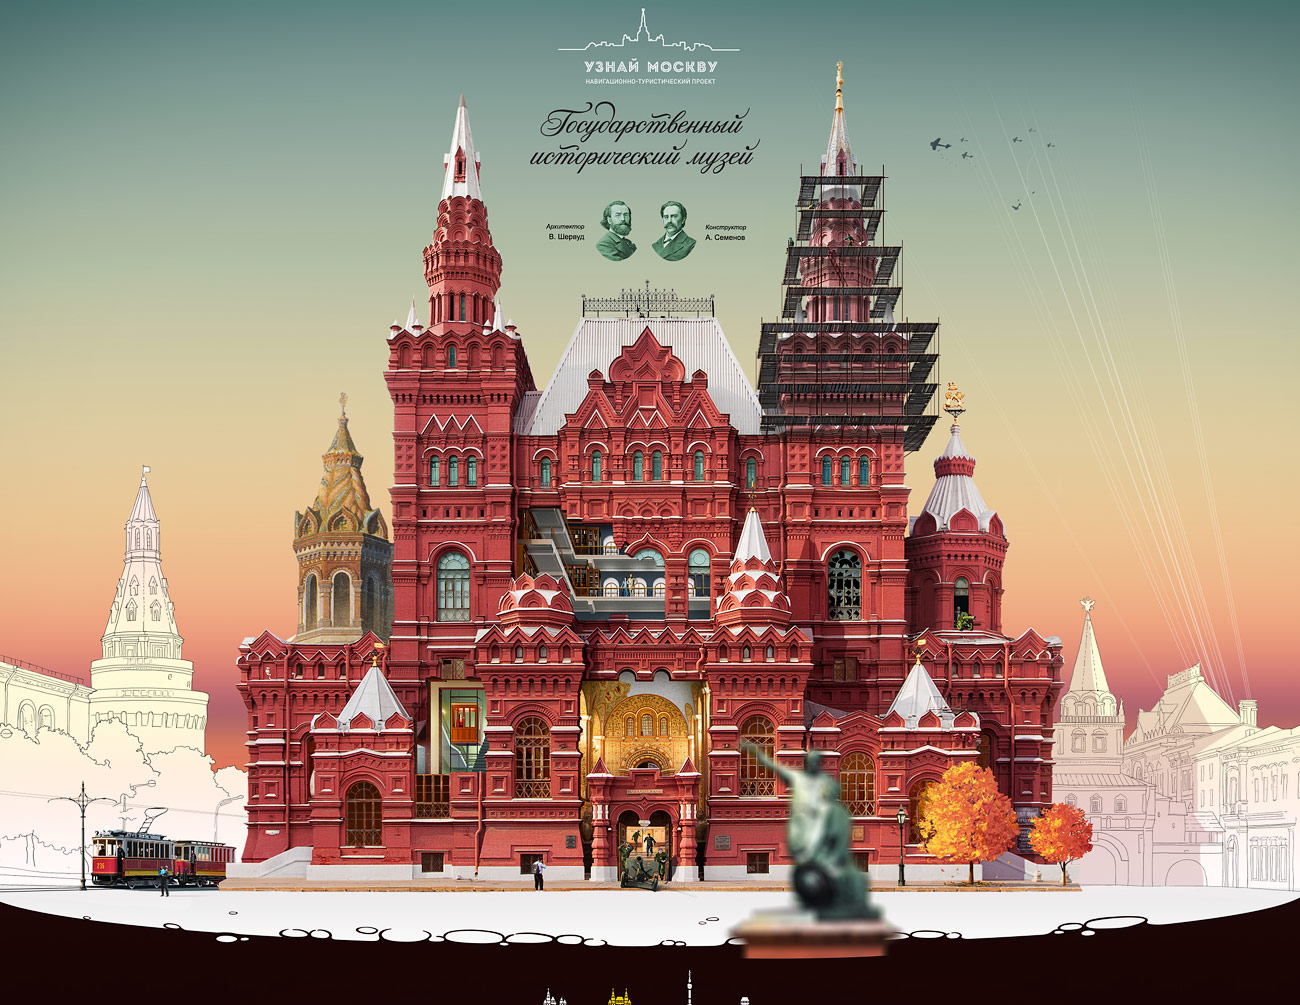
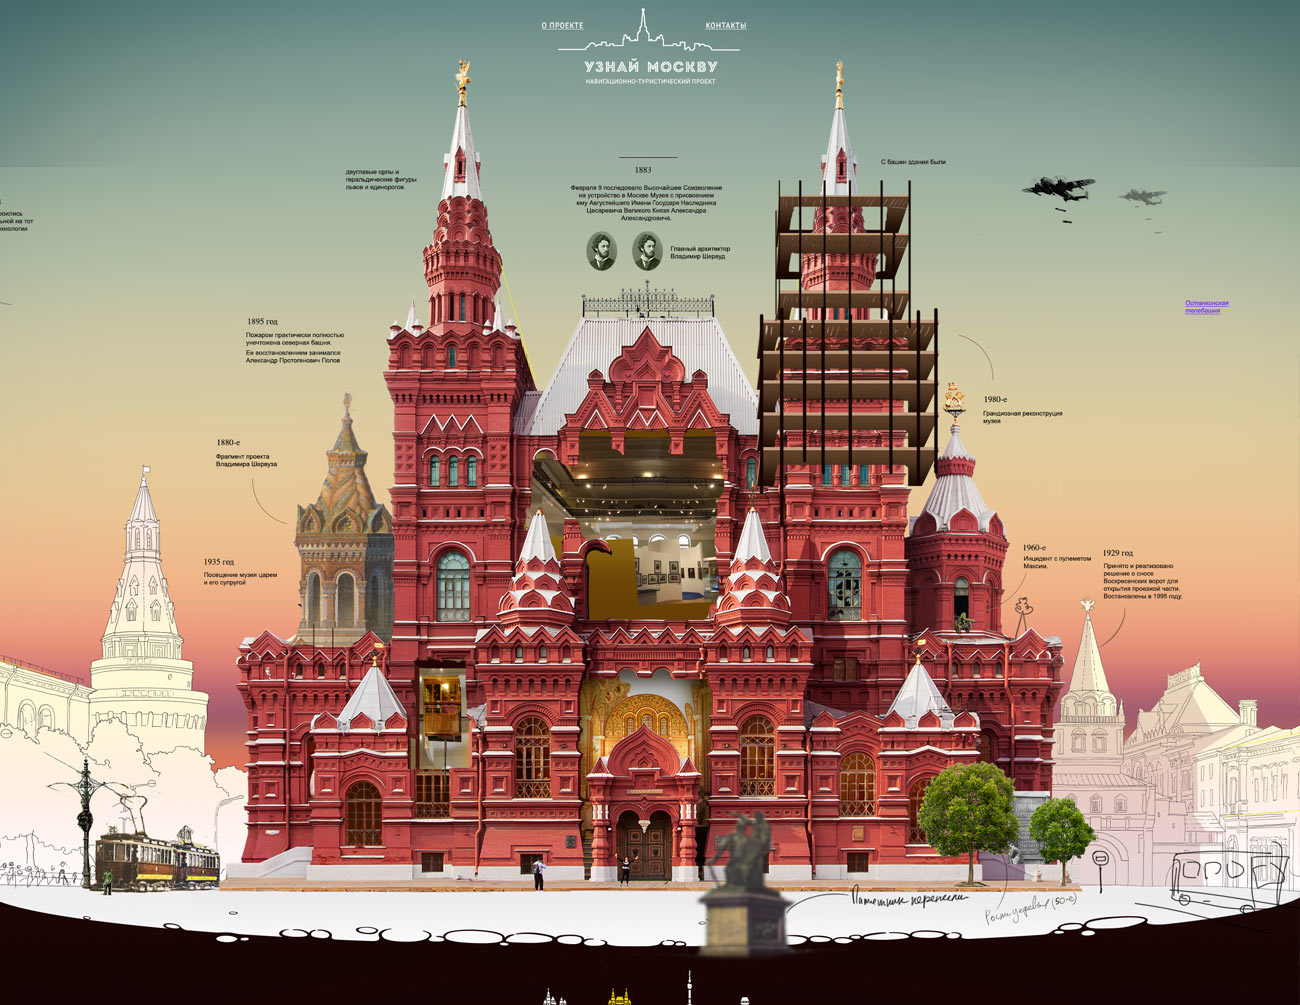
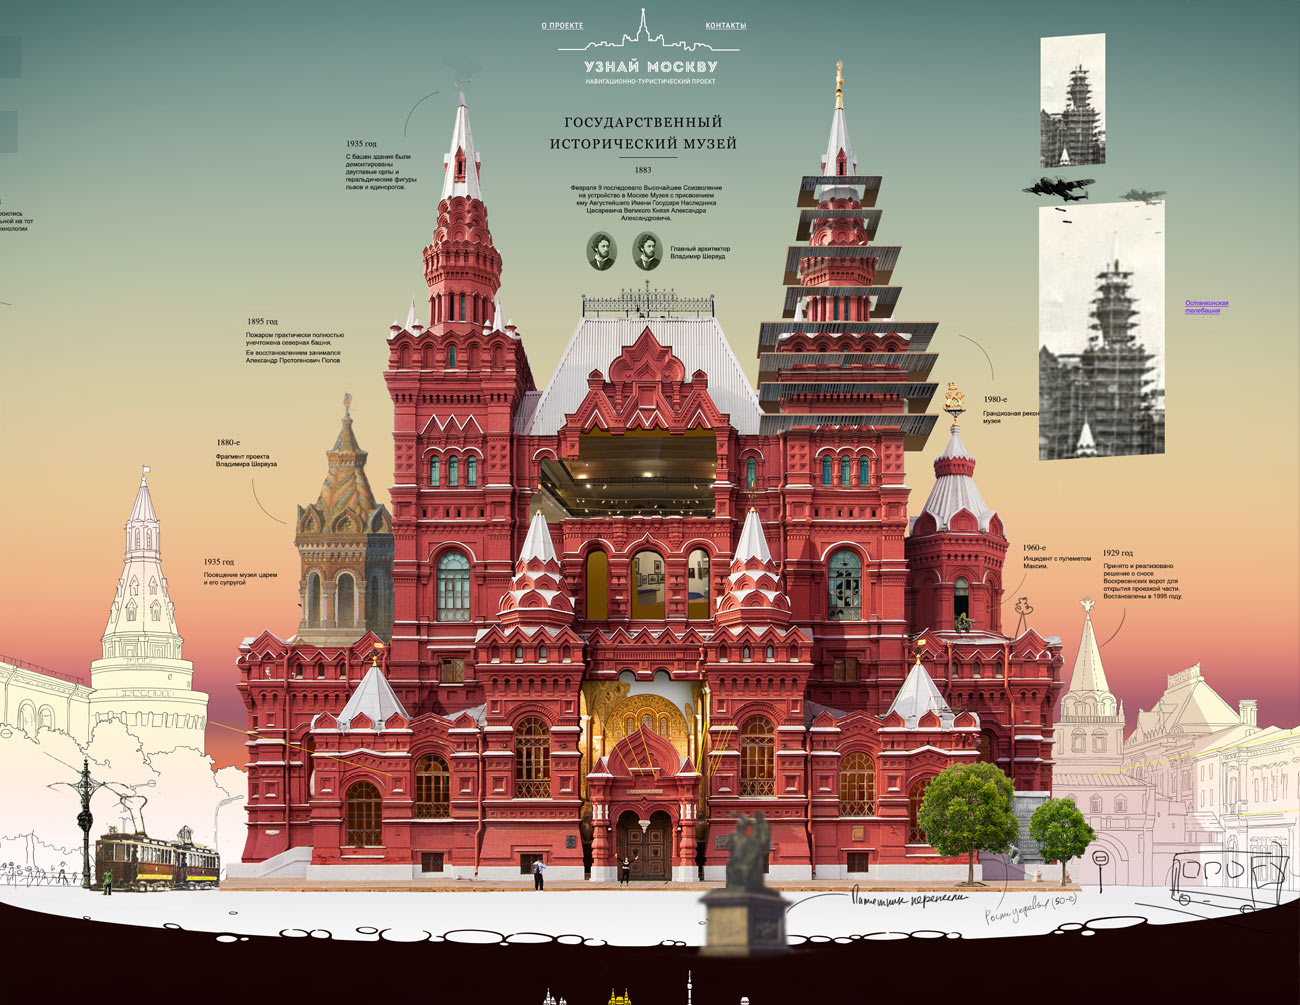
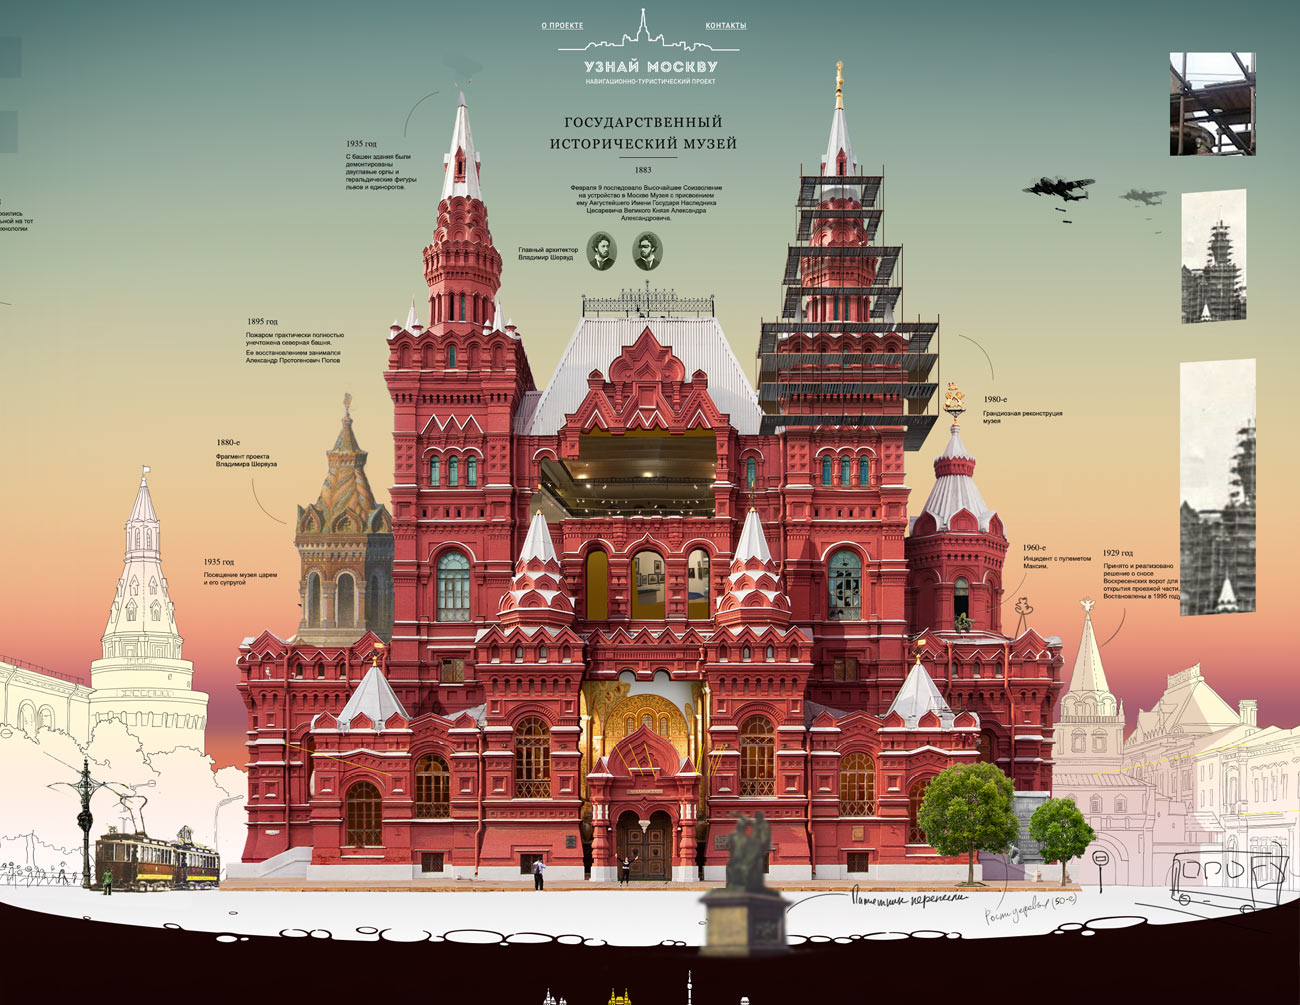
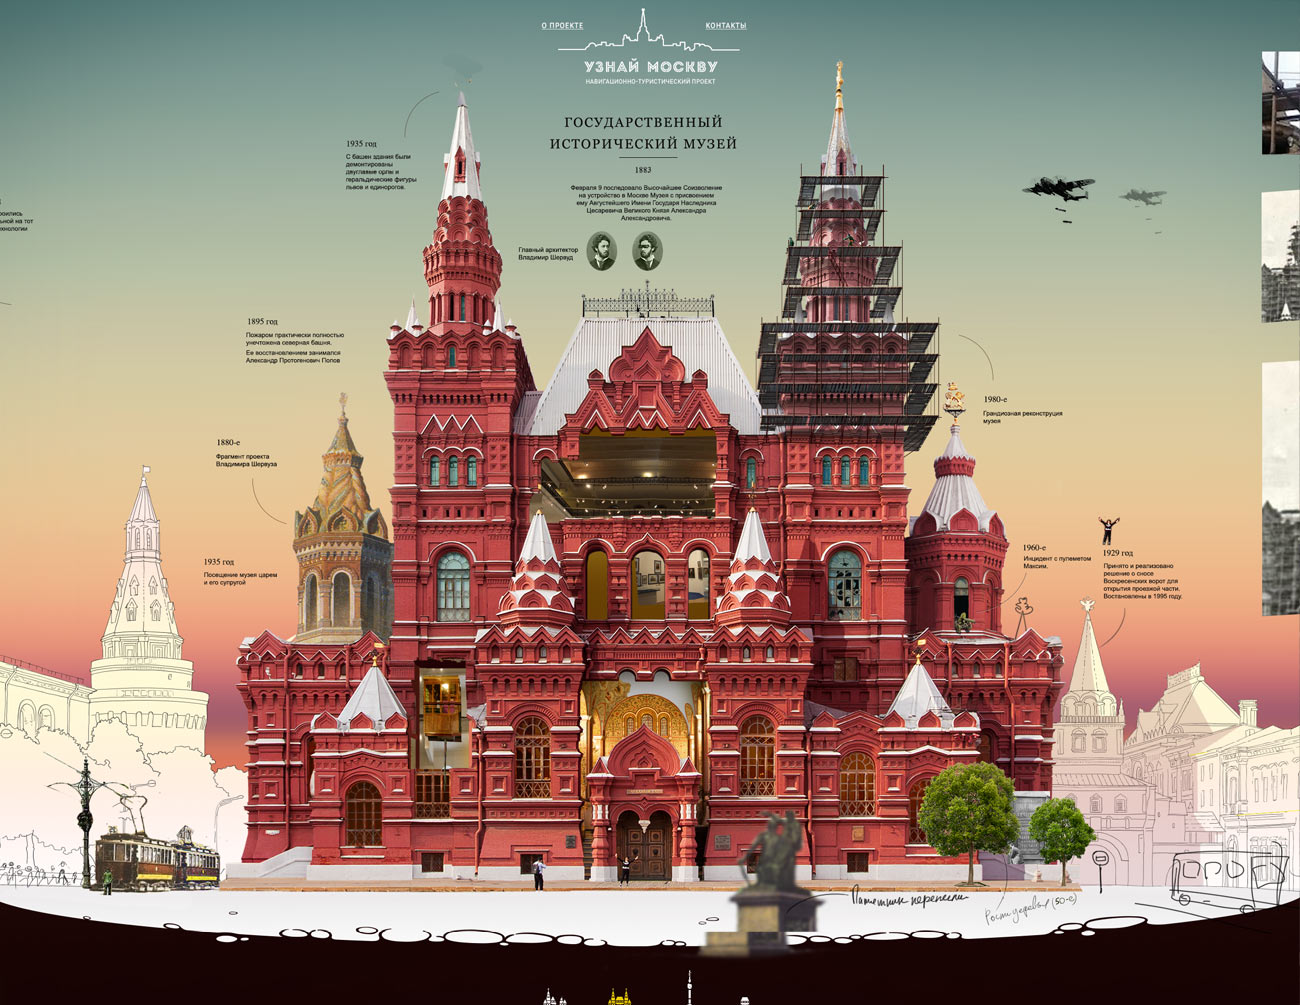
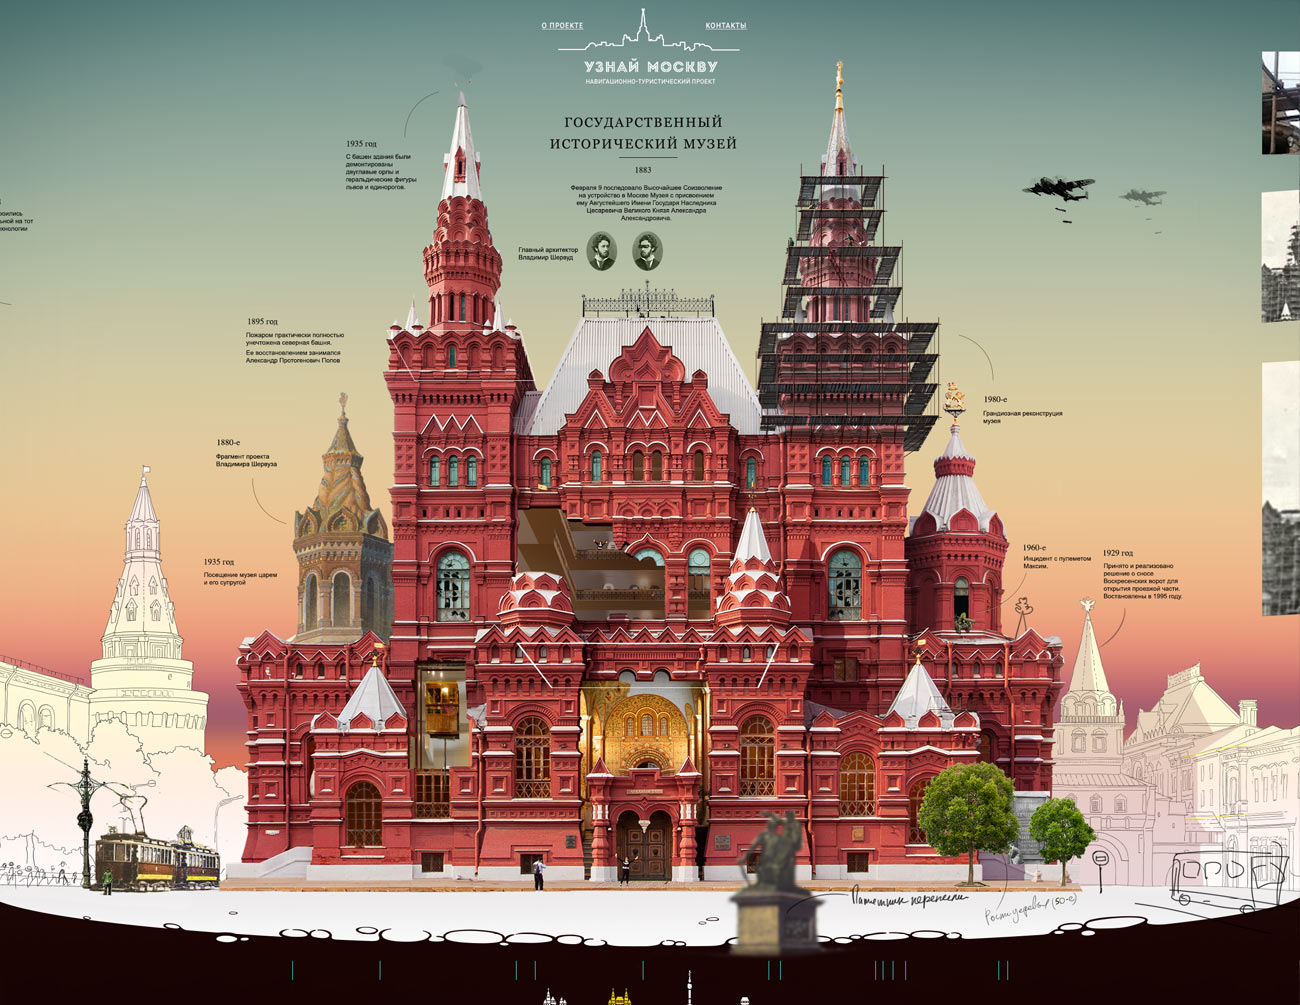
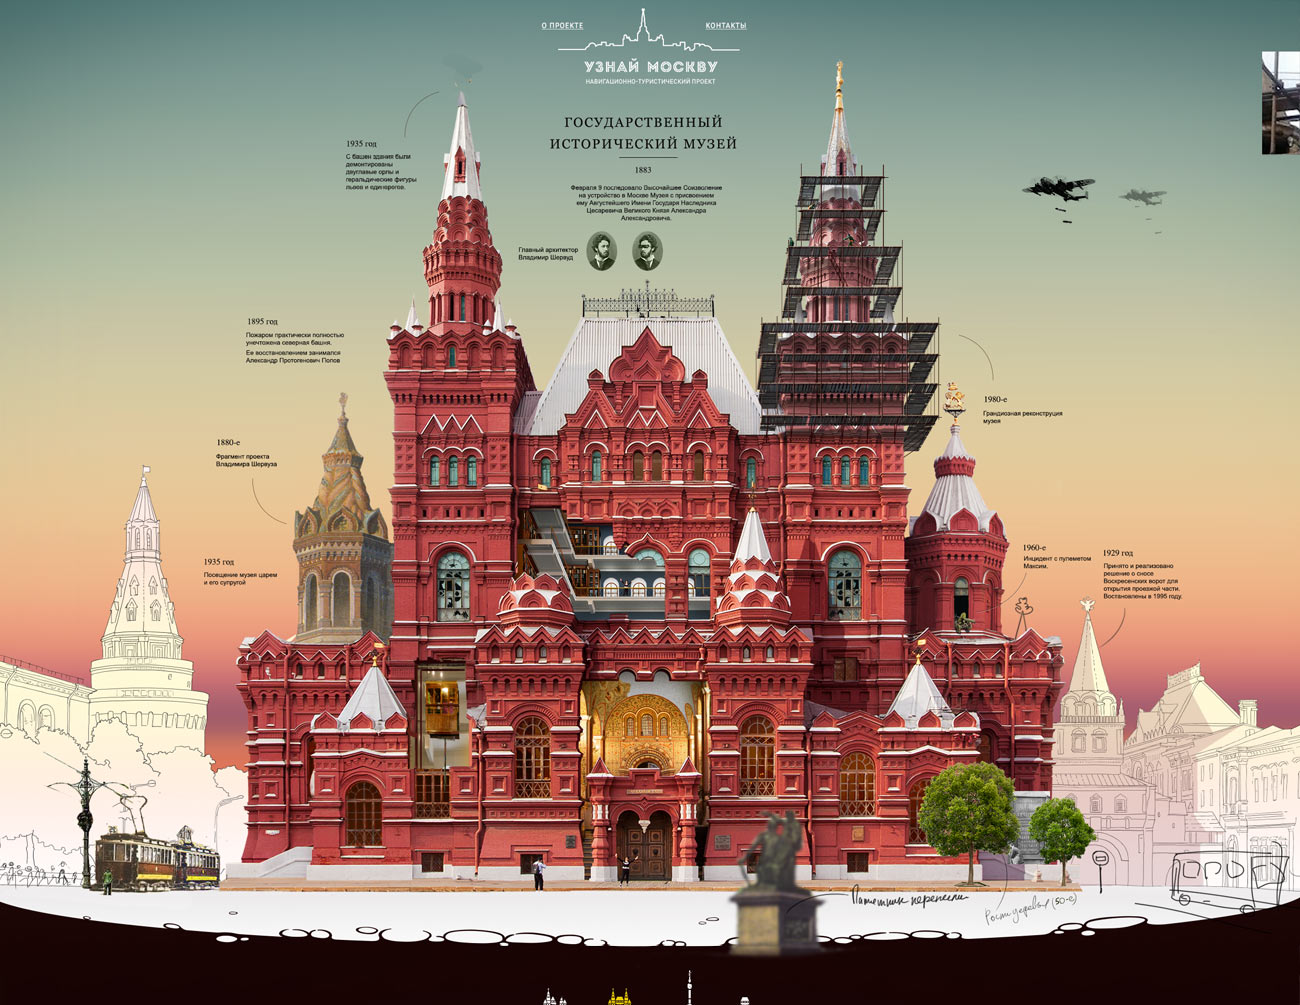
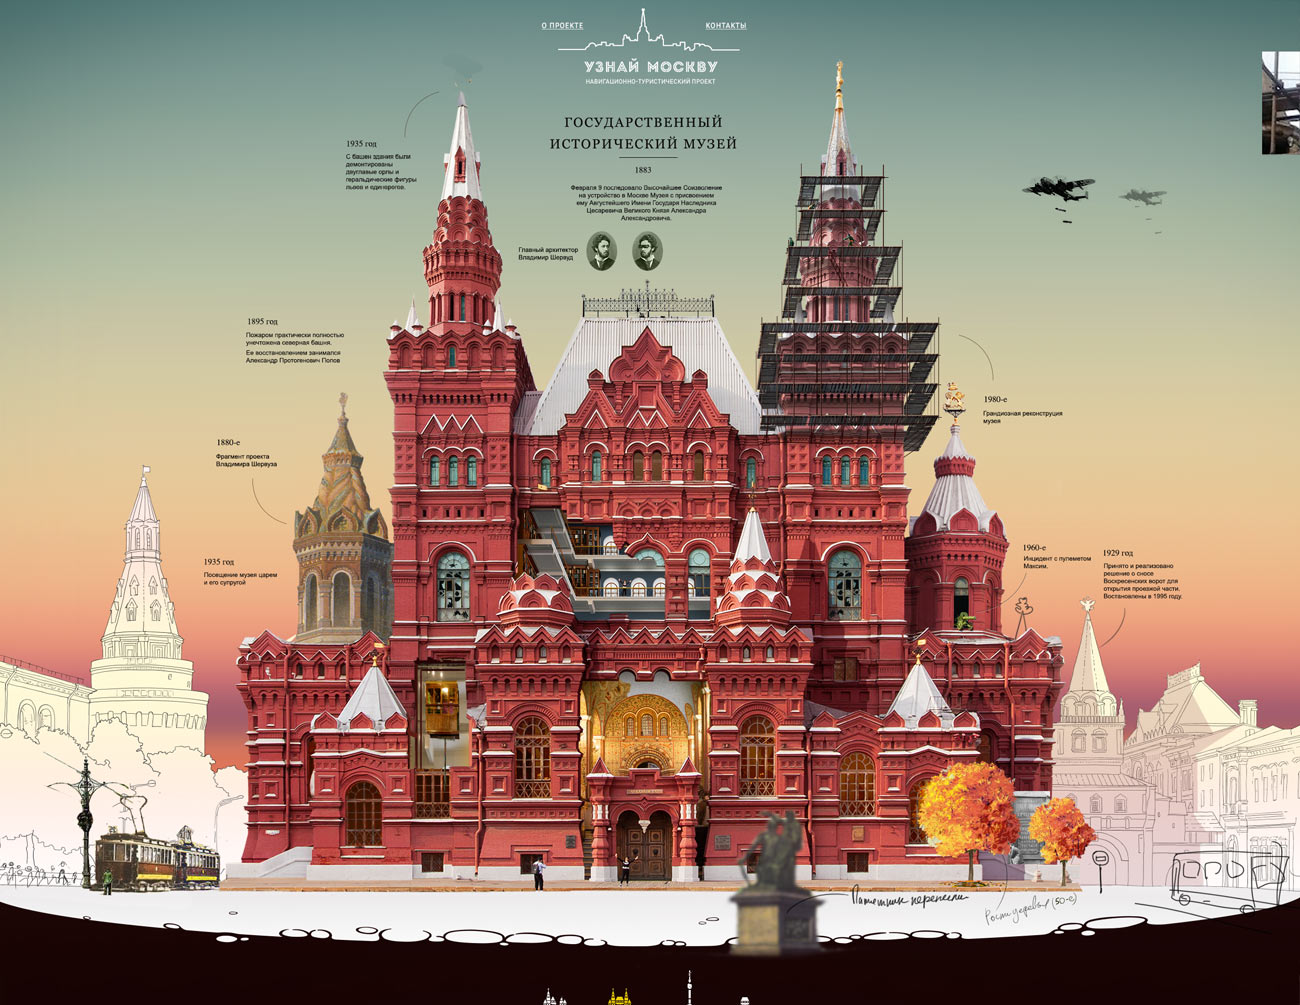
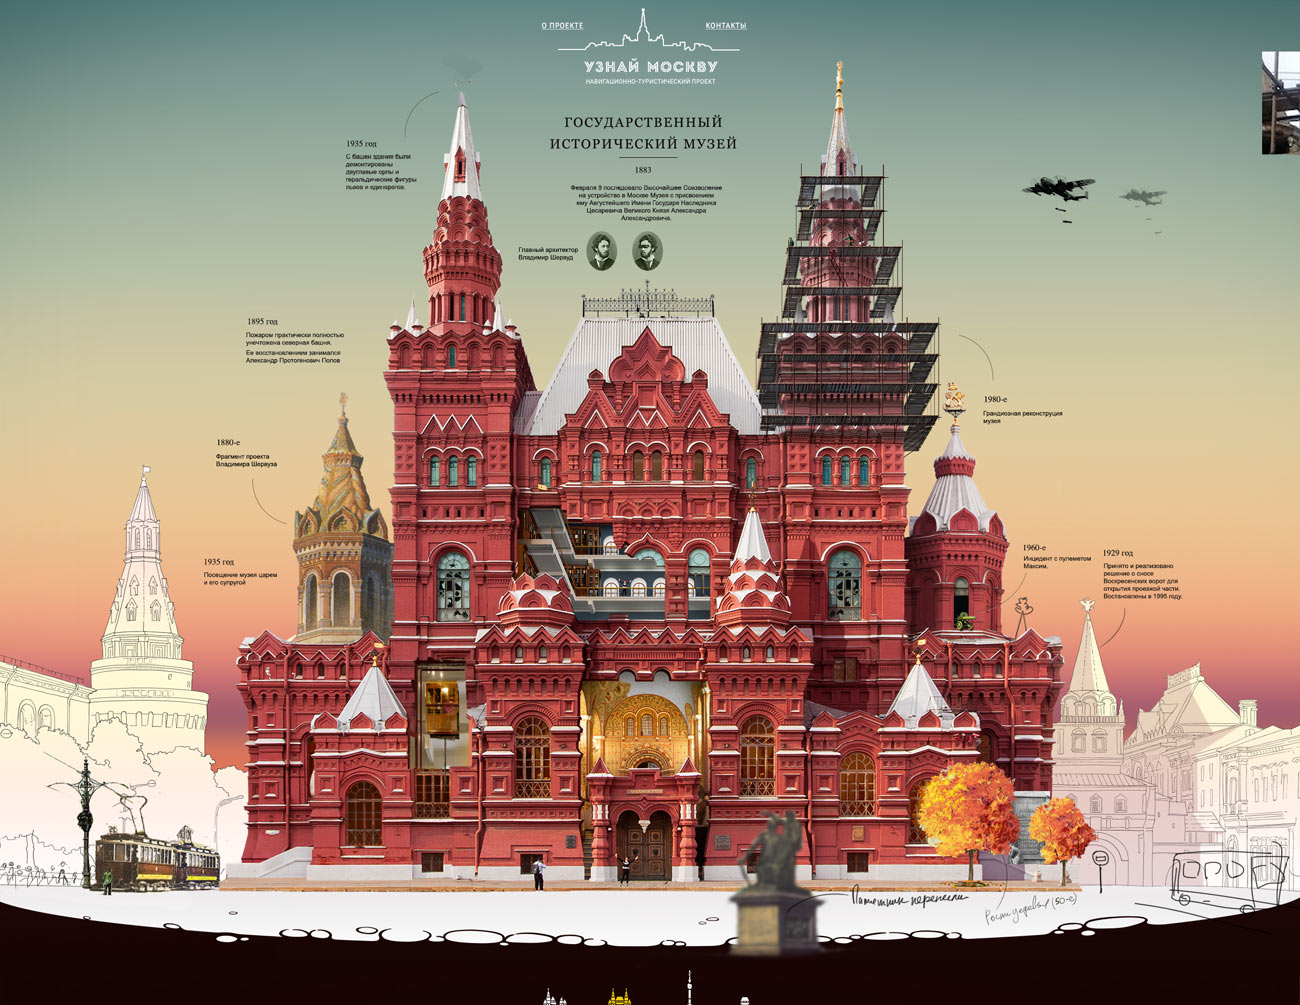
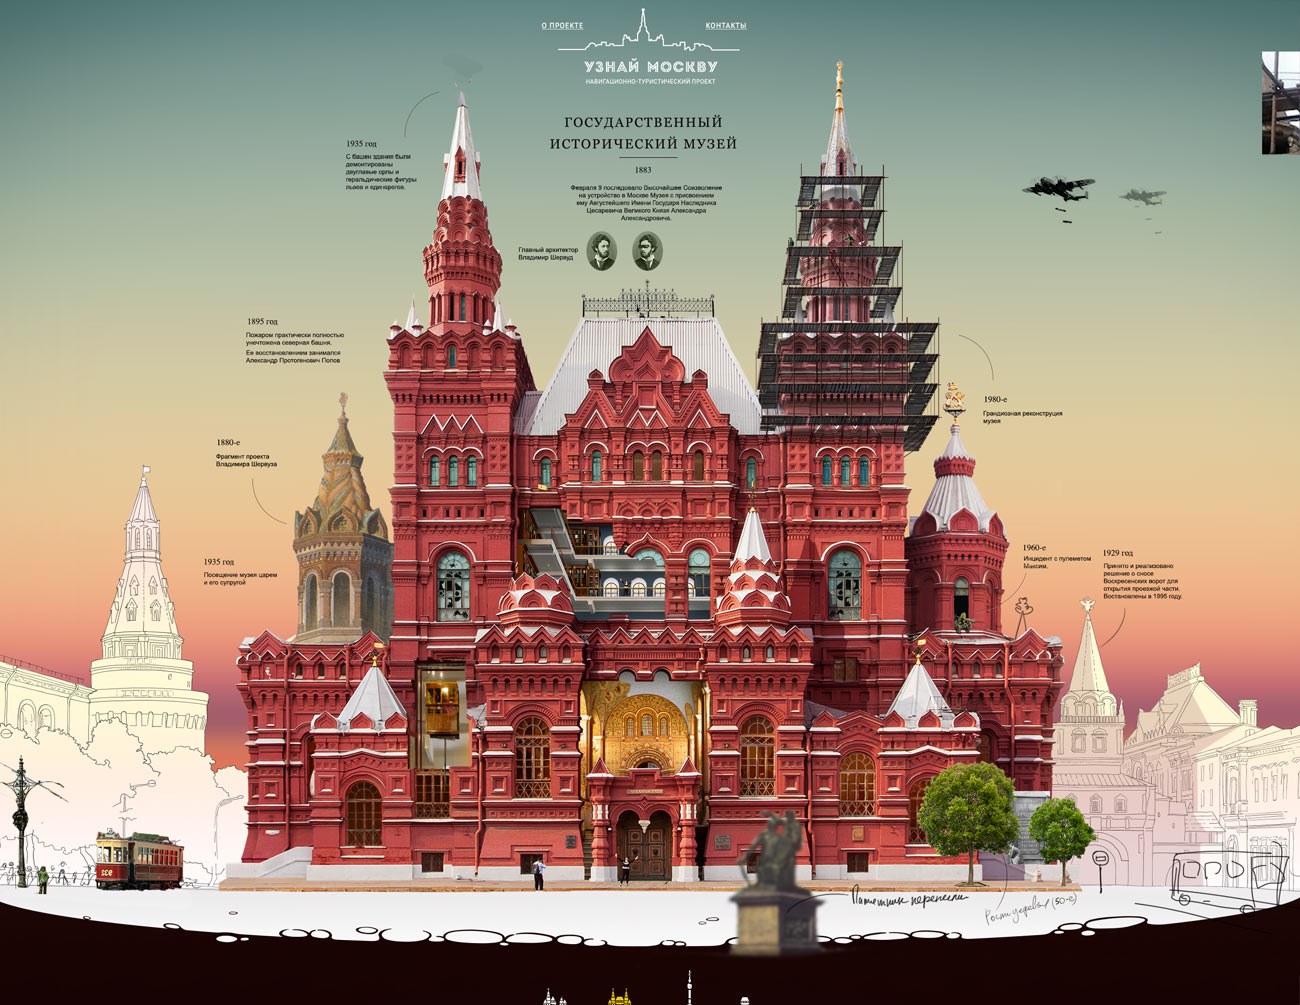
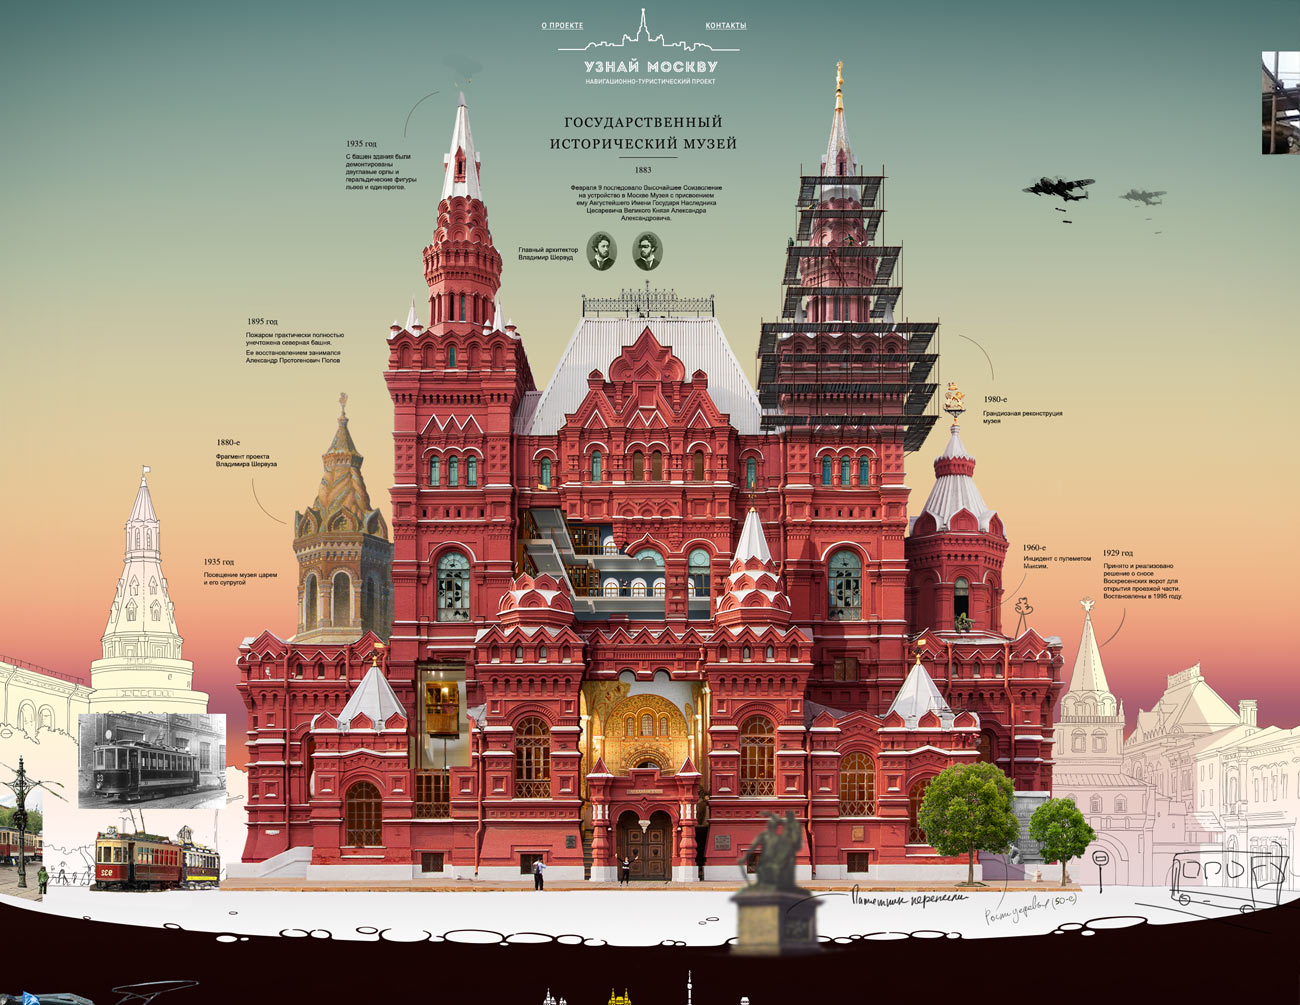
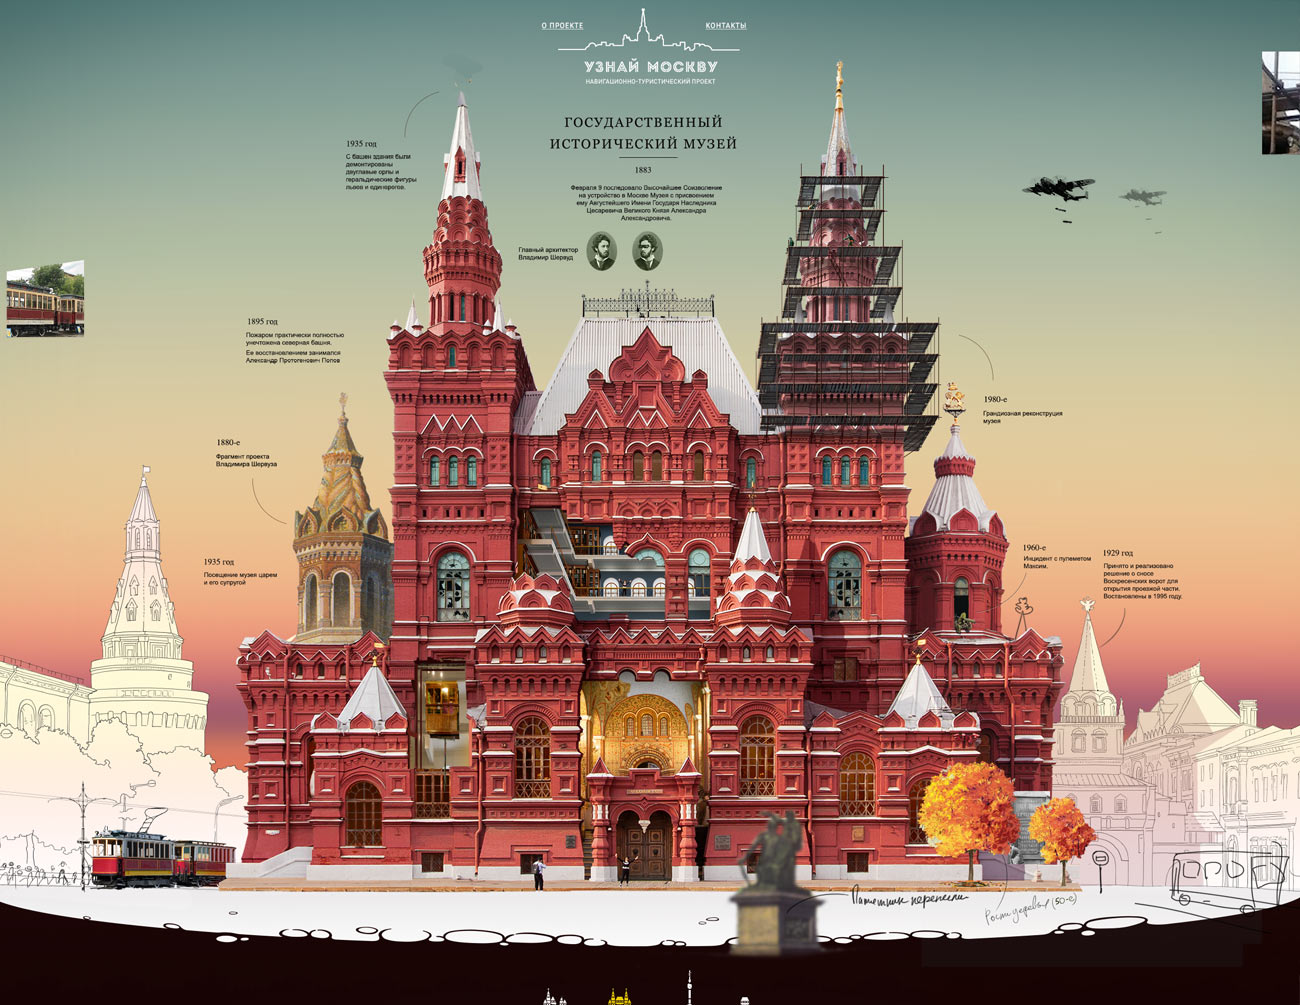
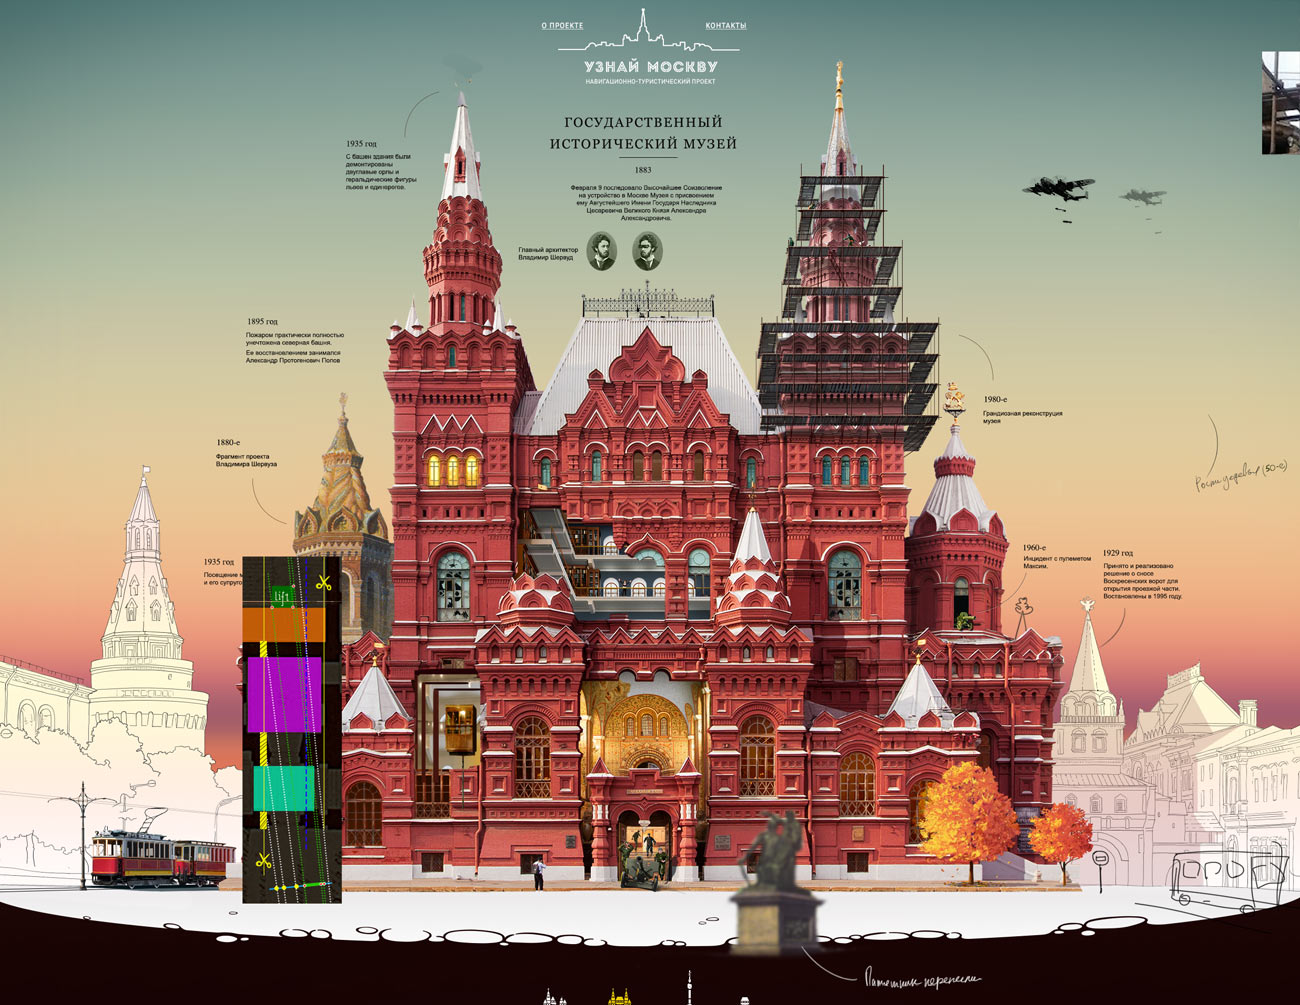
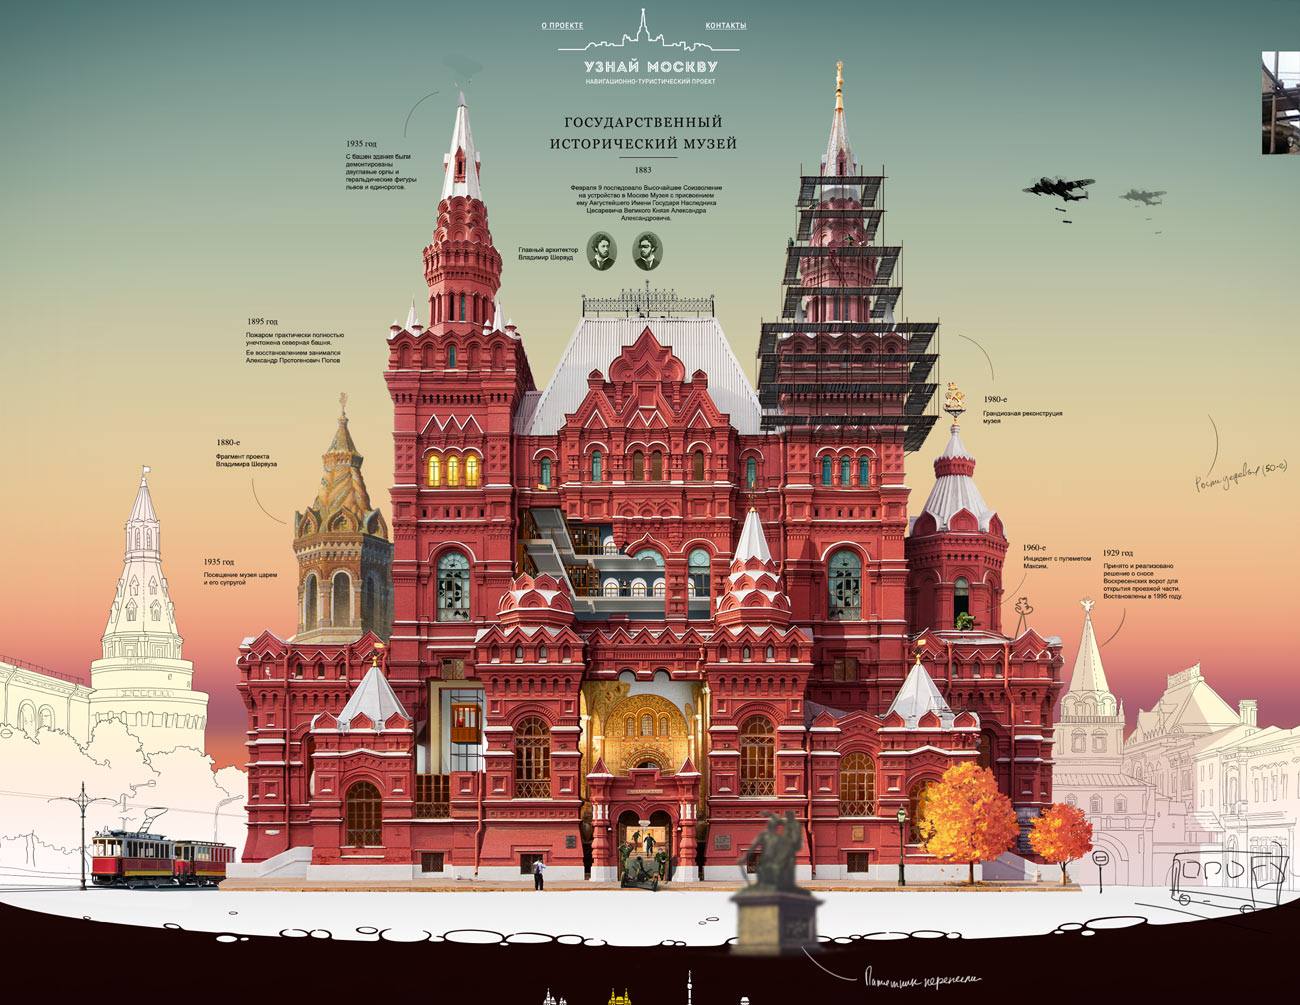
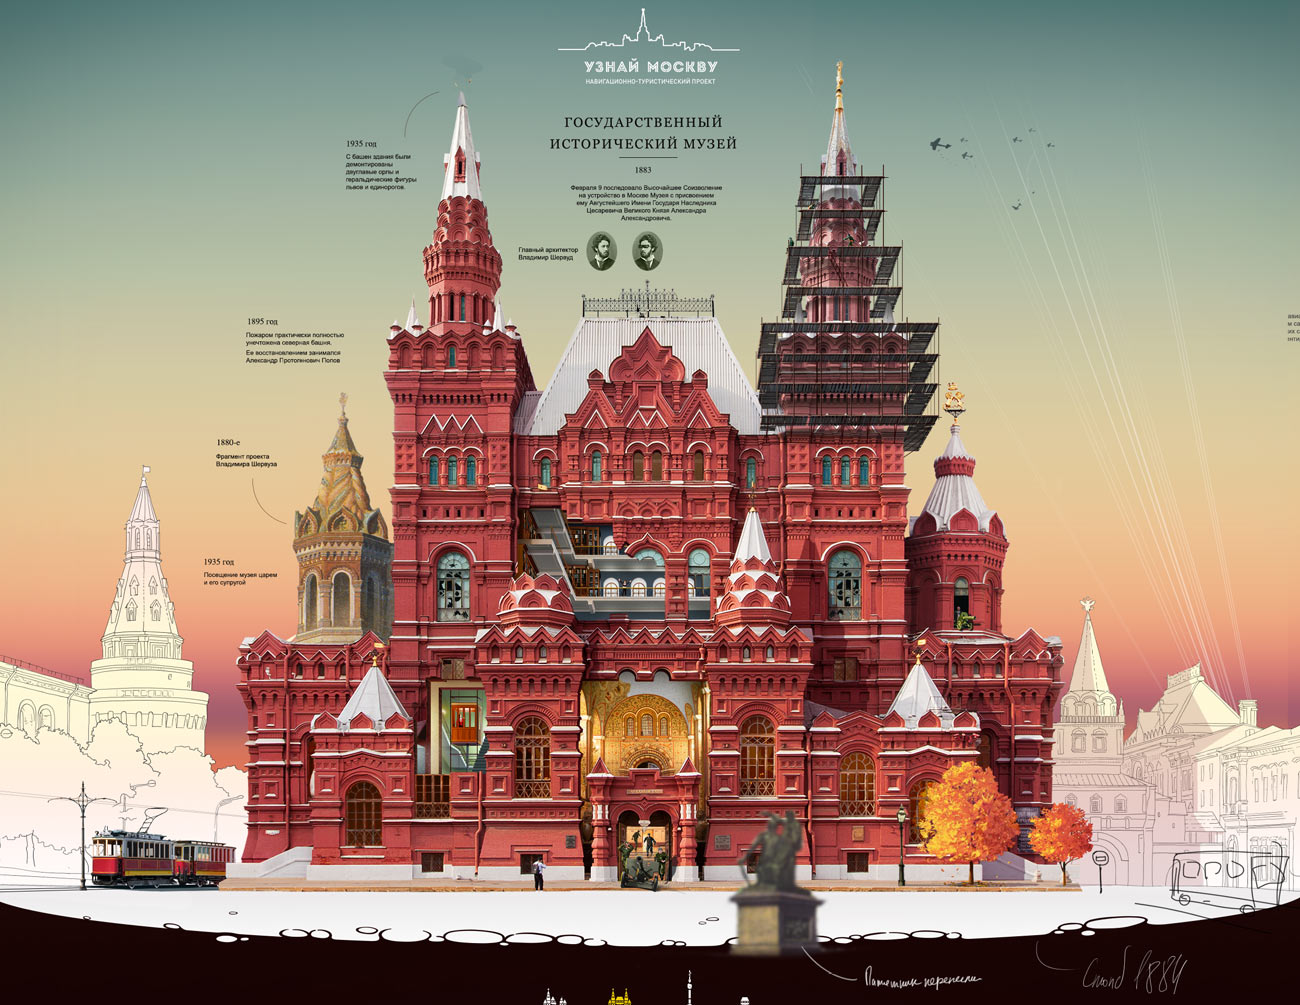
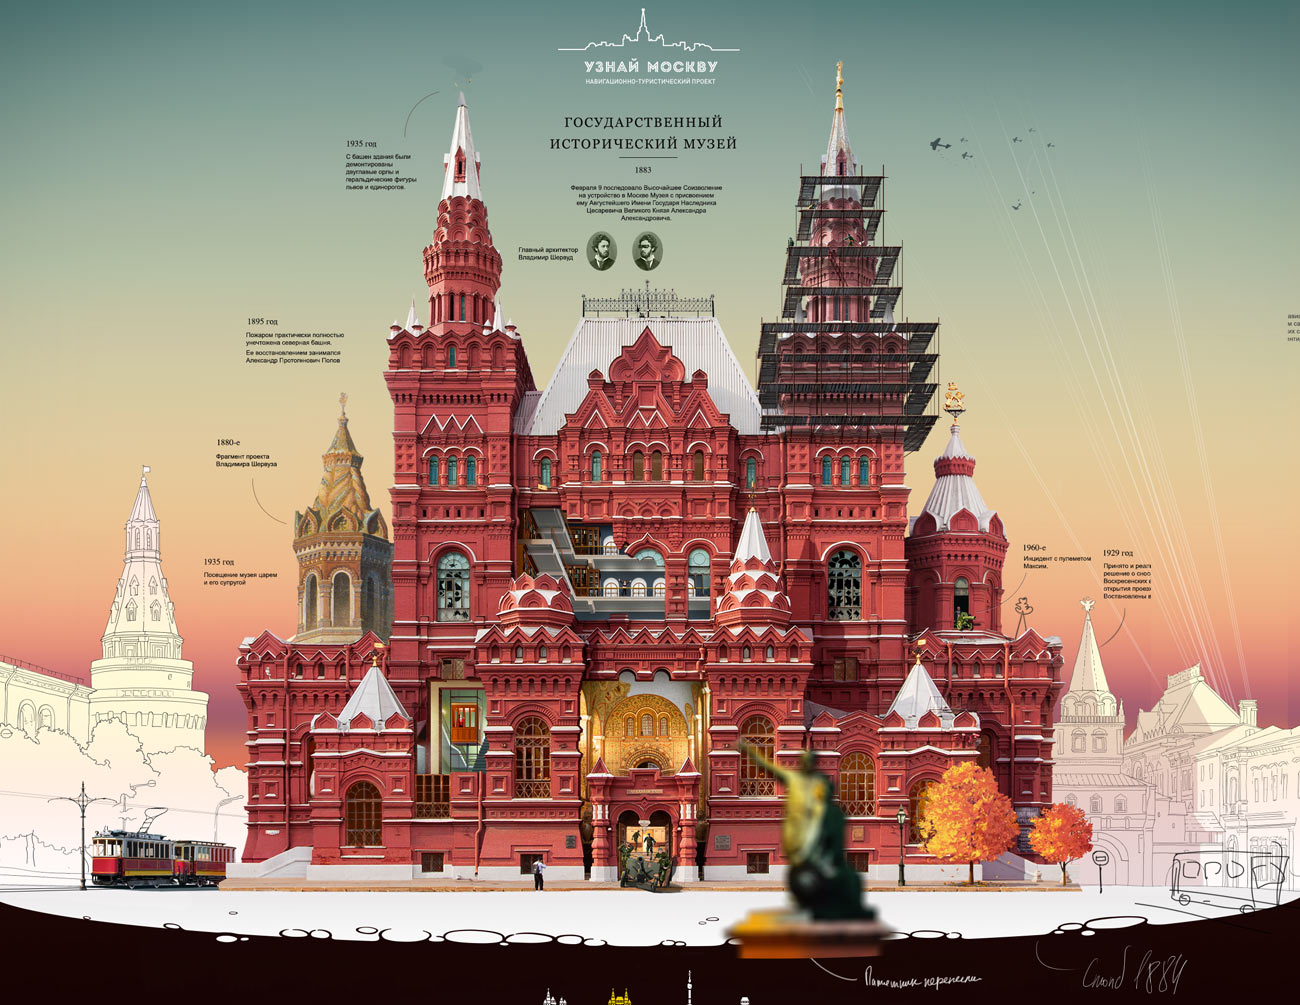
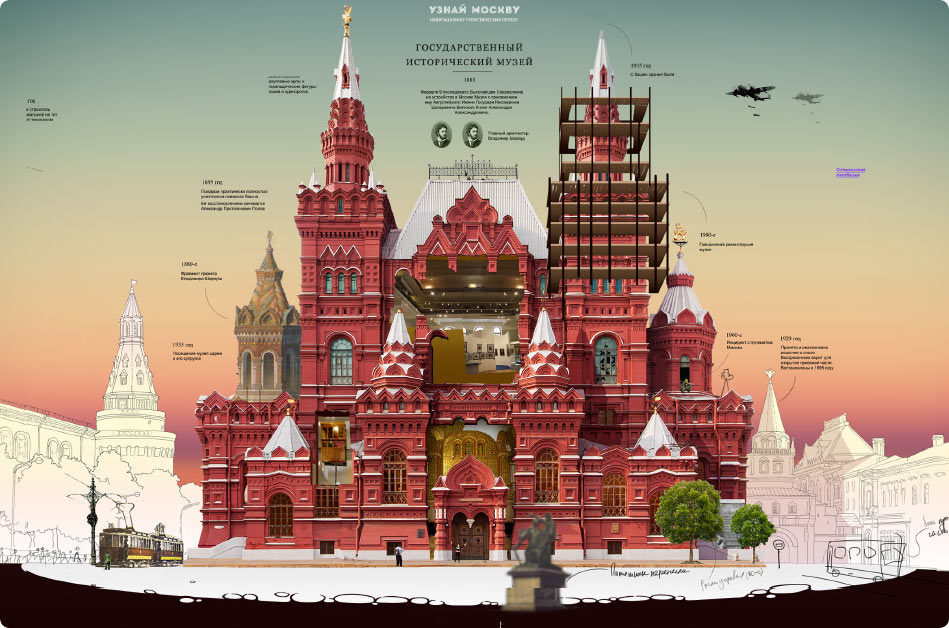
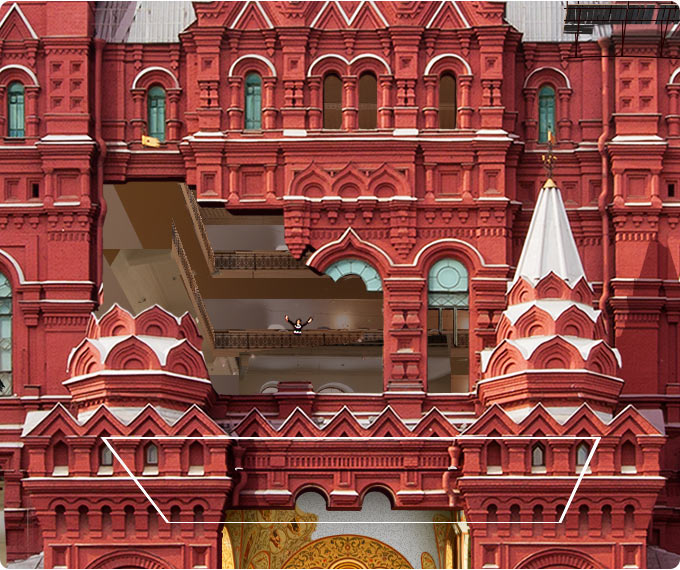
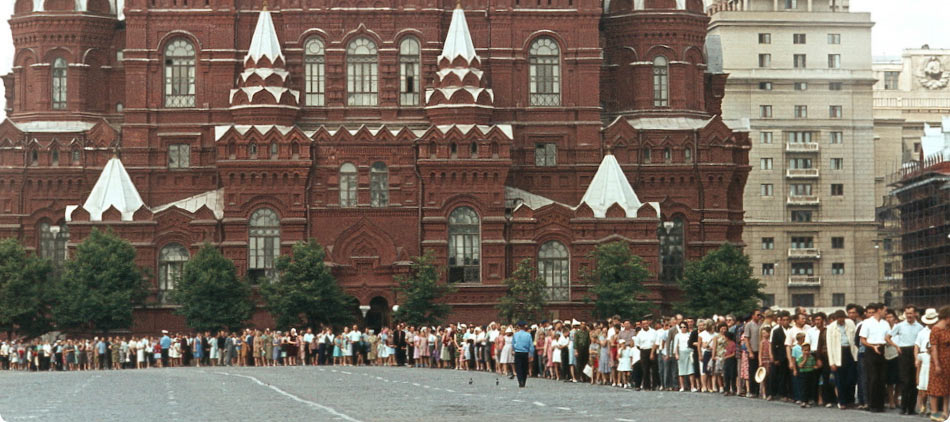
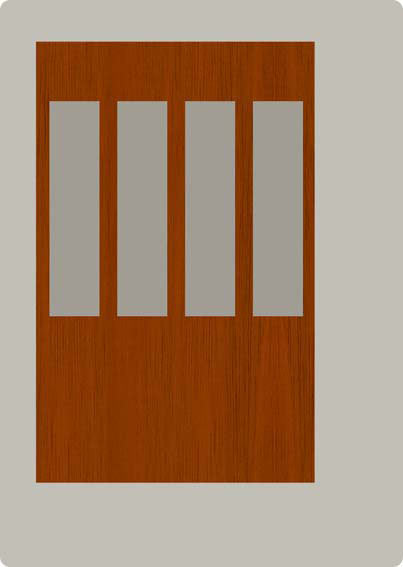
One time we had to “hang” illustrations of historical events on the façade of the State Historical Museum.
We started by analyzing the materials provided by the museum administration and researching some of the facts online. An important criteria for selecting the facts was their future position on the façade: it was important to distribute the events uniformly without leaving information gaps.
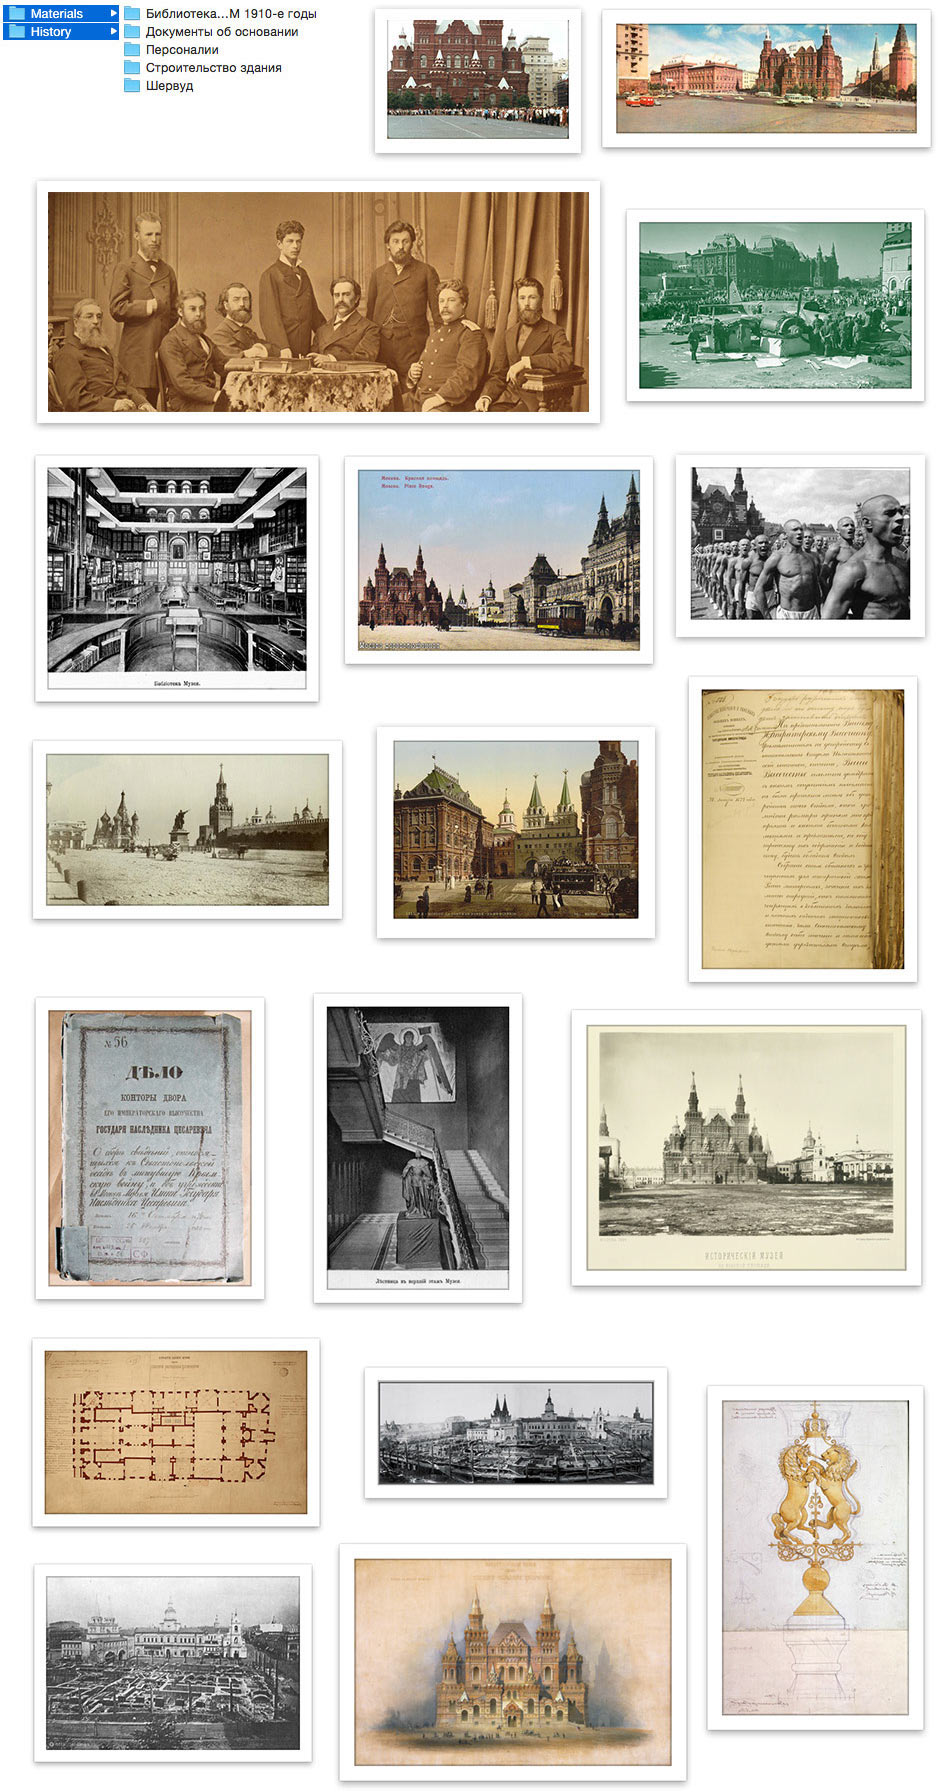
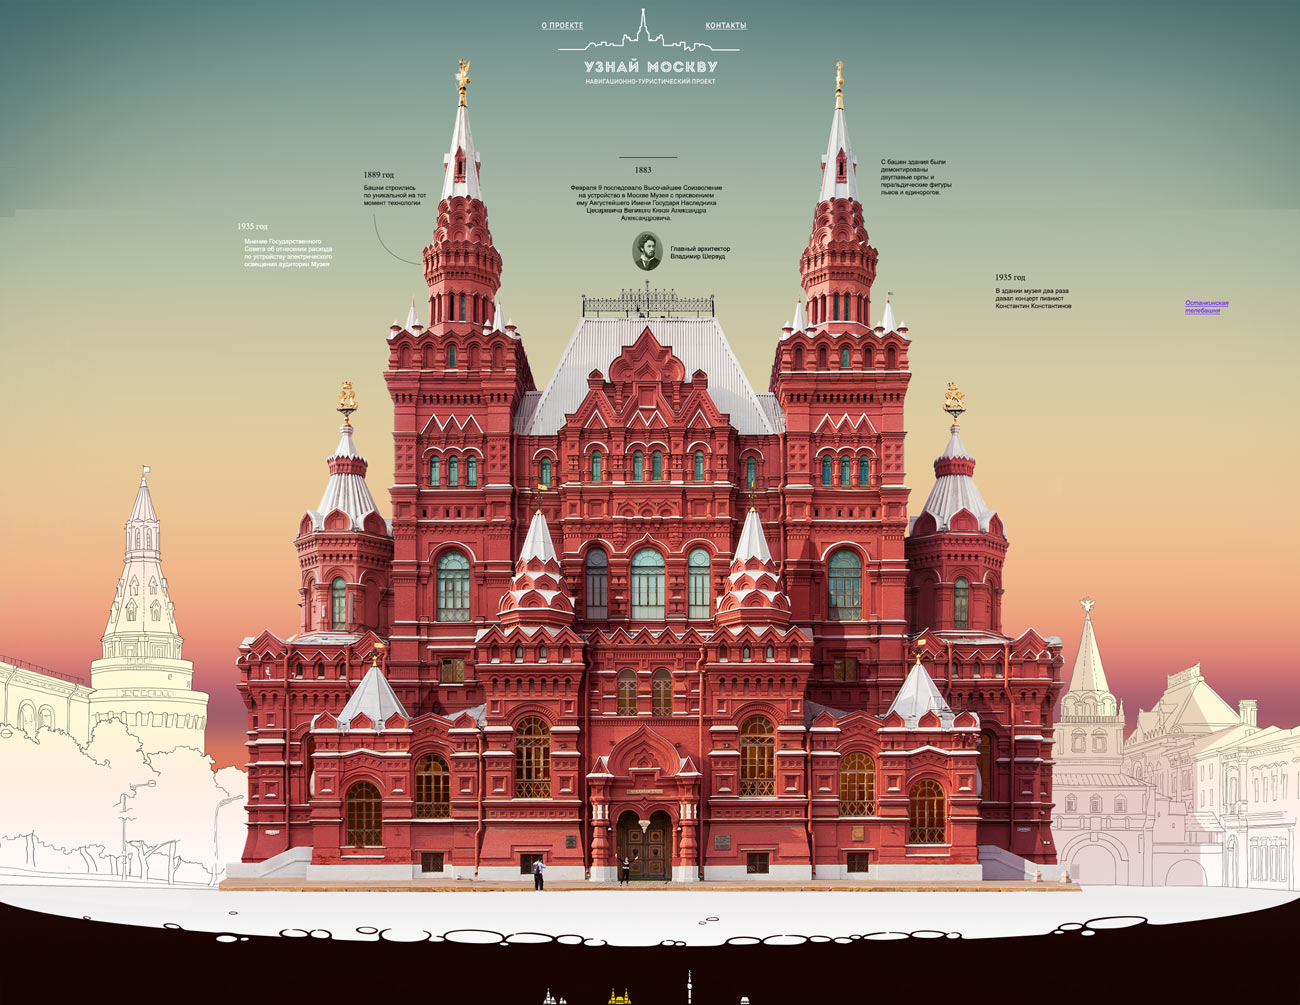
We create a detailed sketch.
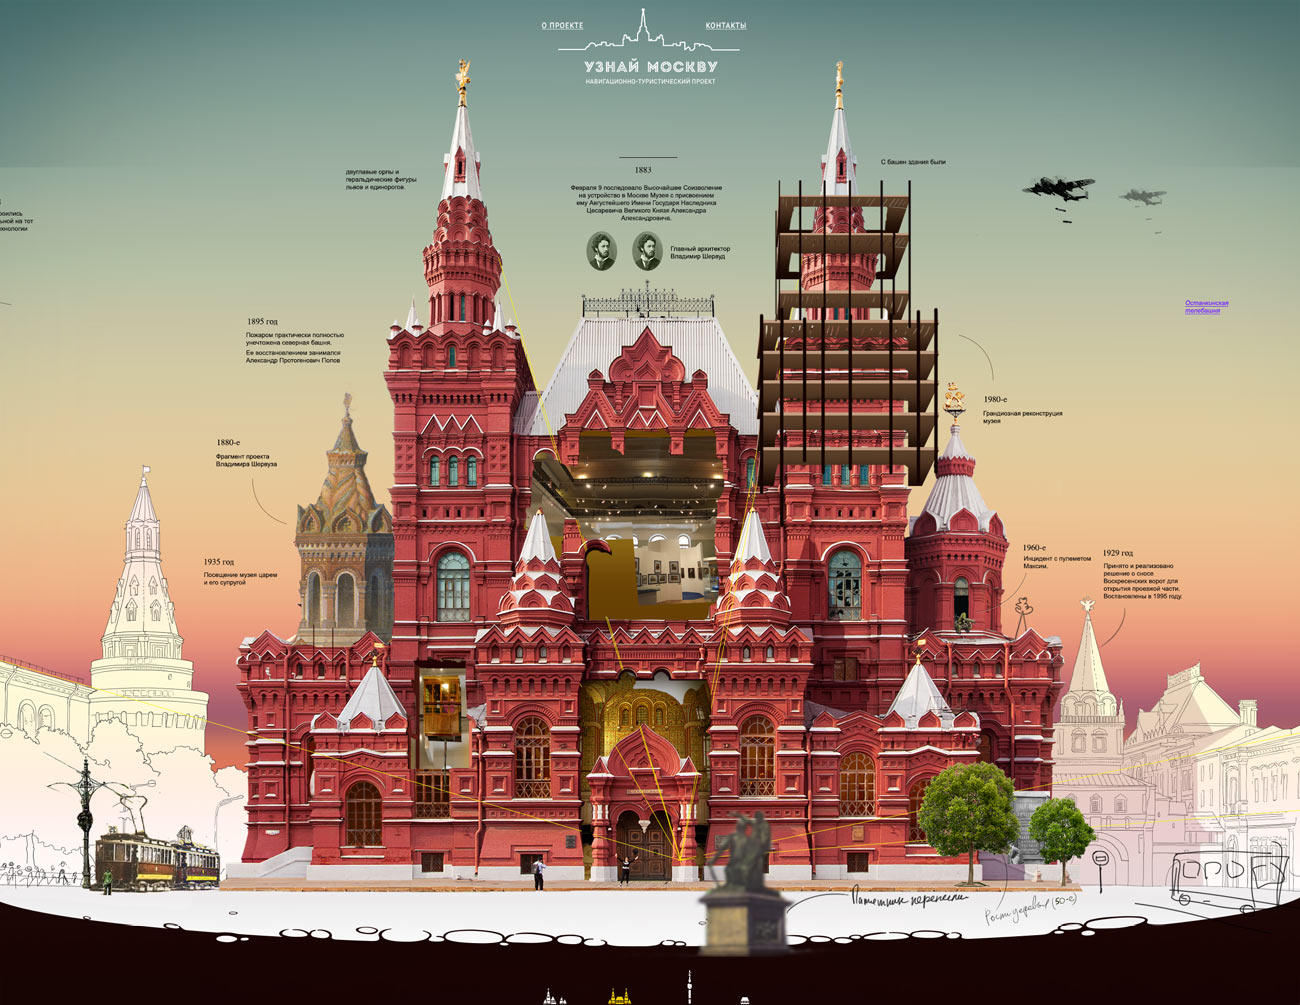
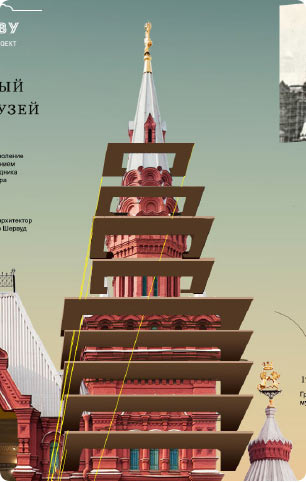
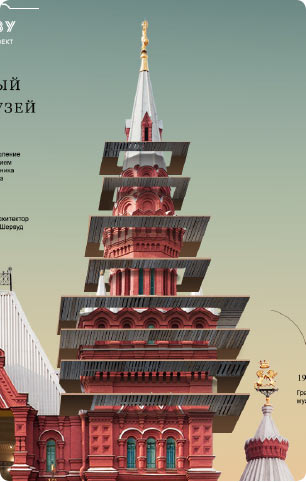
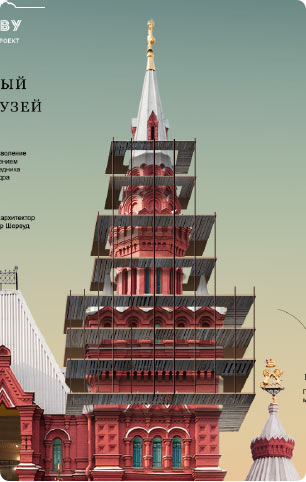
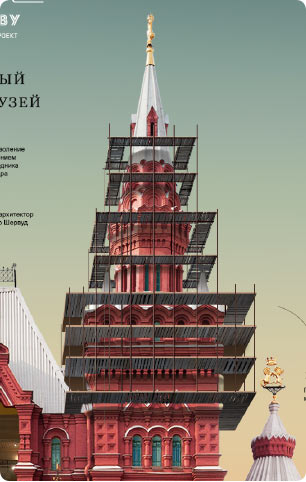
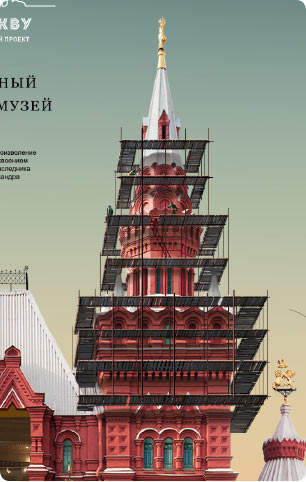
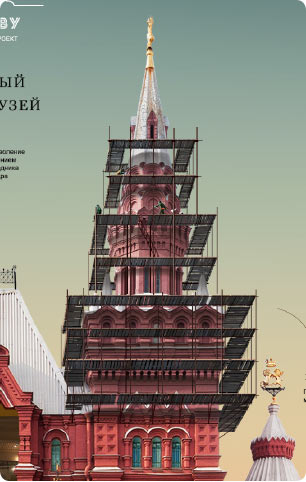
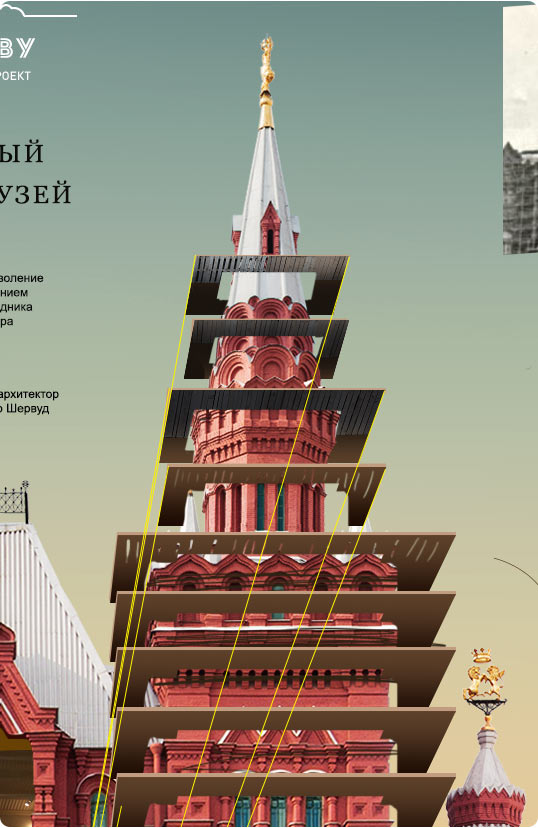
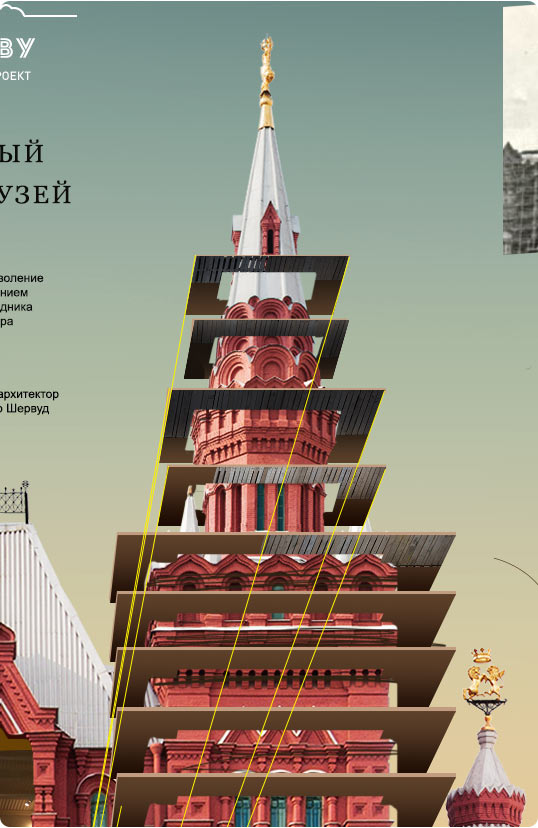
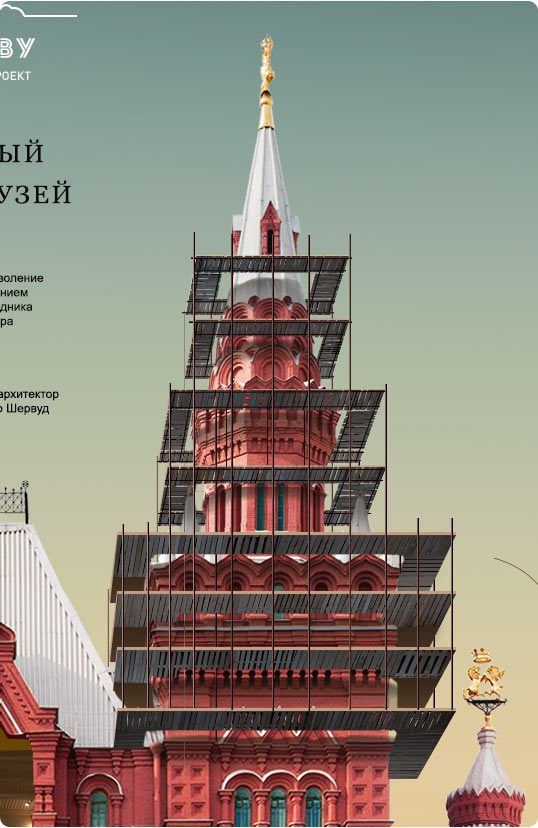
Reconstruction
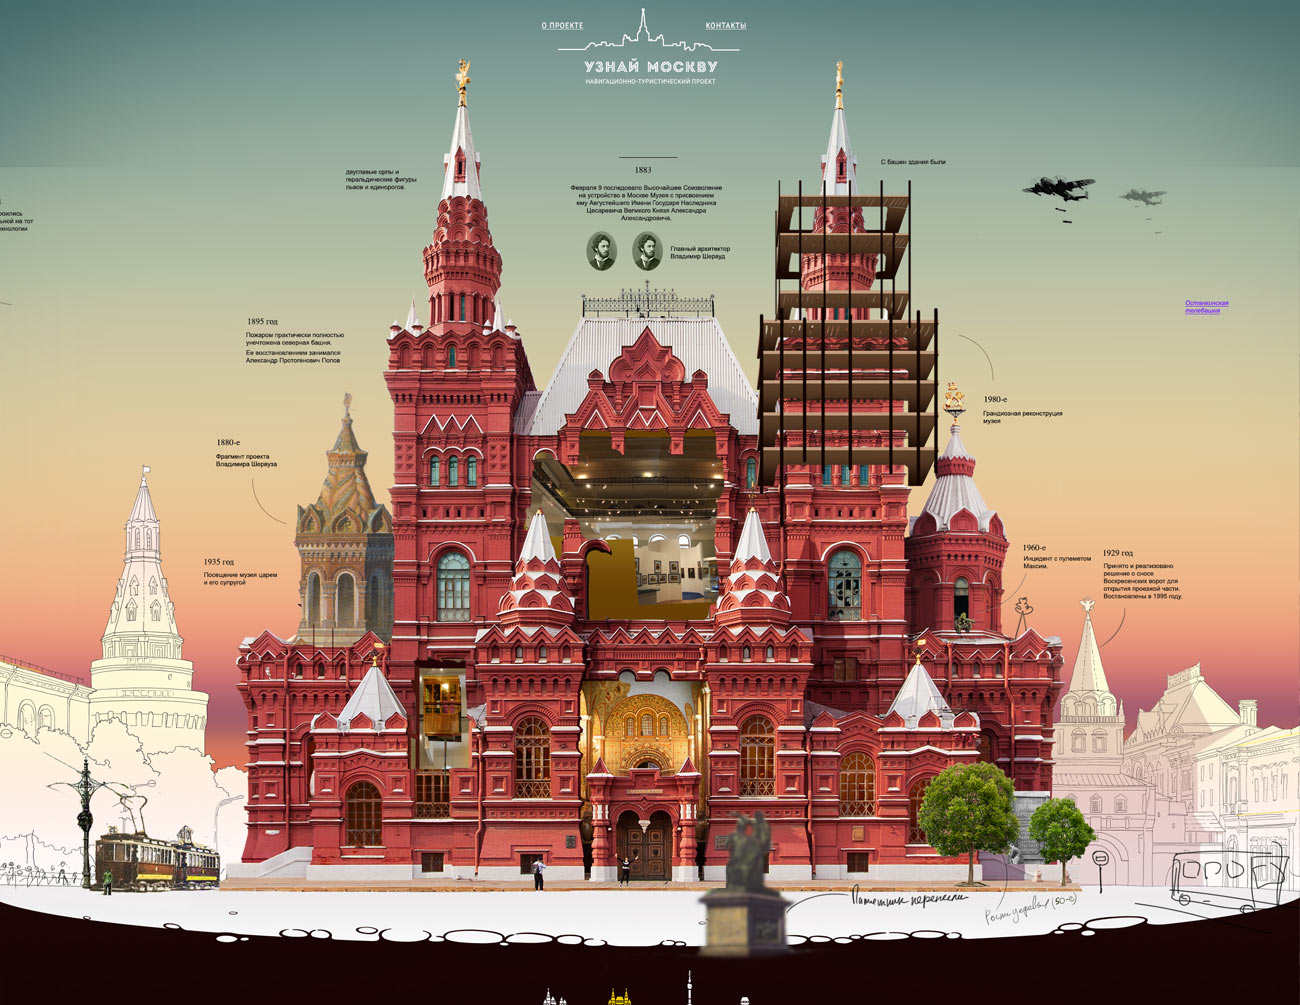
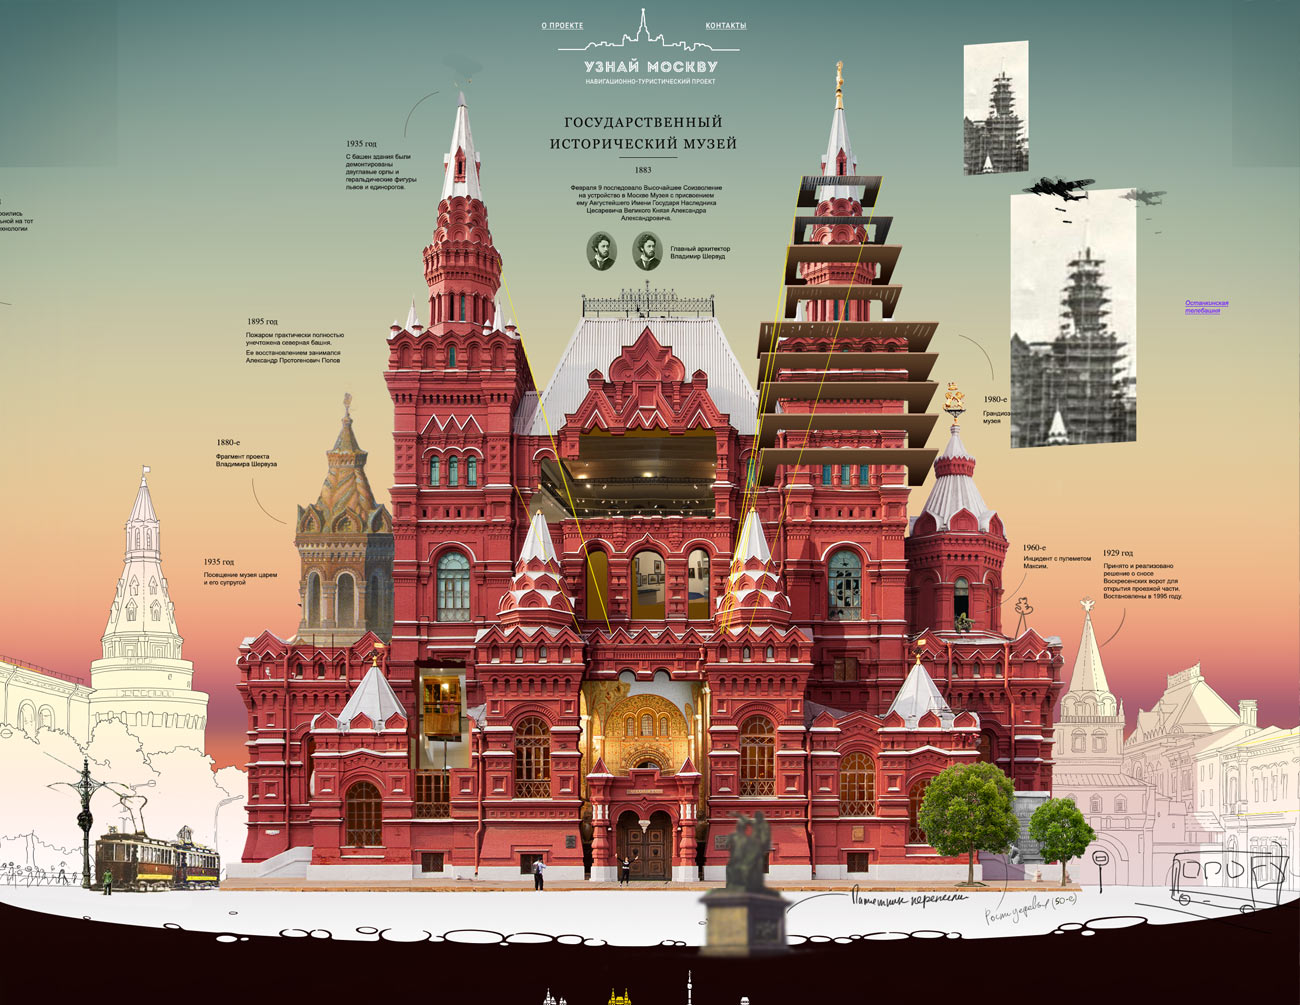
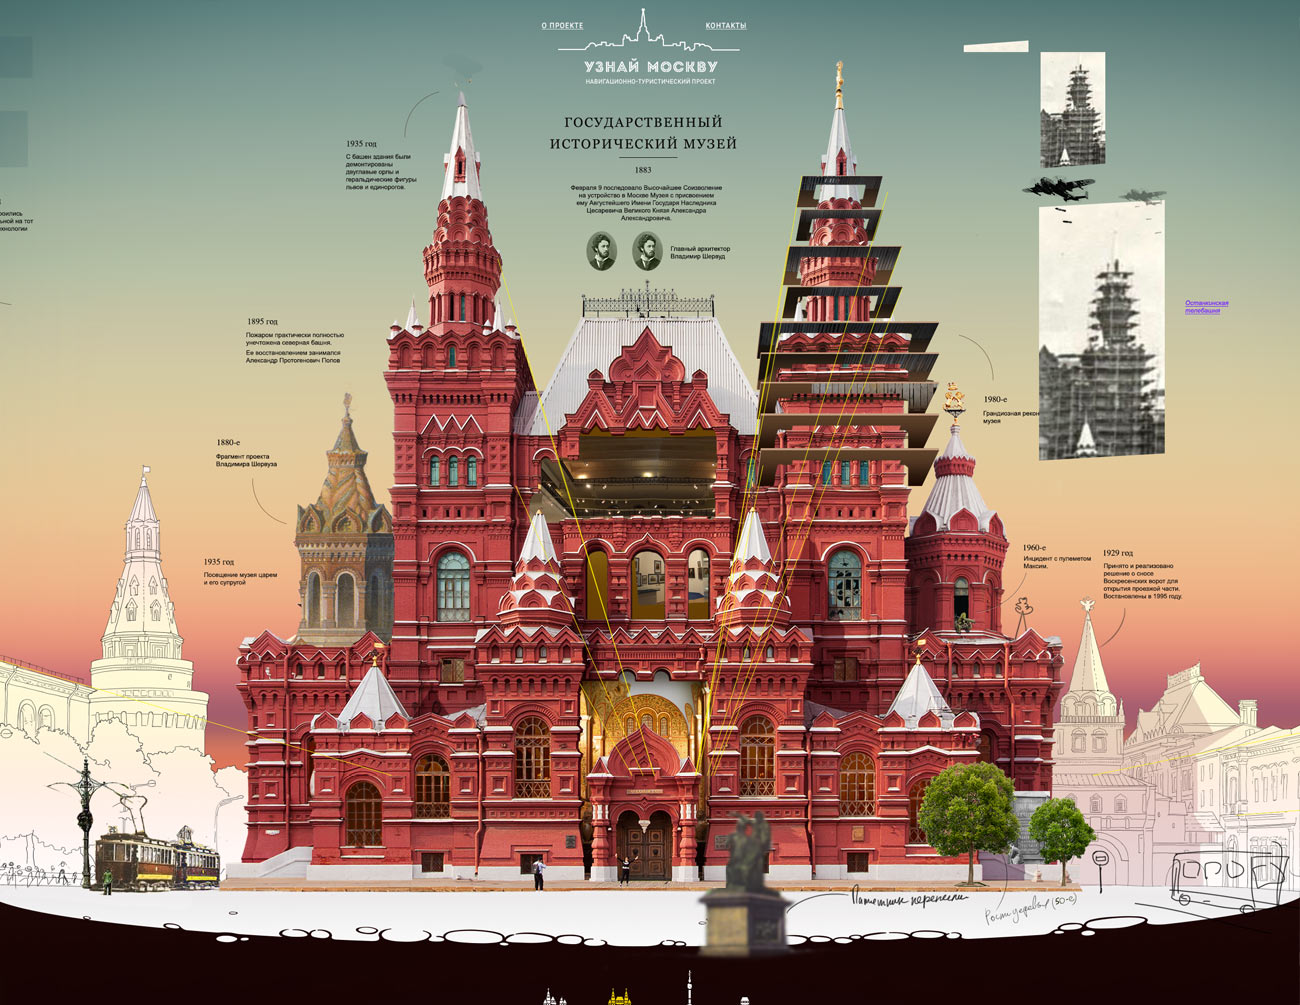
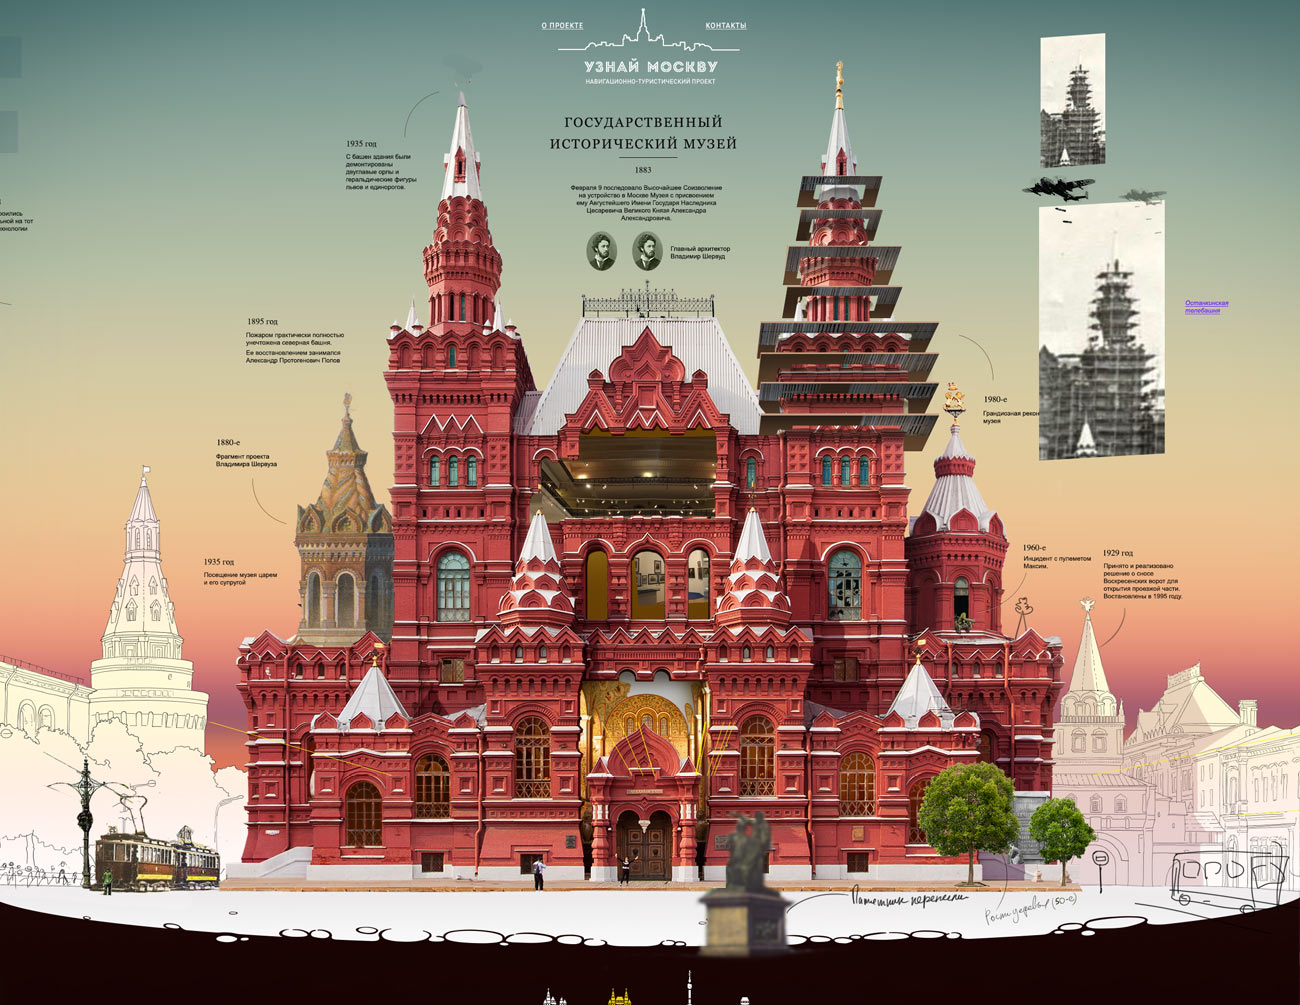
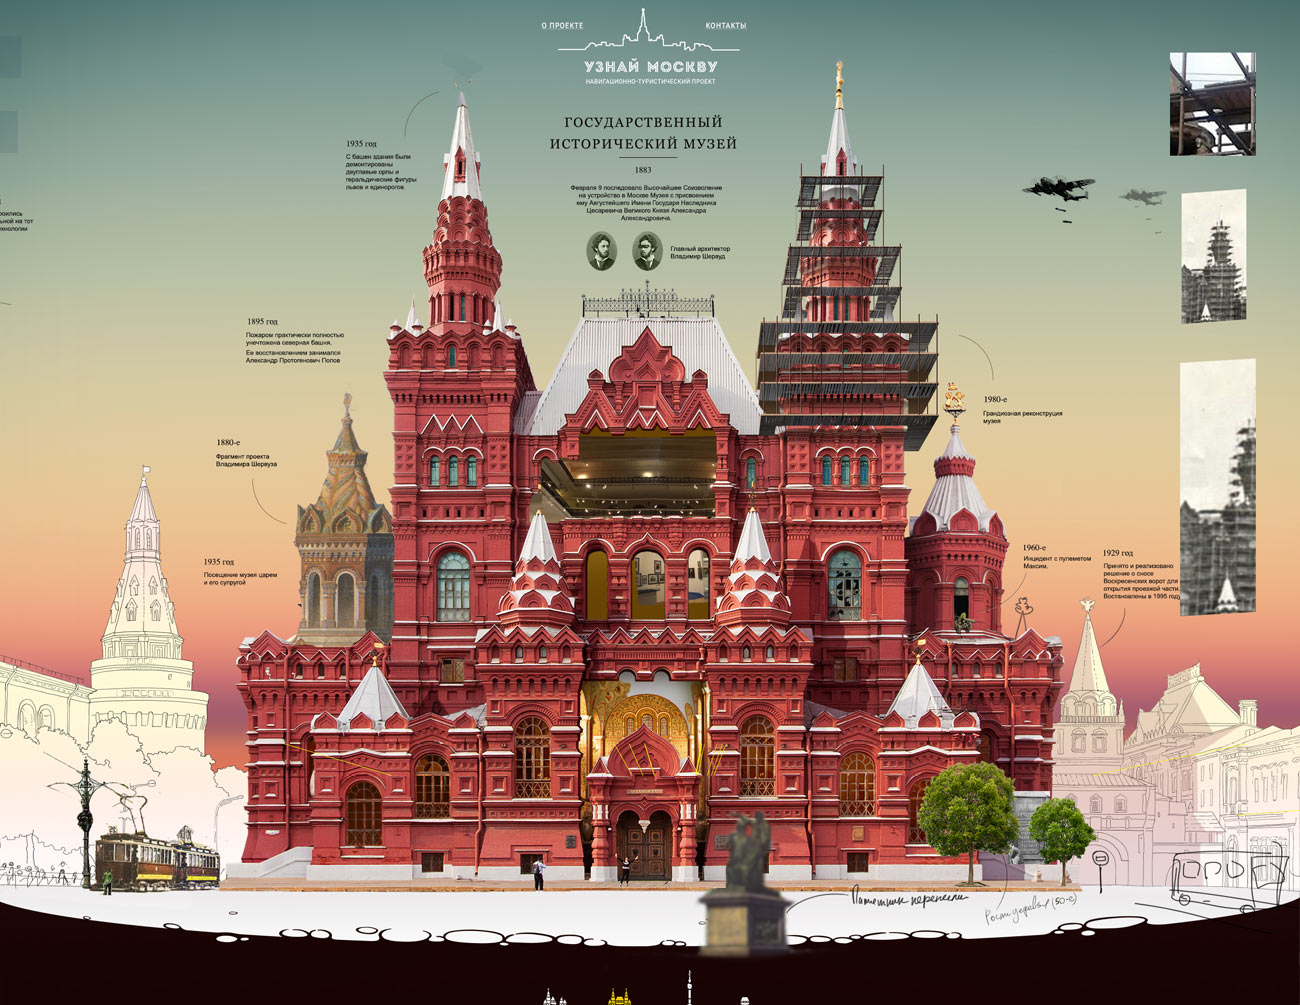
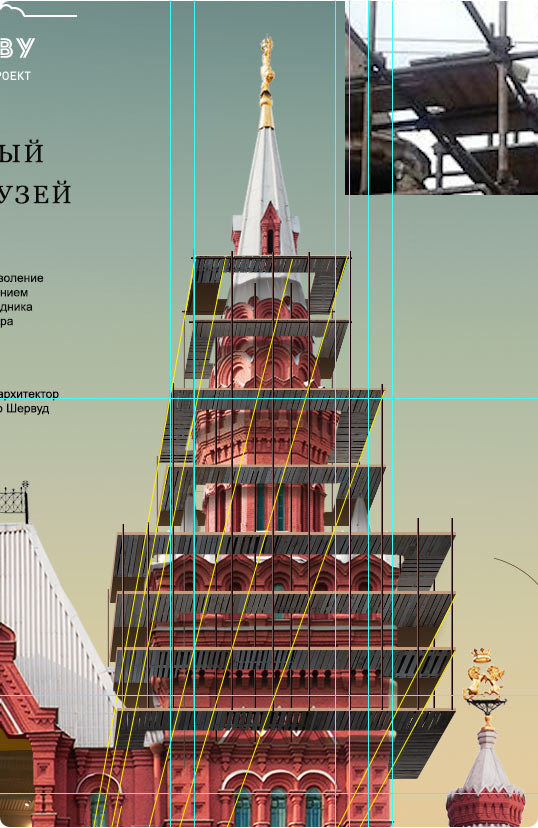
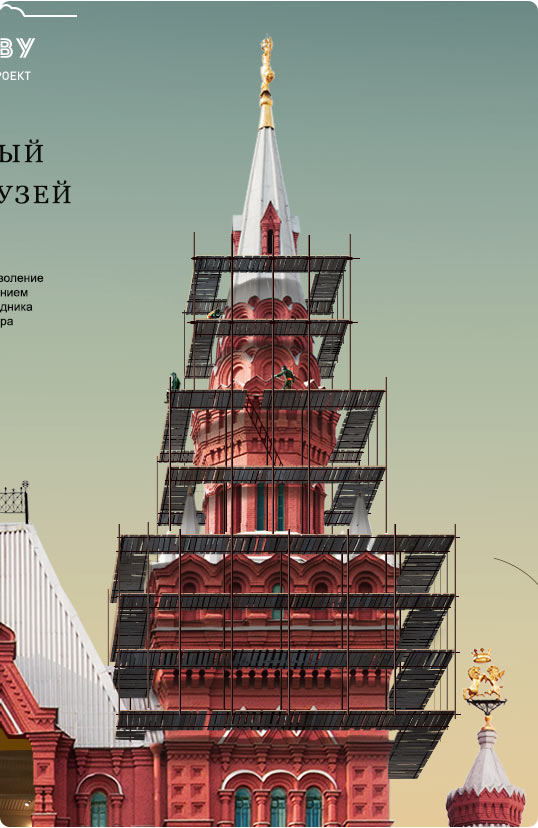
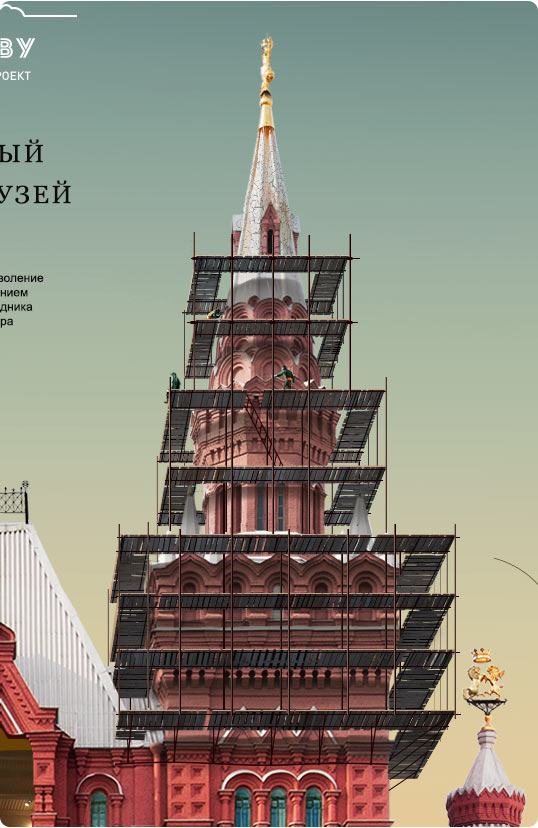
We were lucky to find a photograph of the museum that was taken during its reconstruction. The main graphical element of the photo is scaffolding, on which we decide to make an emphasis.
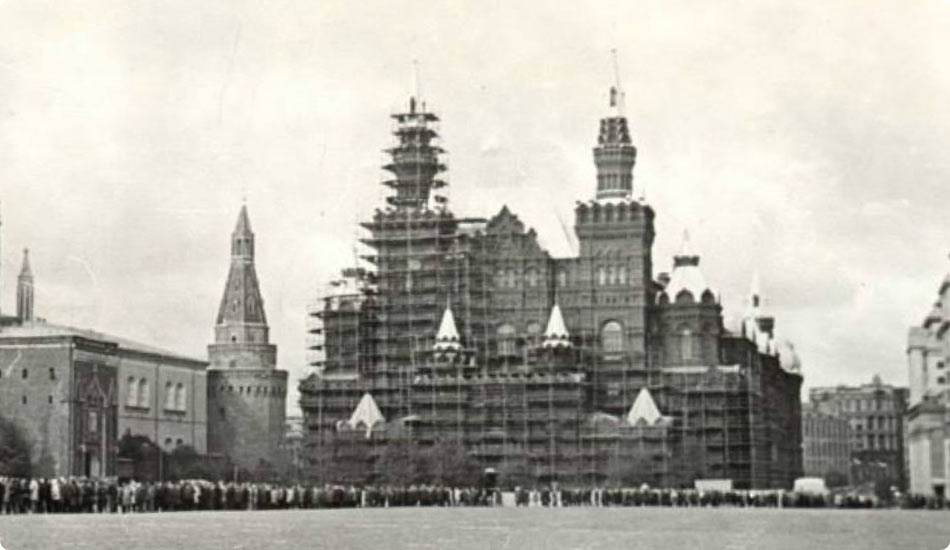
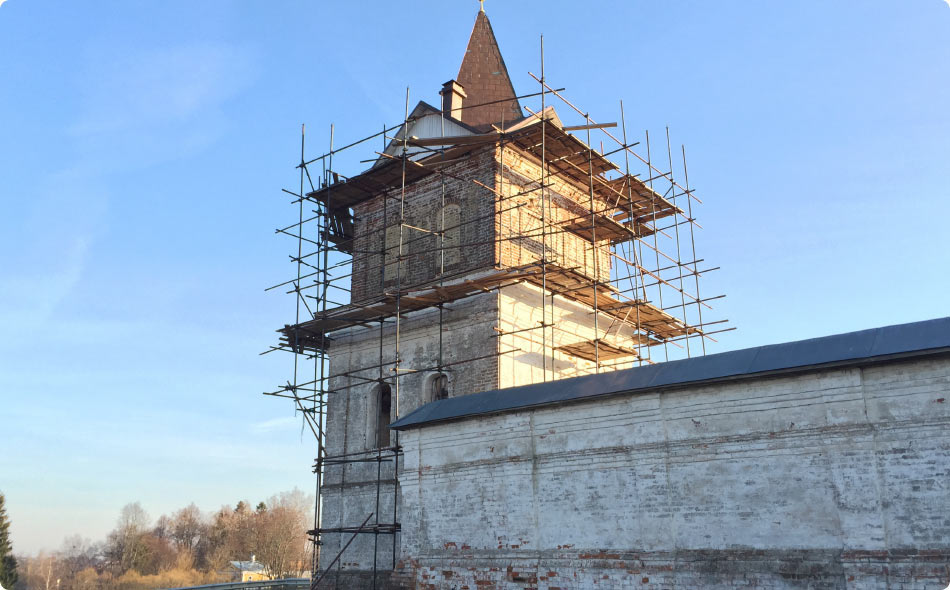
The quality of the photo gives a very general idea of the setup. Right about this time reconstruction of a tower at Luzhetsky Monastery starts in Mozhaysk. The scaffolding looks similar to the one in the photo allowing us to clear up the details.
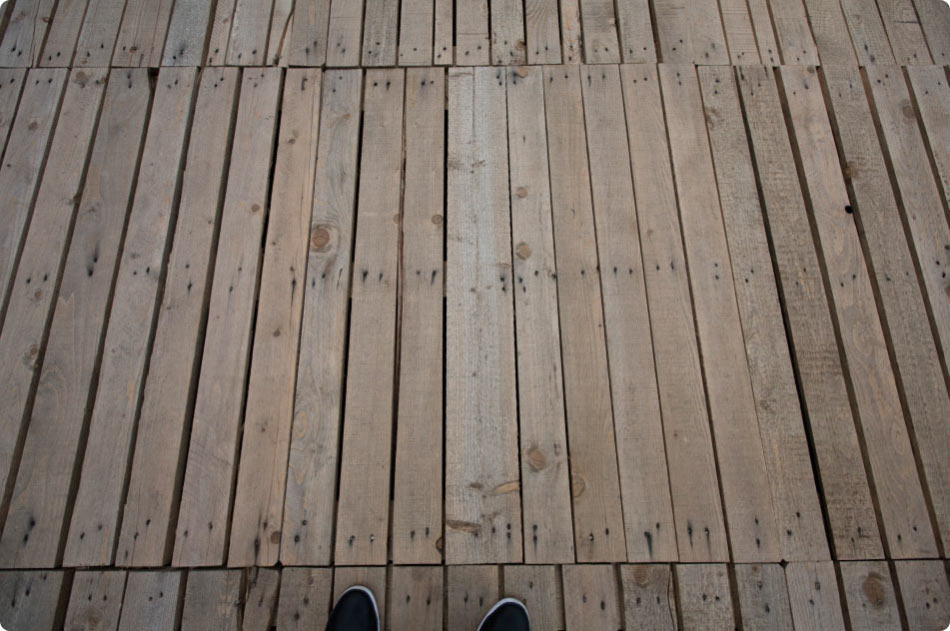
The studio’s roof used to be covered with pallets, which can be a great sample to draw scaffolding.
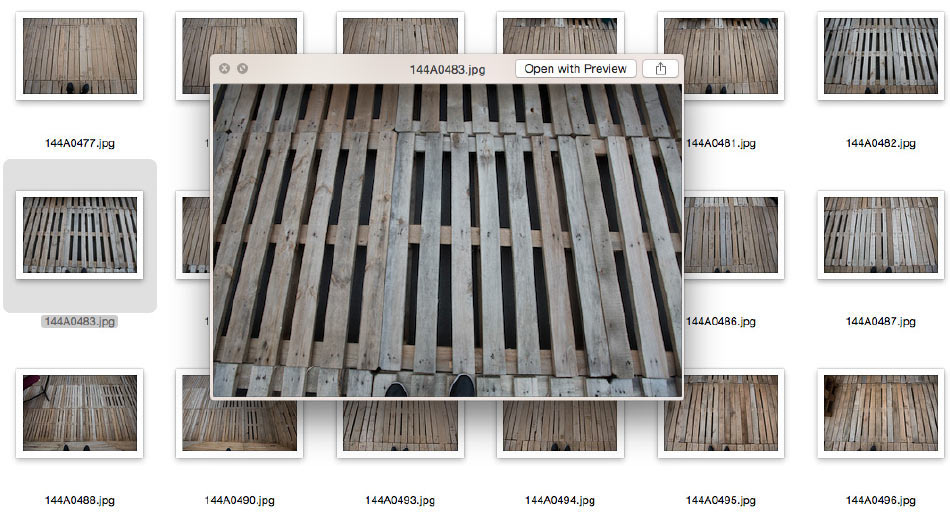
To gather more useful information, we take pictures using a wide-angle lens, which leads to distortion. It is easily neutralized by the Lens Correction filter in Photoshop.

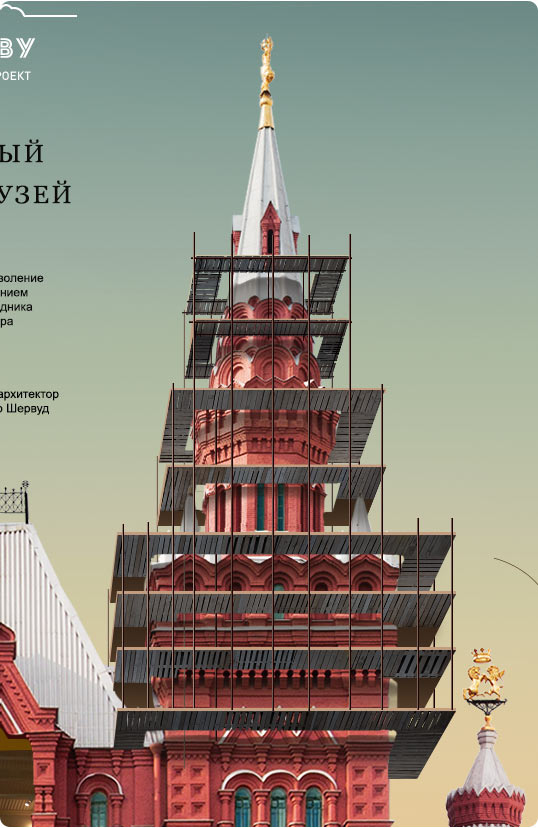
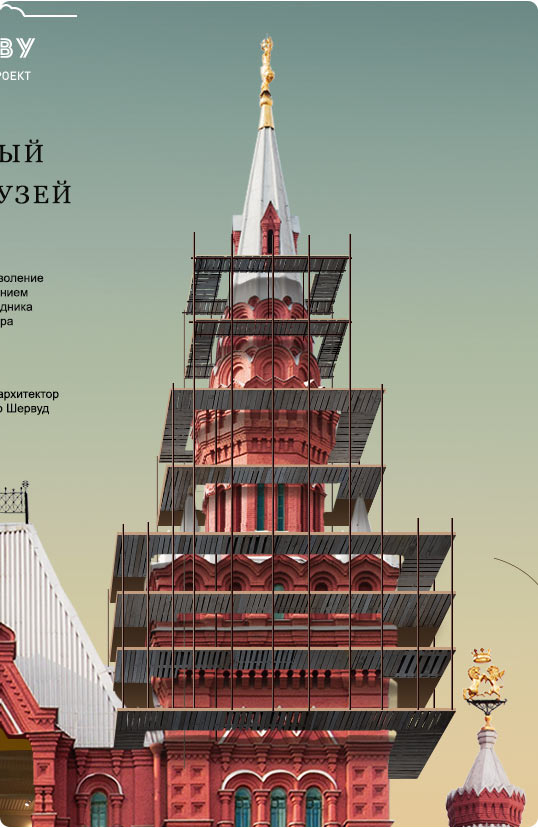
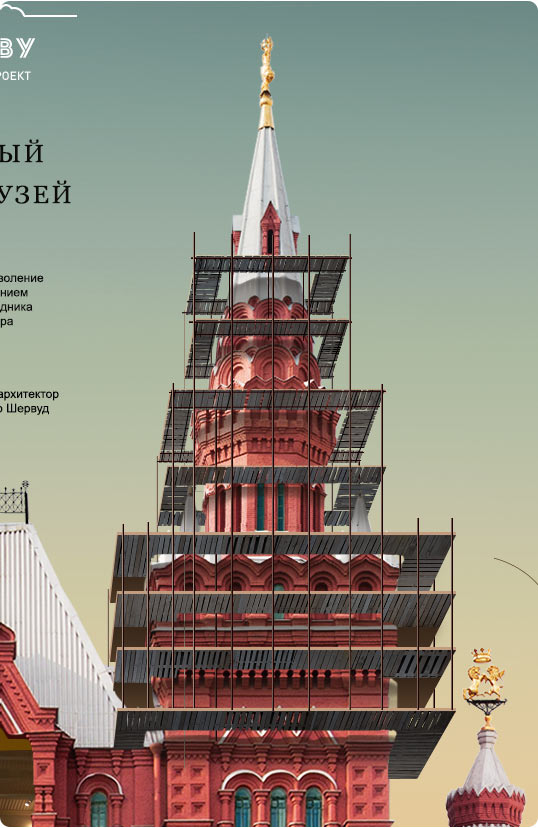
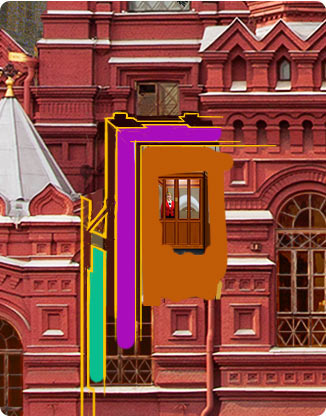
The building is drawn tier by tier.
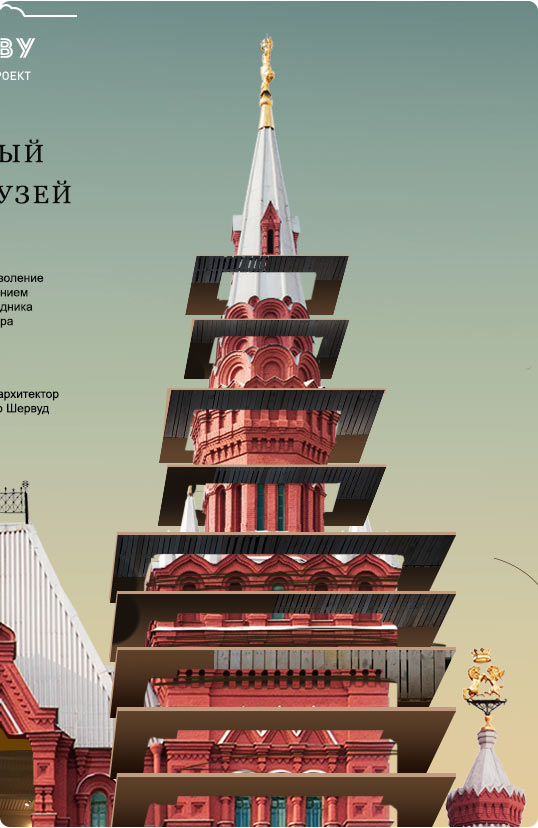
Drawing shapes
| 
Applying texture to shapes
| 
Adding metal verticals
|
Adding gaps between planks
| 
Construction workers appear
| 
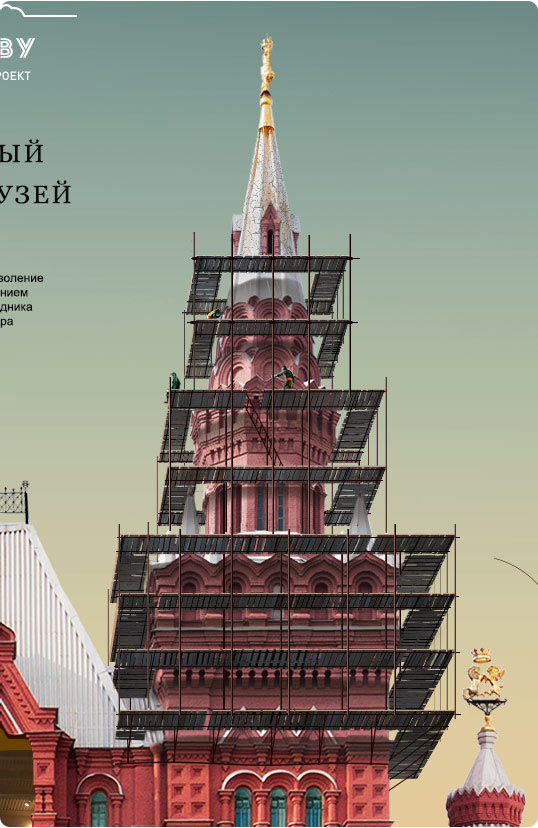
The tower is being aged. Adding cracks, rust, fading
|
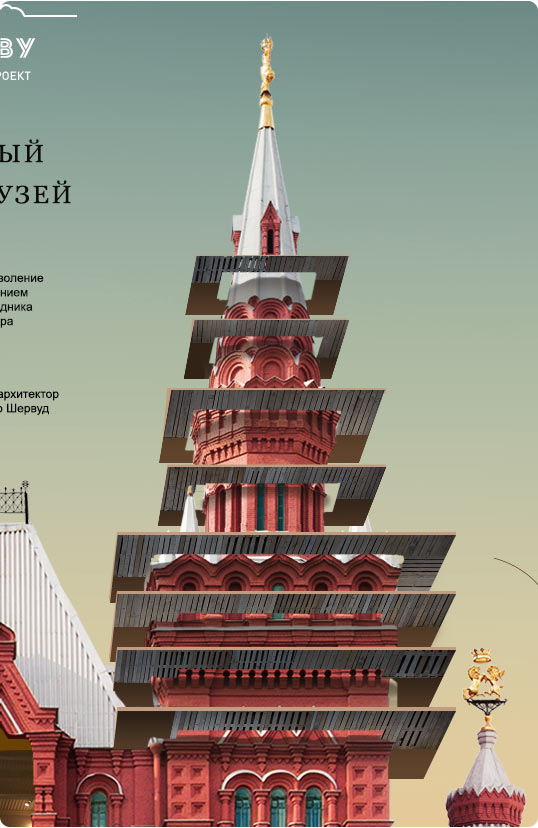
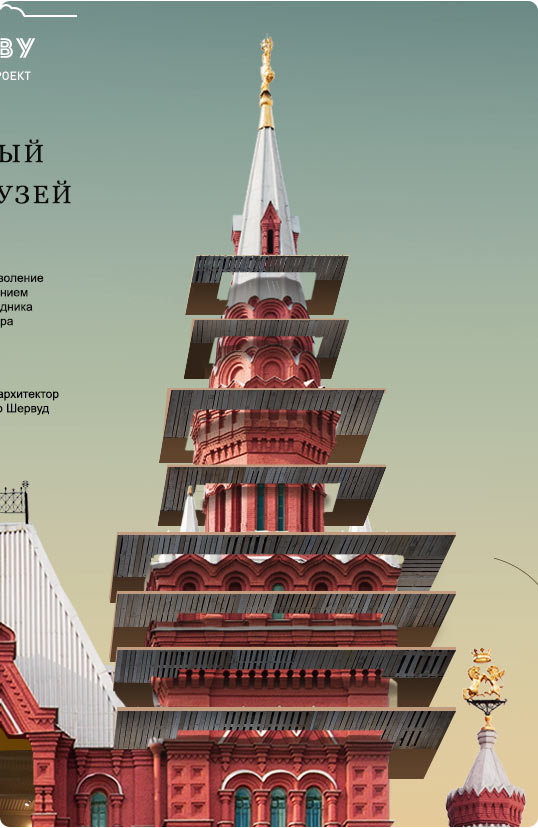
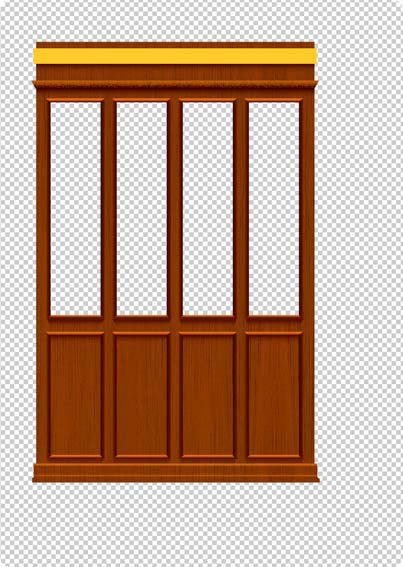
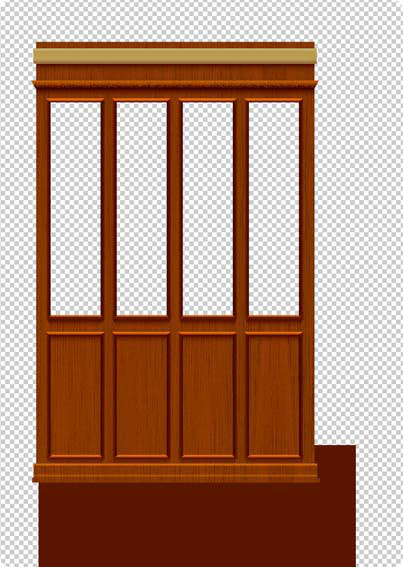
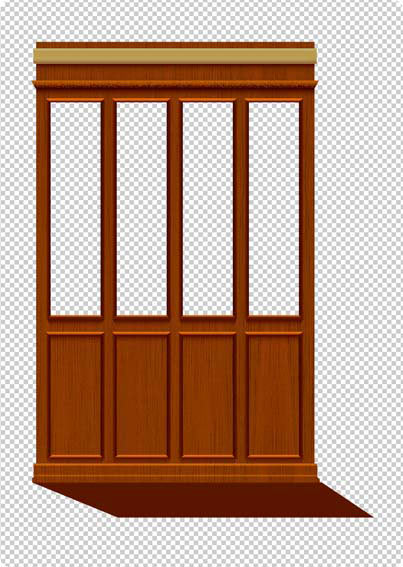
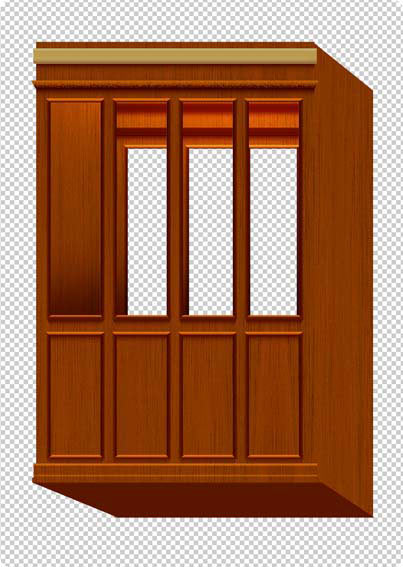
Stages of the tower reconstruction:


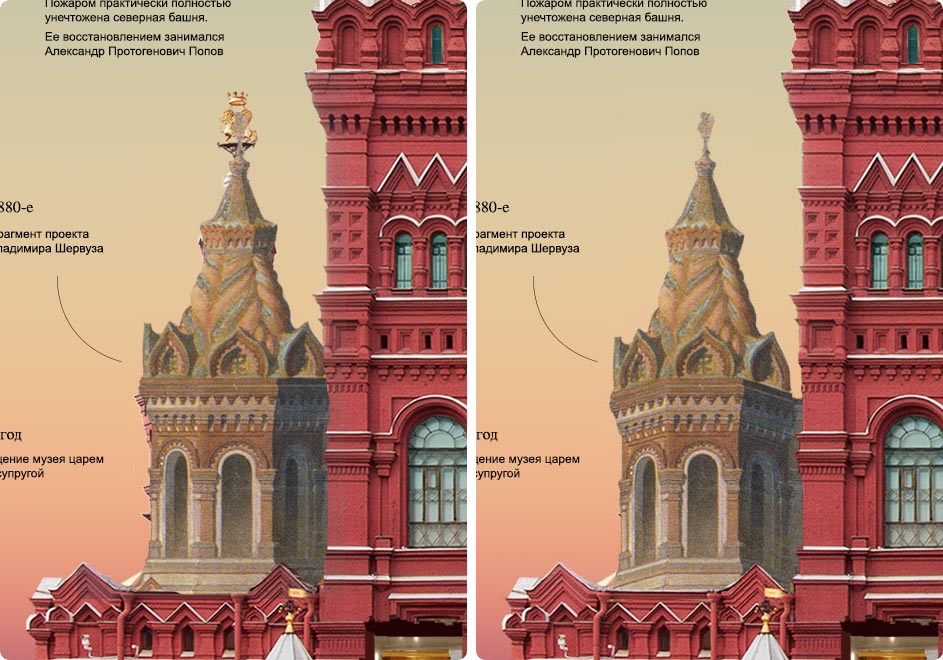
Architect’s sketch
We couldn’t find a suitable event for one of the towers which gave us a good reason to pay our respects to the architect: a fragment of the sketch by Vladimir Sherwood is inserted in the final image.
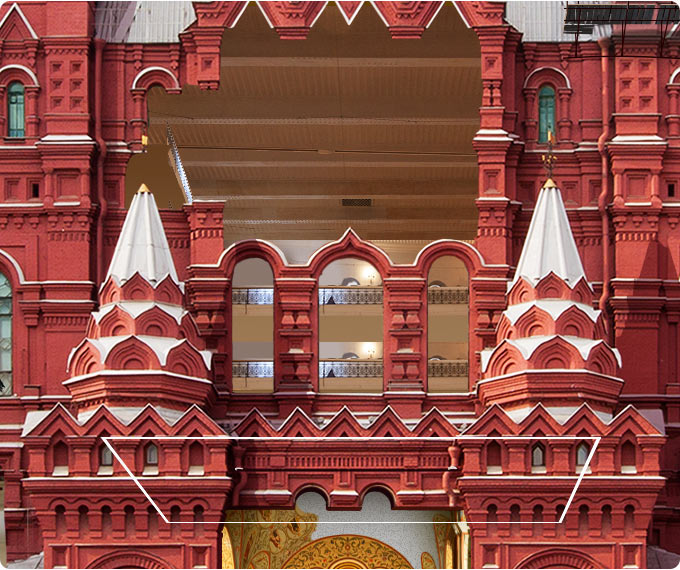
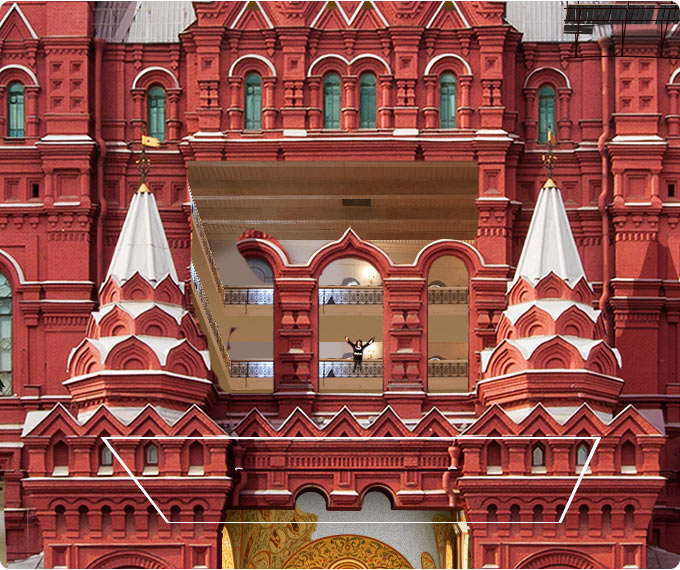
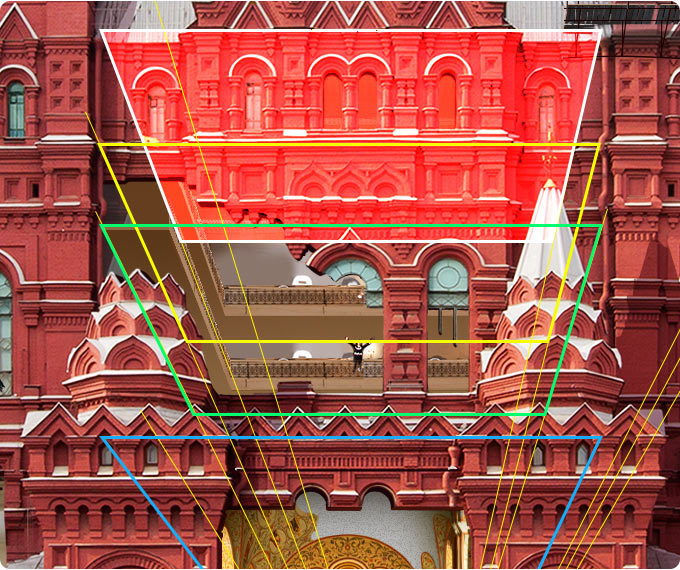
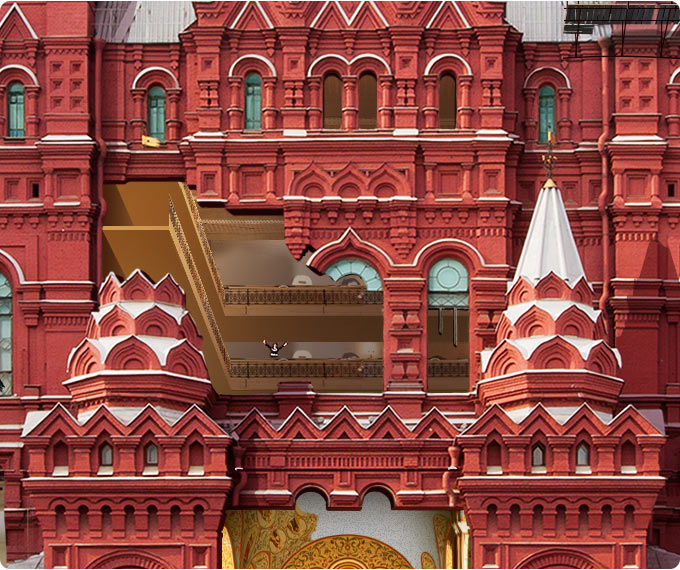
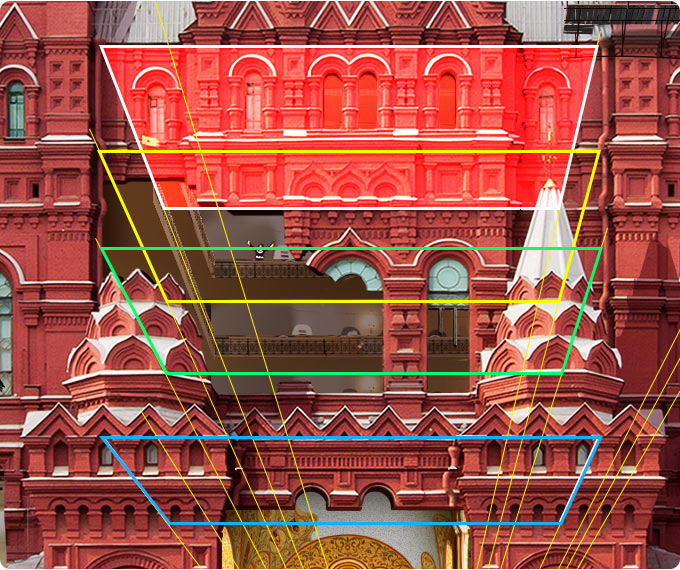
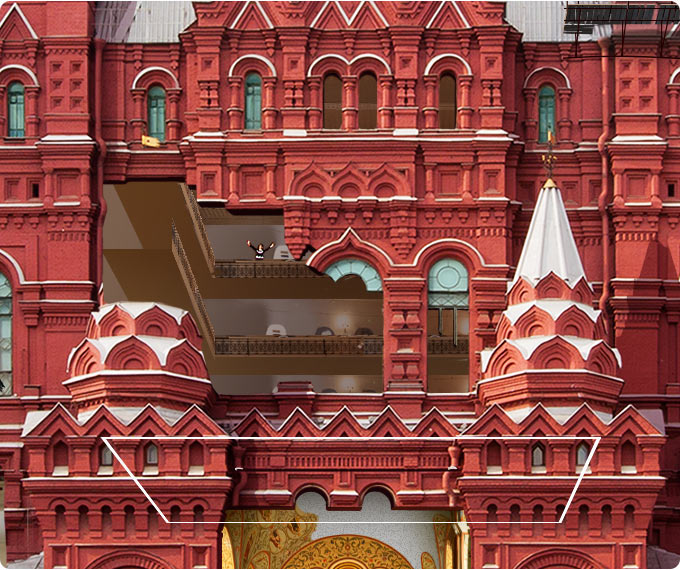
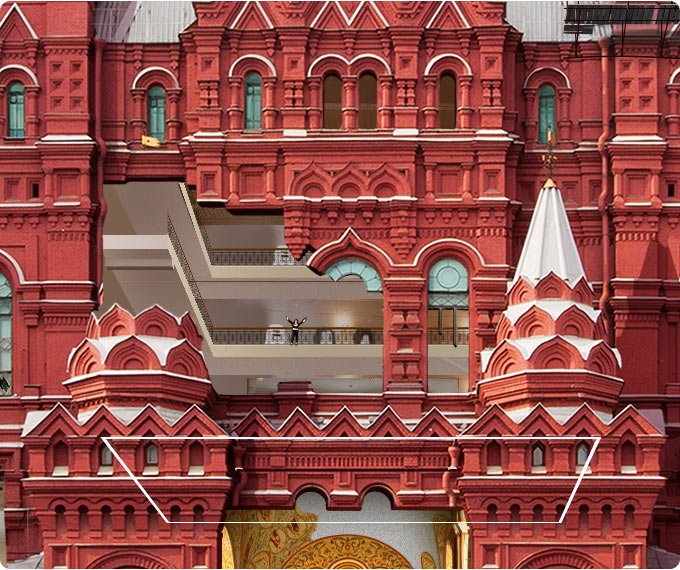
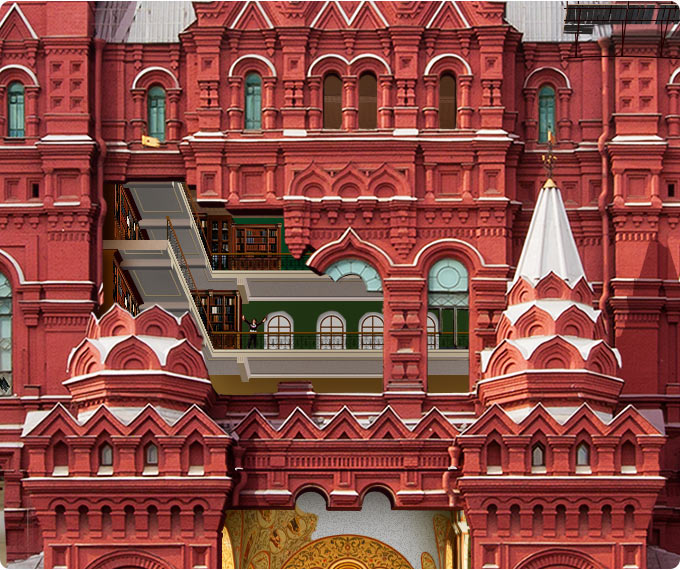
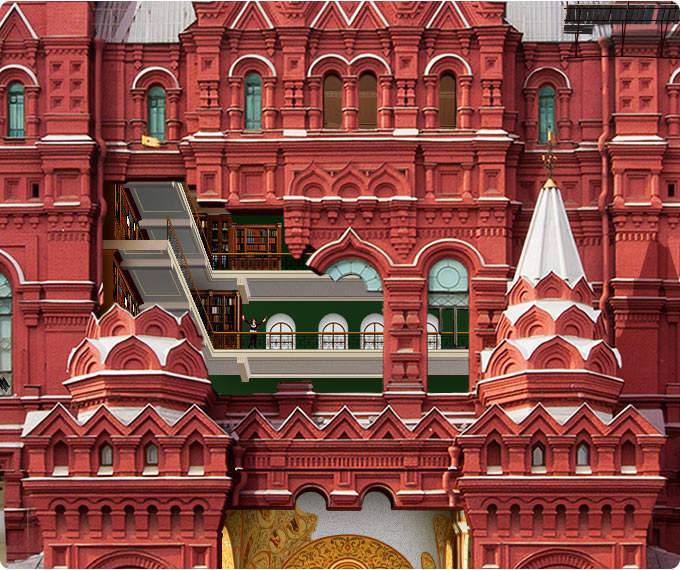
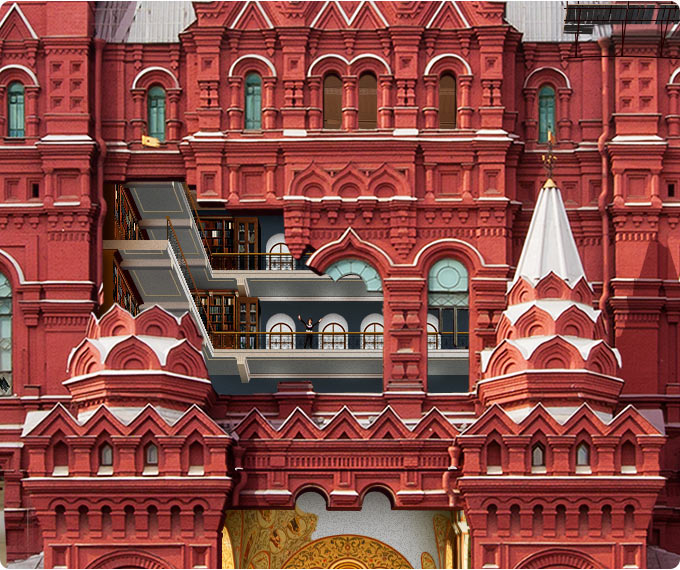
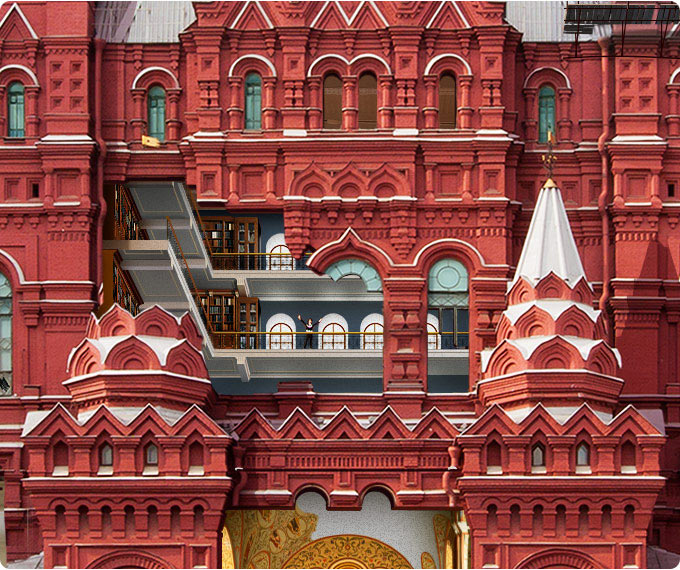
Library
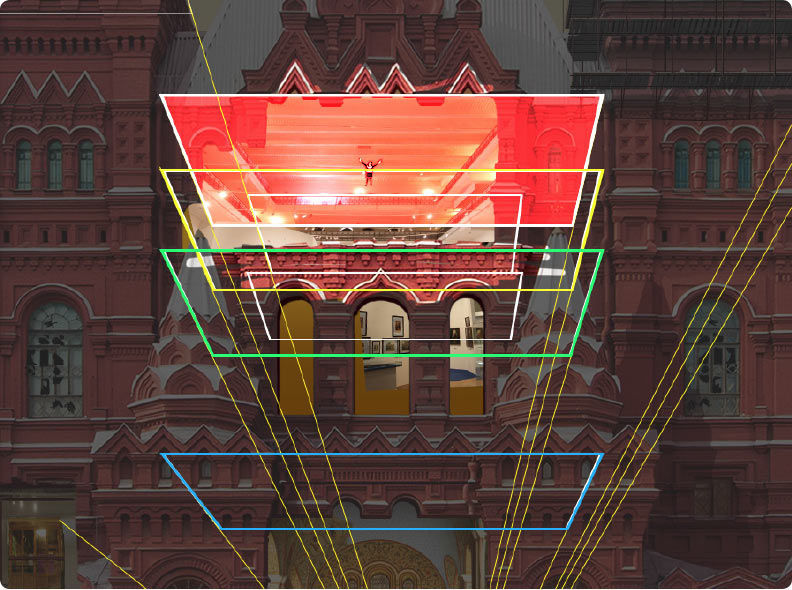
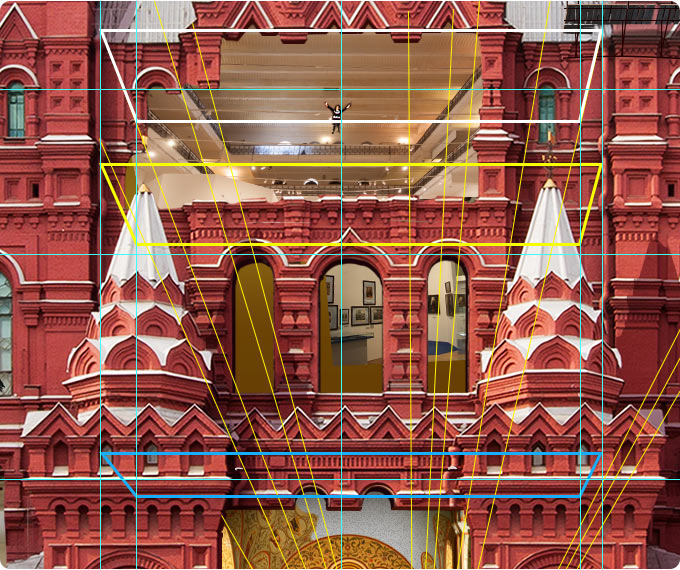
Museum workers provide us with a detailed photo of the library that was once located on the top floor of the museum.
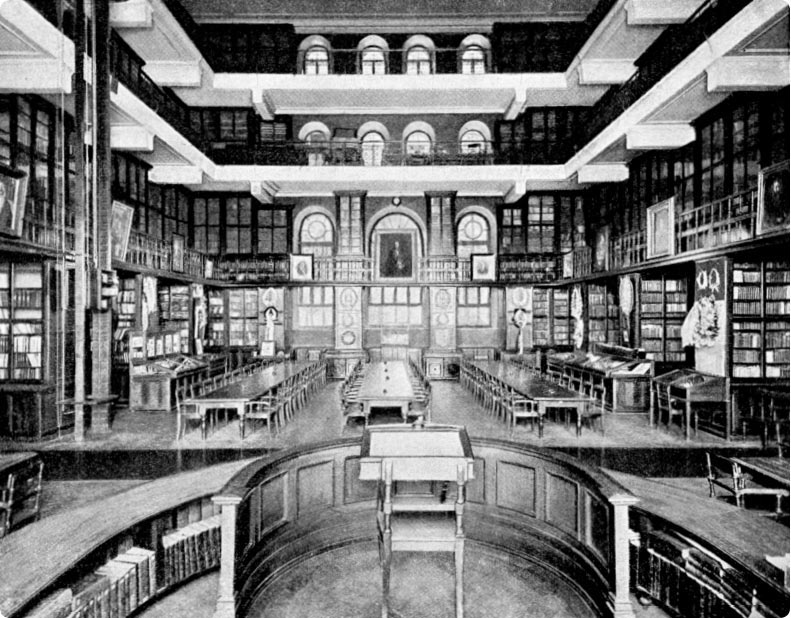
Choosing the most suitable photo of the hall. The main criteria is to have a large portion of ceiling and two balconies visible in the picture. Today, the hall houses one of the museum’s expositions which prevents us from taking a picture of the lower wall with windows, which means that together with the ceiling it won’t be a part of the final illustration.
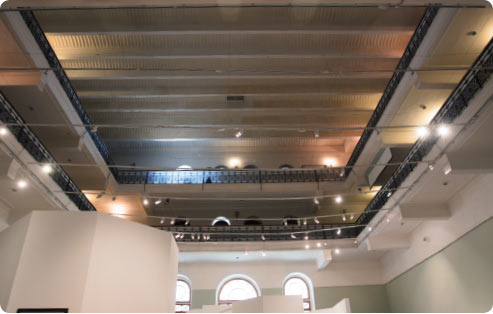
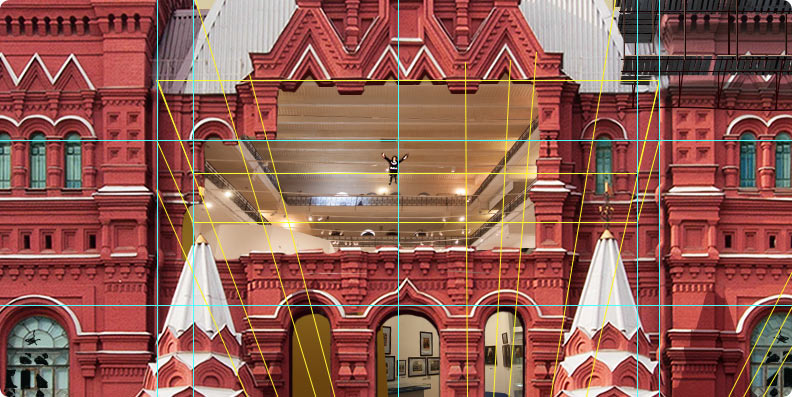
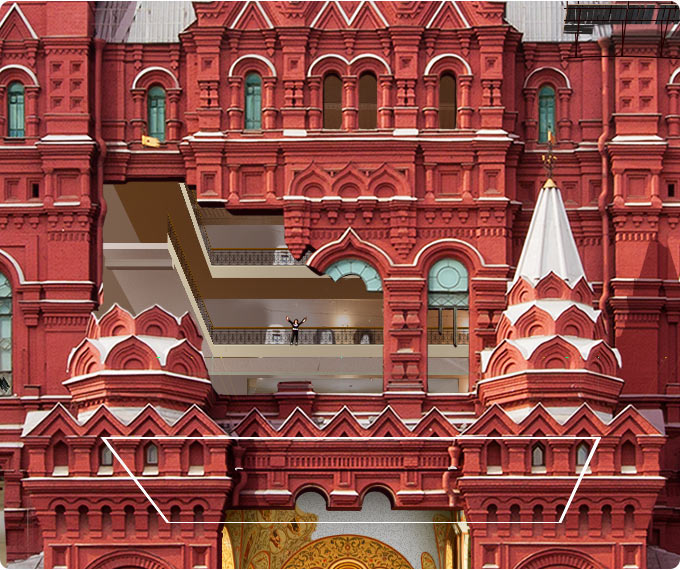
Trying the photo on the façade, simultaneously searching for the ideal shape of the wall cutaway.
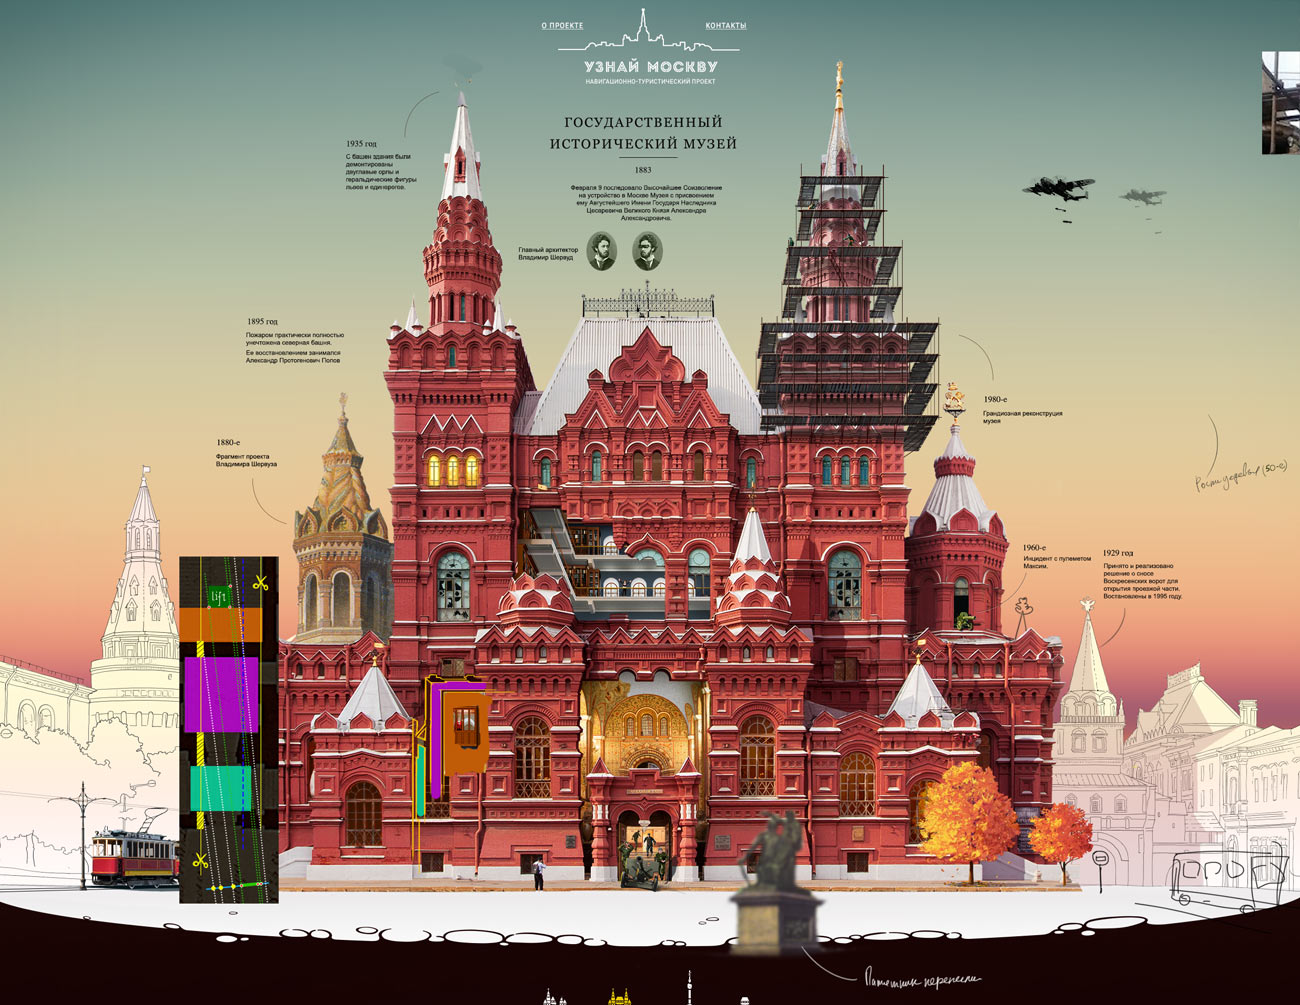
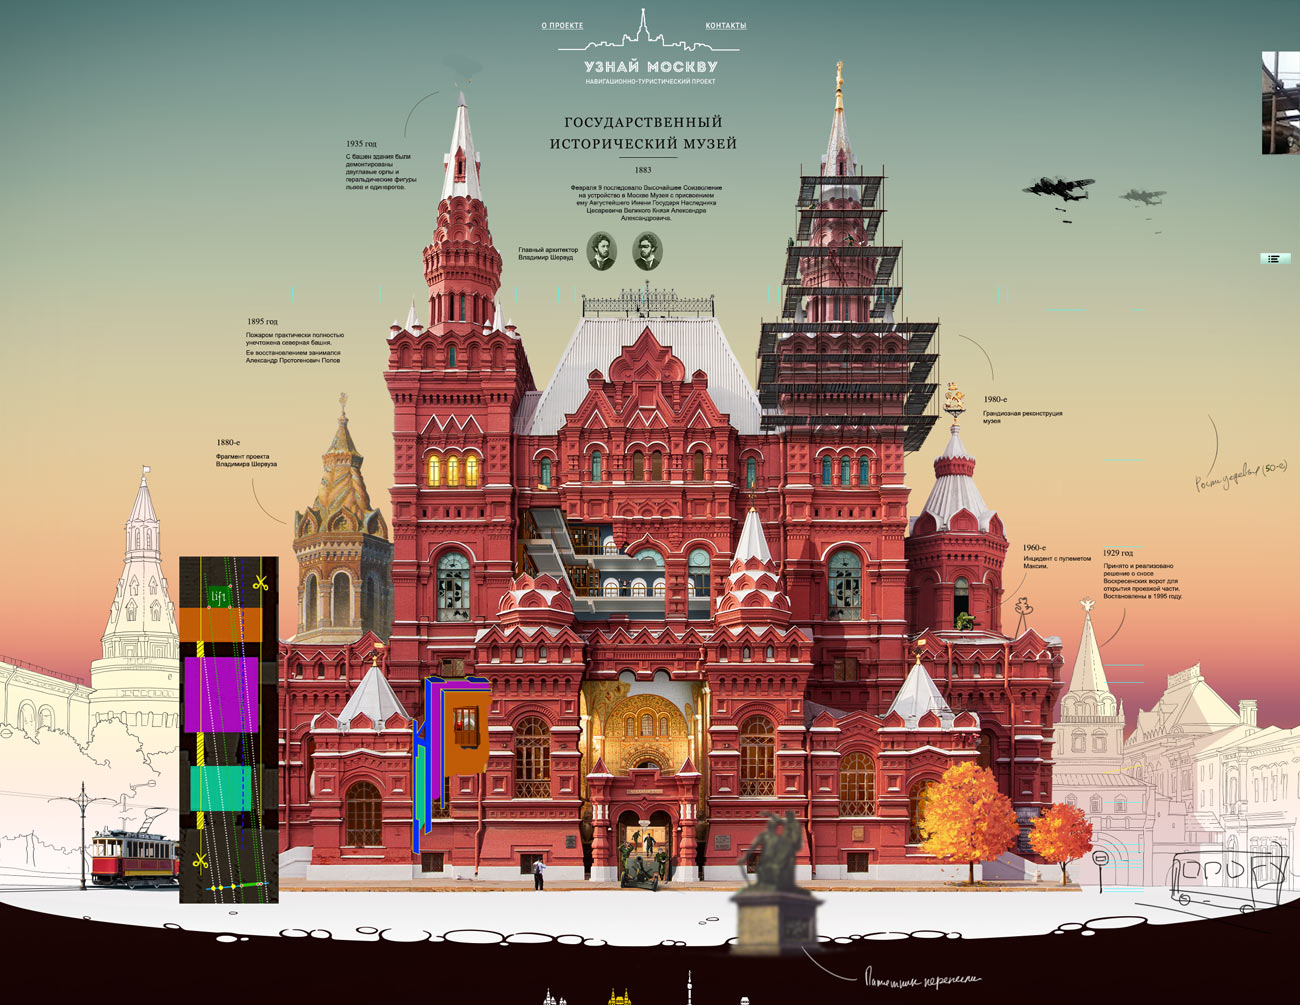
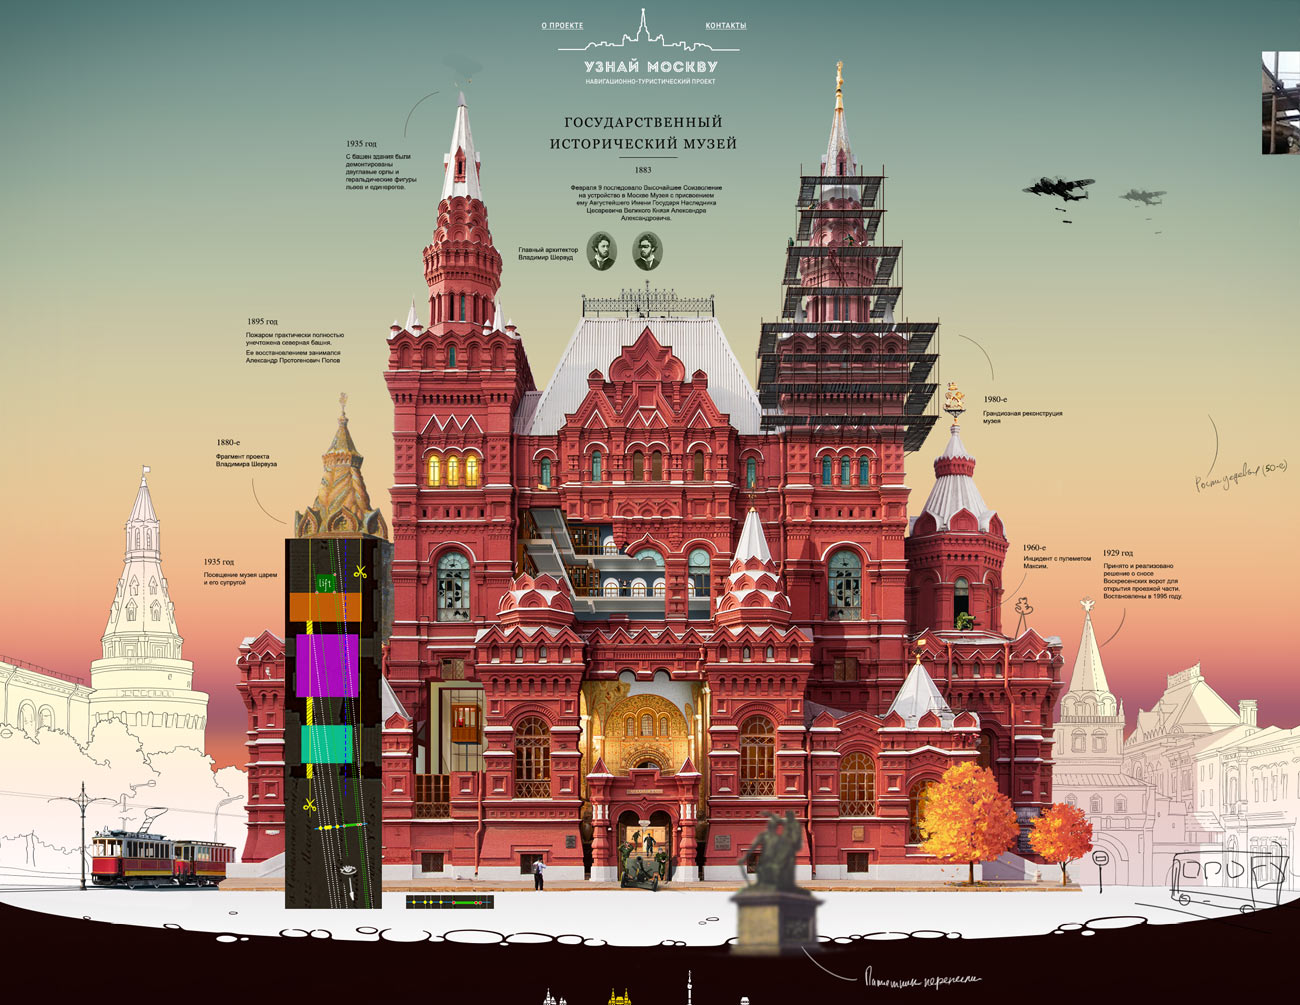
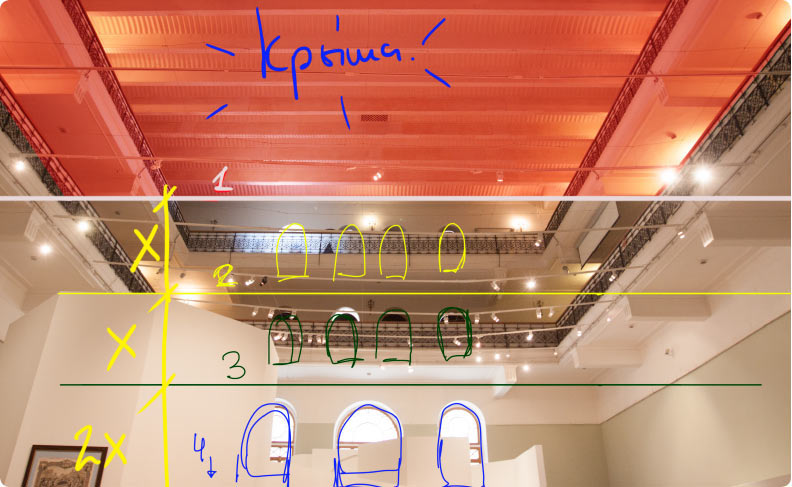
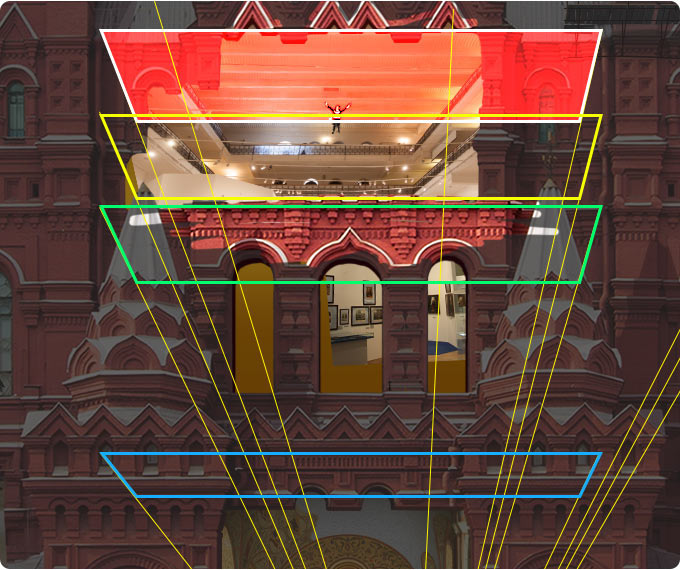
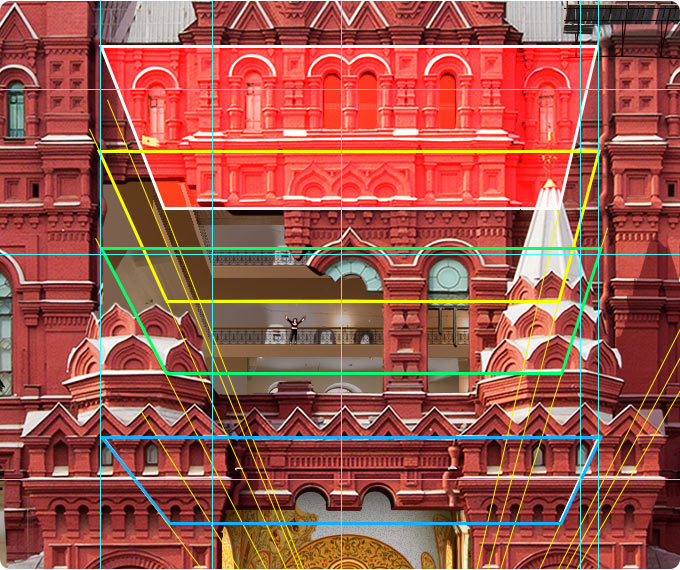
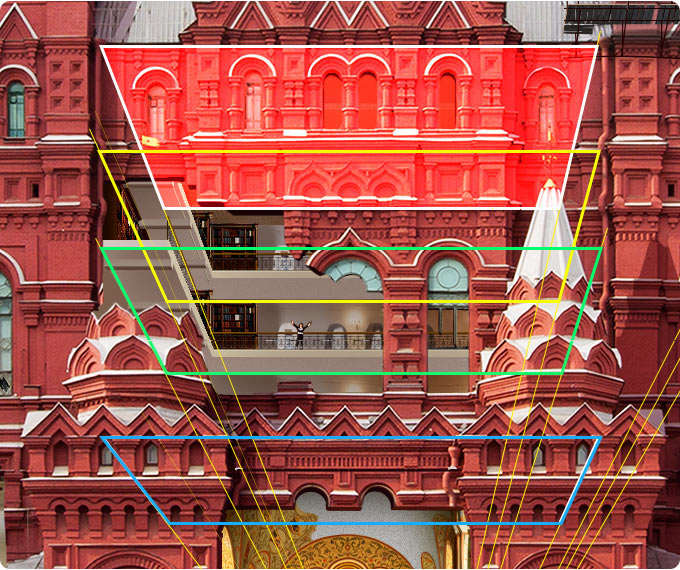
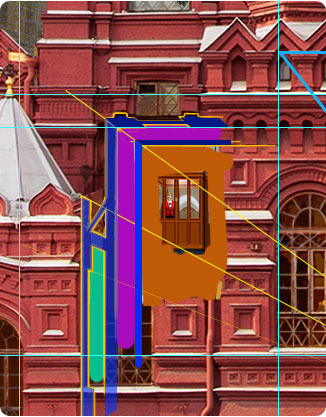
Applying color coding to the tiers to prevent confusion during drawing.
|
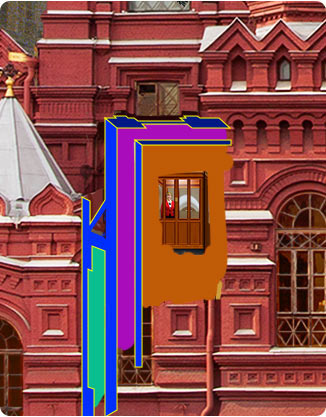
Defining didstances between levels, assigning an individual color to each one
|
|
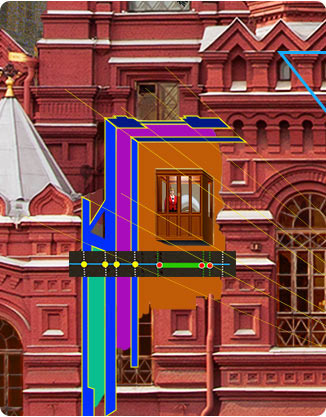
Applying a grid to the façade according to dimensions and color coding
|
|
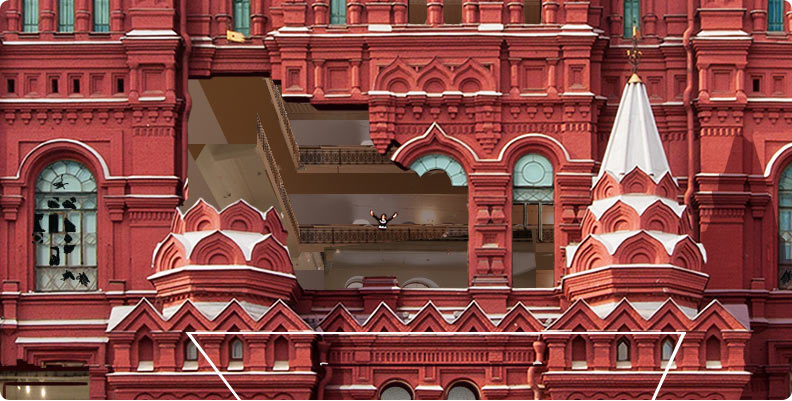
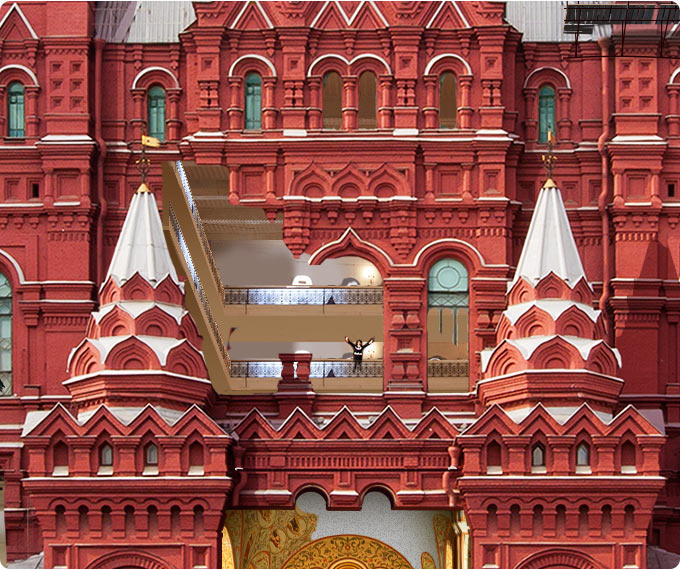
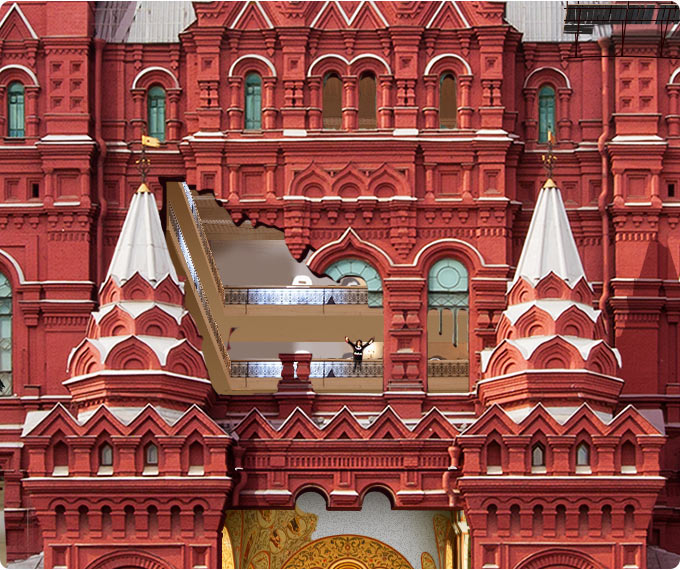
Using the grid to build the room. The shape of the cutaway in the wall has been defined: the tower will be lacking the top
|
|
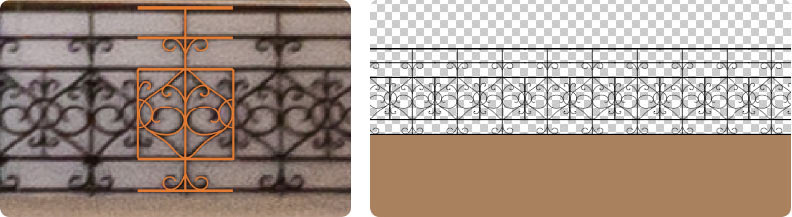
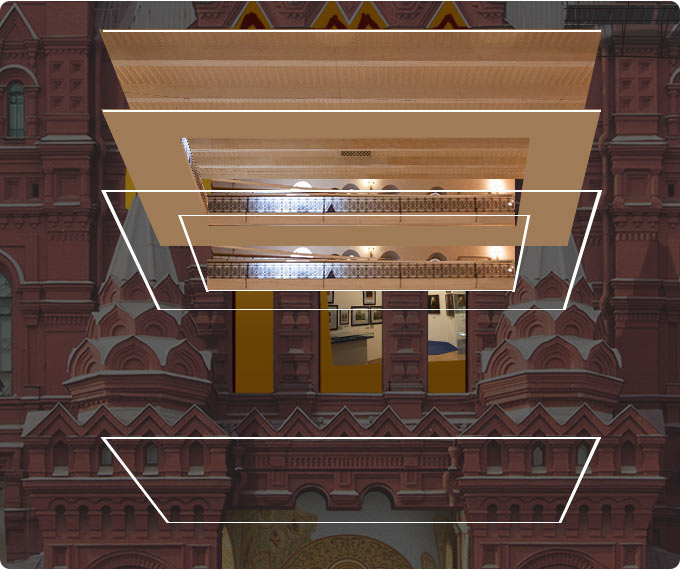
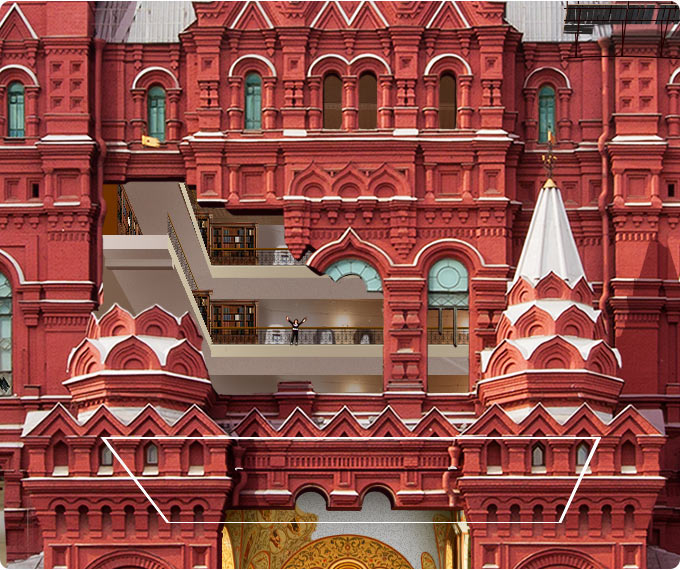
Drawing a segment of forged railing over the photo
|
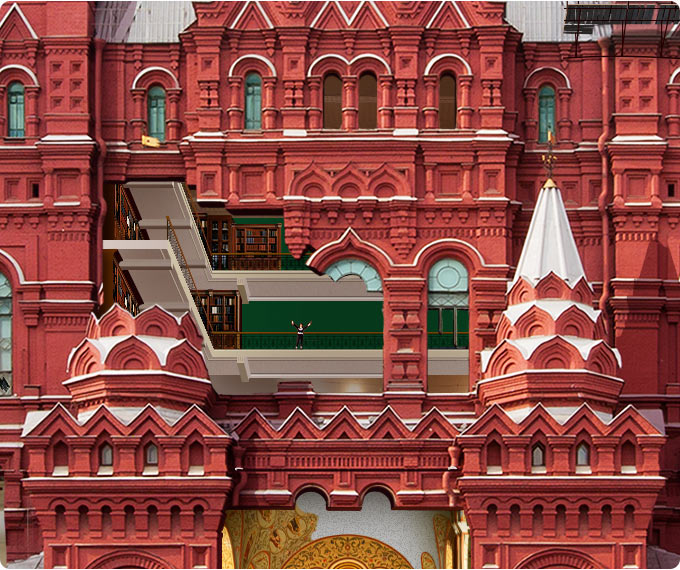
Adding railing and bookcases, trying various decorative elements, drawing windows, choosing the color of the walls, working with lighting.
Stages of the construction of the library:


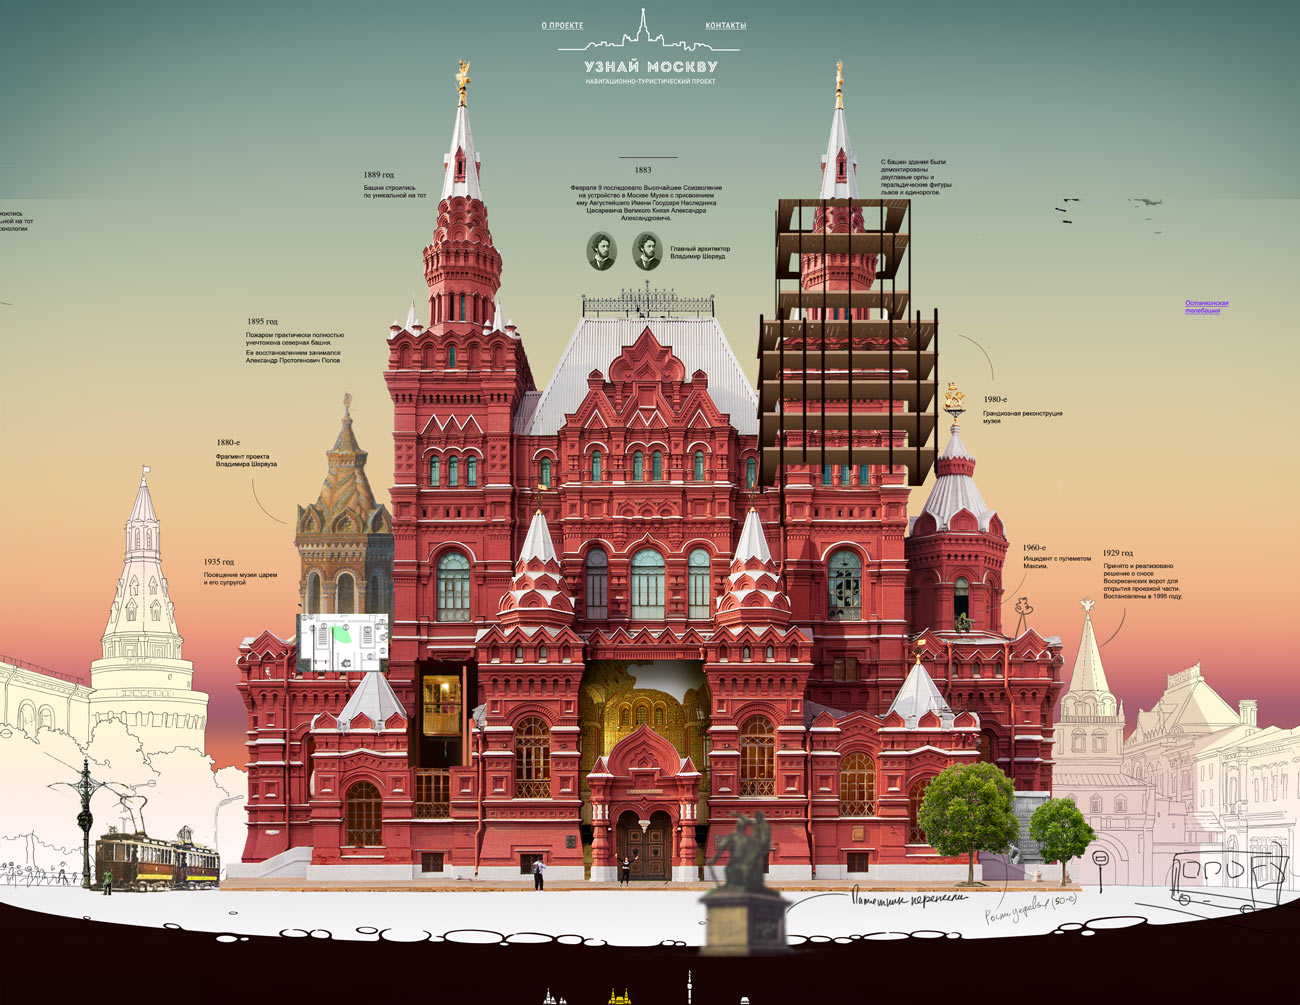
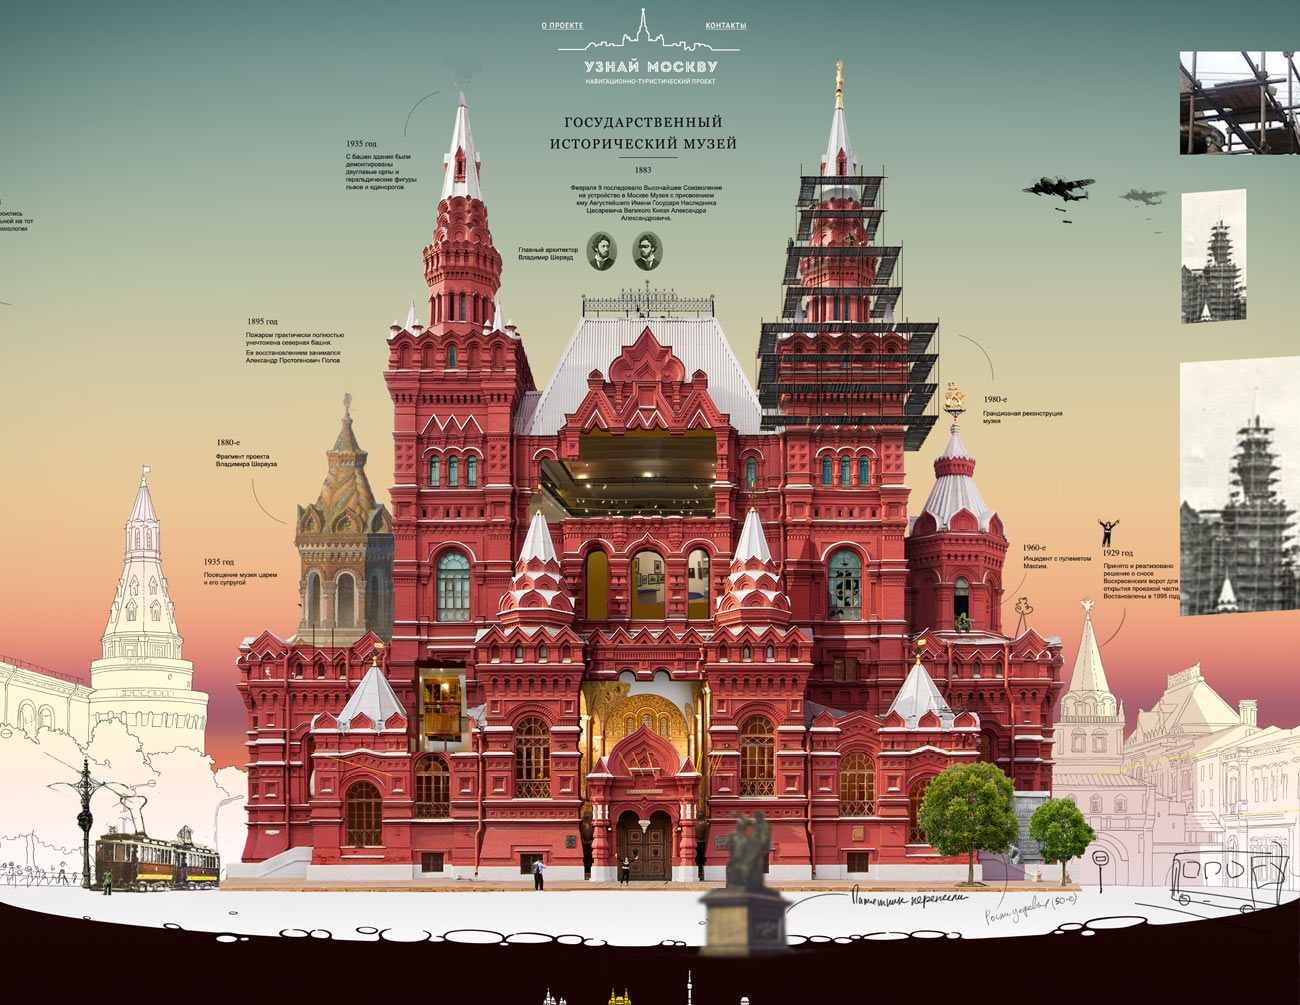
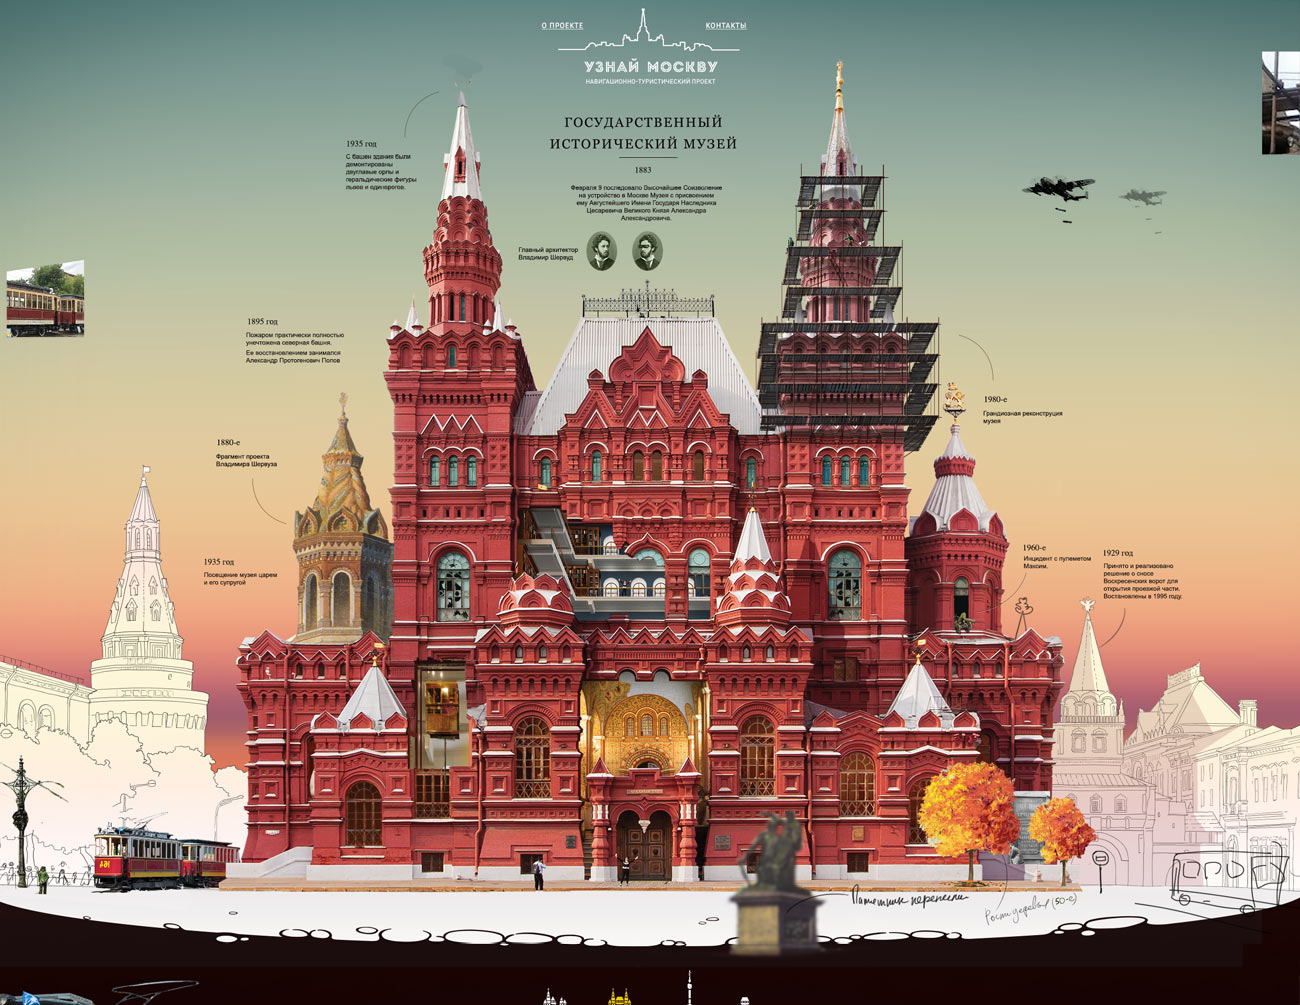
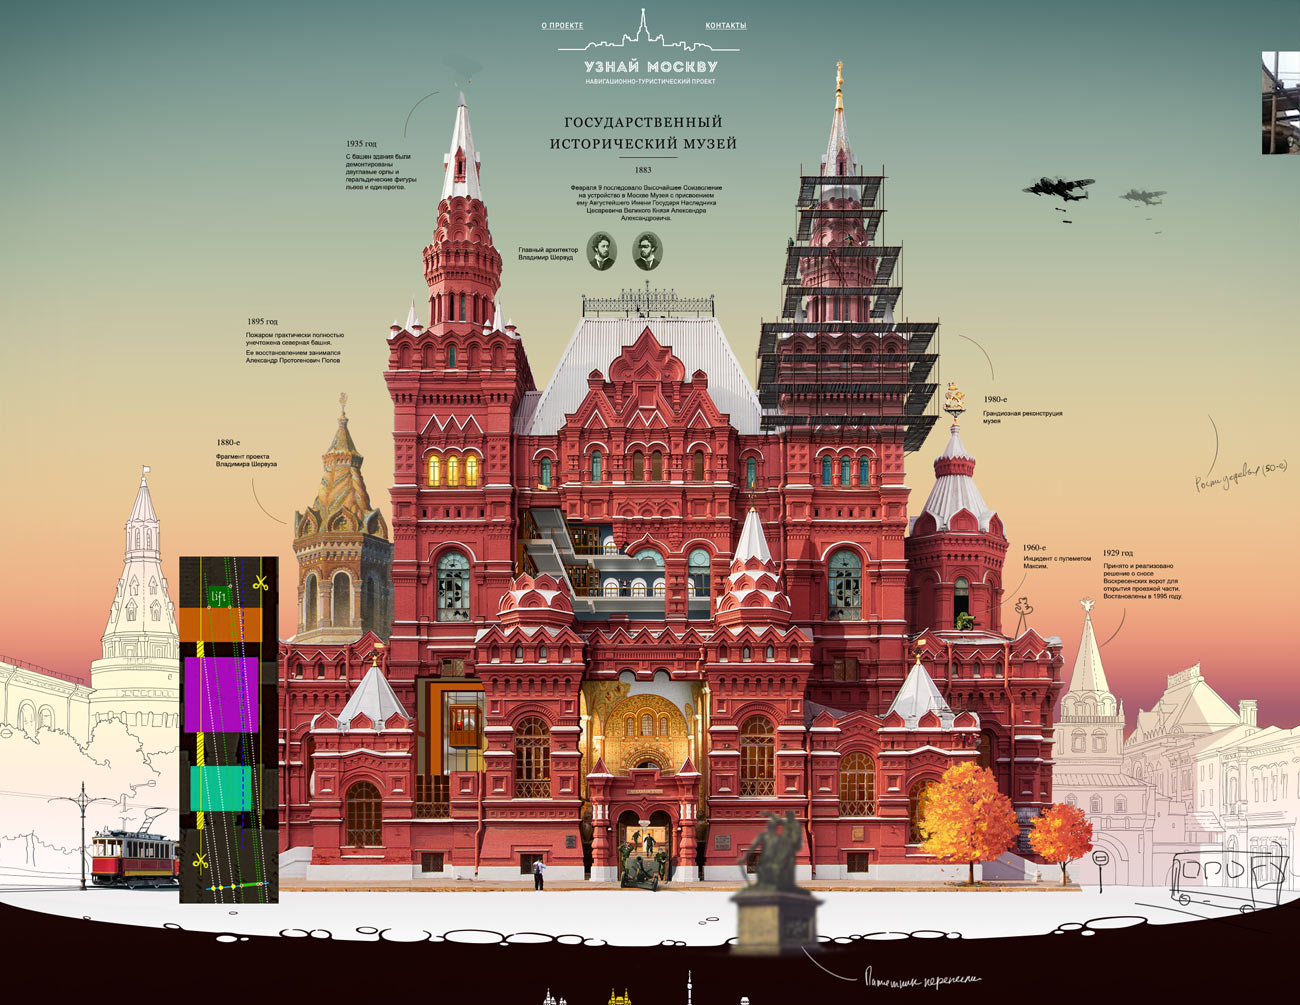
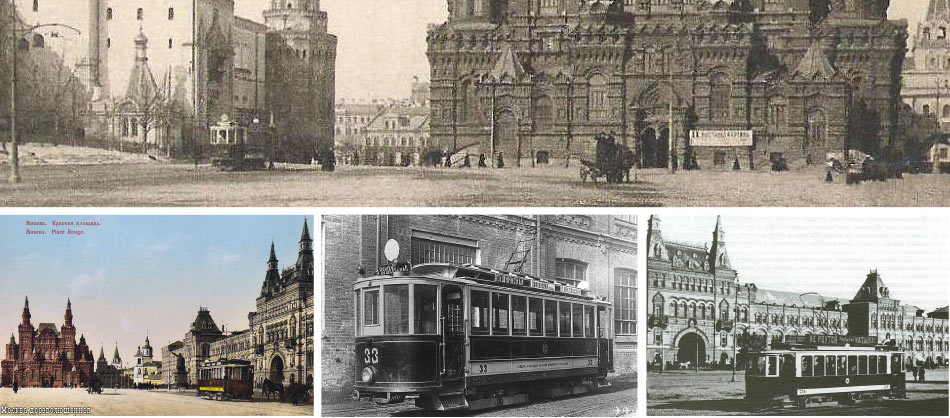
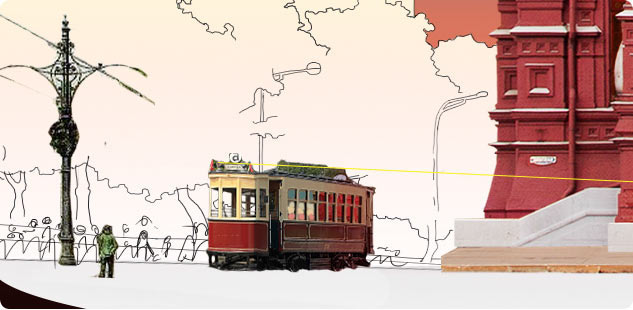
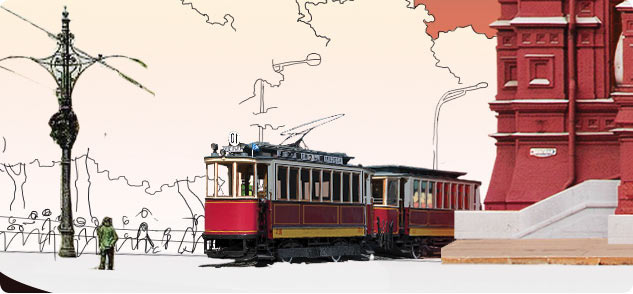
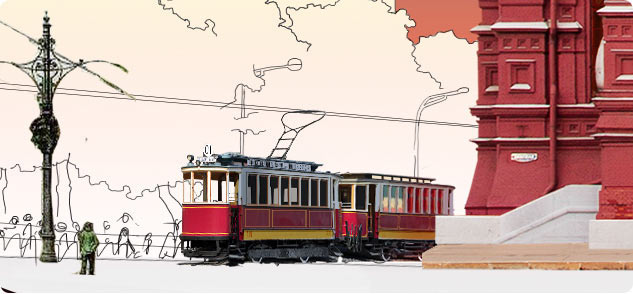
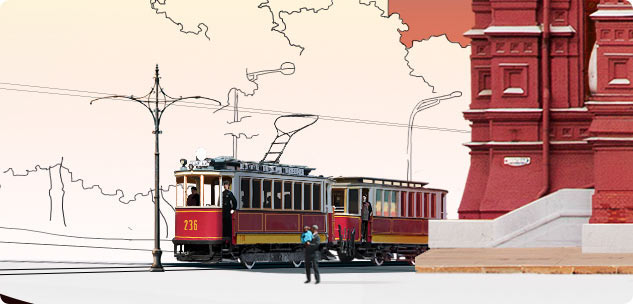
Tramway
The tram route that once traversed the Red Square went right by the museum. Even though it is hardly a part of the history of the museum itself, it’s impossible to leave this fact out.
Finding out the exact period, tram models and the route number, 236.
|
The car is put into place. Drawing reflections of the sky and the building. Since there is an incline to the left of the museum, the tram is drawn with a corresponding distortion
|
|
The tram is replaced by an earlier model. Adding another car
|
|
Cleaning up details, adding overhead lines
|

|
Looking at the period clothing, choosing the style of the route number
|
|
Installing a characteristic utility pole, adding passengers and the route number
|
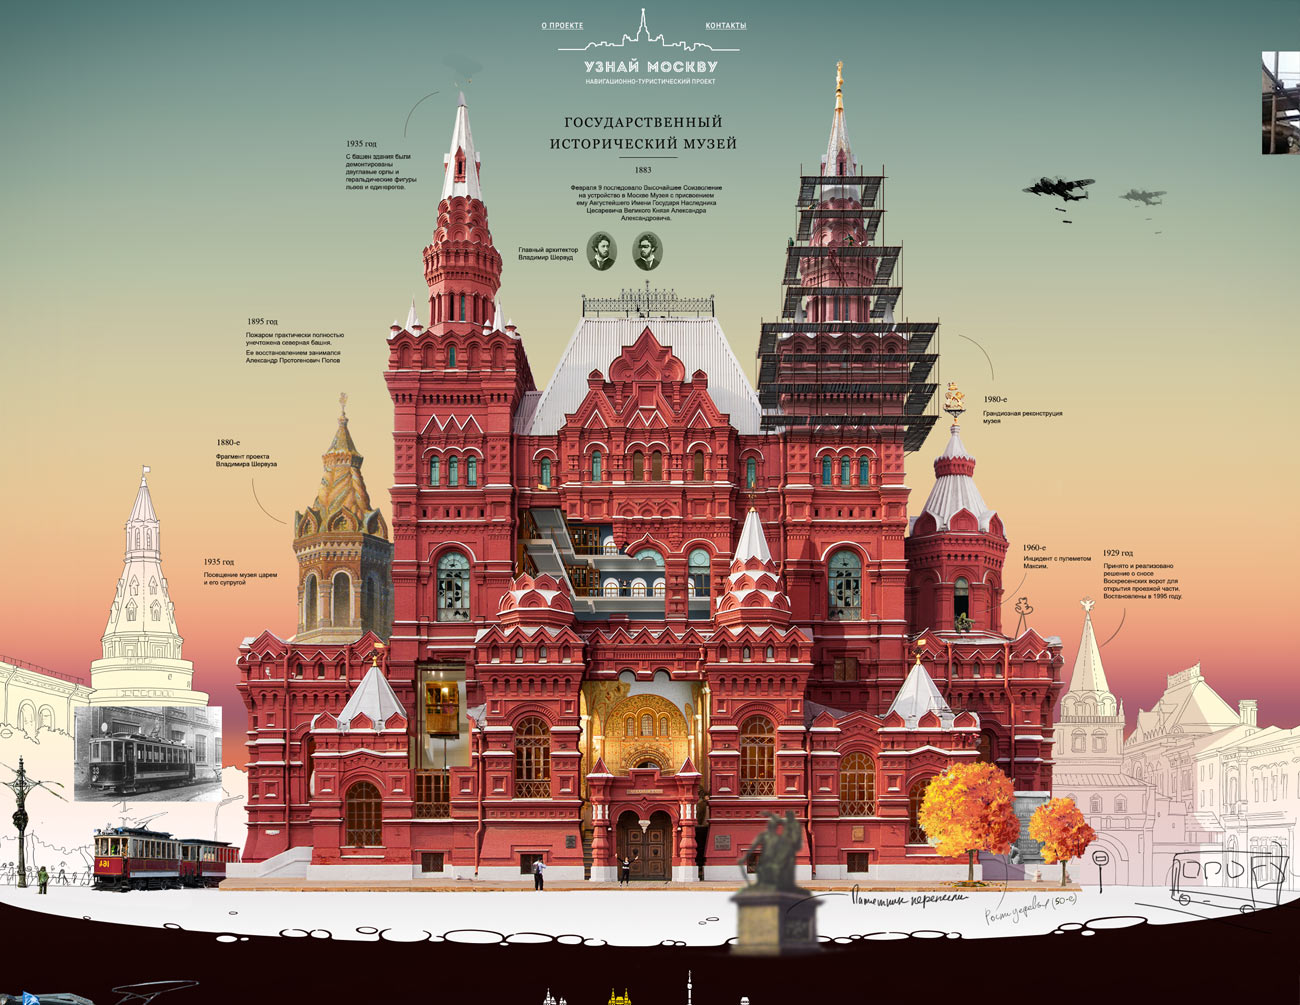
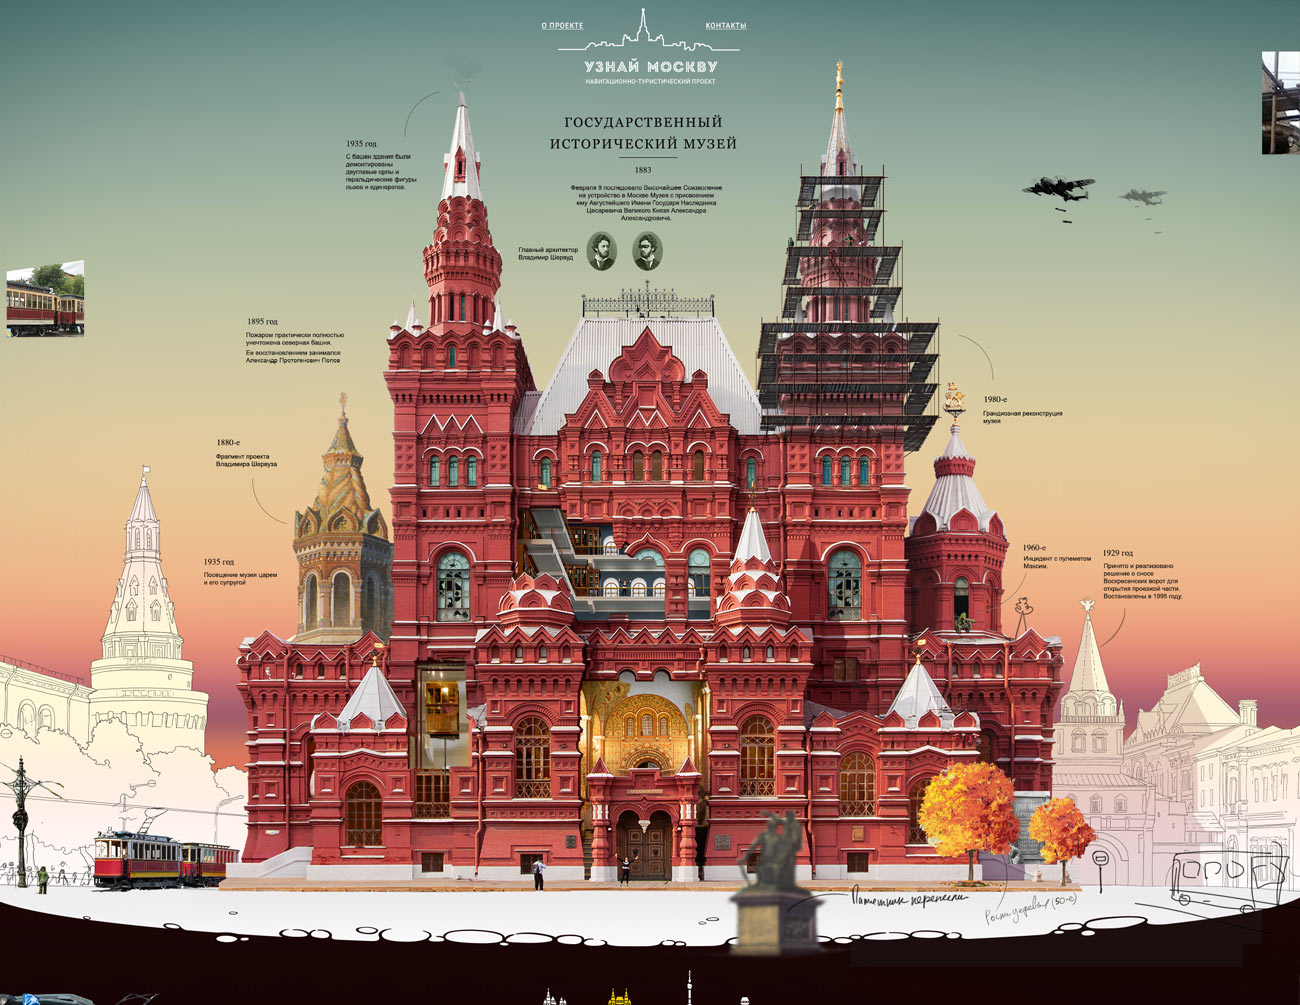
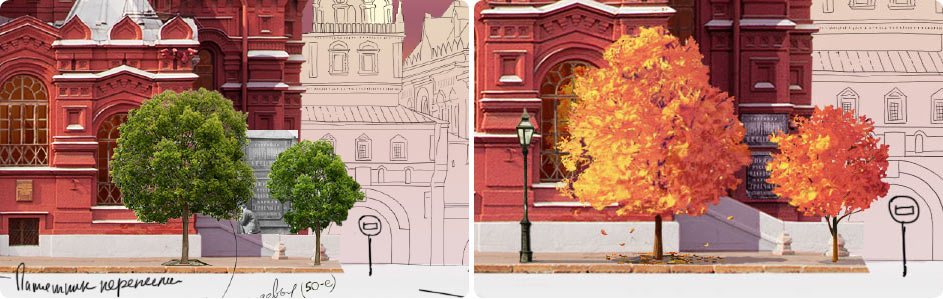
Trees
Looking for materials, we come across photos with trees growing in front of the museum. A great opportunity to remind of the by-gone era.
Researching the type of the tree, it’s lime.
It’s early fall. Placing fallen leaves under the trees, as well as some falling ones in the air.
A small stroke: a reflection in the window and the old lamppost. There is no information about the plaque that came on the façade from the old photos, we keep it as a talisman.
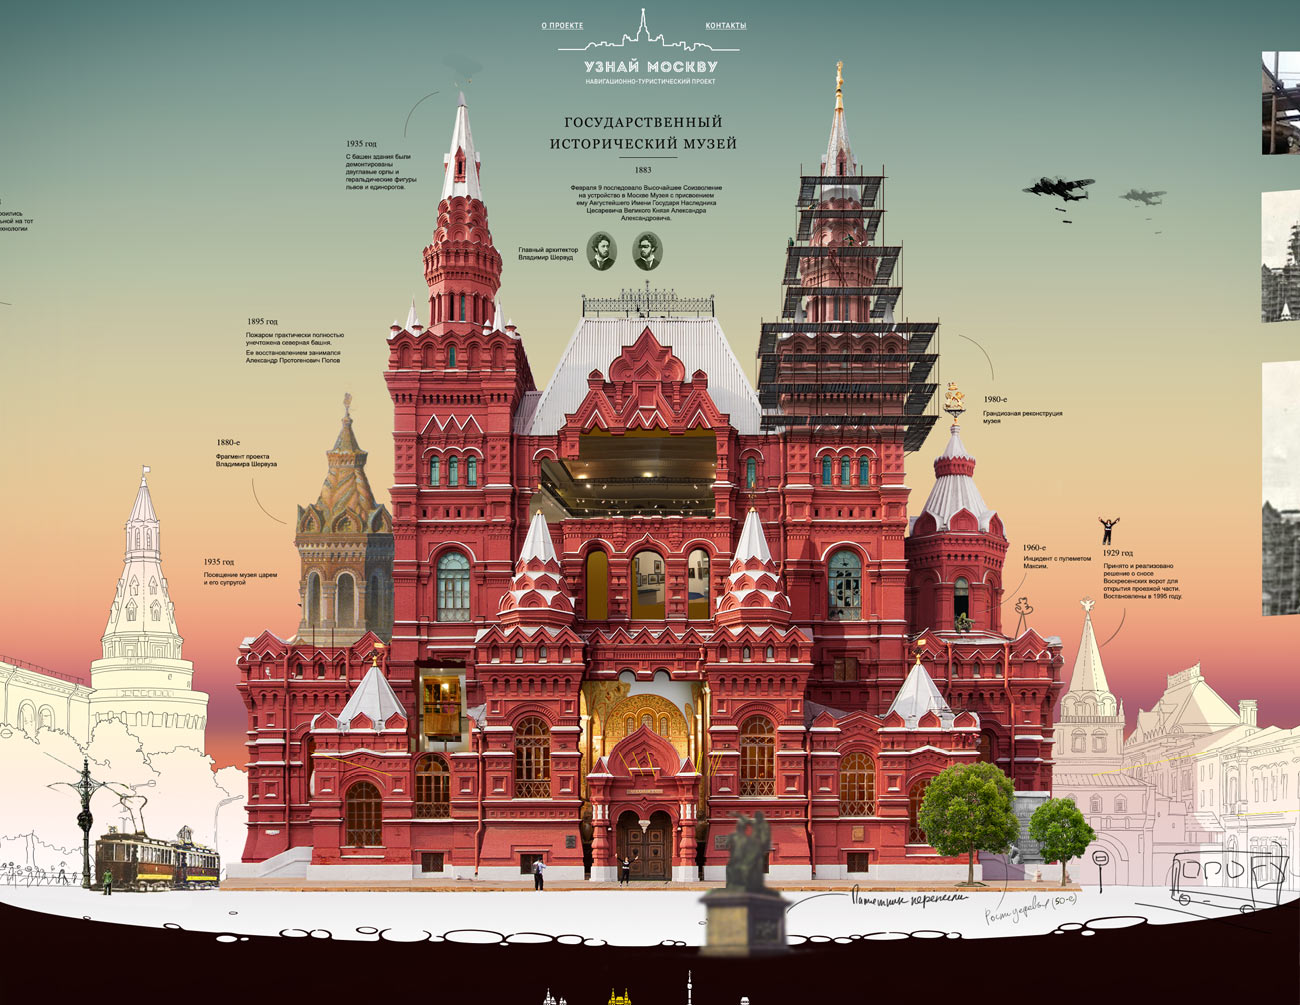
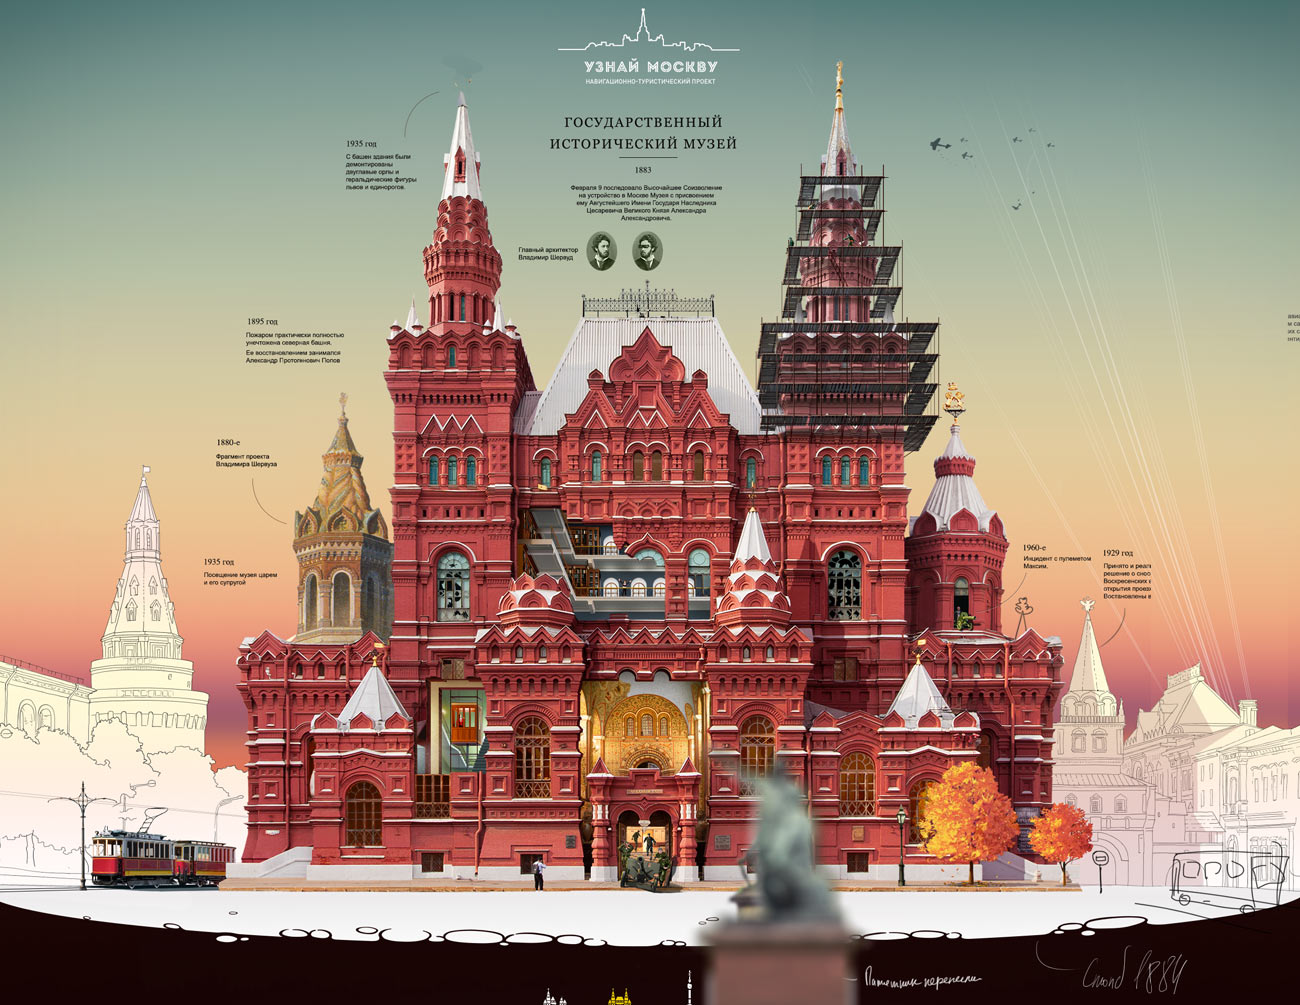
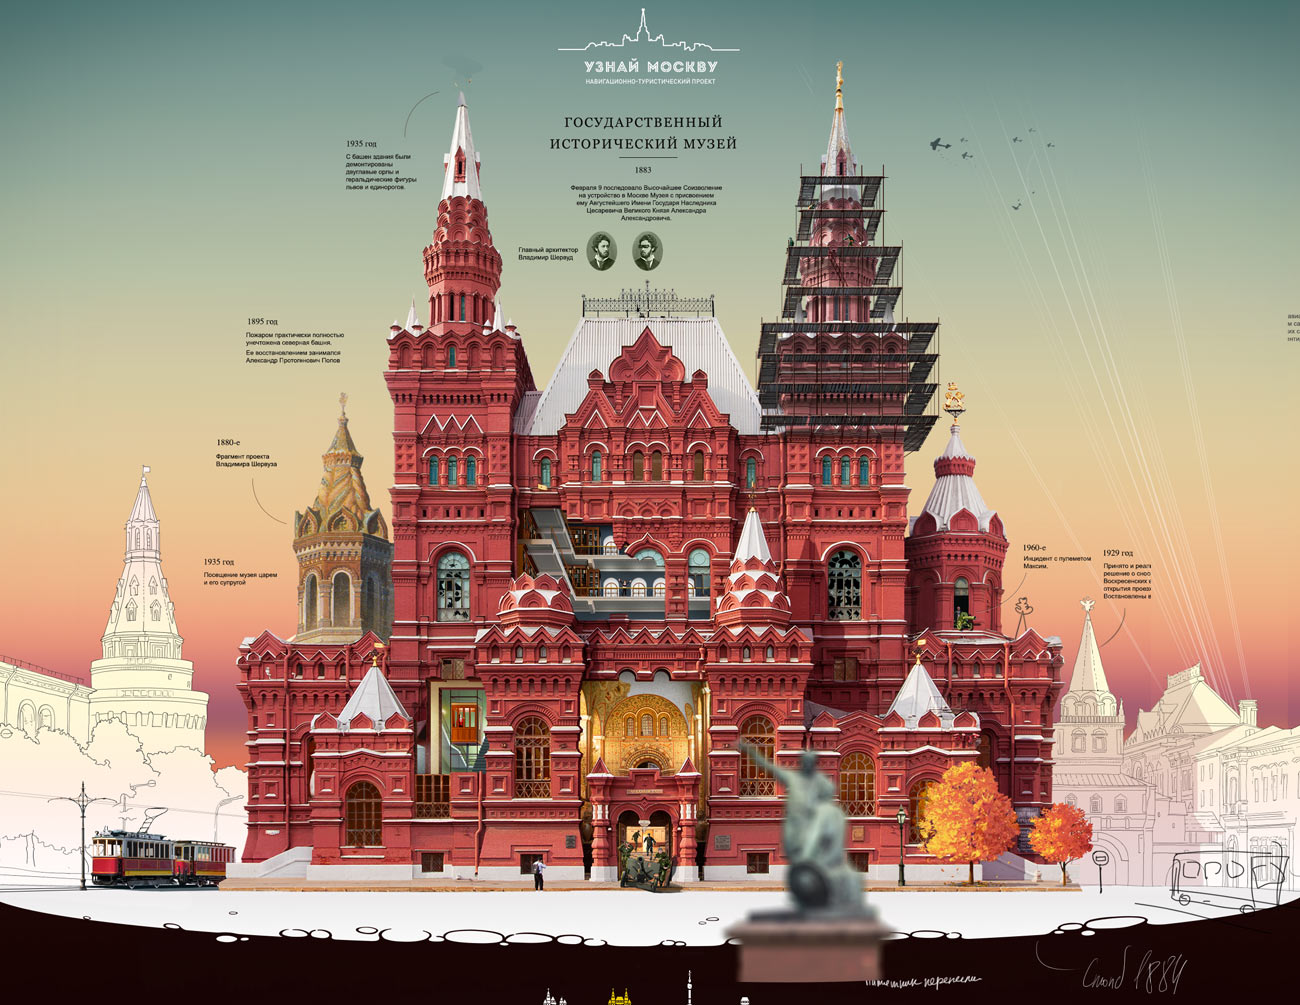
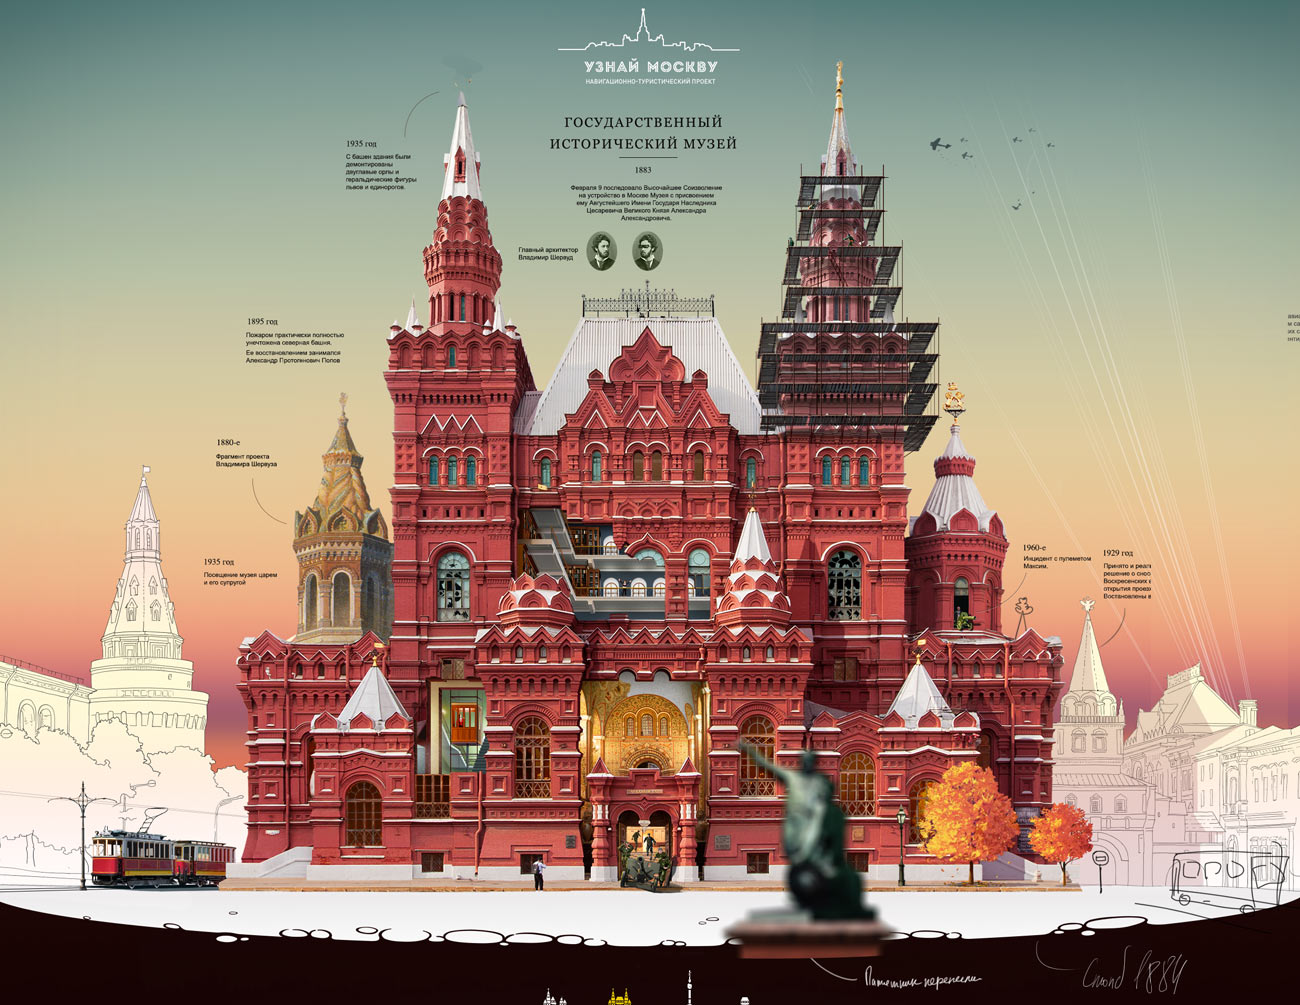
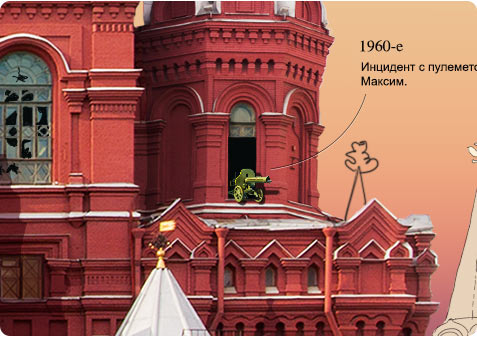
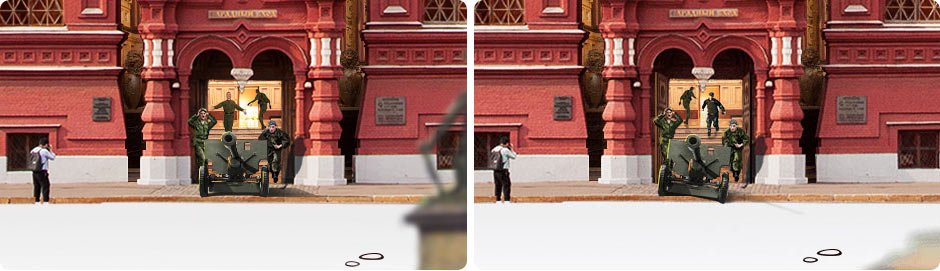
Maxim gun and the cannon near the central entrance
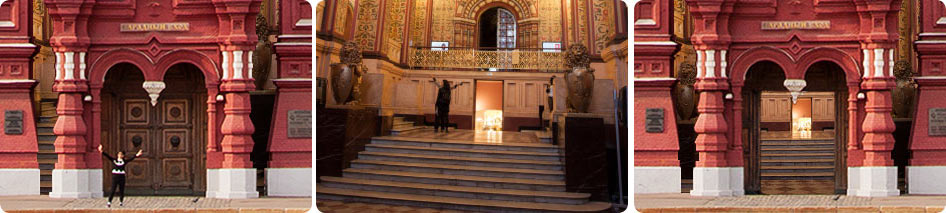
Before we start working with the cannon, we need to prepare the surroundings: open the doors and add a background.


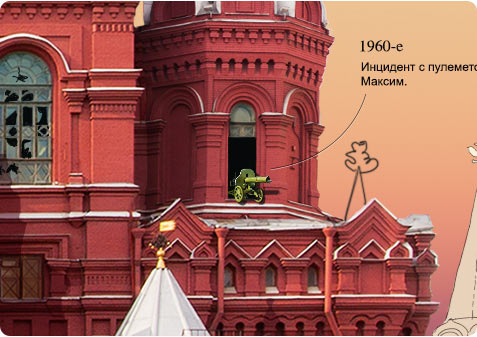

Before we start working with the cannon, we need to prepare the surroundings: open the doors and add a background.
We had to say goodbye to the girl posing by the central entrance, while the photographer remains as the awkward witness.
Time to work with the cannon. The idea is that it rolled out onto the Red Square by accident and the soldiers who are at fault are in shock and amazement.
We need to convey dynamics here. The cannon is facing the viewer and its muzzle looks almost like a circle from this angle making it difficult to identify the object.
Adjusting the position, rotating the wheels, removing some of the details, adding lighting, drawing shadows (first of all, those cast by the muzzle on the body), all in all we are doing everything to help the viewer recognize the object and its angle.
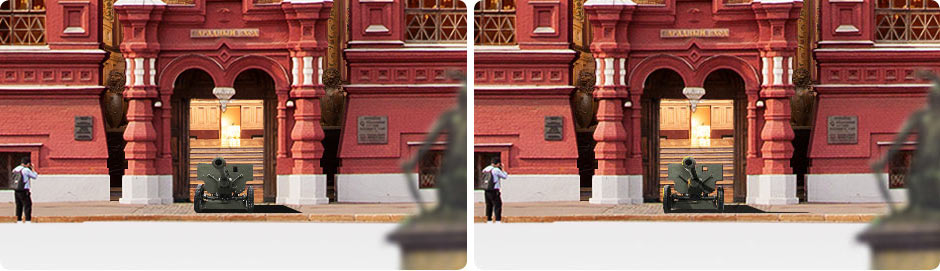
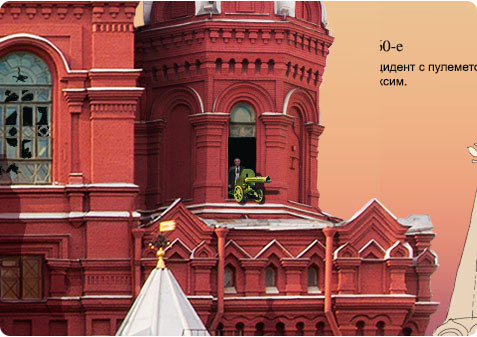
The cannon is surrounded by shocked soldiers. We also turn it a bit to the side for added dynamics: one of the wheels has come off the curb.
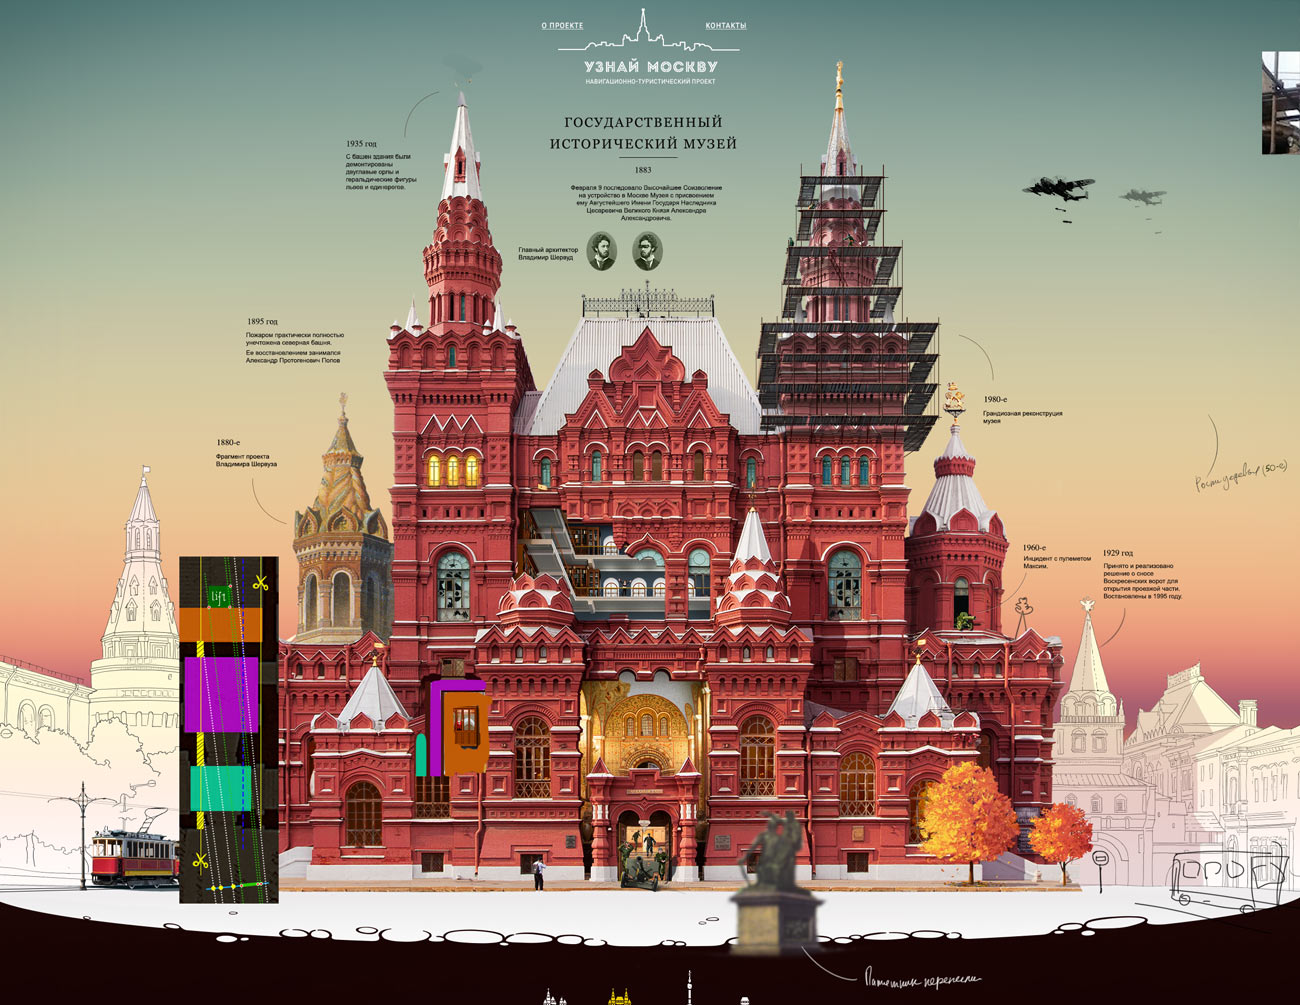
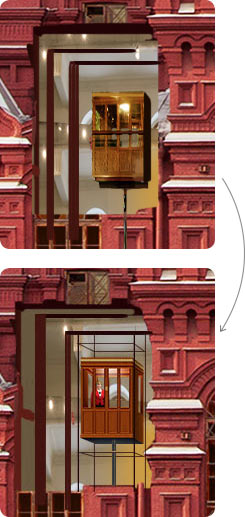
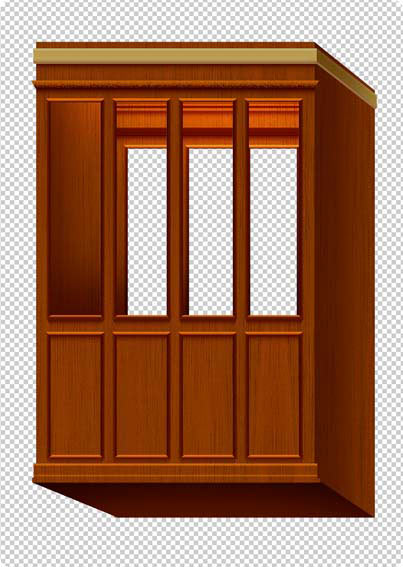
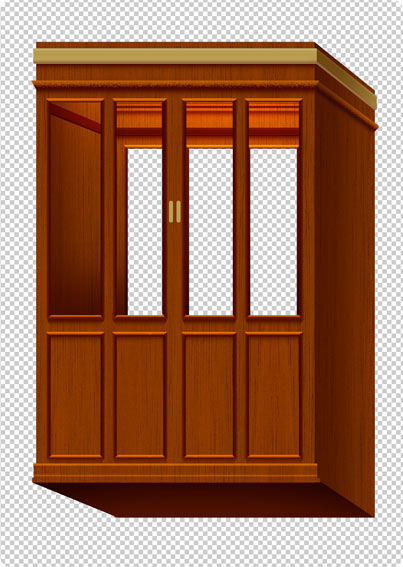
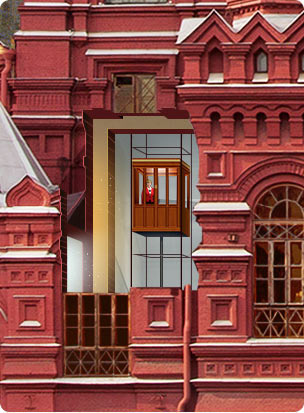
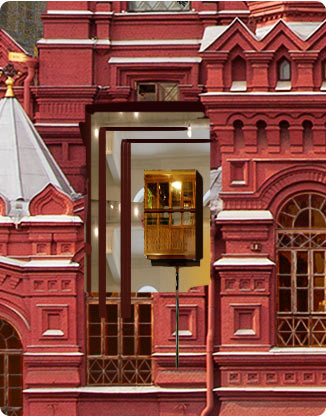
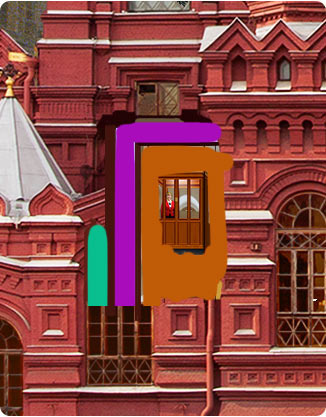
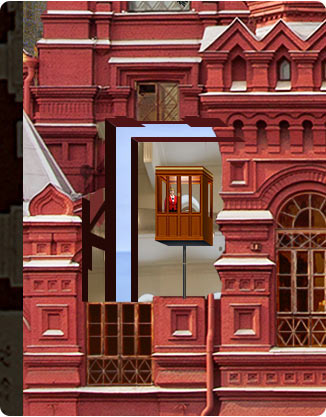
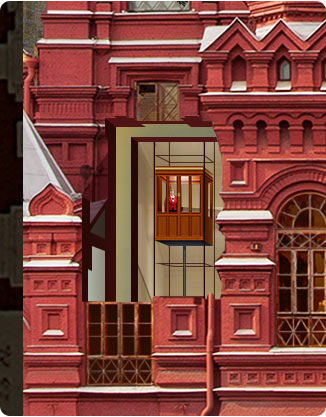
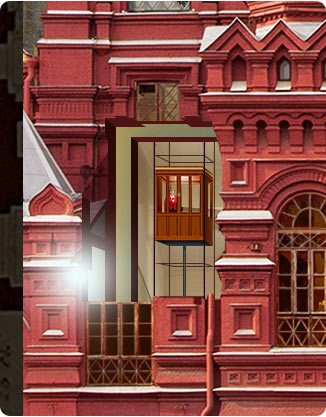
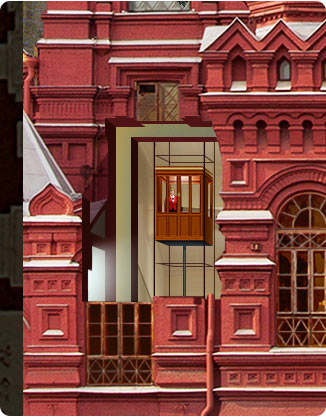
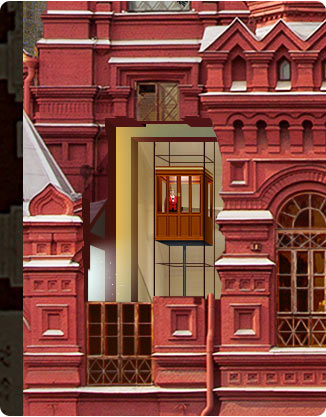
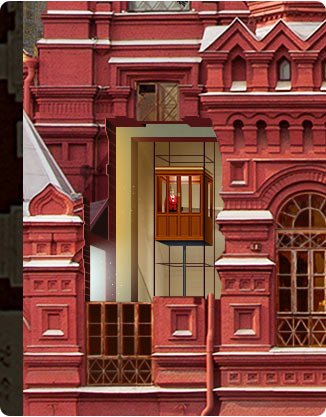
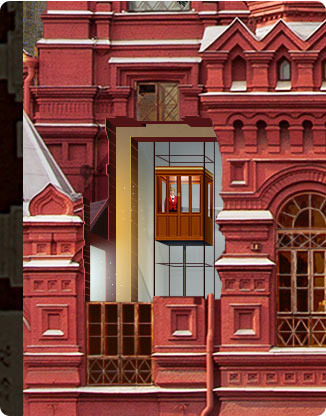
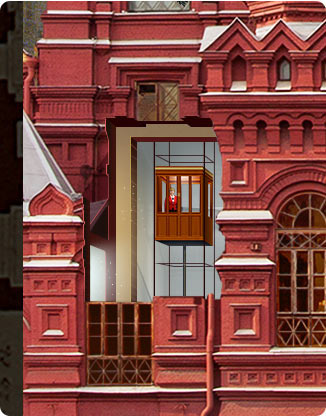
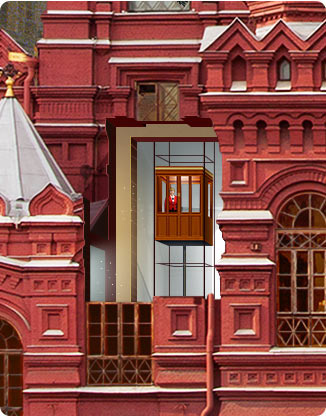
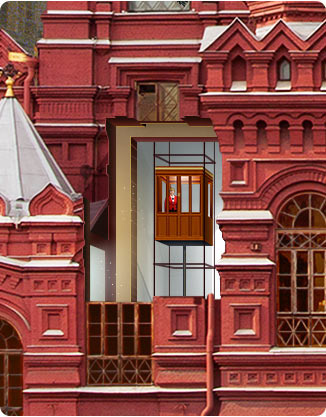
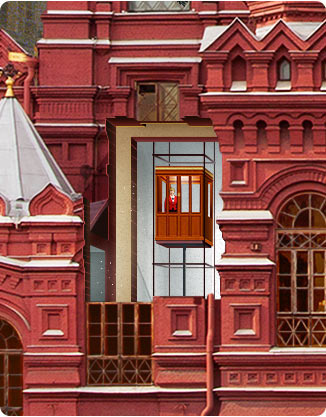
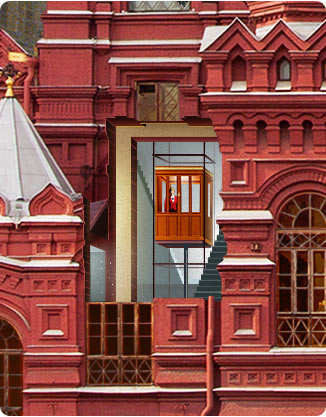
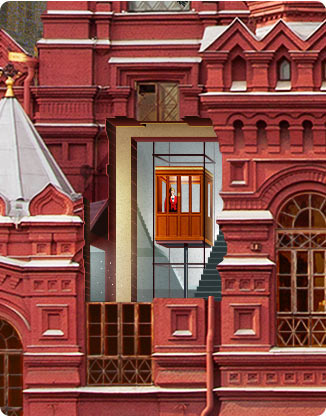
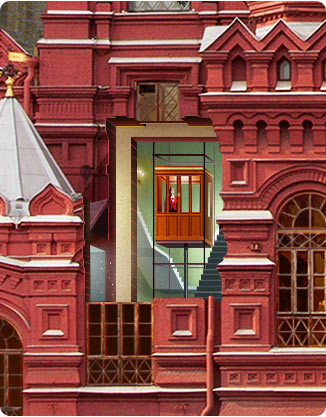
Elevator
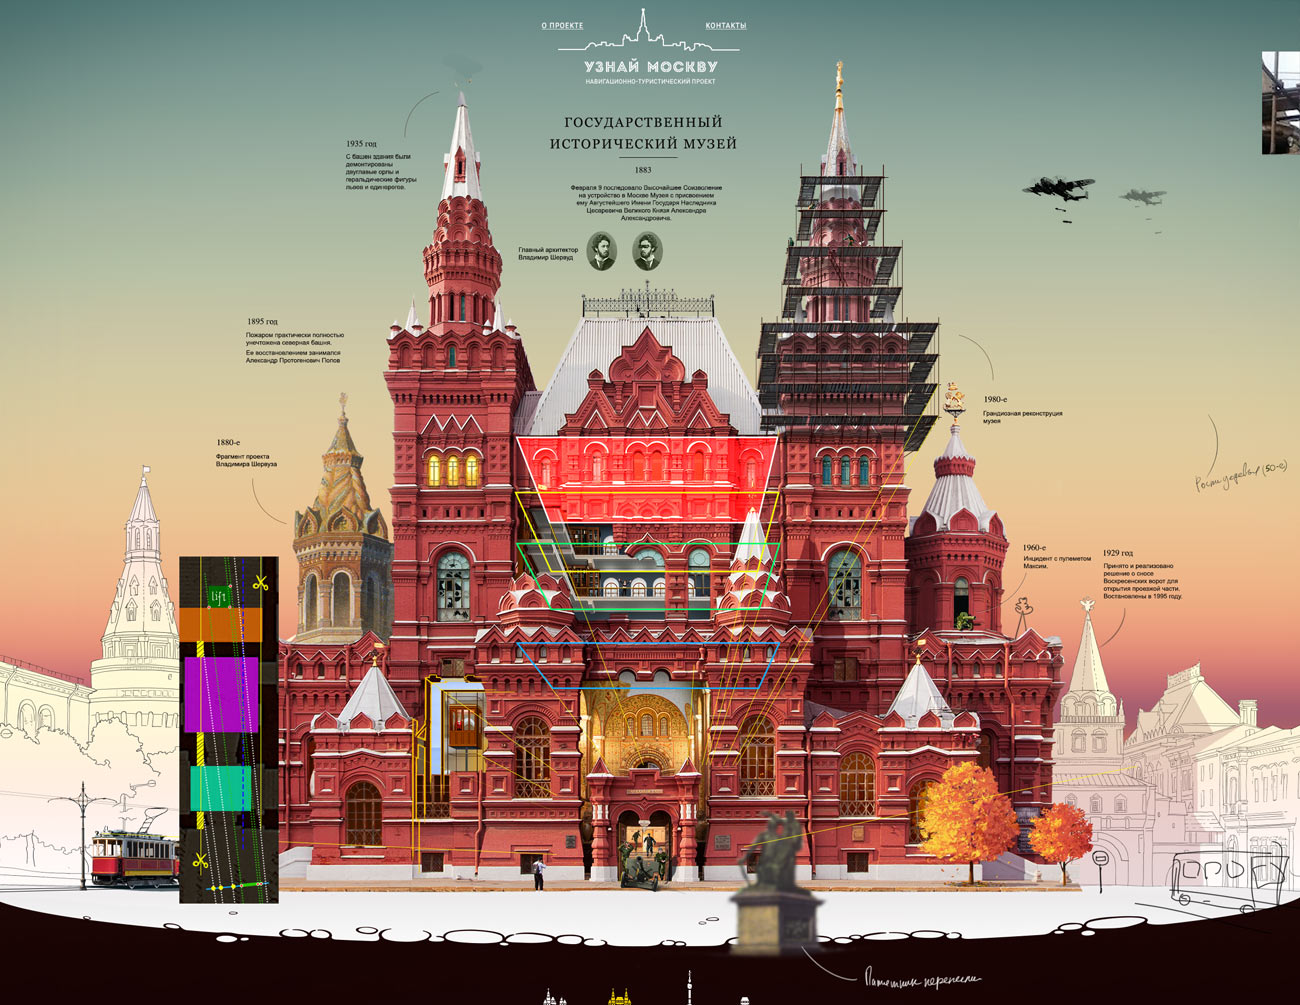
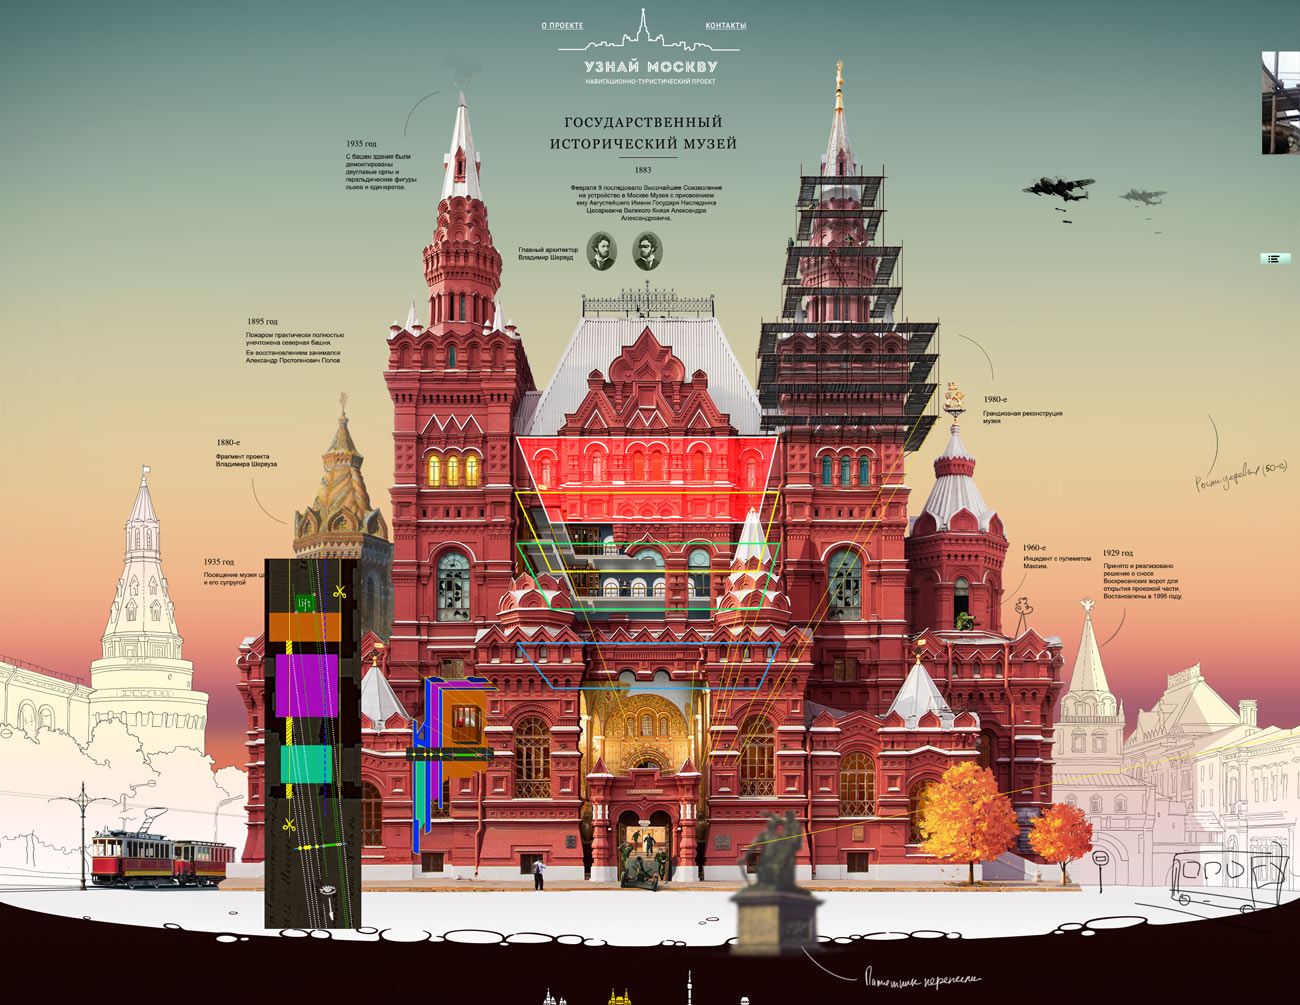
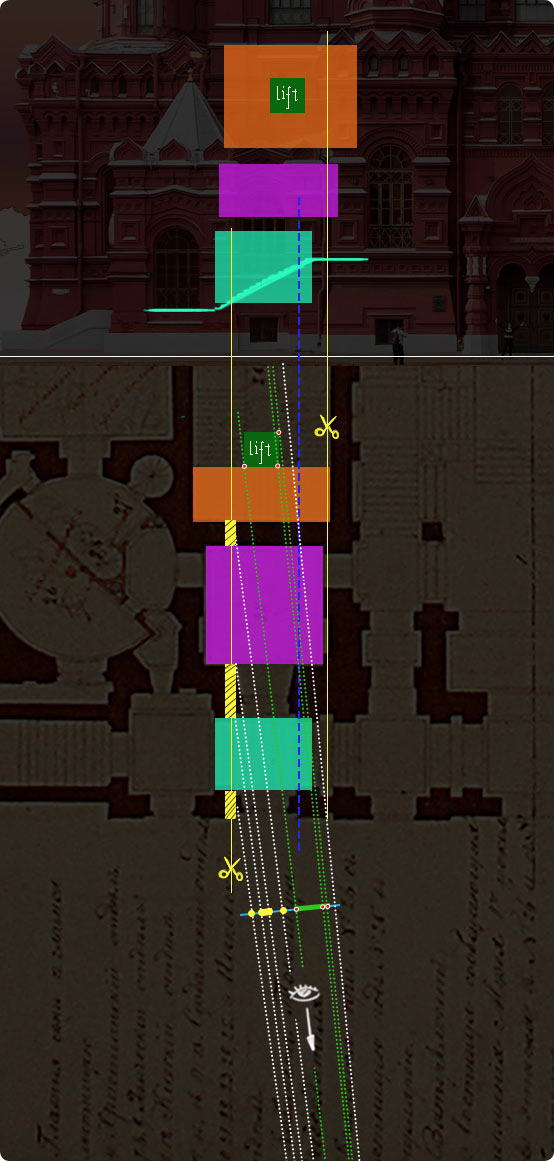
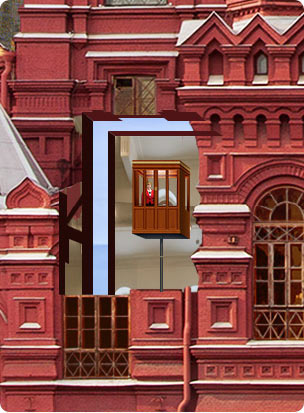
Depicting the oldest elevator in Moscow presents its own difficulties. It is located quite far from the first wall of the façade which makes it difficult to understand its size, compare it to something else, show wall cut-offs, their number and thickness and foresee other problems that might come up. Off the bat, we can hardly see the best way to approach it.
We ask the museum keeper for the floor plan of the first floor which we will use to recreate all the geometry.
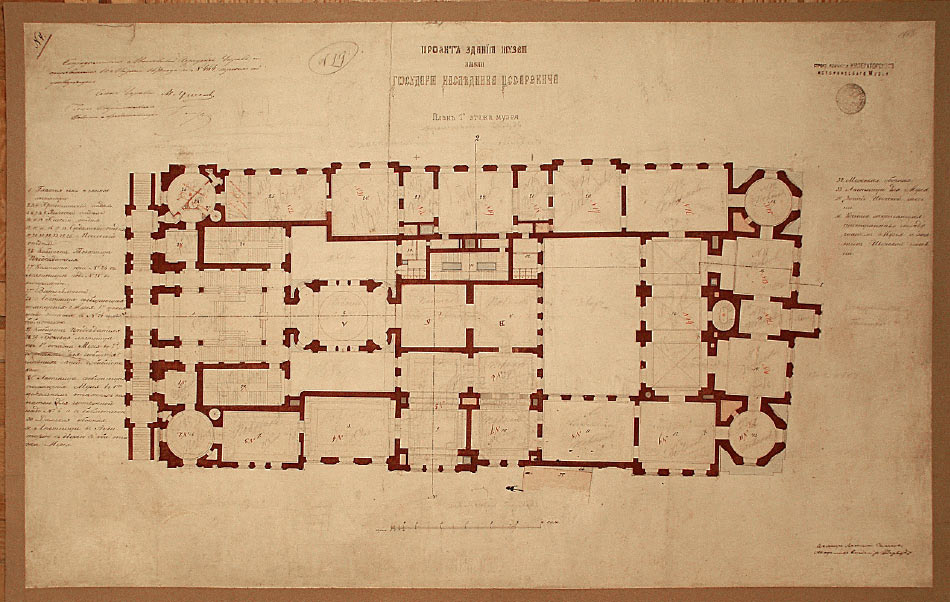
|
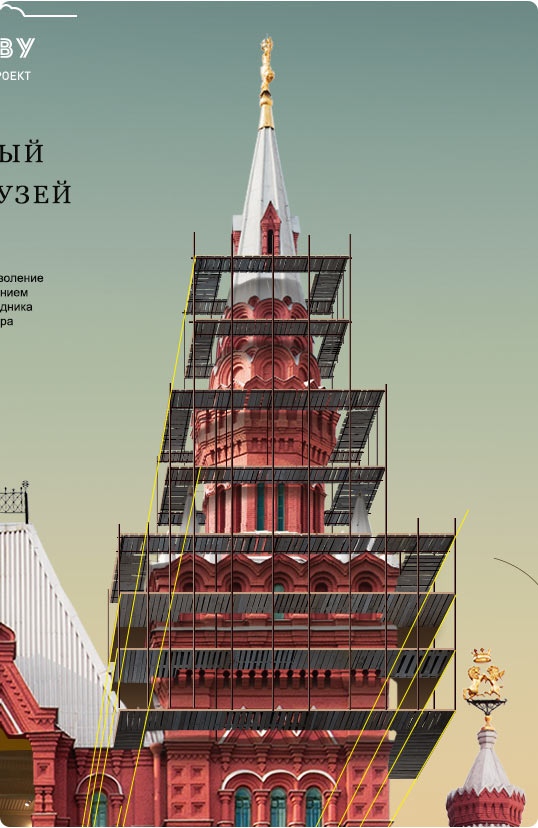
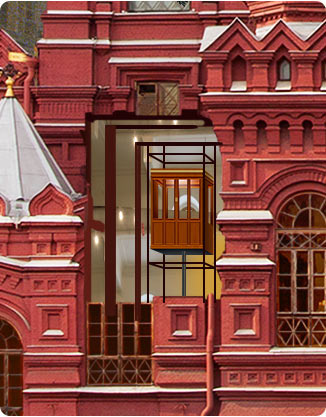
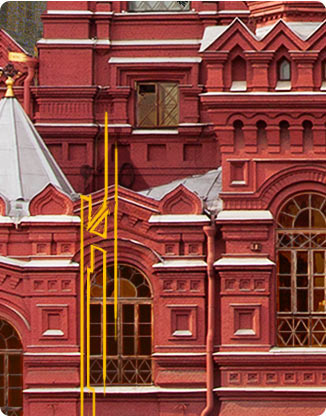
The plan is positioned under the image of the façade. Judging by the plan, it might seem that we need to “cut” along the blue line, but due to perspective distortion we have to expand the cut plane to the right to prevent the elevator from being obscured by the right wall.
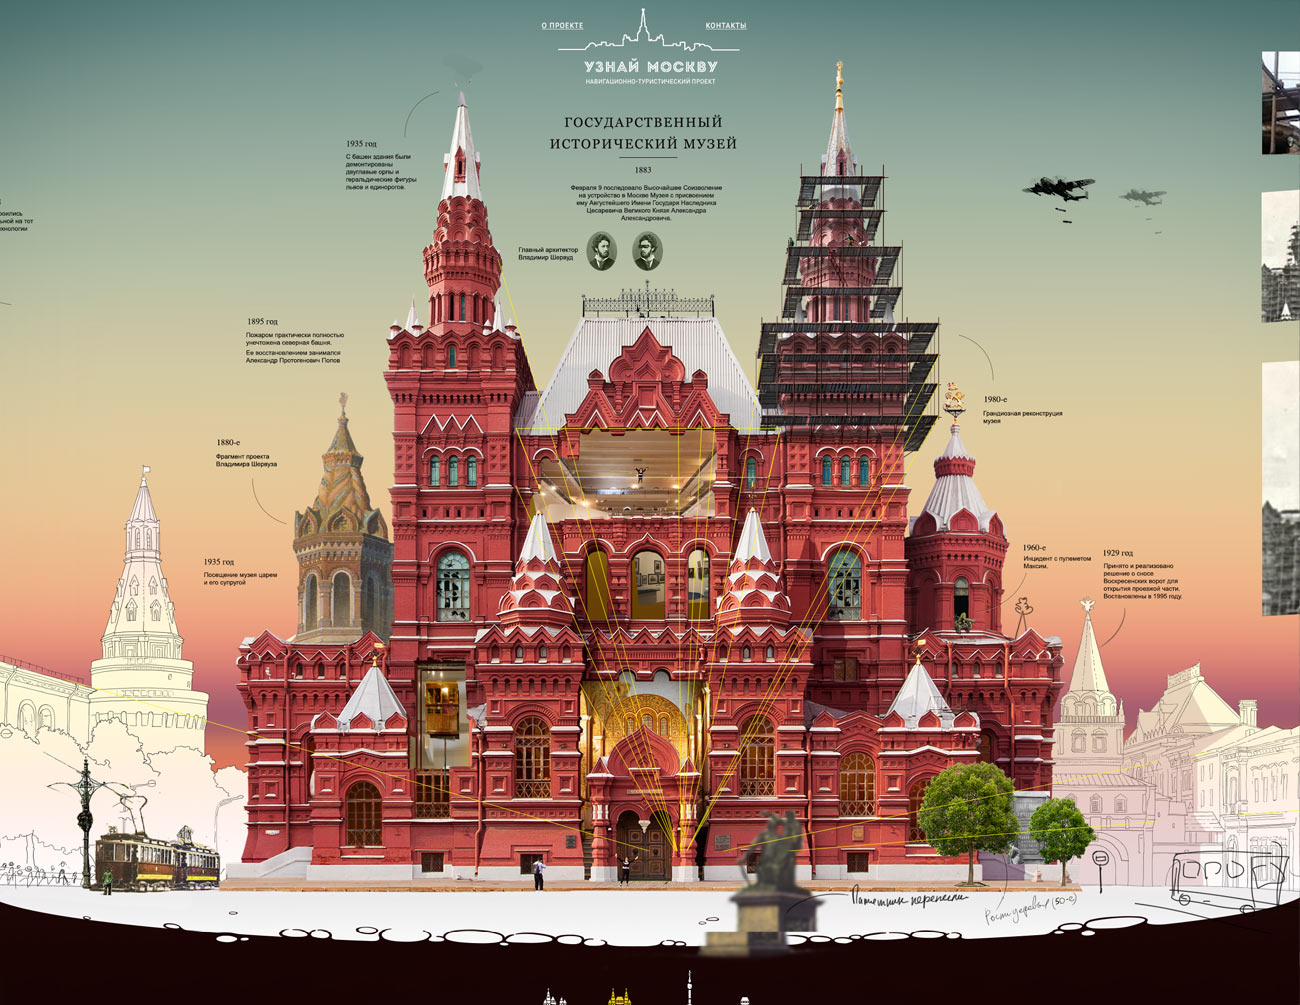
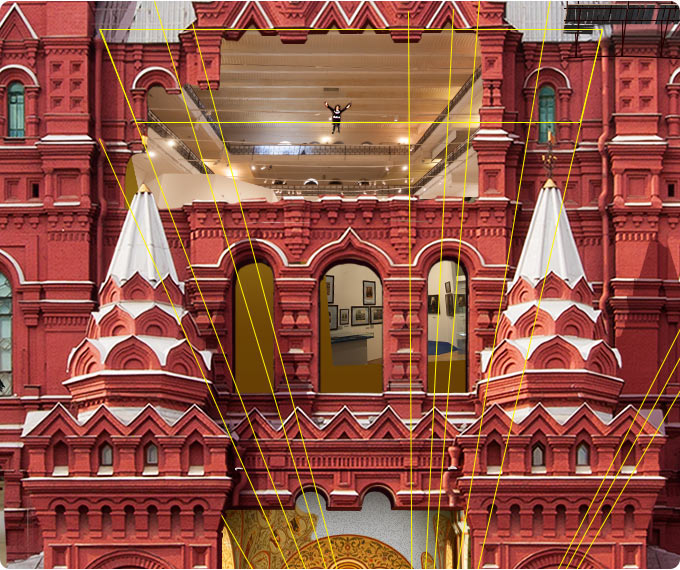
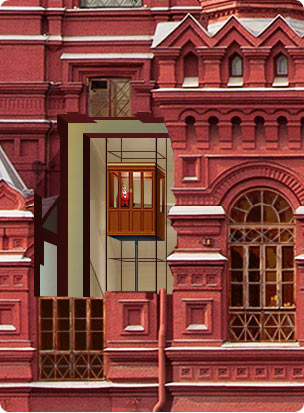
Setting the vantage point
Marking the cut planes with thin yellow lines
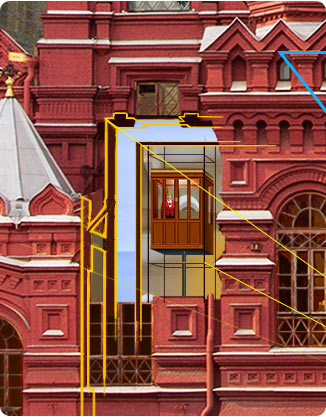
The cut plane includes three walls on the left Rooms are color-coded for convenience
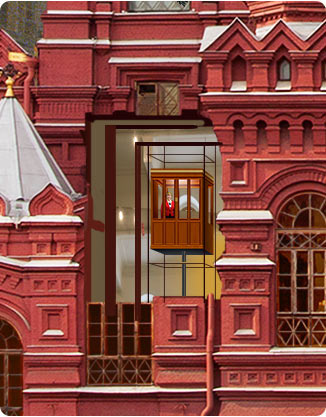
The most interesting part is the resulting view projection. Yellow dots are wall cut areas and the red ones are corners of the elevator visible to the viewer. Using this map we continue to work with the rooms right on the façade. 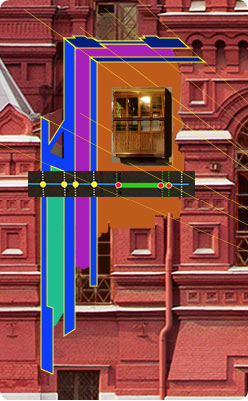
|
 which is outside of the image edge. This is where all the lines converge.
 .
.
 and two on top. Cuts of the walls to the right won’t be visible to viewers which makes our job easier.


 , along with the elevator itself
  .
.

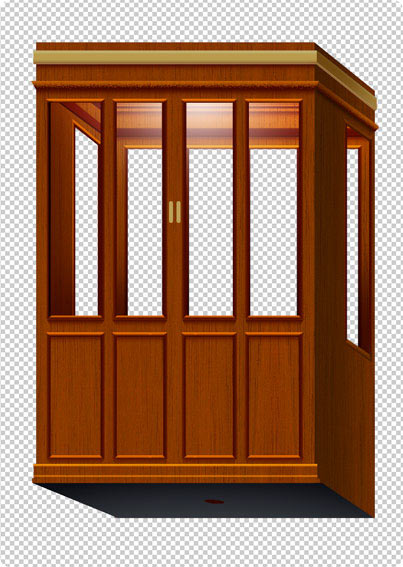
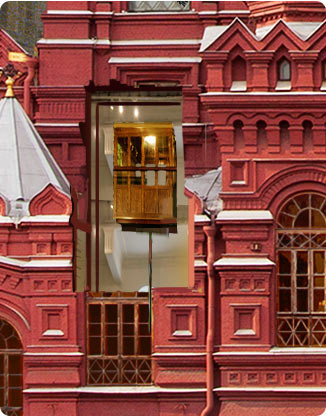
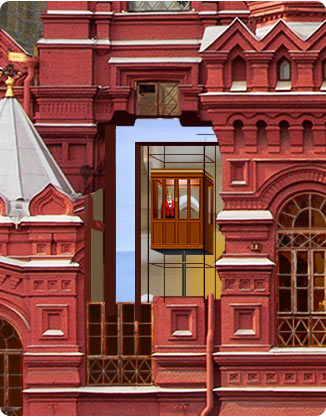
Drawing the elevator with an old operator lady.
| 
|


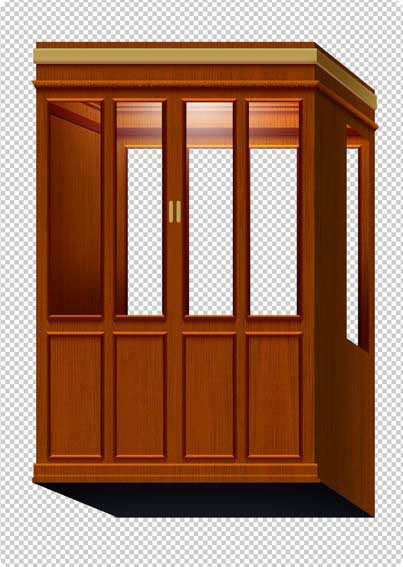
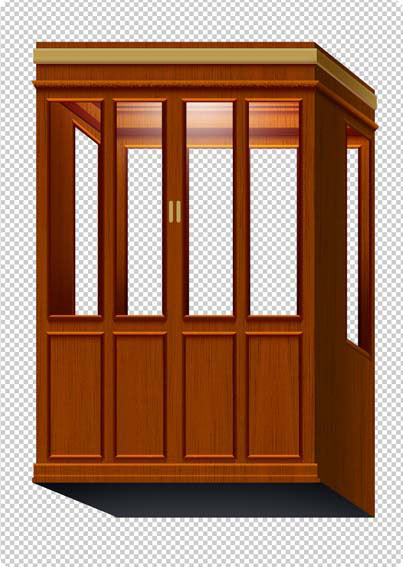
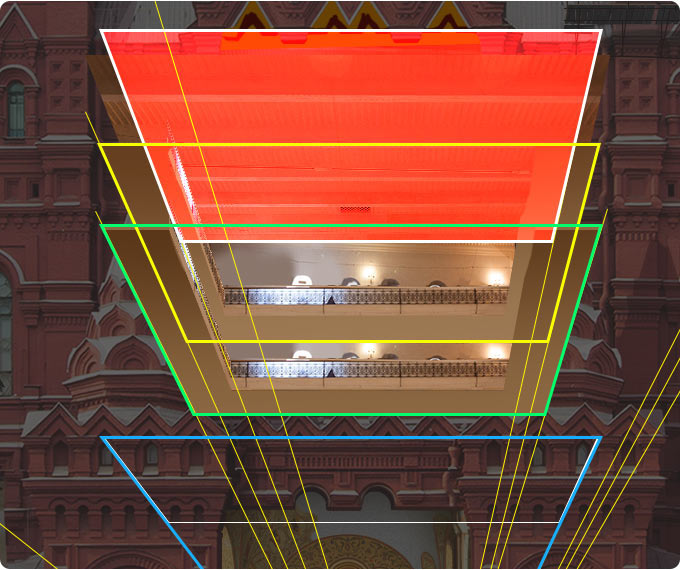
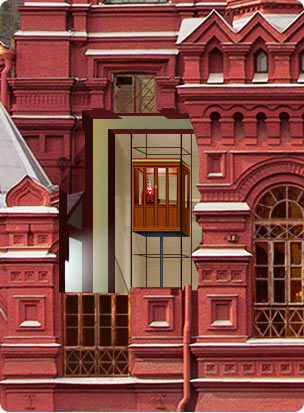
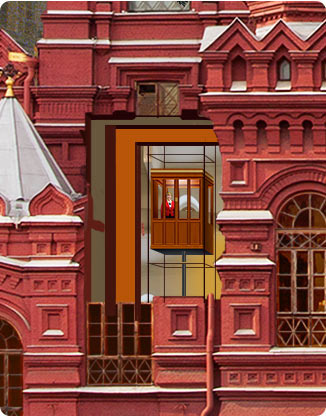
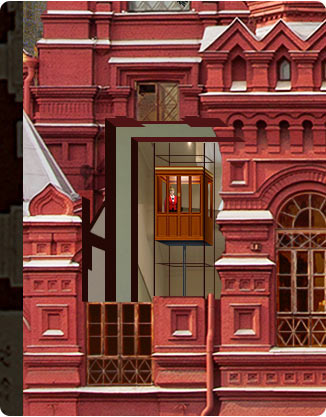
Time to work on the interior. The cutaway area is relatively small, yet it has to feature three different rooms that have to be visually separated from each other. The simplest and most fitting solution is to use individual color temperature for each room.
The elevator and the piston are added to the scene
| 
Roughly distributing color temperature, adding the elevator shaft frame
| 
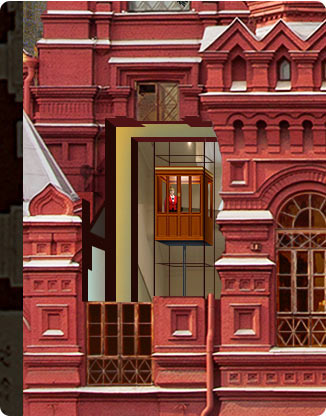
Detailing surface lighting
|
Adding dust particles. Rooms become more differentiated
| 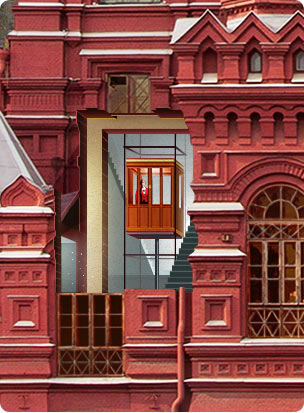
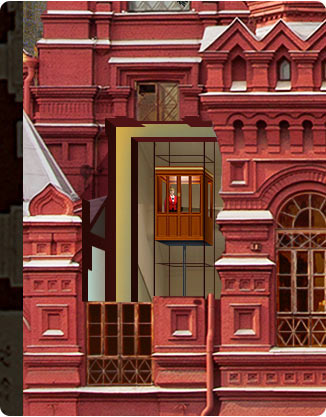
A staircase is added to the elevator hall
| 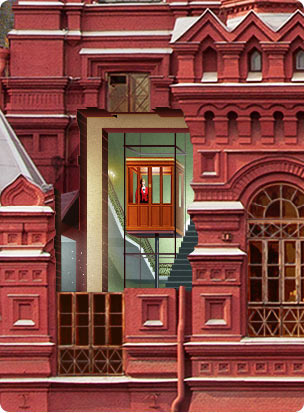
Hall walls are painted in green to contrast with the cold daylight coming through the window. Adding warm-colored lamps. Fixing the staircase shape and adding railing
|
Key stages of drawing the cutaway:


Alexander III with spouse
The best place for the Tsar would be in the library, since the events belong to the same period. We find a perfectly suiting black and white photo that we need to color. It’s hardly a secret that matching face colors is extremely difficult.
To make sure we color them with as few mistakes as possible, we search for paintings and then use the Color mode to apply color fragments to our photograph. This is one of the best ways to avoid mistakes.

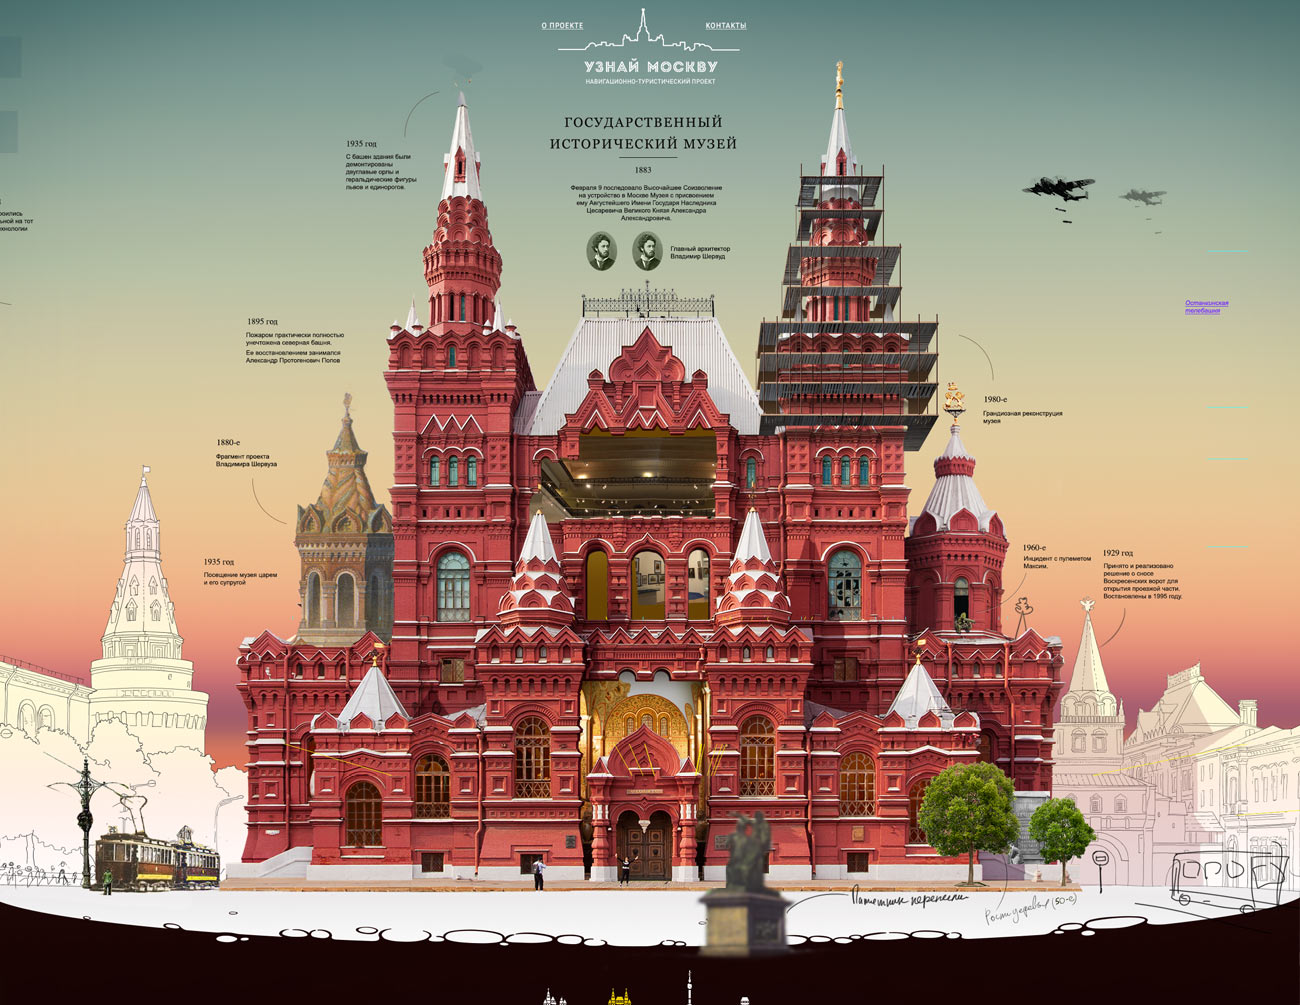
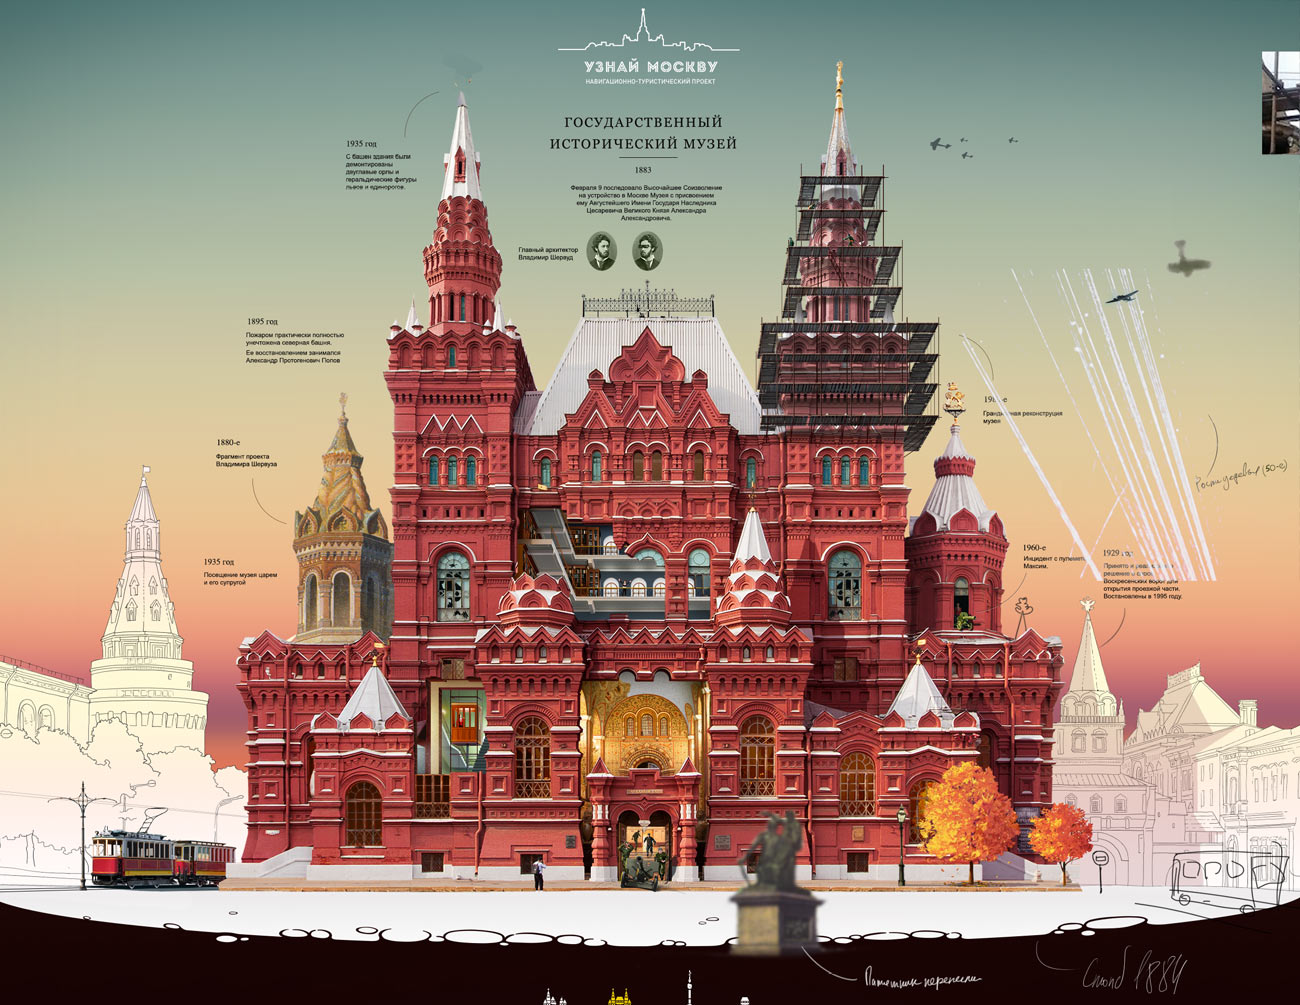
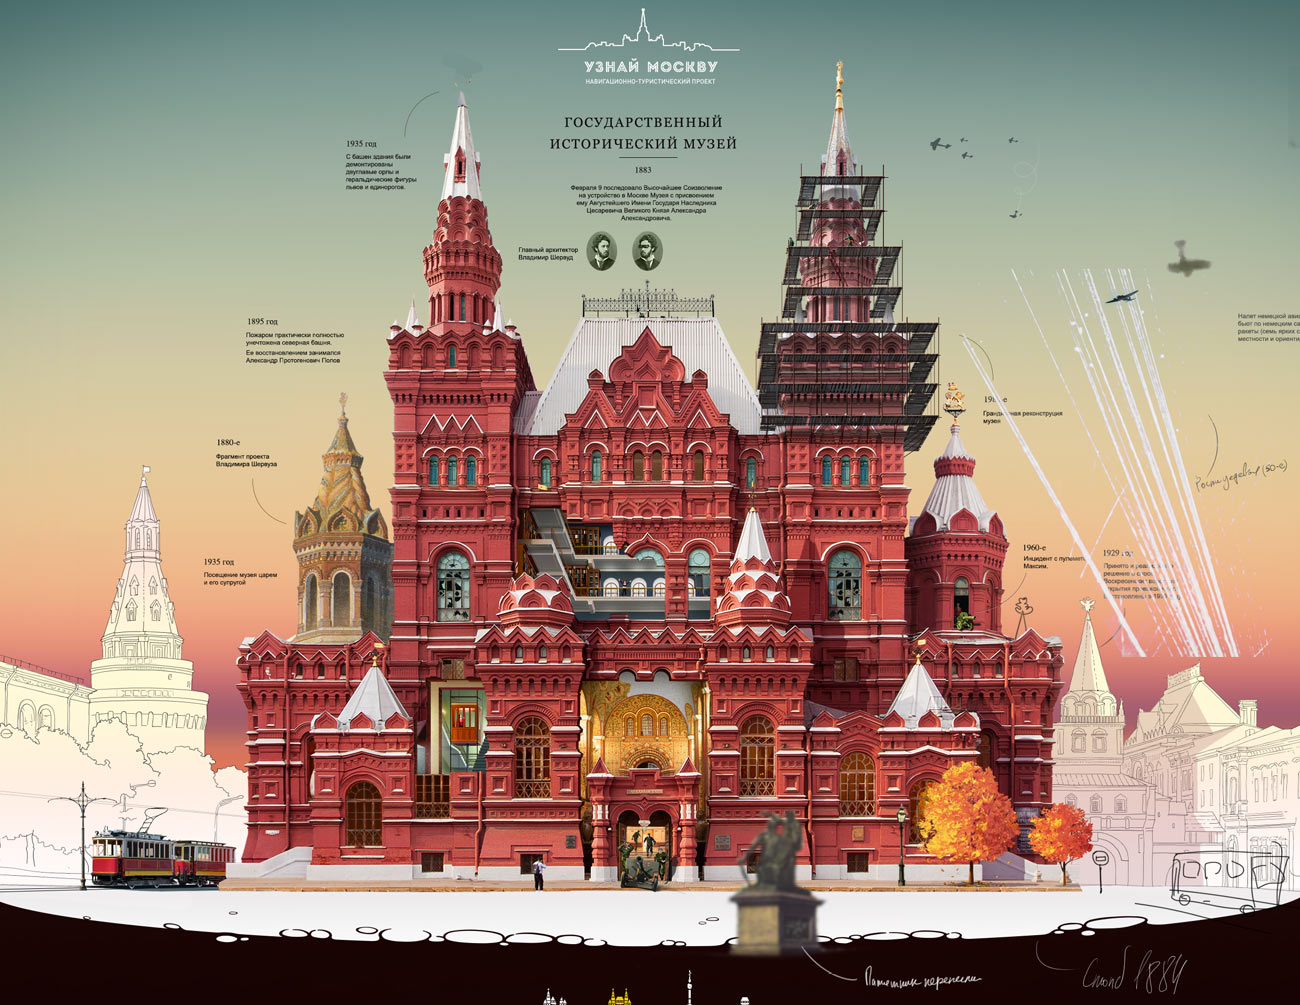
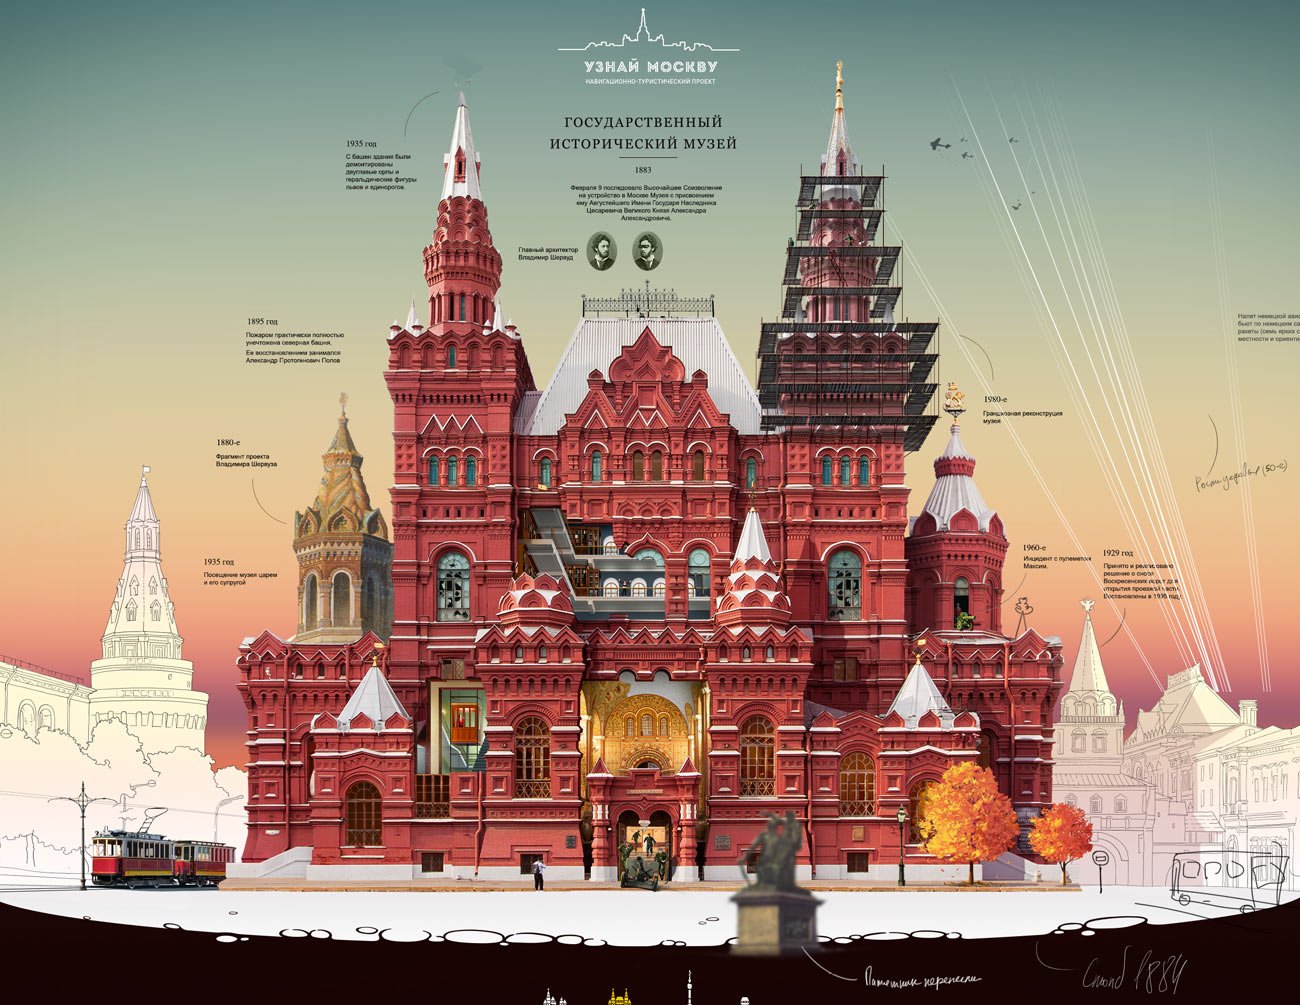
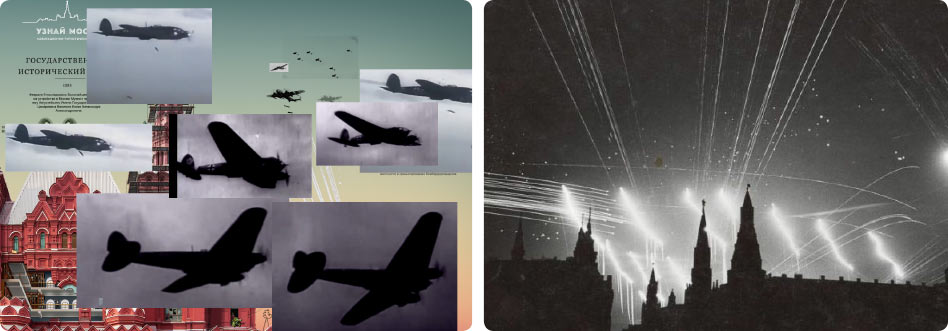
Bombing
During air raids on Moscow Kremlin was the main target. The Museum building also received its fair share of damage.
“Each airplane crew had specific targets assigned on which they had to drop illuminating, incendiary and explosive bombs. Bombers of the KG55 squadron, for example, were attacking the Kremlin, MoGES and the Central Committee building.”
Stalin’s Falcons vs Luftwaffe
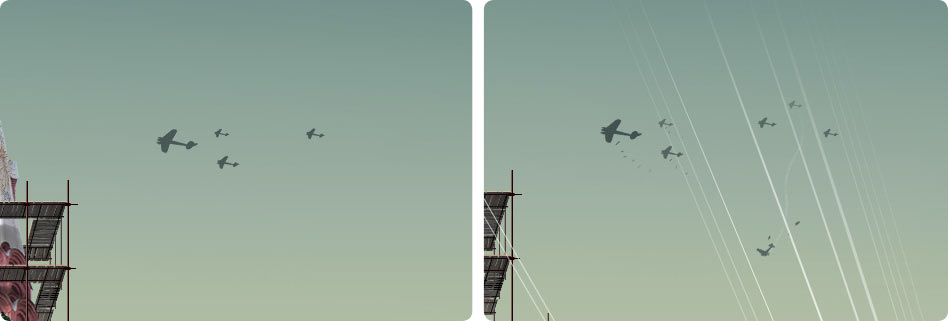
Great, now we need to find a KG55 plane.
|
Choosing the angles and the number of planes
| Documentary photos show anti aircraft guns at work, visible by the thin white lines. The bright traces in the sky are enemy flares
|
Plane silhouettes take their places. We know that an explosion broke windows on the second floor of the museum, adding this fact to the illustration.
|
Adding silhouettes
| Bombs being dropped, an anti aircraft gun at work, one plane is hit
|
Main stages of adding the events: