Step 1. Background
1.1. Be cool and download Rhinoceros 3D. No need to reinvent the wheel and struggle to model an abstract something by hands using 3D Studio Max tools. I mean, you can’t even picture that stuff in your head, right? And besides, you are short of time as usual. So, open Rhino and draw any curve:
|
 |
1.2. Then another one: |
 |
1.3. Go on and use Sweep 1 Rail modificator to turn those two into what you need. The more complex and labyrinthine this thing comes out, the better. |
 |
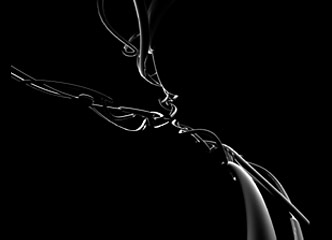
1.4. Now, export this object to 3D Studio Max, assign the material and do the rendering. And get something like this: |
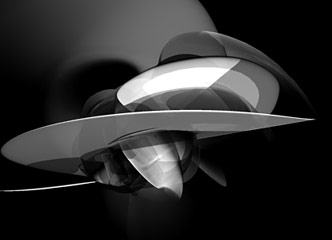 |
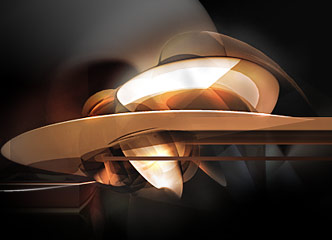
1.5. You sure do understand it’s not over yet. It’s pretty, of course, but doesn’t feel right. It calls for some drive and full color! More expression! Go to the loved-so-much-by-all-pros Photoshop. A couple of moves across your wacom, Color Dodge and Color Burn layers, and here is something that you would want to look at searching for the meaning. There is some life! |
 |
Step 2. “Antennae”
2.1. Minimize Photoshop—you won’t be needing it for some time. It’s Rhino’s turn. Draw three curves: |
 |
2.2. Use Pipe modificator to make what I called “antennae:” |
 |
2.3. Export them to 3D Studio Max, add texture, render. This is what you should end up with: |
 |
Which program are you going to open now? Take a guess! Yes! Correct! What else, but Photoshop!
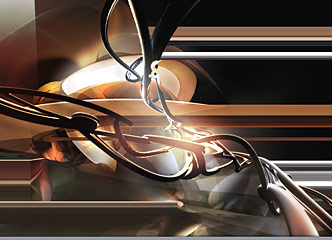
So, superimpose this over the image from 1.5. Use Color Dodge and Color Burn, a few wacom touches. Here is what you should get: |
 |
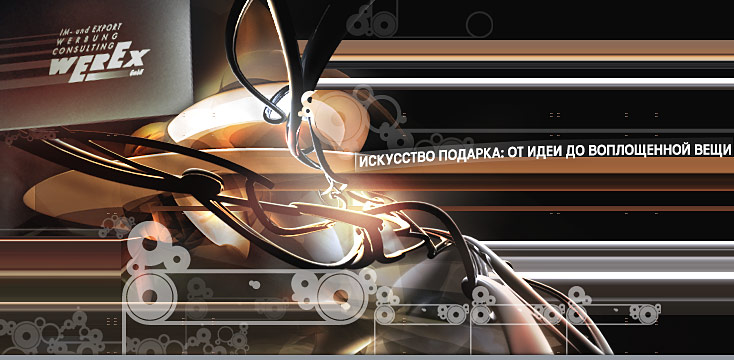
Step 3. Slanted text and Werex’s logo
3.1. This text has to be a vector. You can, of course, take pains and make it 3D, but the time is running out. Adobe Illustrator has a plugin called KPT Vector Effects—it does it: |
 |
3.2. Add the plate and the shadows by means of Photoshop: |
 |
3.3. Then, do pretty much the same to the logo: |
 |
3.4. The ready text and the logo join the picture from 2.4: |
 |
Step 4. Noise
4.1. You probably feel that it is almost finished—seems like all elements are there, all well-considered and put in the right places. But somehow something is still missing. It needs details, it has to blow the mind, to be Kickin’!
For noise use whatever vector shapes and patterns you like. I used these:
|
 |
It all adds on to the image from 3.4 and here’s final result: |
|
 |
|
See, the coolest things can be made without pills, shrooms or any of that stuff. What you need is to get the right pow, the feeling and the music. Smoking up your brains is no way to creativity. Sober prudent mind—that’s the driving force in design!
So, good luck to you, my friend!
|