The first stage
Asking the illustrator to draw happy people and symbols instead of the usual silhouettes.

The illustrator is looking for the metaphors and the style.
The art director approves the direction and asks to work on the shape of the stickers and improve some of the images.
Putting everything together and presenting to the client.
Aaand... the bold approach finds support. The concept is approved.
The second stage
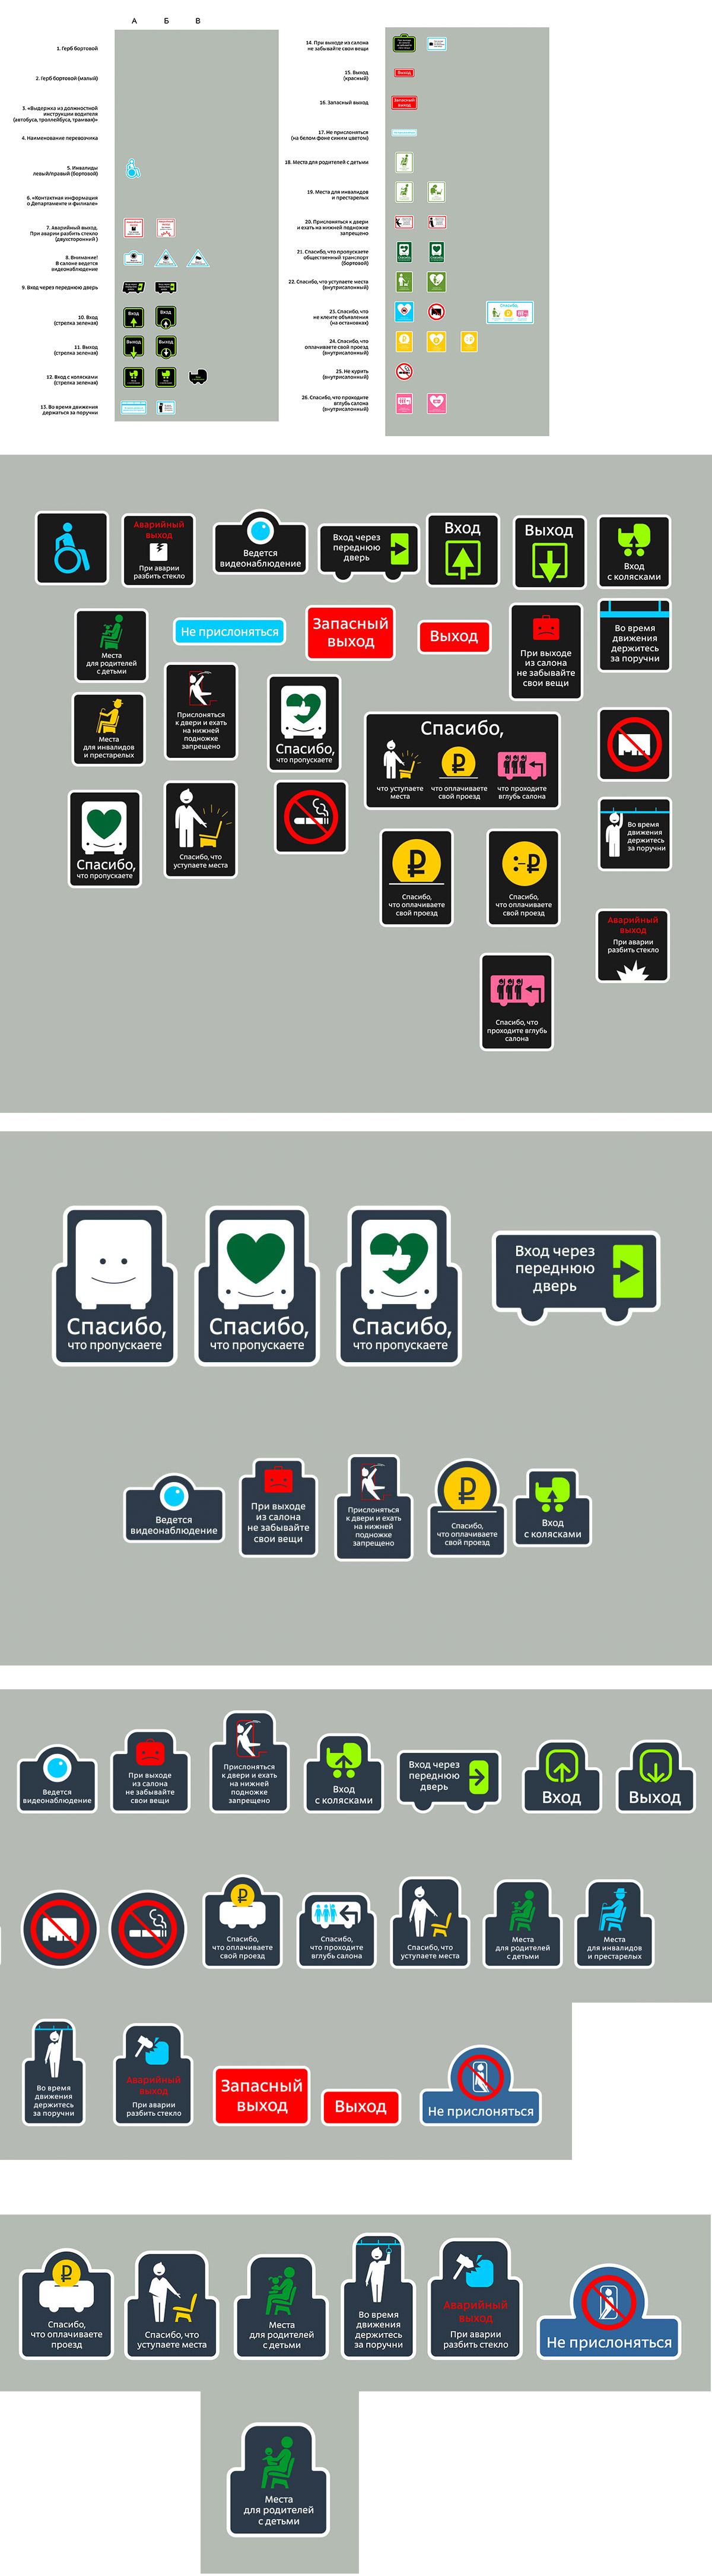
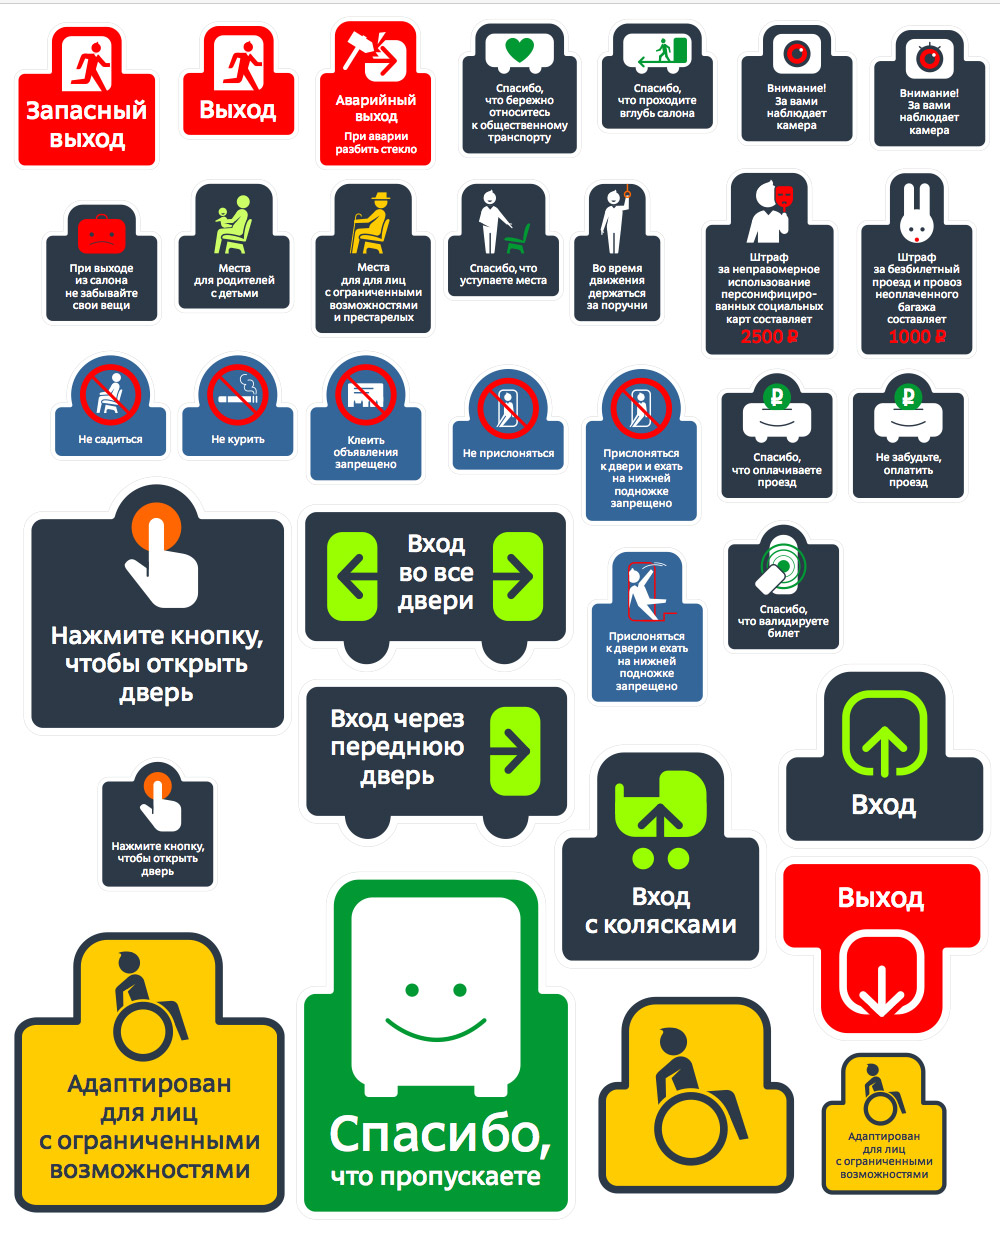
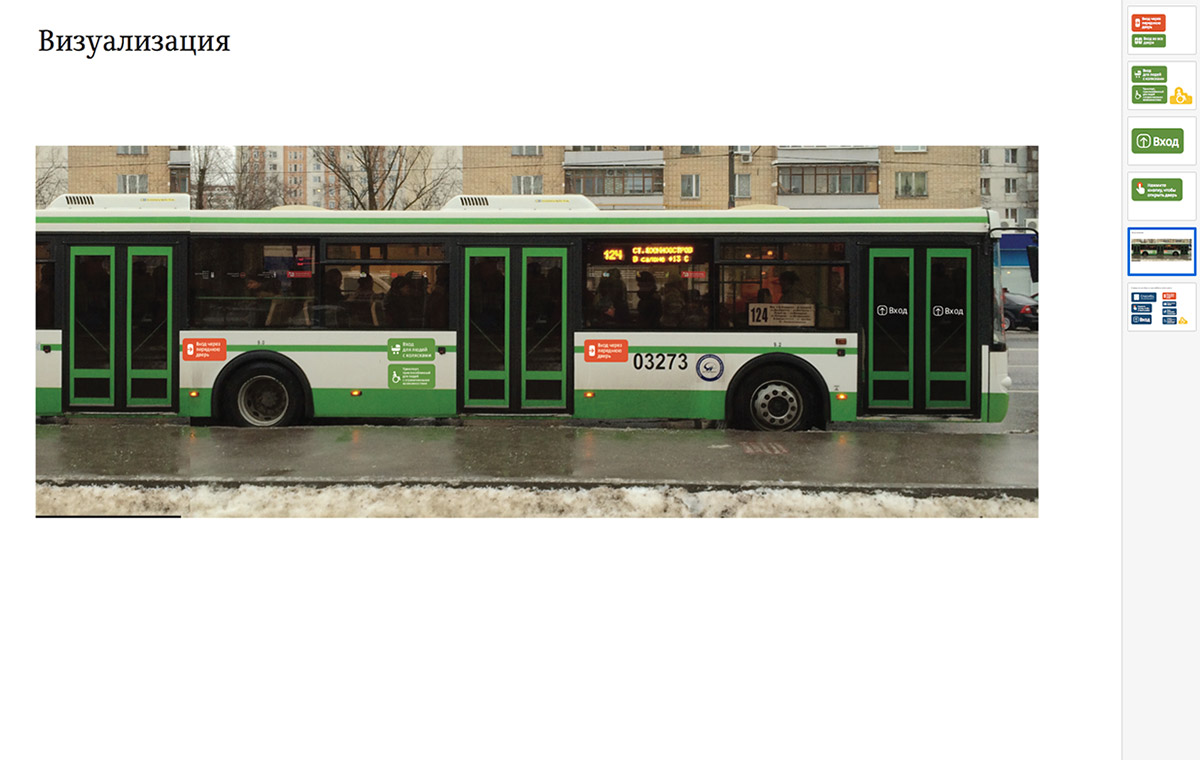
Starting to draw the stickers and estimate their placement in the interior.
There’s only one problem: the illustrator is in Tallinn and the buses are in Moscow.
We need designers in the field as it’s impossible to judge by the pictures how the stickers will work in real life. Asking Moscow-based designers for help.
Goals of the second stage: plan the steps for implementing the design, sketch the location of all stickers in the passenger compartment.
Trying out the stickers. Realizing that the colors are too dark, the outline is unnecessary and there’s much less free space than we had thought. Placed together, stickers of different size look sloppy, even though we like their complex shapes.
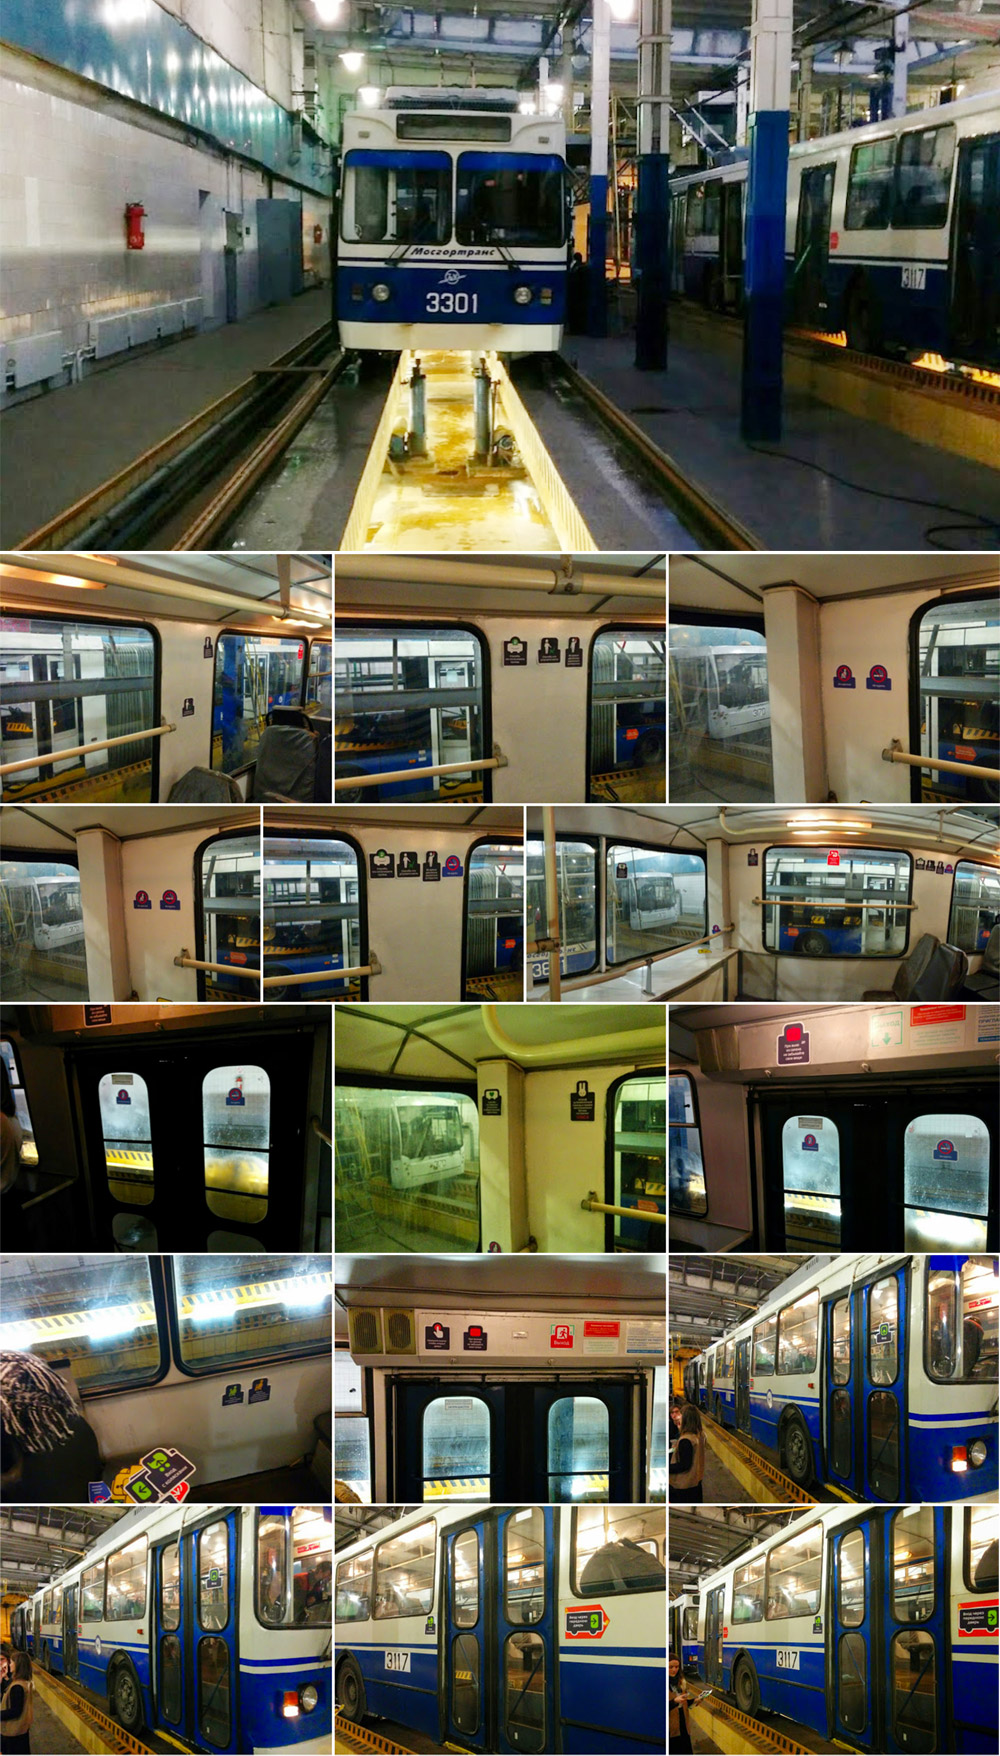
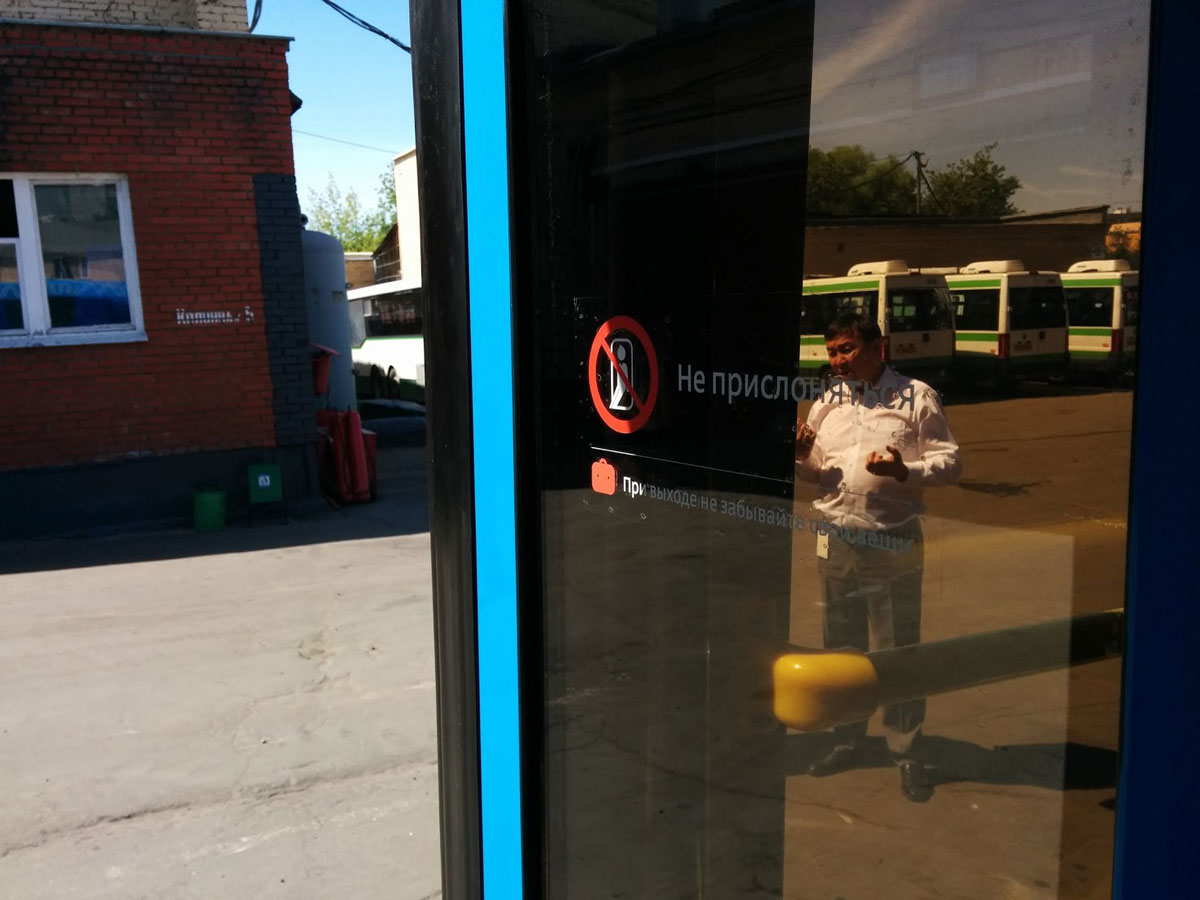
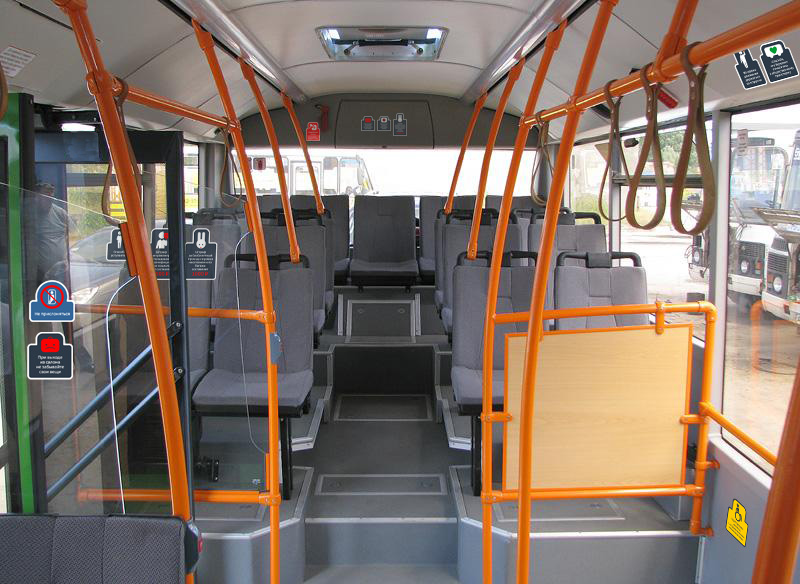
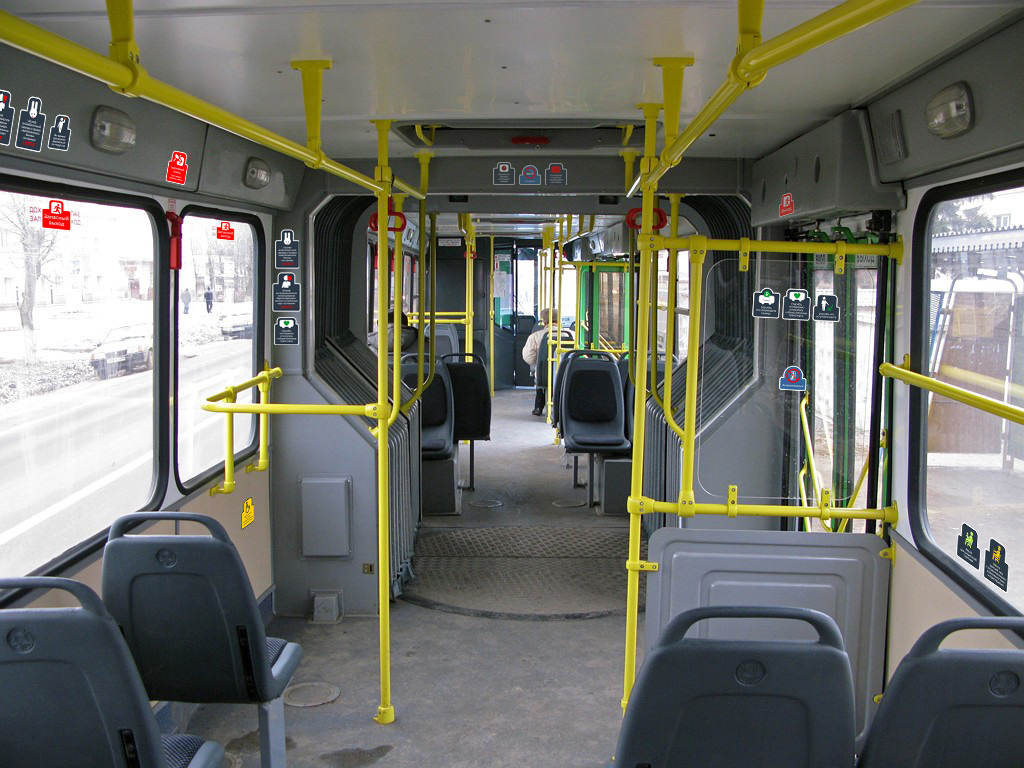
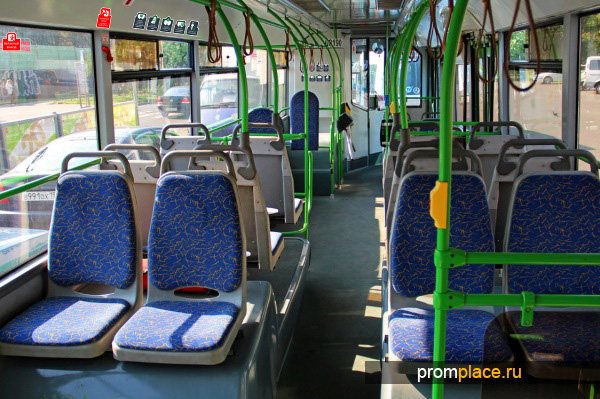
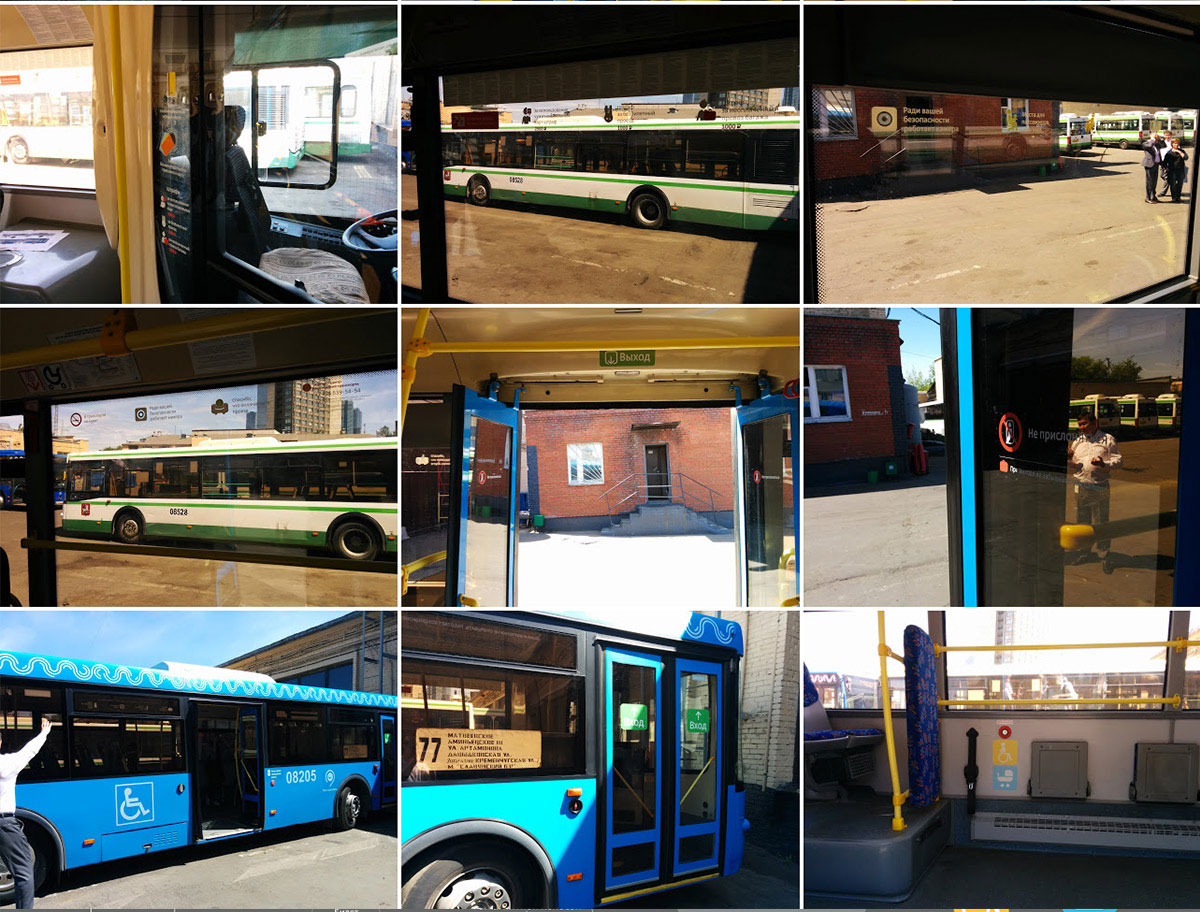
Going on a tour of buses and trolleybuses of various makes and models to find suitable locations for the stickers.
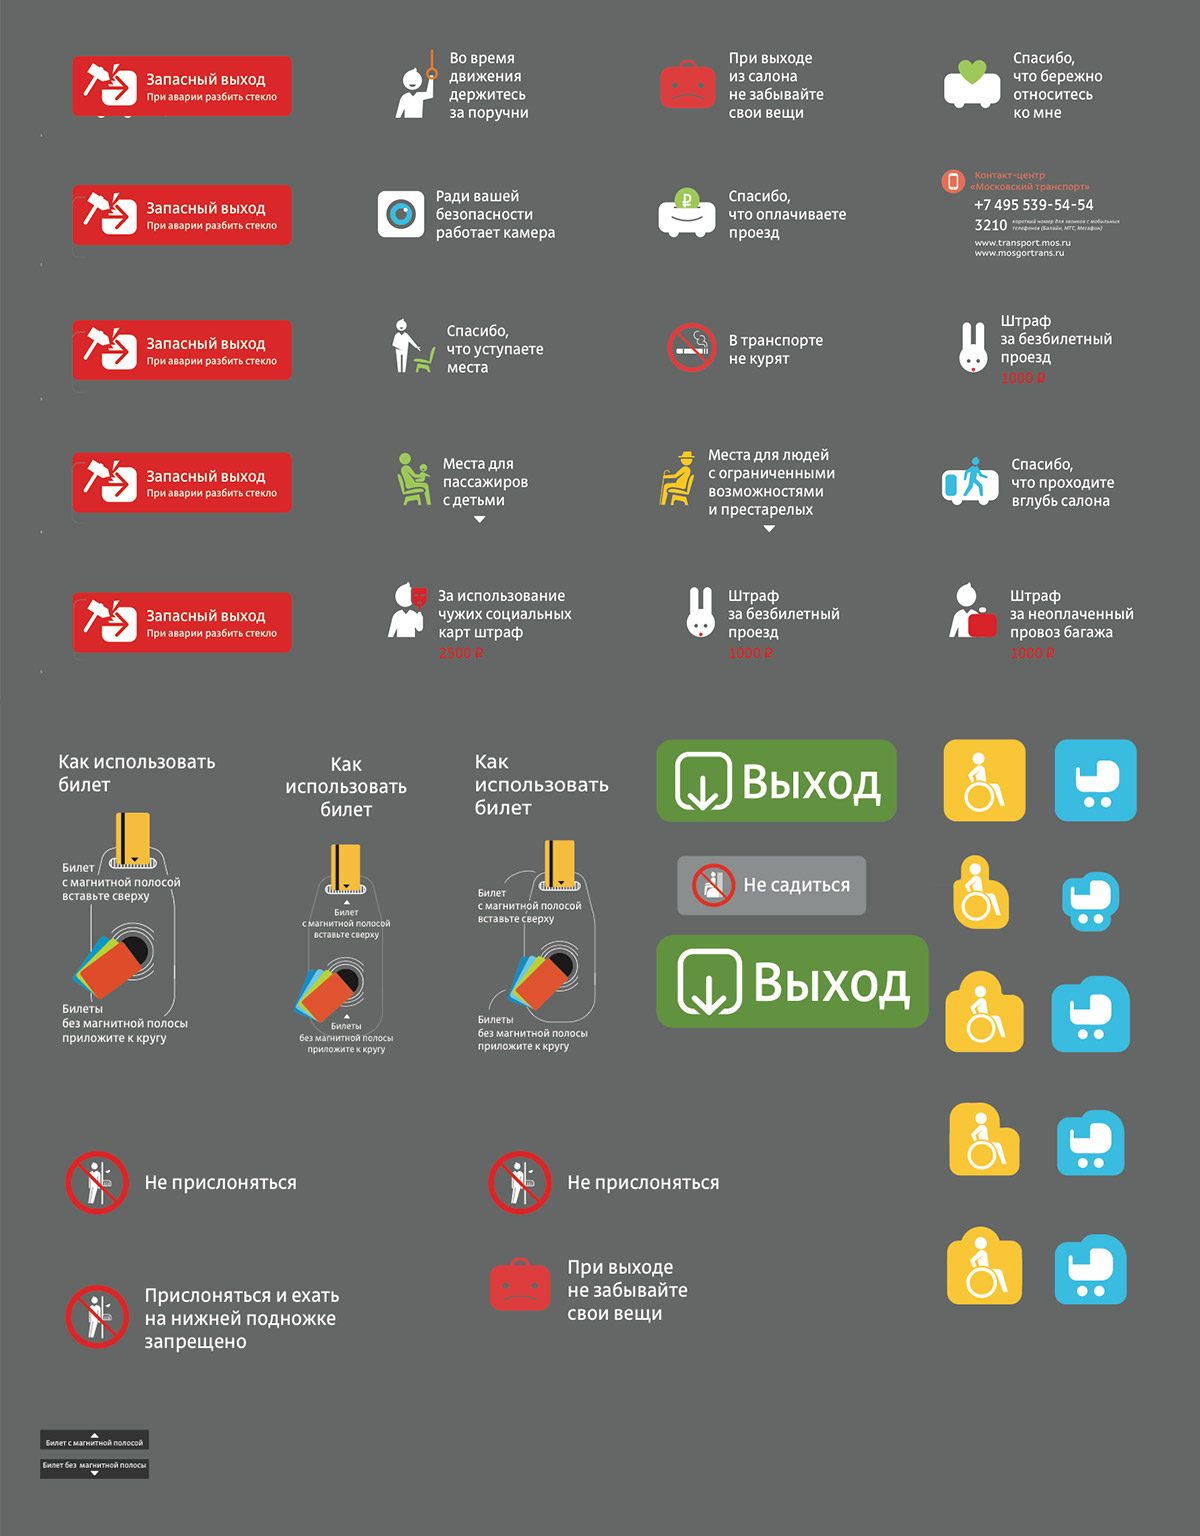
Changing the colors, adjusting the shapes and making the text simpler.
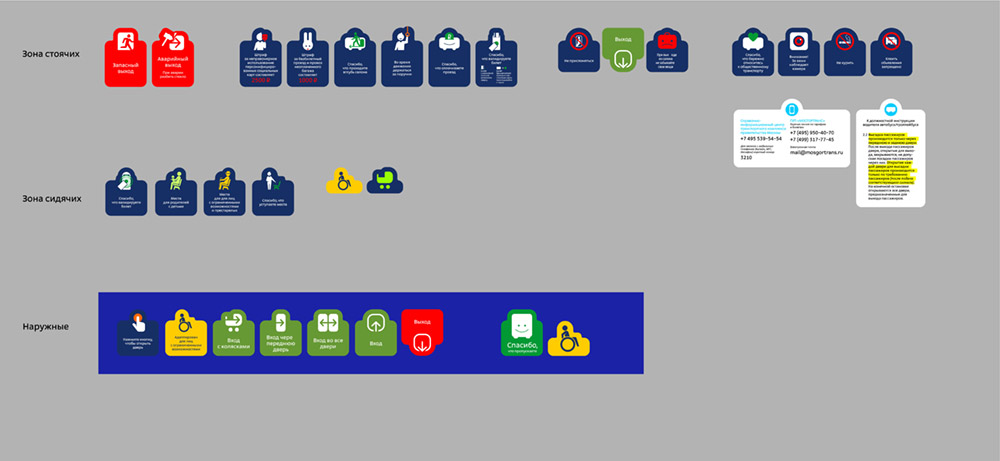
Considering the placement of the messages in the interior.
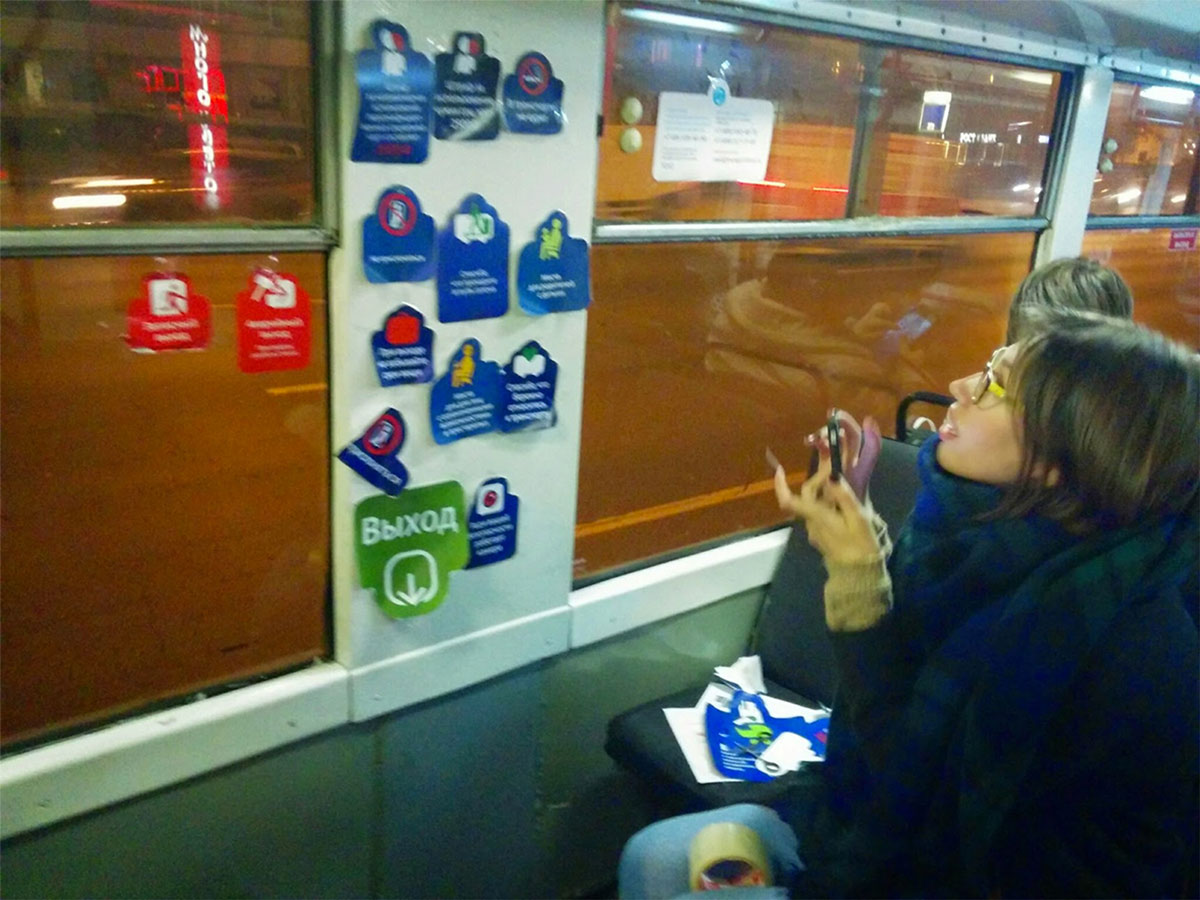
Putting all the solutions together and making another visit to the bus depot. However during the tests even the designers themselves are confused by where to put which sticker: the interiors are too different, the availability of free space is too unpredictable.
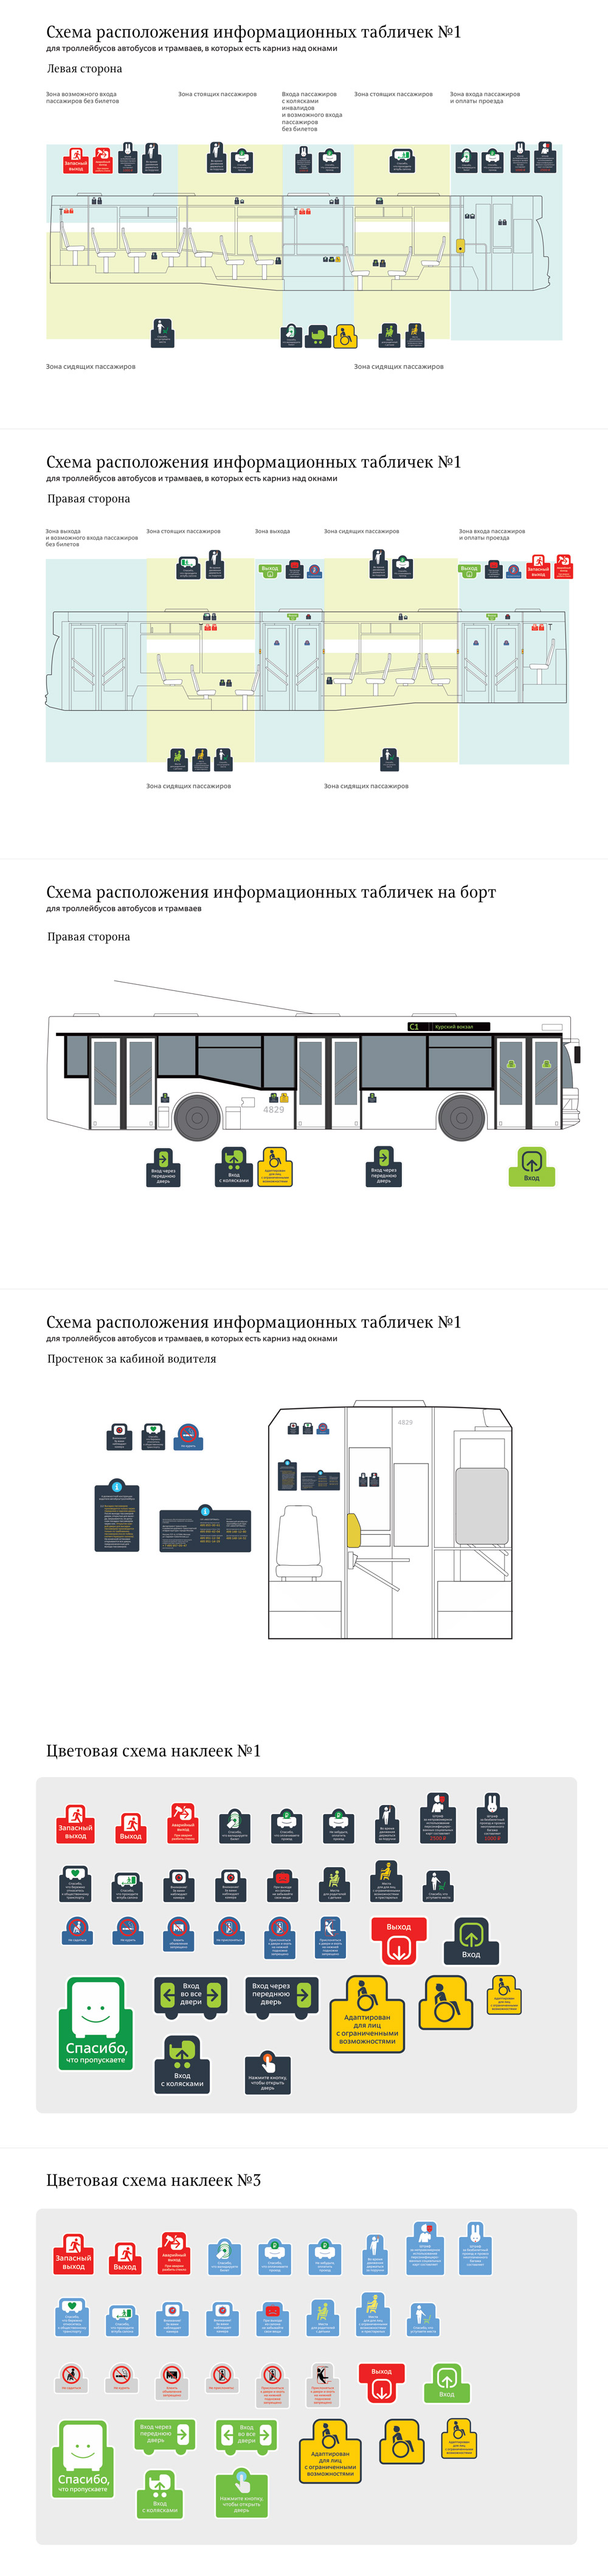
What if we put them on the windows?
We don’t really want to obscure the view, plus it will be difficult to align them neatly.
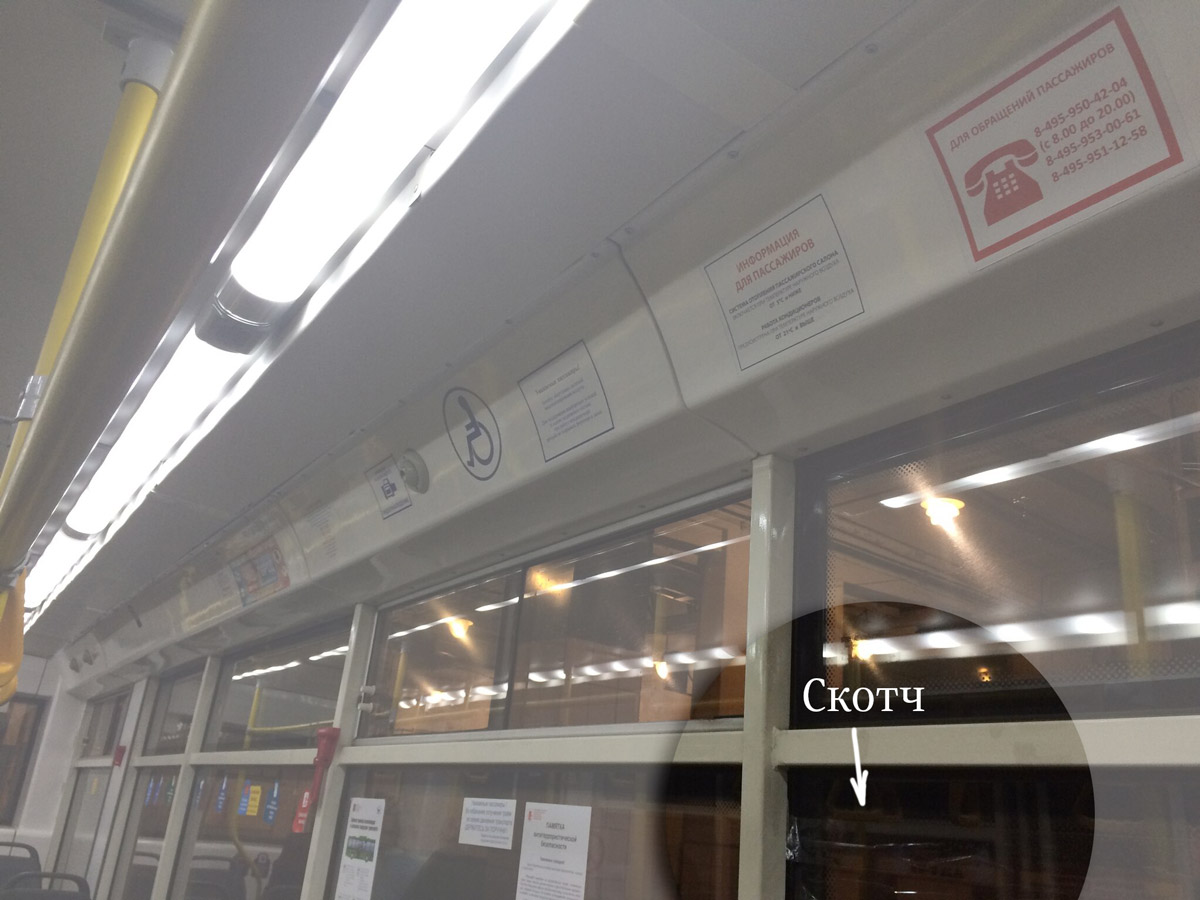
We feel like the solution is very close, but it eludes us. Also, there’s that irritating tape that keeps sticking to our fingers.
The tape!
We need to create an endless tape with various messages that can be cut to match the size of the window! The tape will be transparent and perforated. All the depot employee will have to do is cut the sticker to the necessary length.
We rapidly put a strip of sticky tape to the window with the stickers on top of it.
Unfortunately, the moment was not saved for the history. This photo will have to do:
The third stage
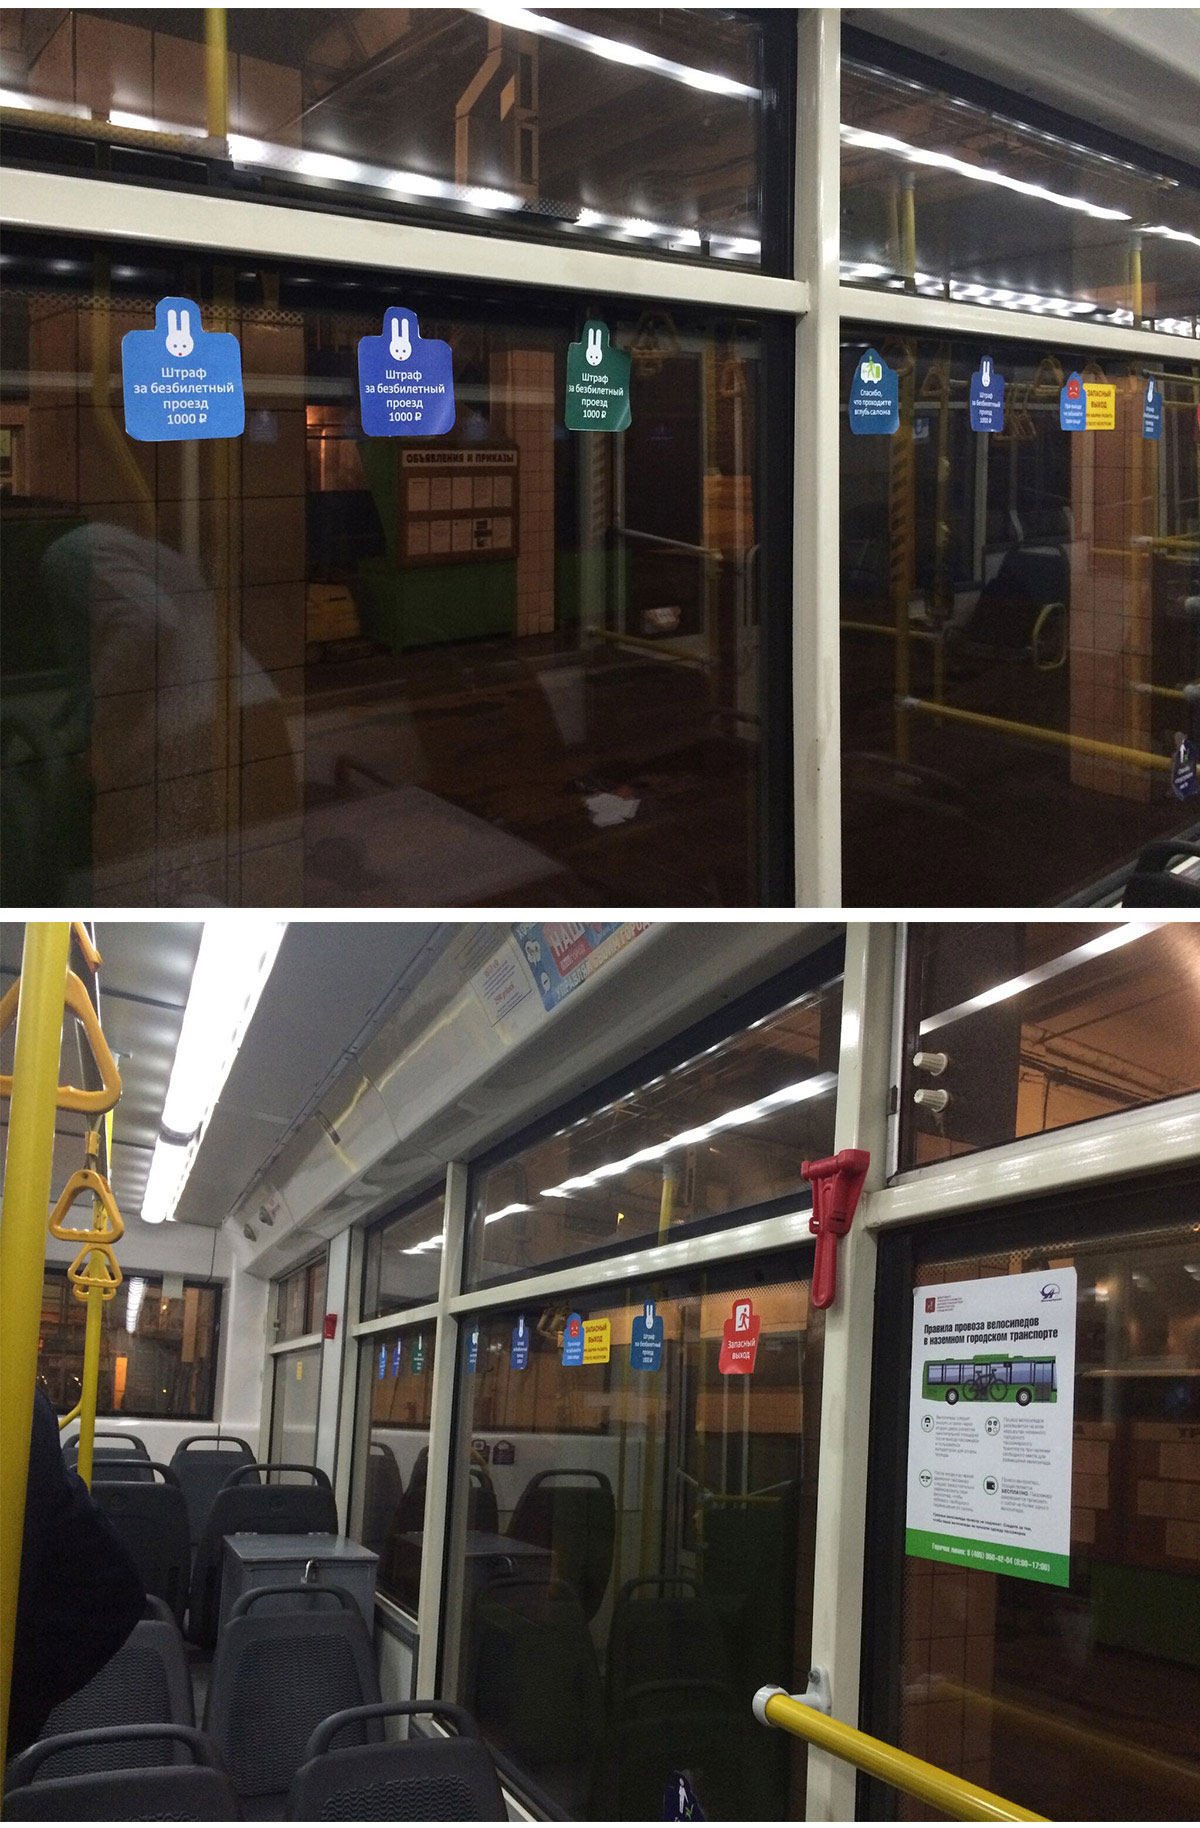
We need to test the tape idea: to arrange the messages in a way that would be appropriate and conduct a test (keeping the exterior in mind).
Typesetting strips of tape.
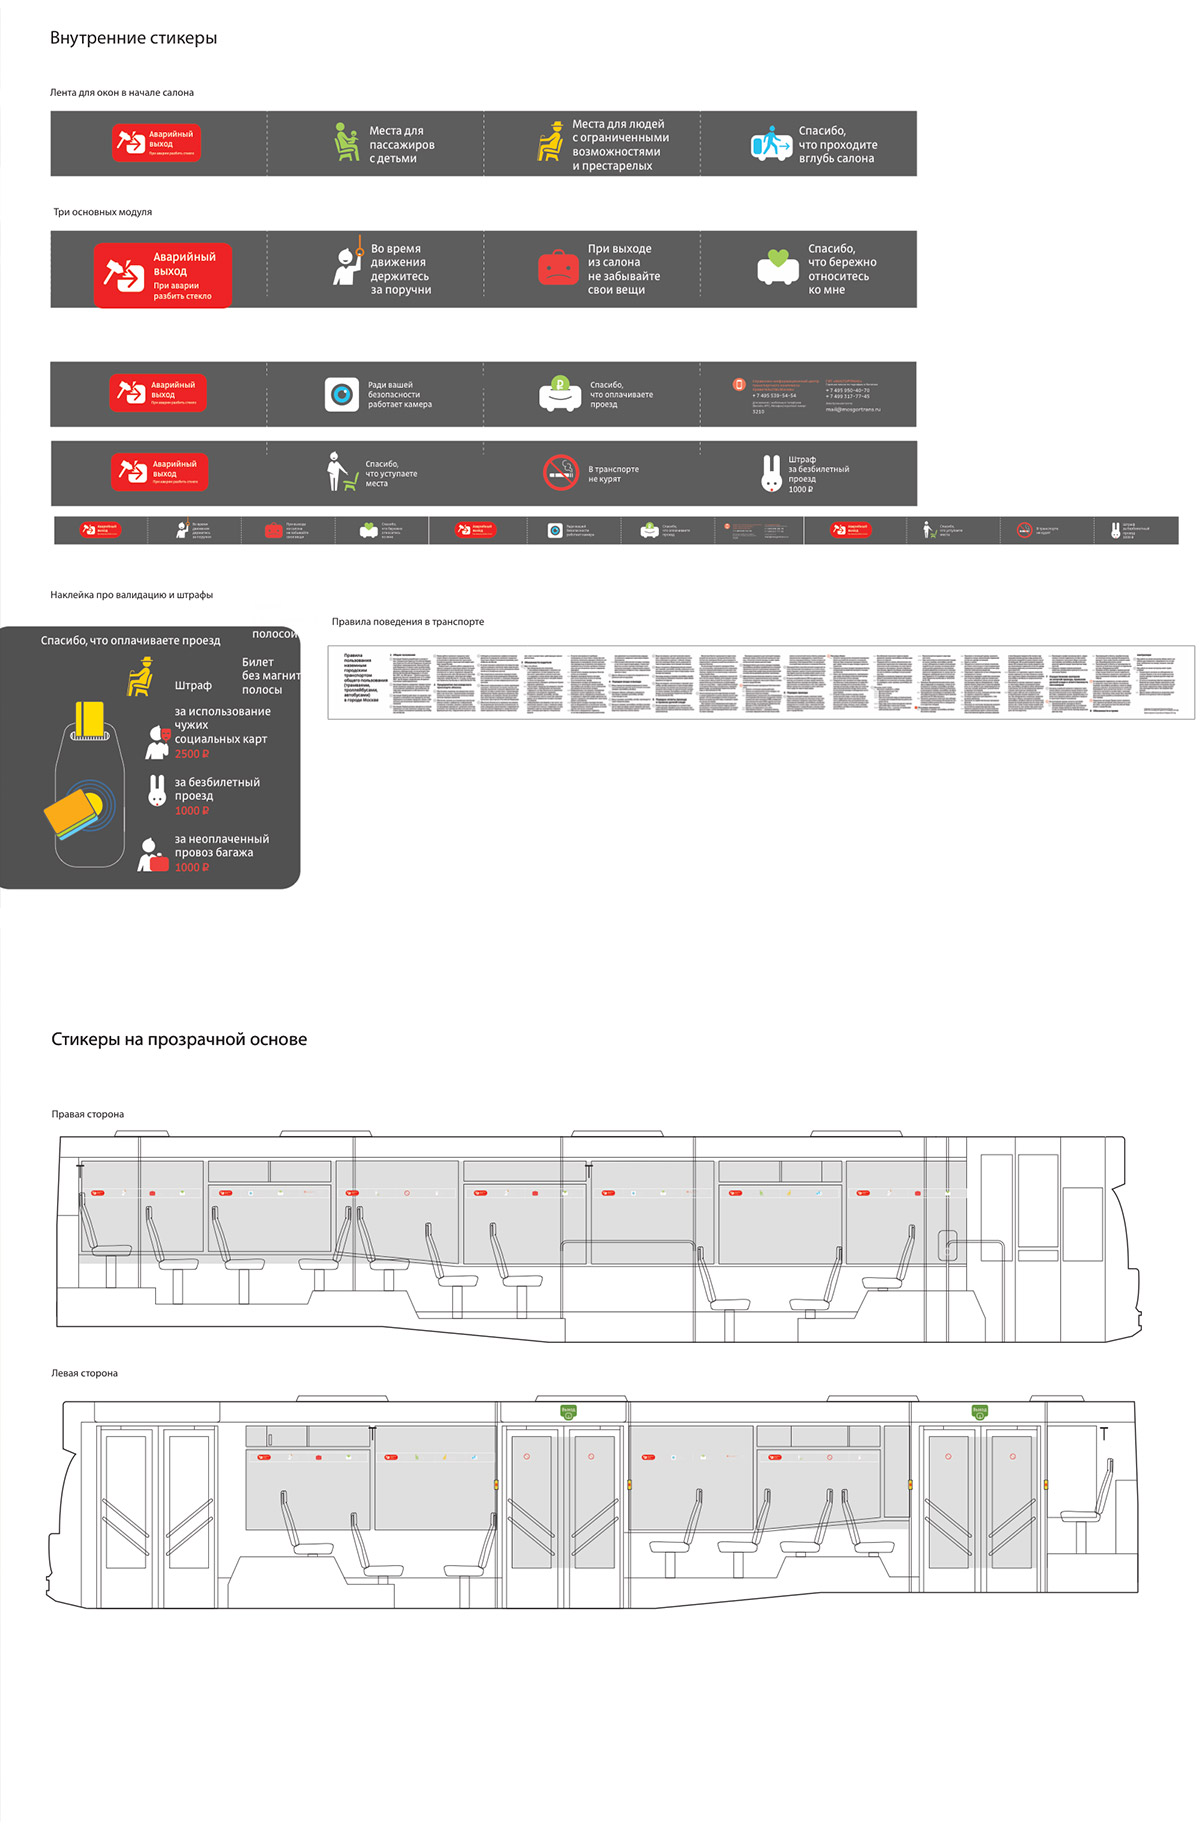
Quickly realizing that endless tape won’t work, but the idea of transparent strips looks very promising.
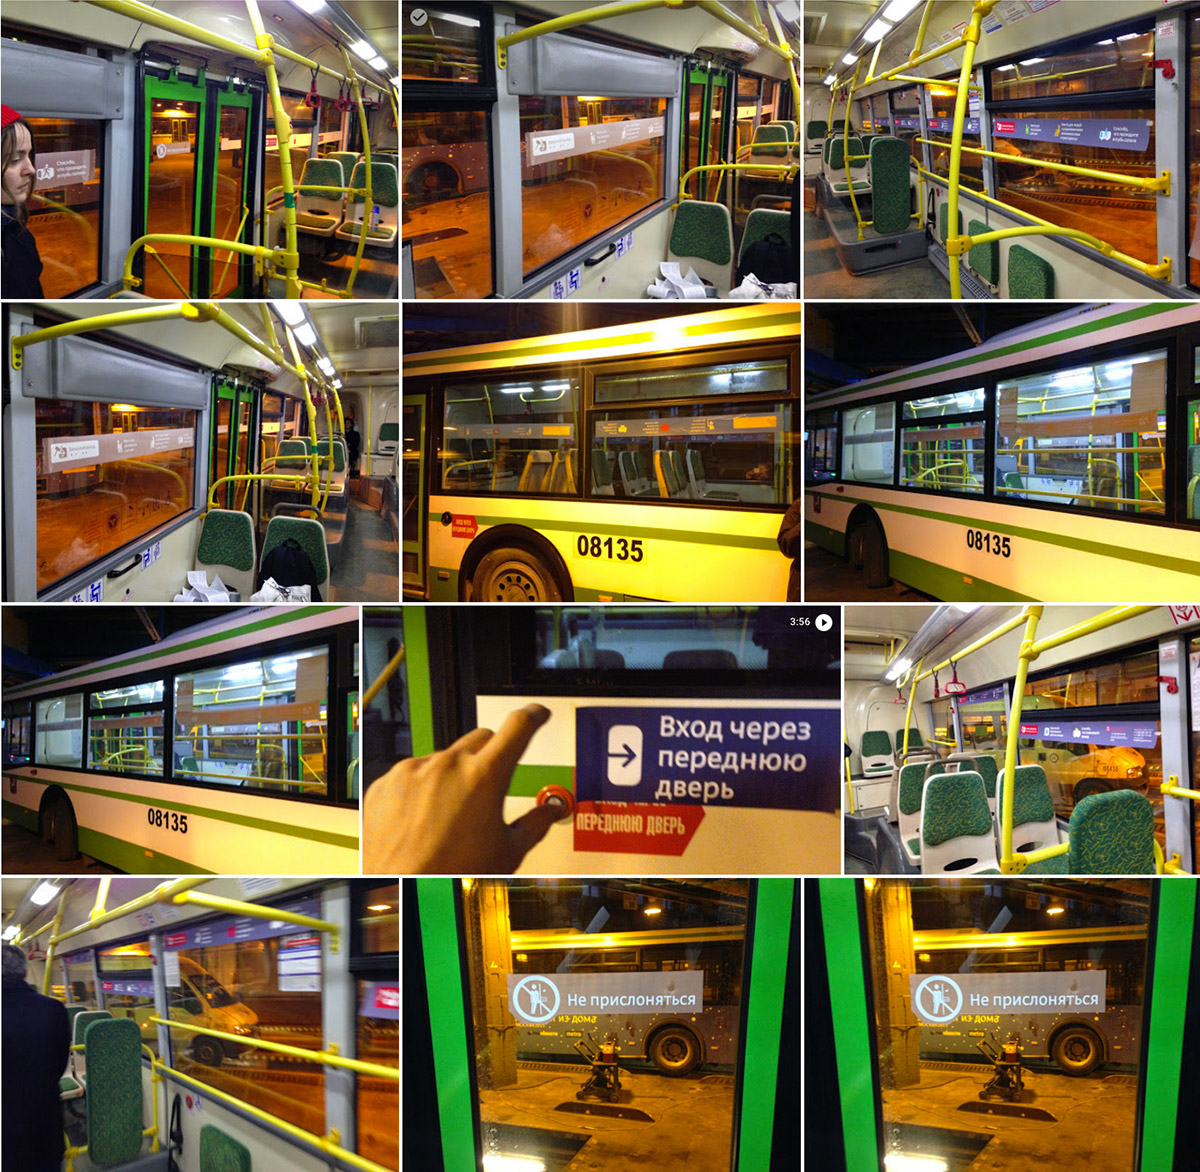
Creating paper mock-ups and testing them in the depot.
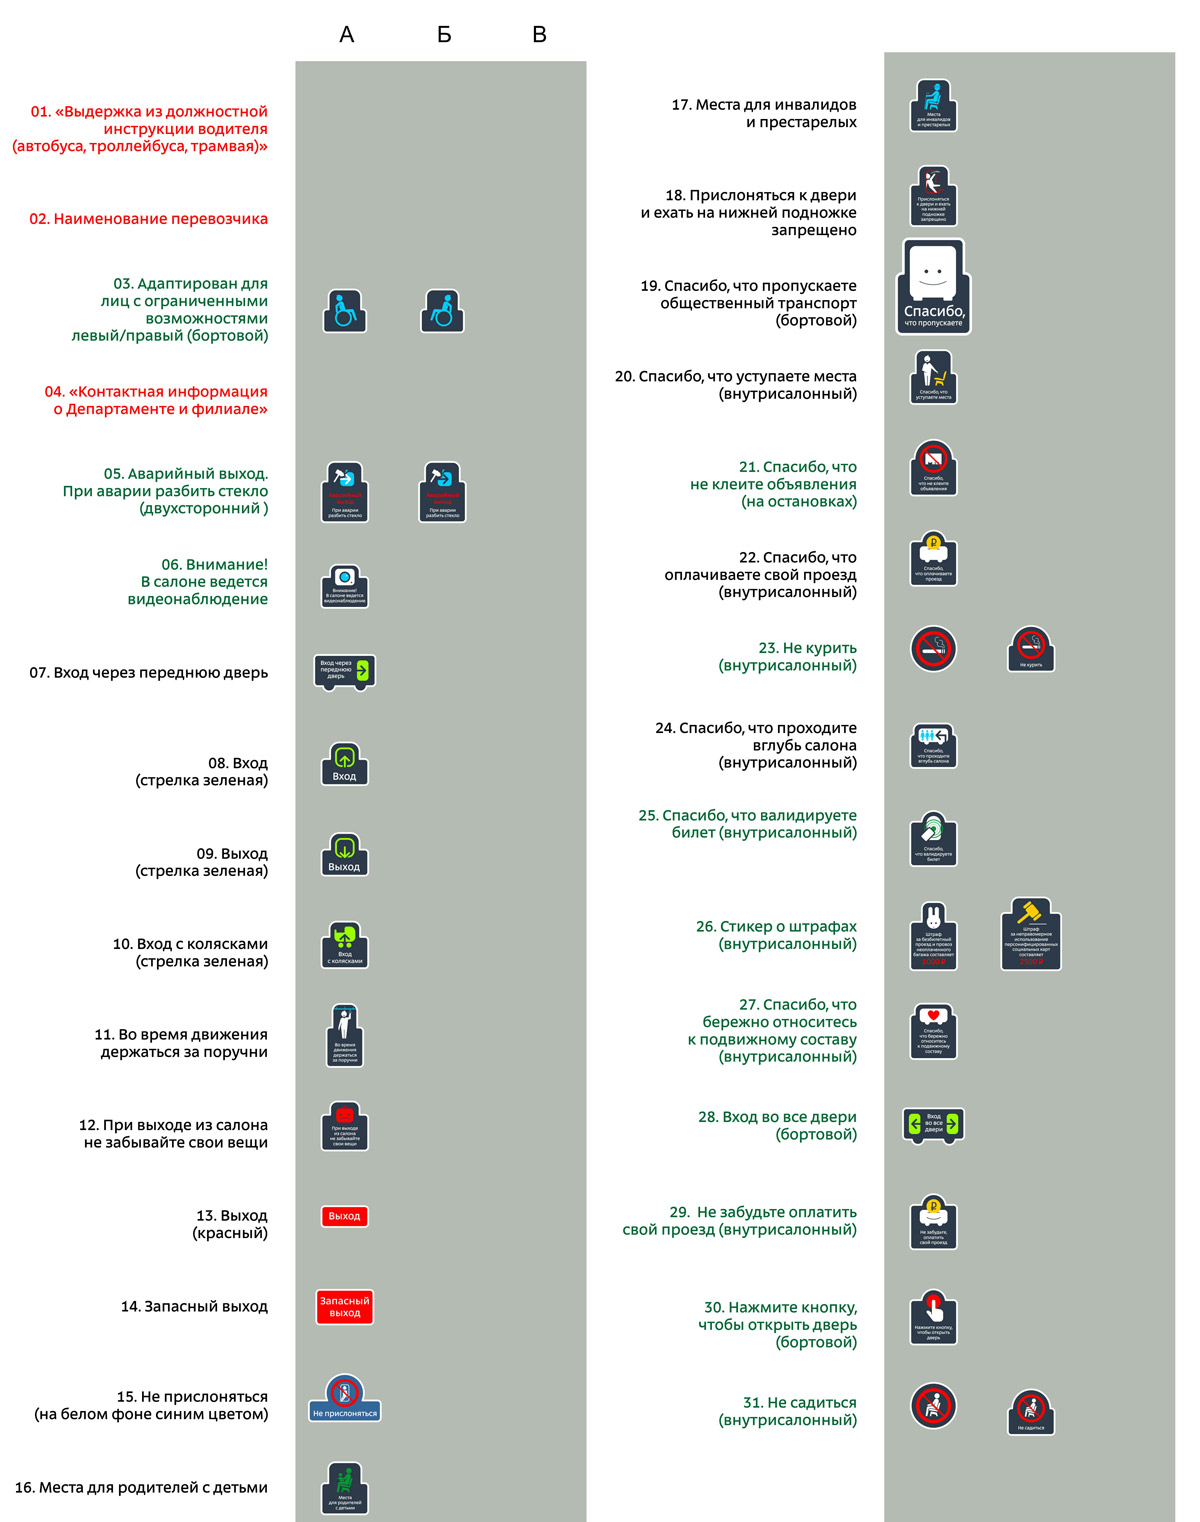
Adjusting sets of messages and their dimensions. Reworking the sticker placement maps and deciding to go with five standard sets.
Printing stickers on real-life materials for a test.

Going on a journey of small fixes, selecting the transparency and stickiness of the film, news about very narrow windows in new buses and trams, etc. Reworking everything several times over and sending for printing.
Beauty.