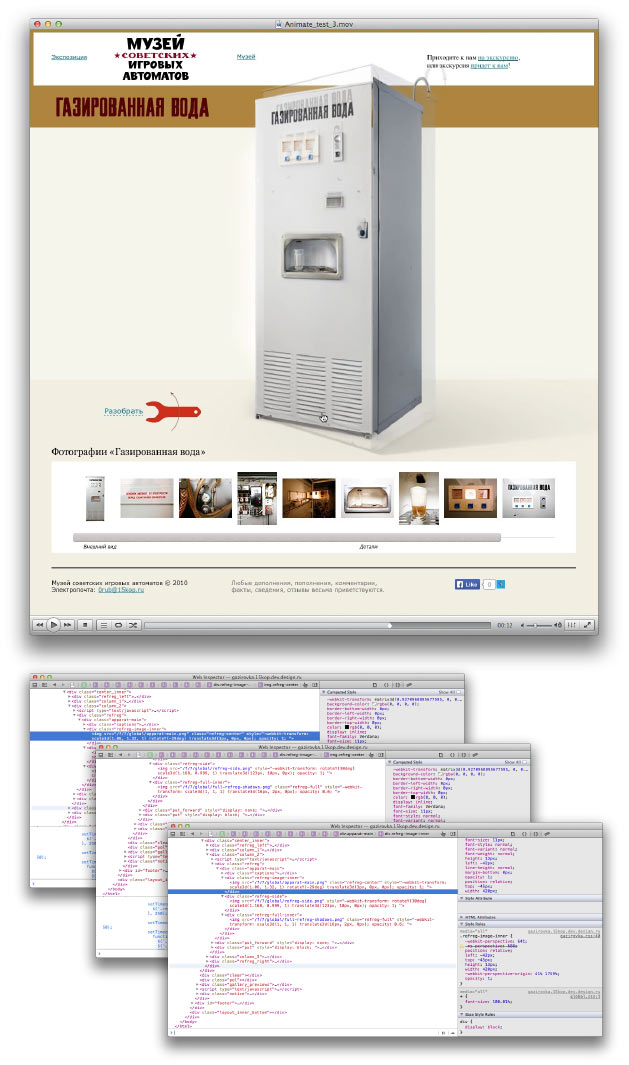
One time we had to create a new Soda section for the museum of Soviet arcade machines.
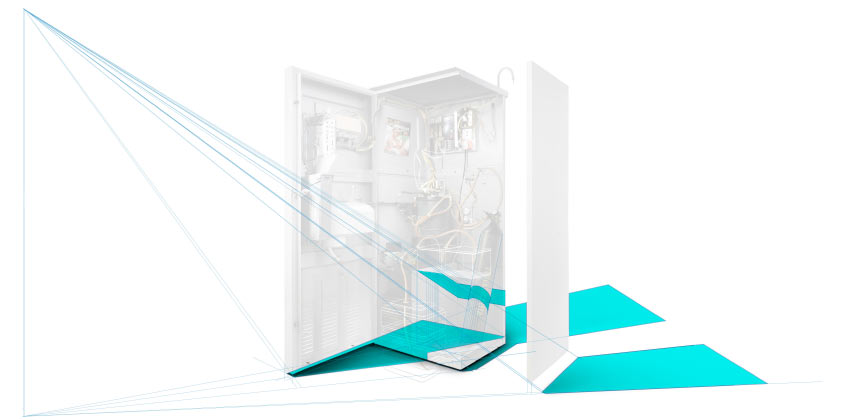
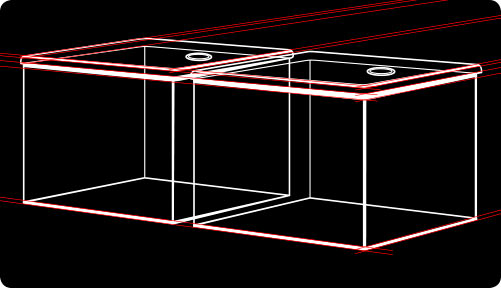
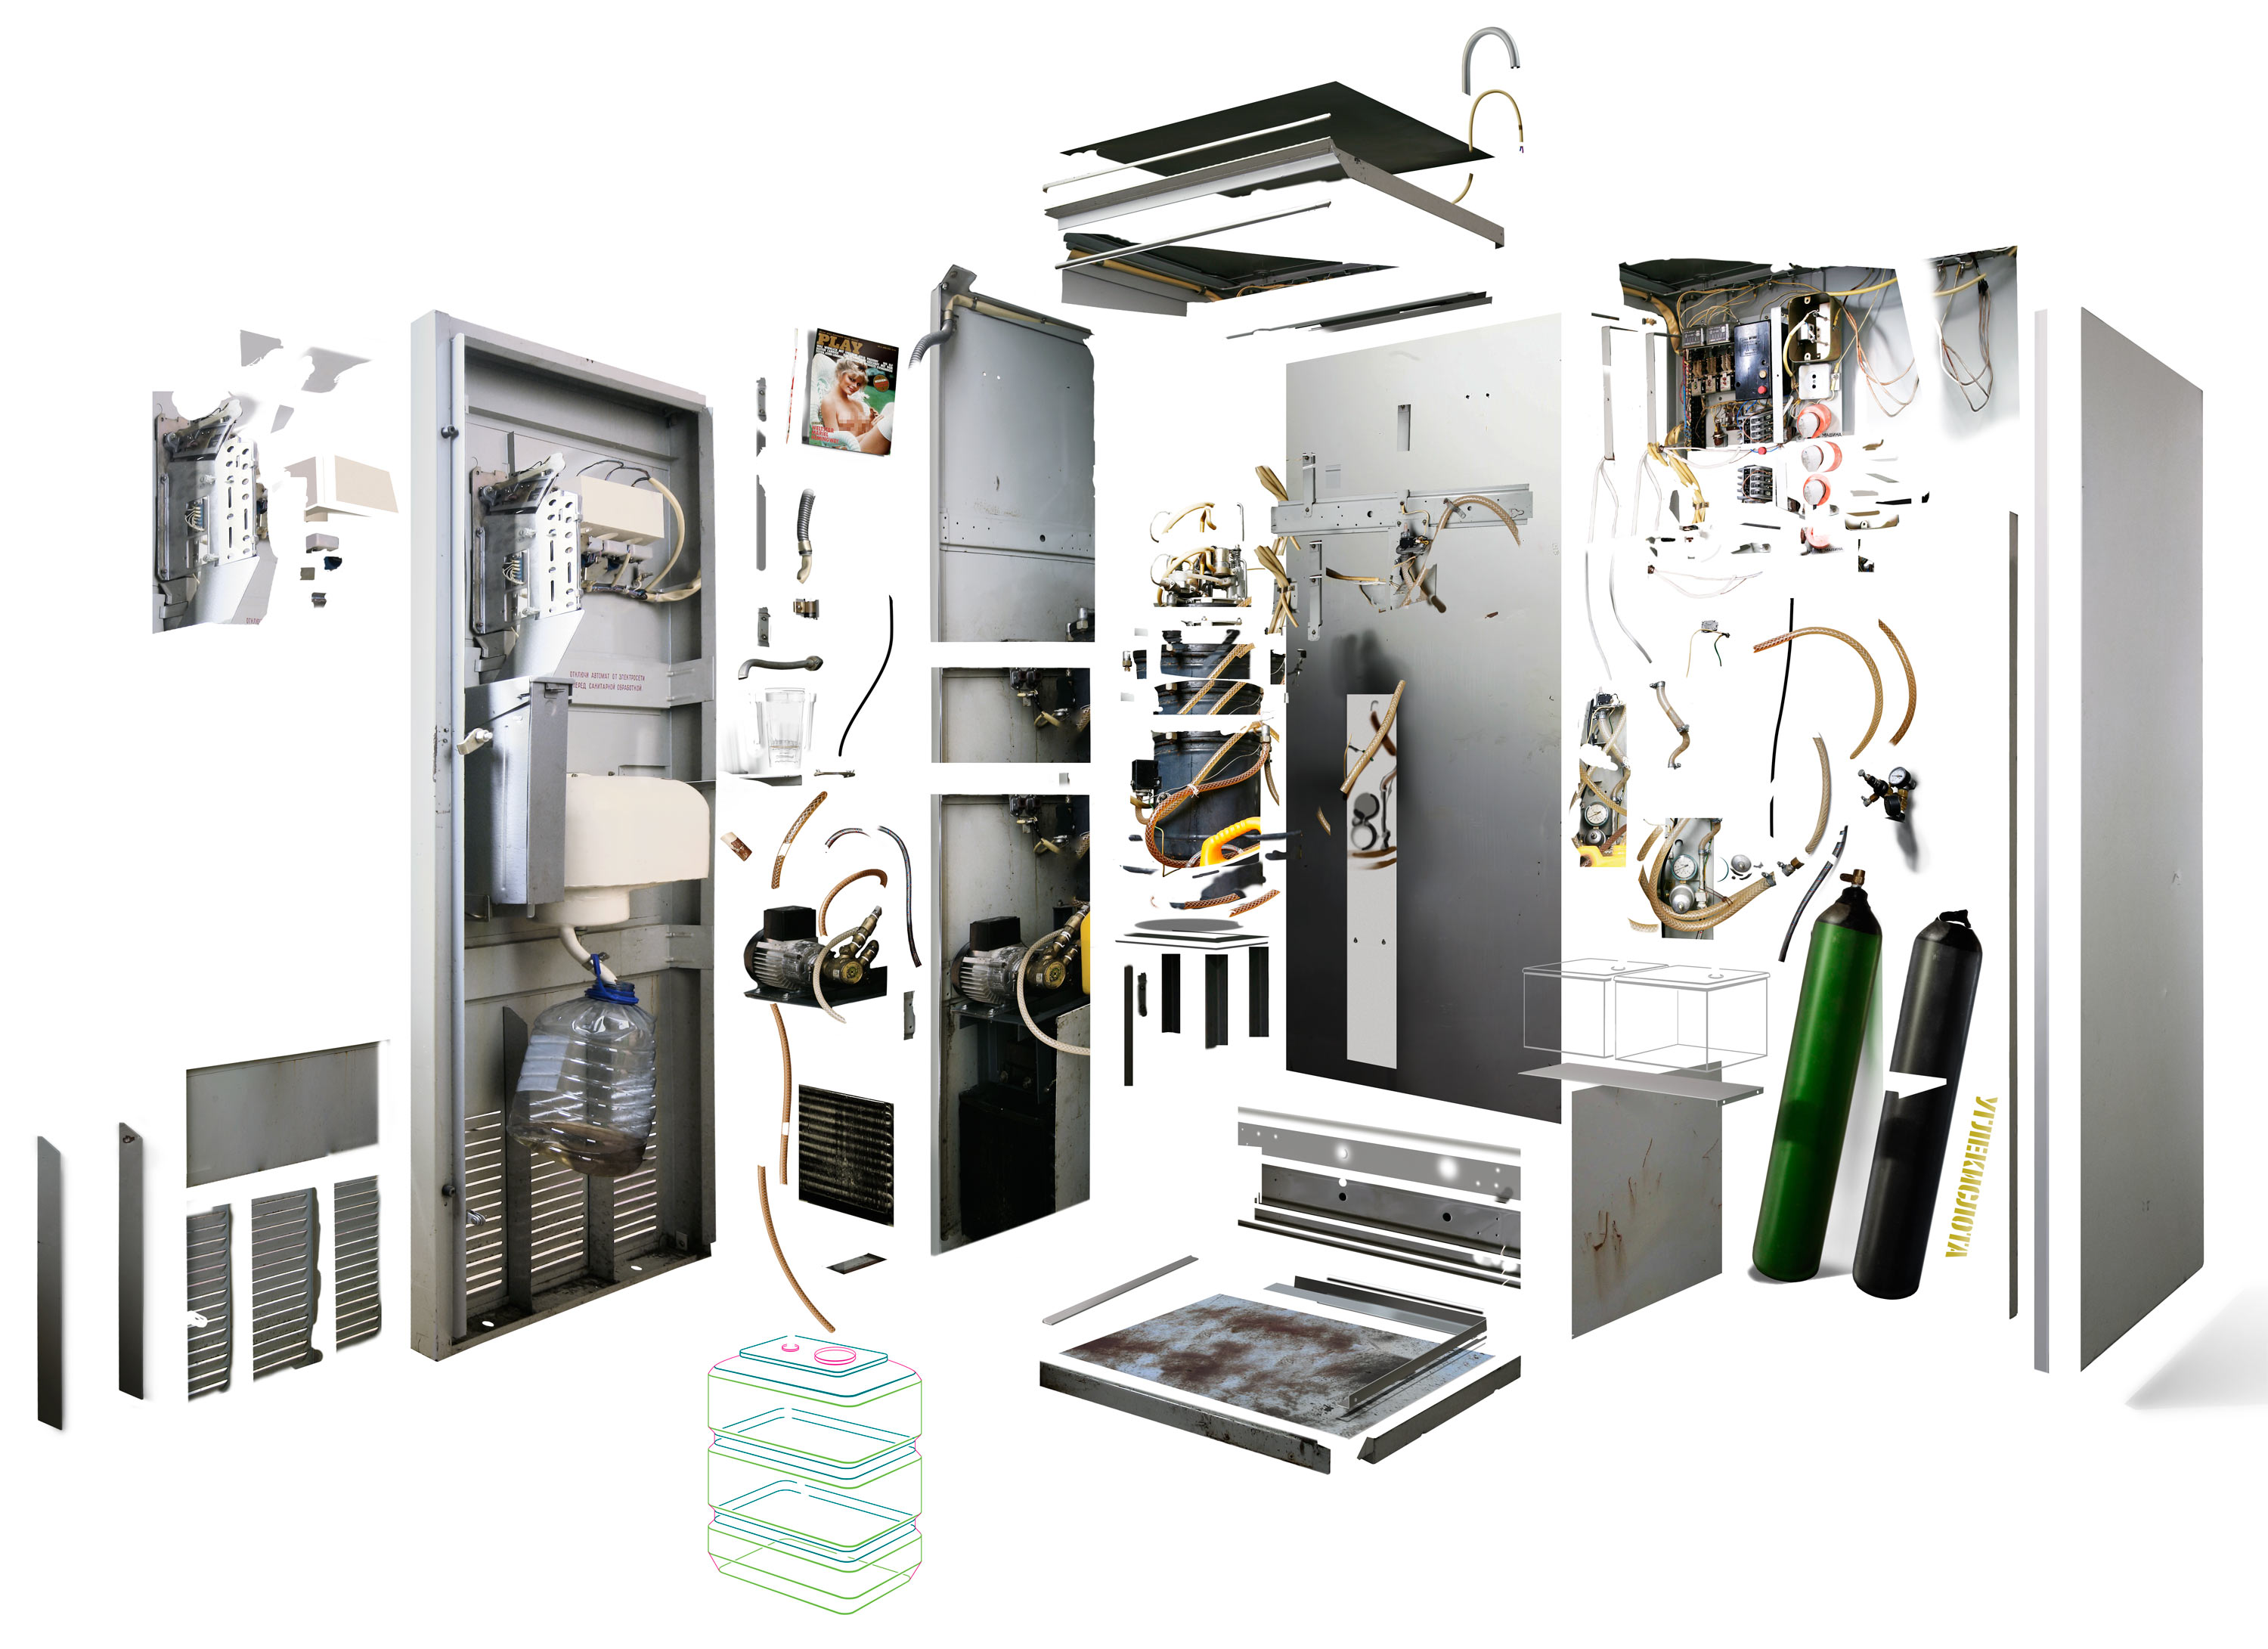
The principal graphic element of the section’s main page is an exploded diagram of the AT-101M soda machine. As an example, here is a similar diagram of a Sea Battle machine.

Analysis
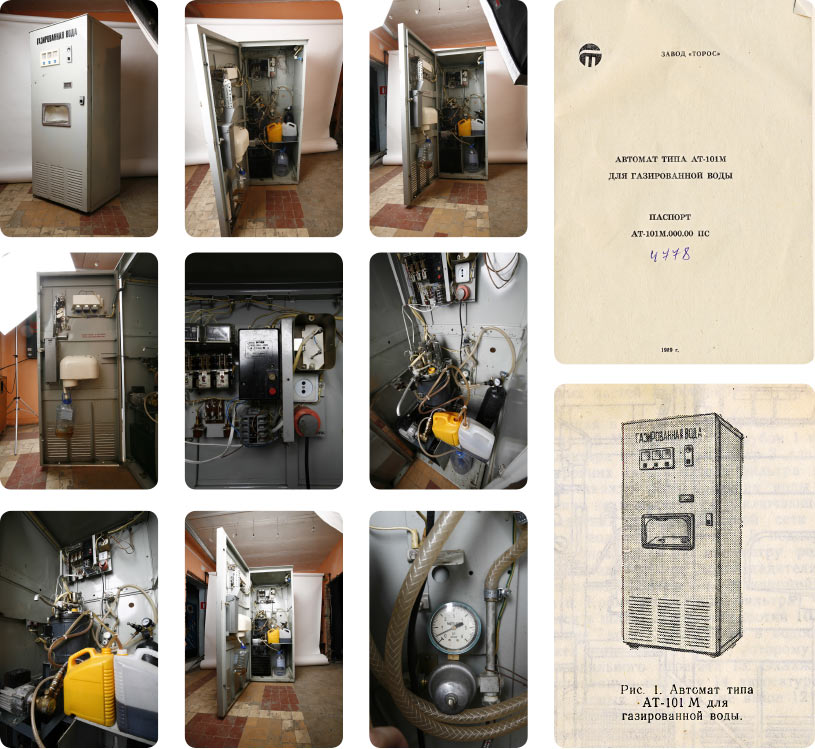
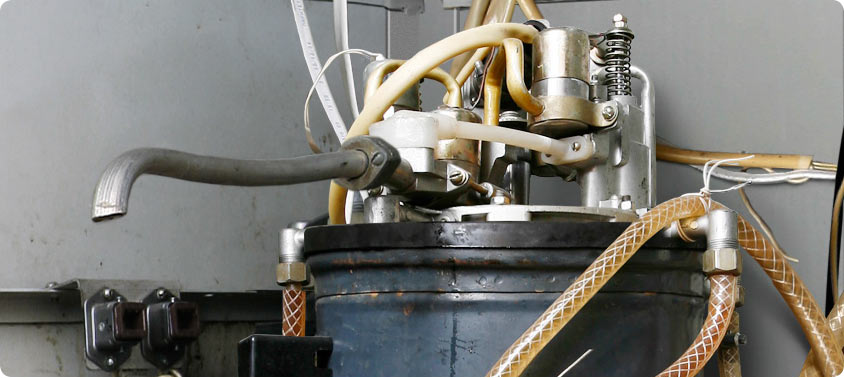
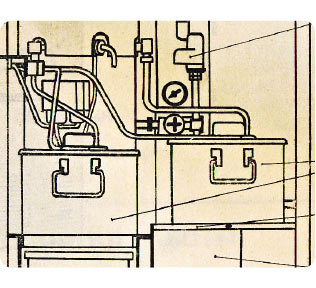
First we need to study the materials, principle of operation and technical documentation of the saturator.
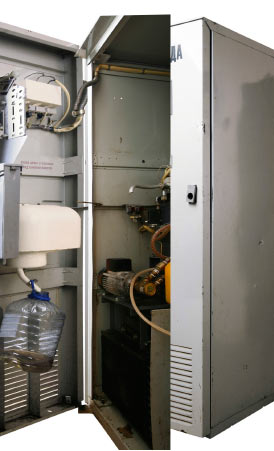
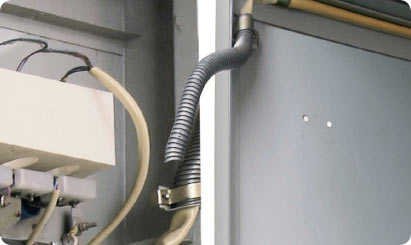
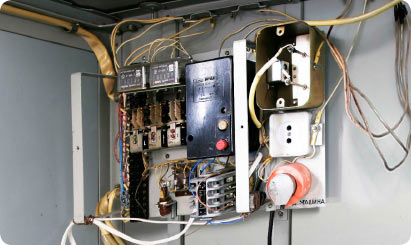
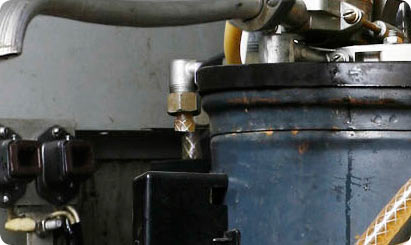
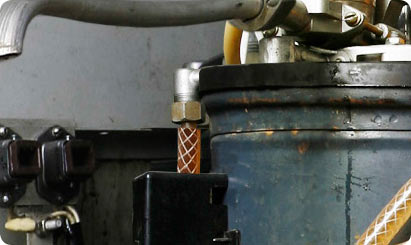
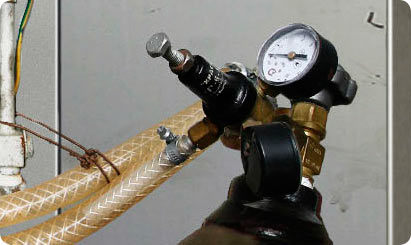
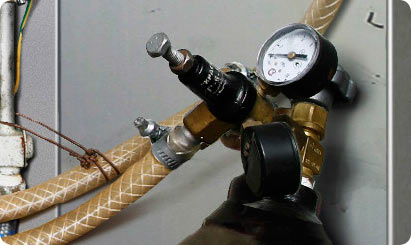
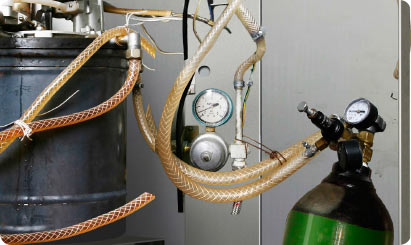
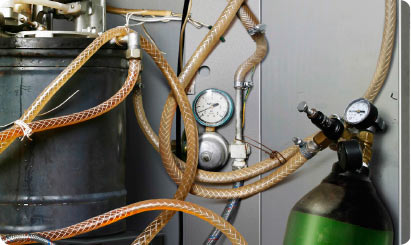
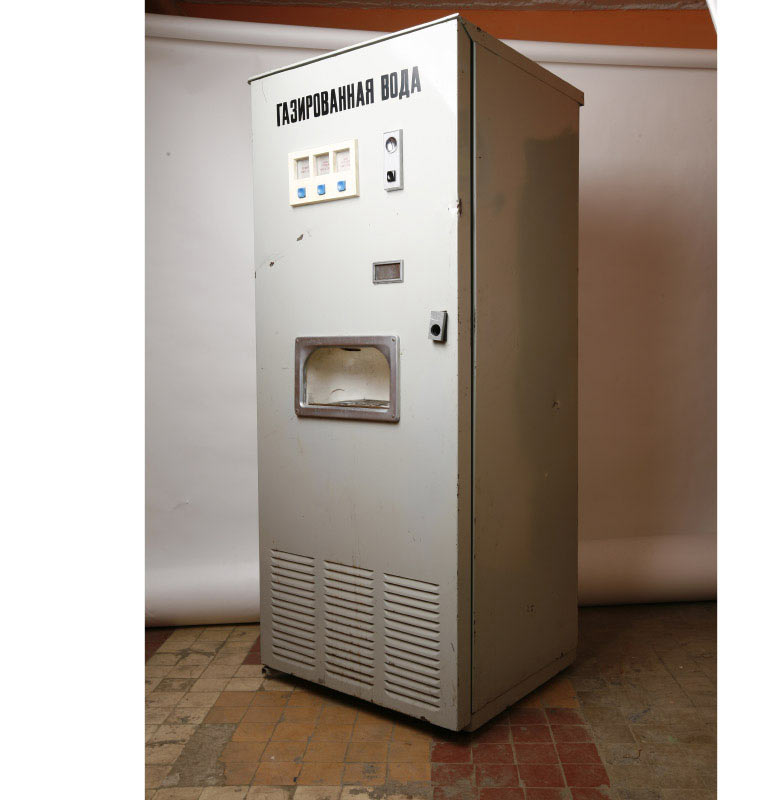
At the input we have about 15 pictures and a technical passport of the machine.
Analyzing the materials, creating a plan of works. A major issue is that not a single photograph matches the final perspective we would like to achieve in the result. Moreover, there is a lot of noise on the pictures: jerricans, bottles, etc.
The beginning
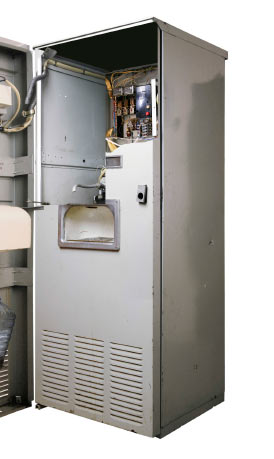
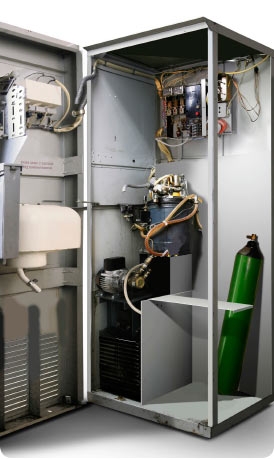
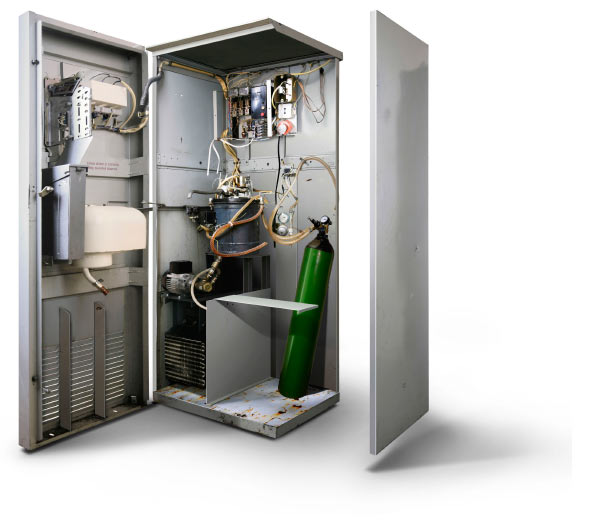
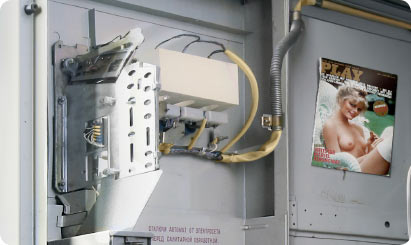
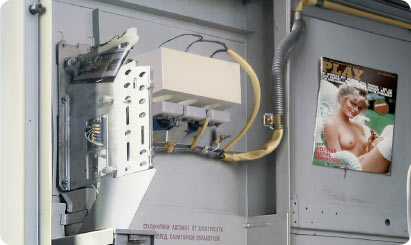
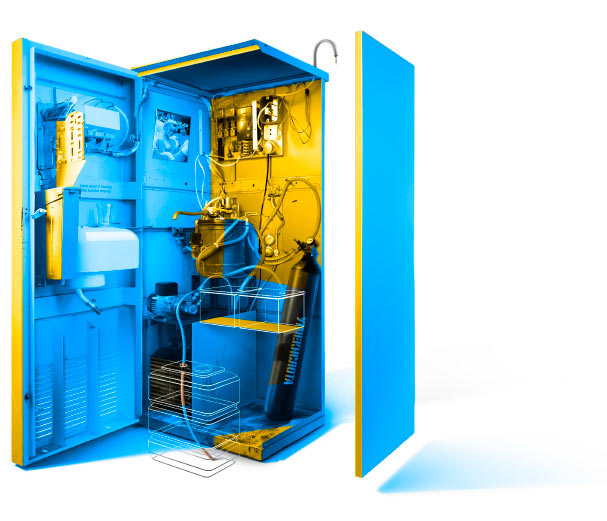
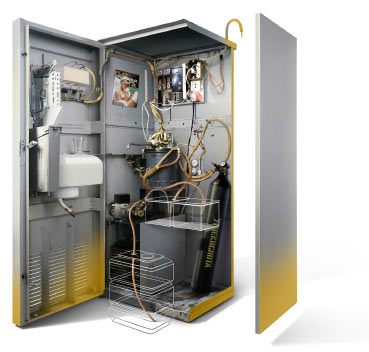
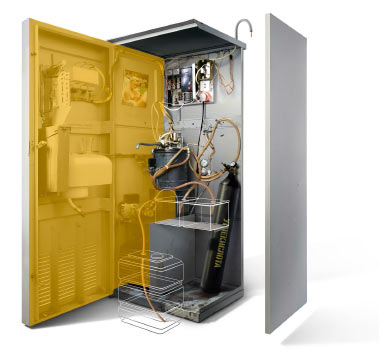
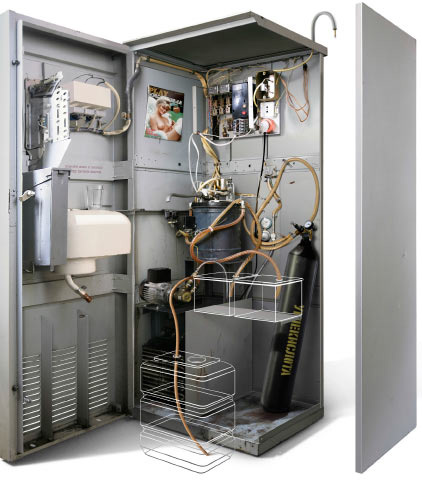
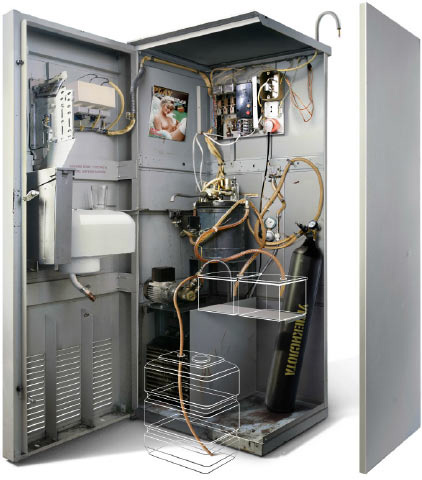
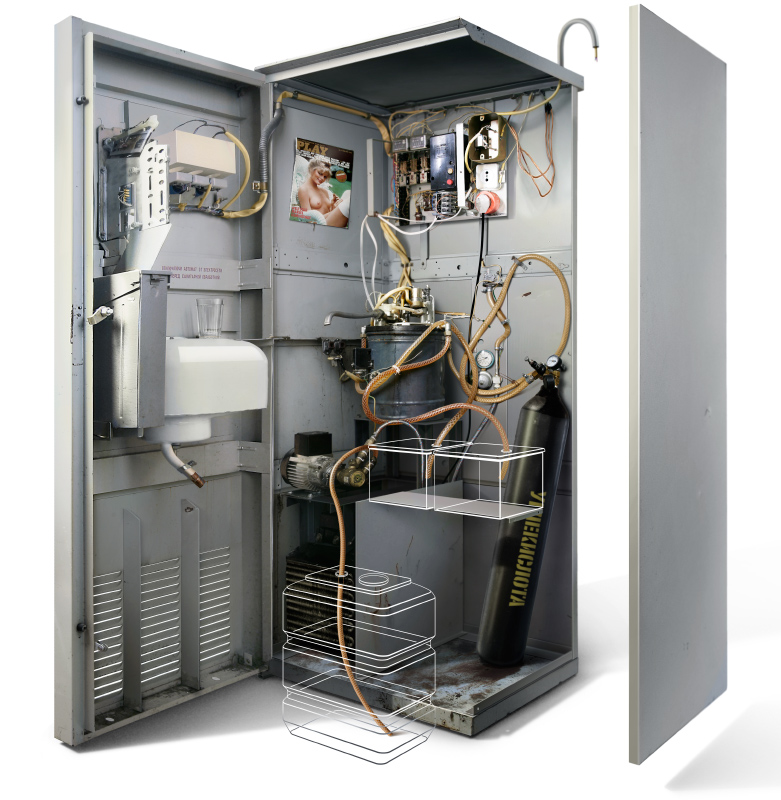
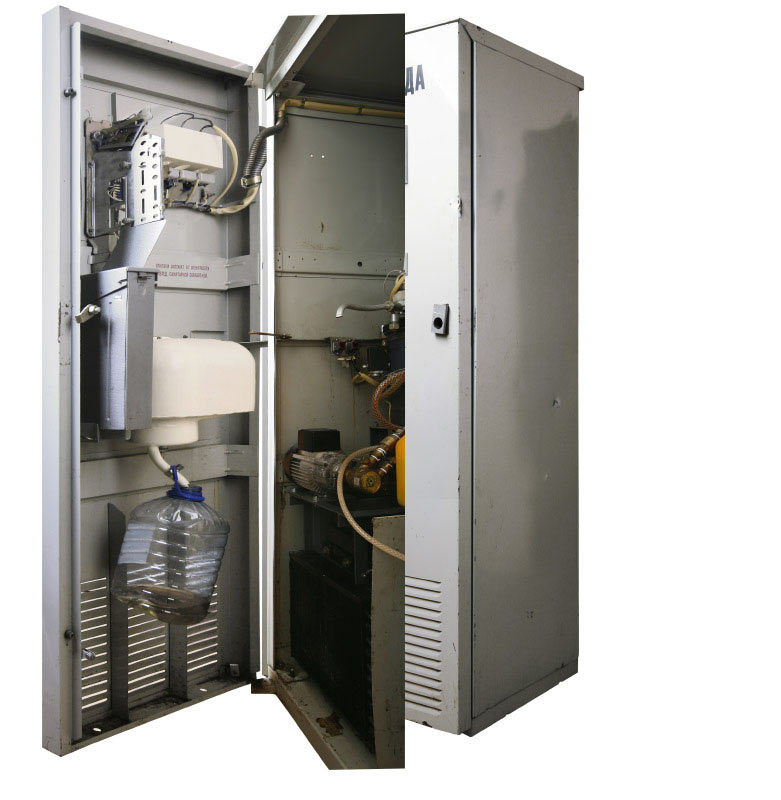
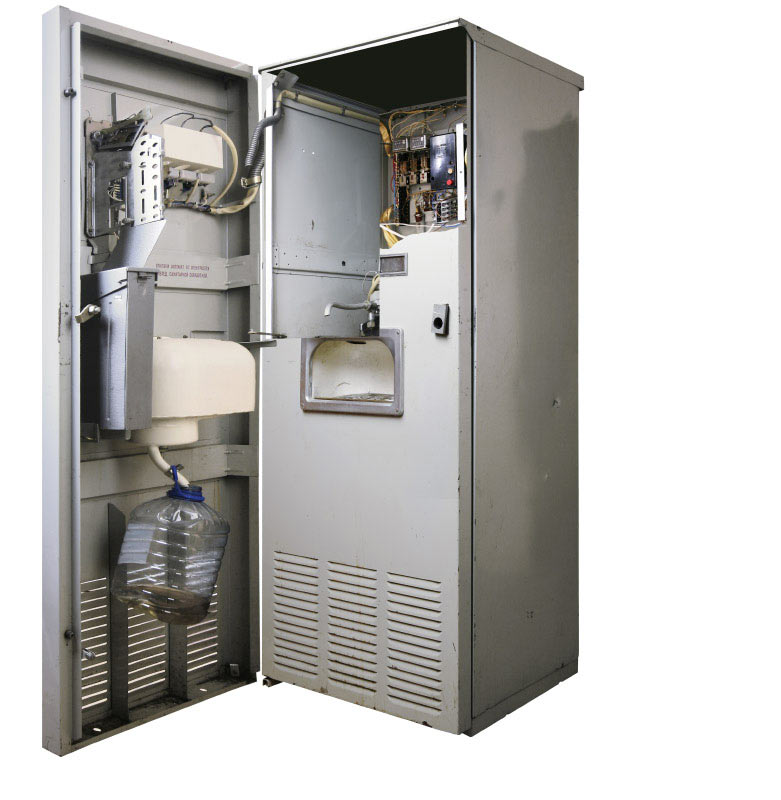
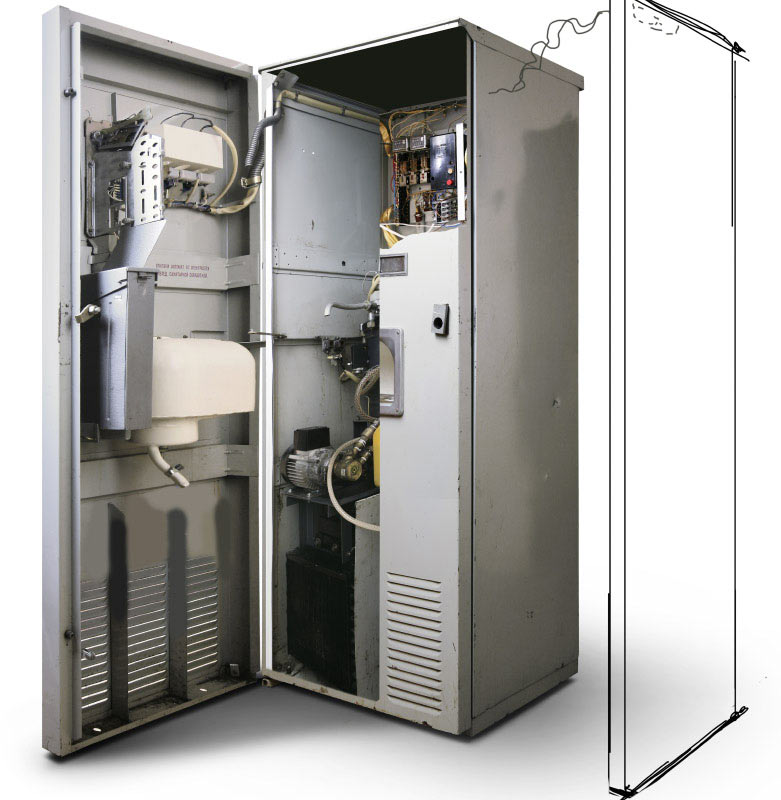
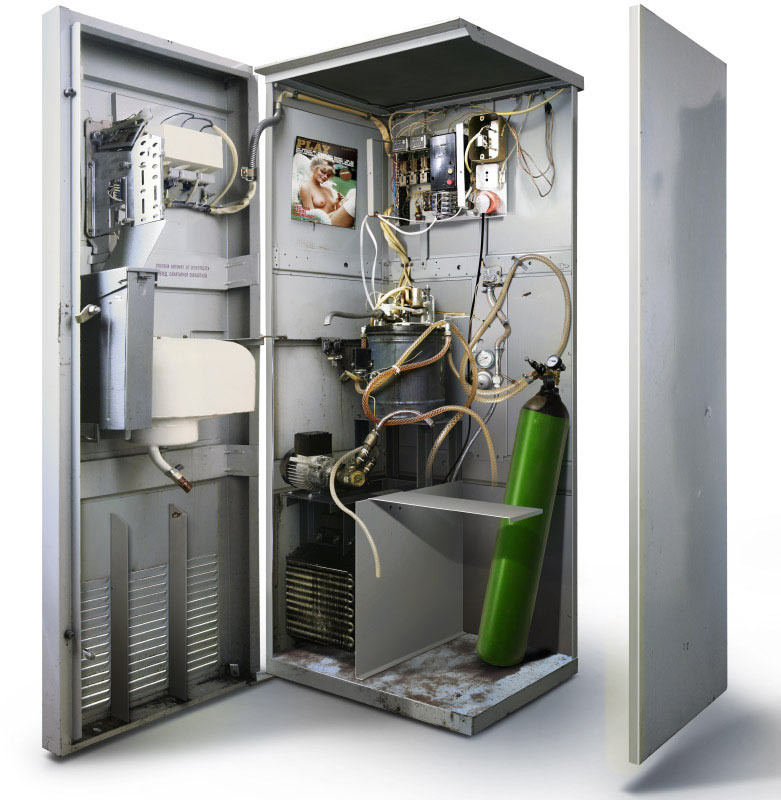
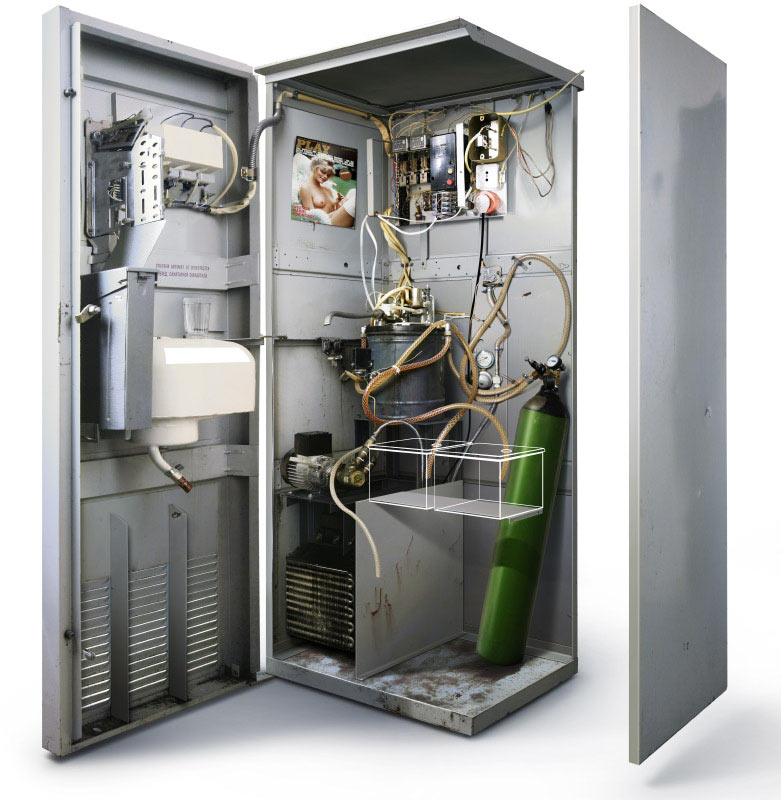
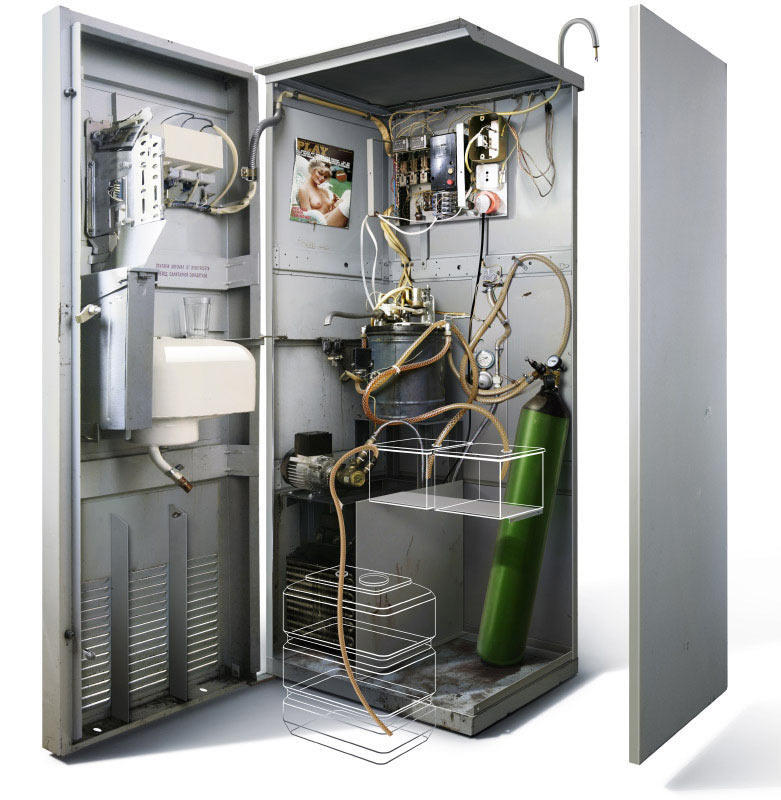
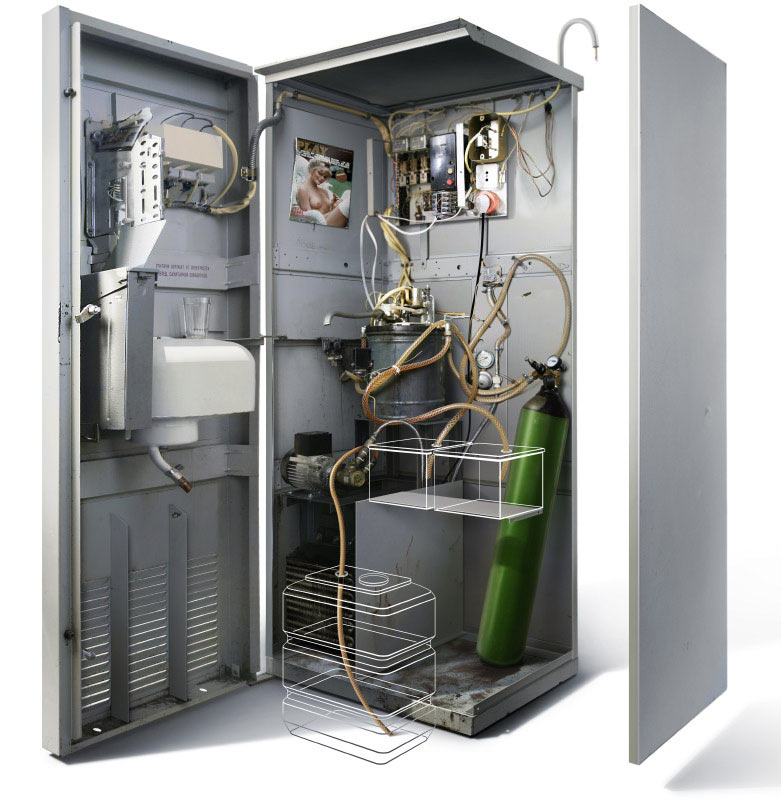
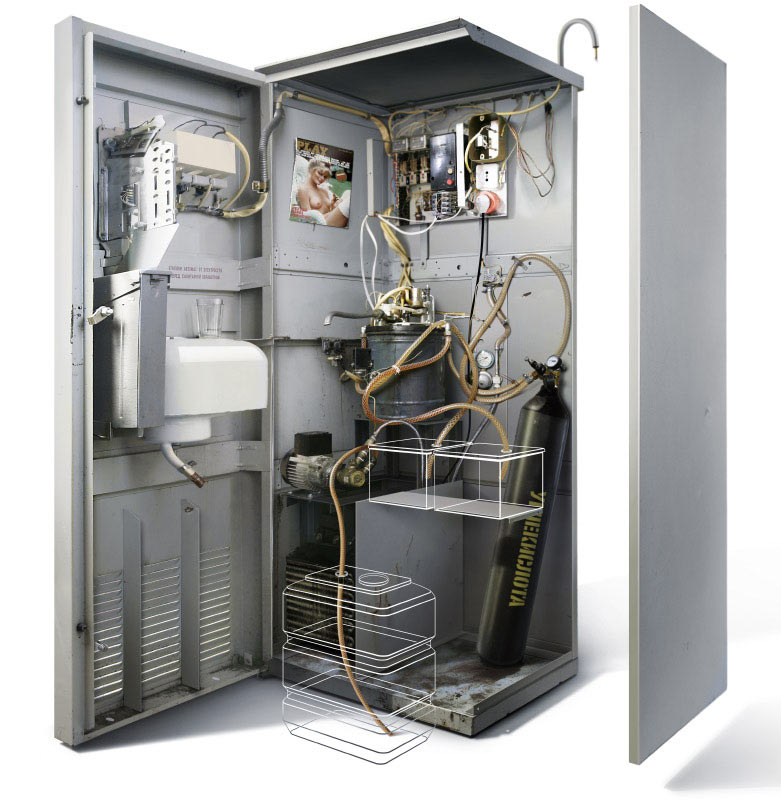
At the output we must have two images: of the soda machine closed and open.
It’s obvious we should start with the closed one. First we correct the perspective, the light and the color.
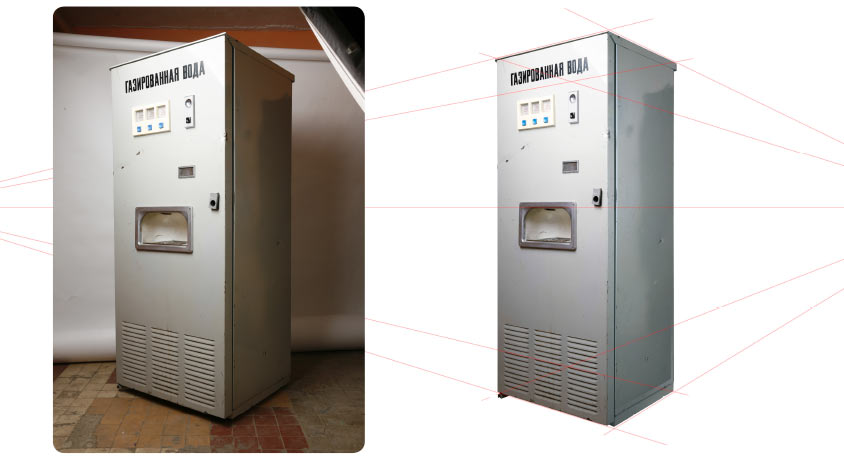
At this stage it’s important to pay attention to as many details as possible, as any change in the closed machine will bring about similar changes in the open one. Having rechecked everything several times, we move on to the second illustration.
The insides
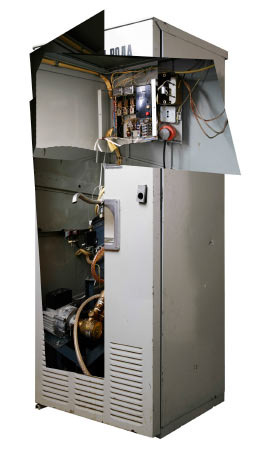
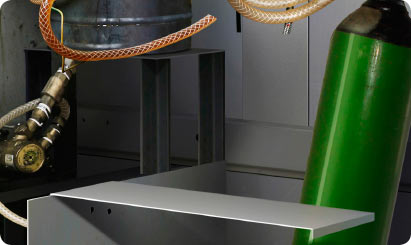
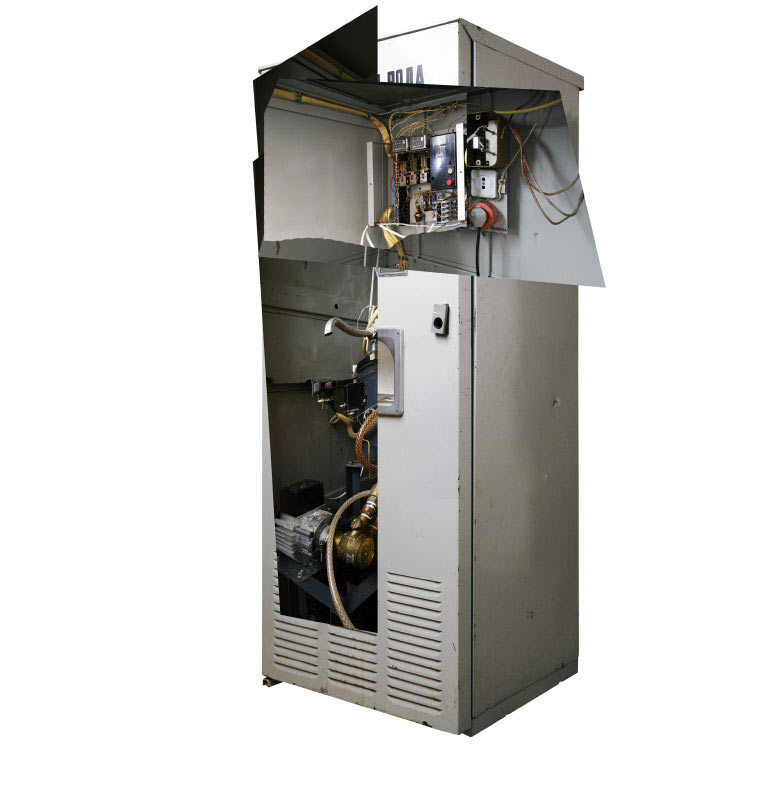
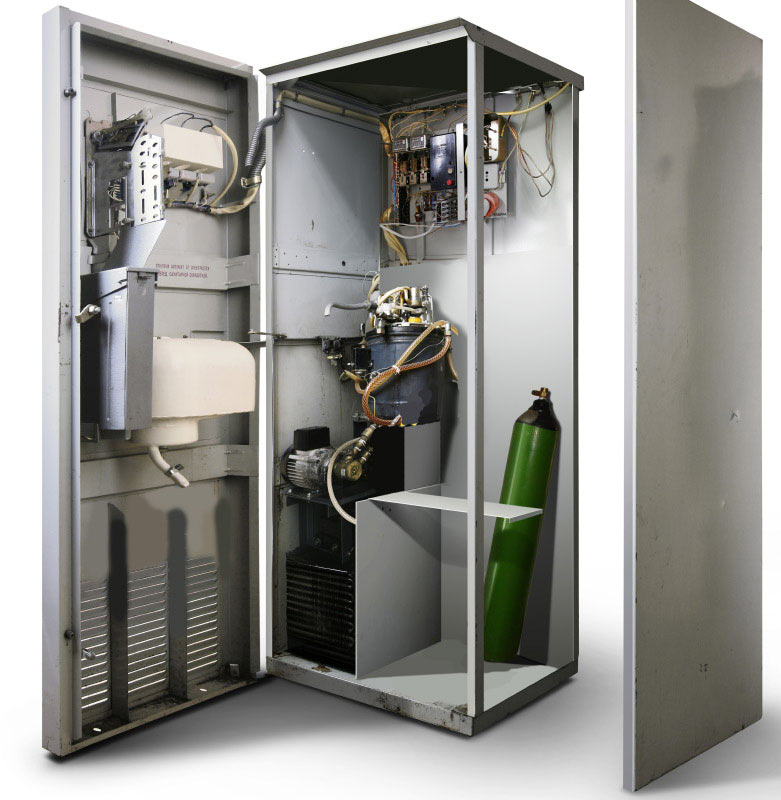
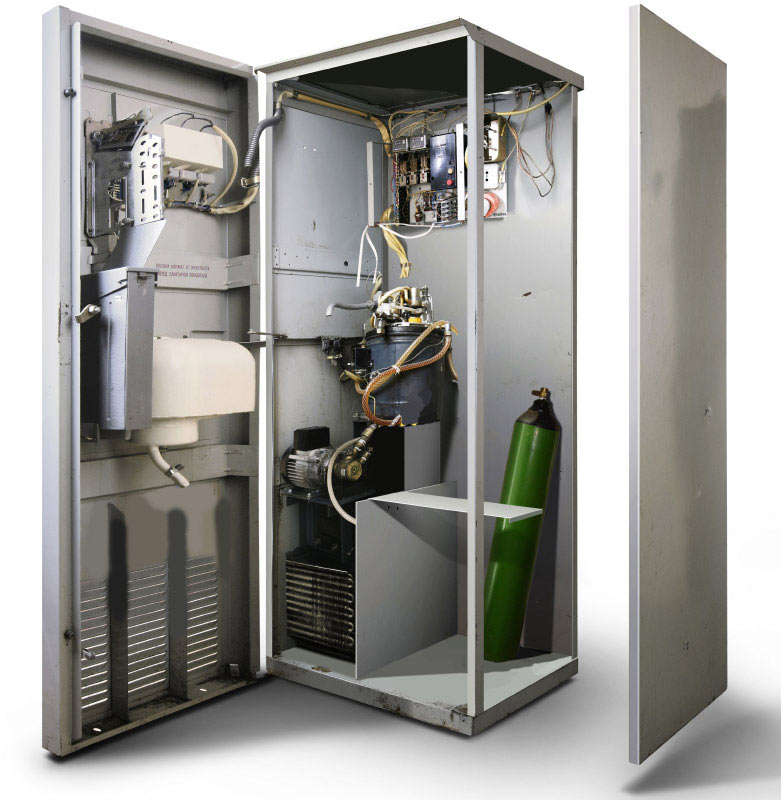
To show the insides of the machine better, we decided not only to open the door, but also remove one of the side walls.
We build the collage step by step, for now not worrying about the perspective and reductions. The elements are put in places.
 |
 |
 |
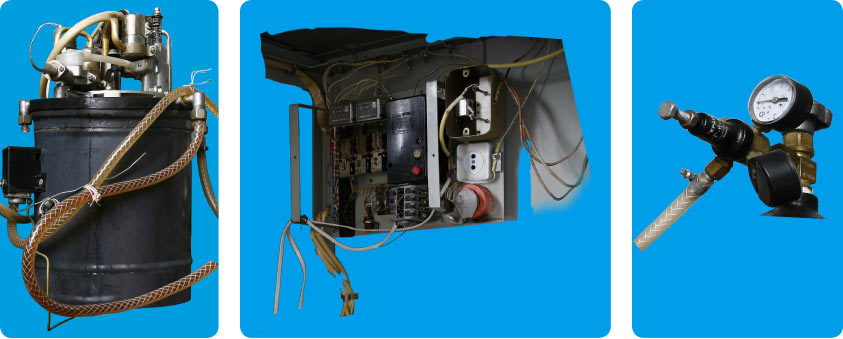
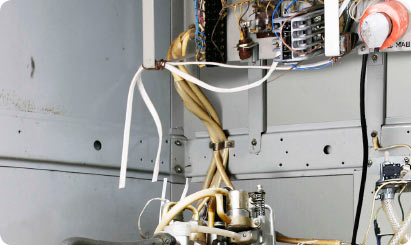
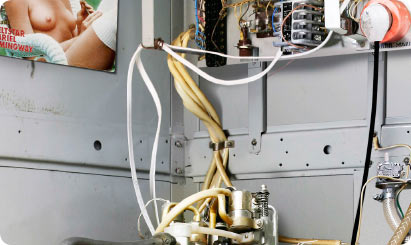
First, the electrical box |
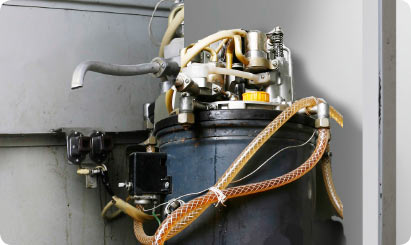
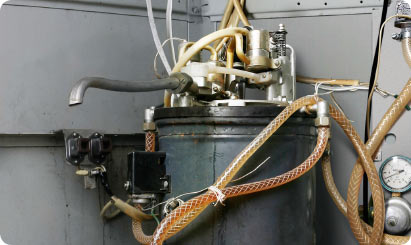
Now the saturator | And the door |
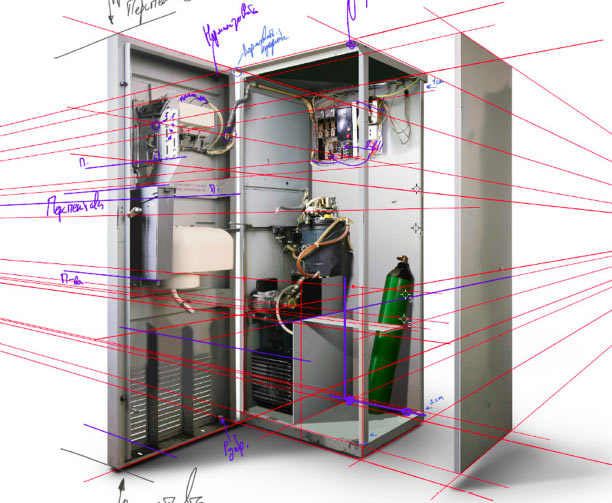
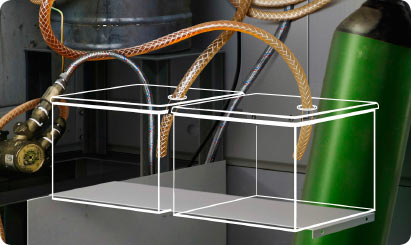
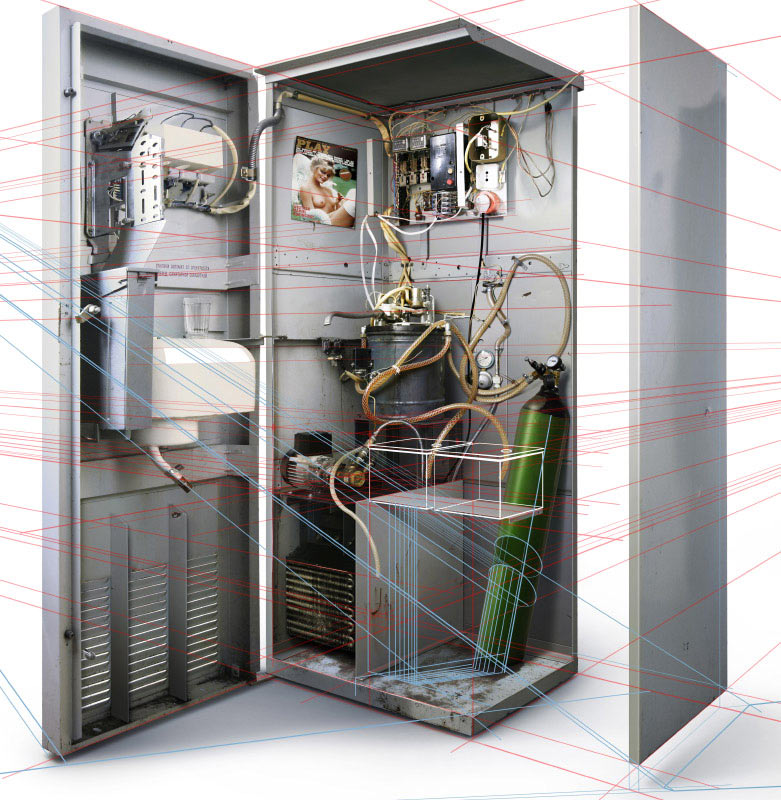
After we placed all the equipment, we can start to adjust the perspective.
 |
 |
 |
Inner walls |
The walls are aligned to match the perspective | The saturator is installed, a CO2 tank is added |
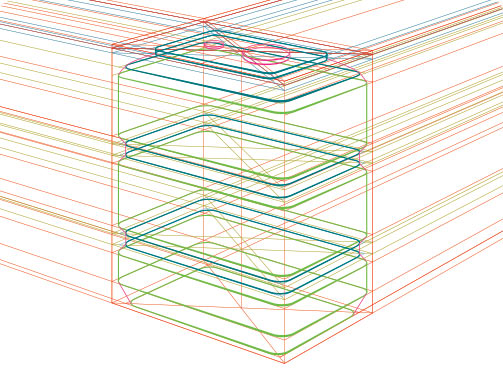
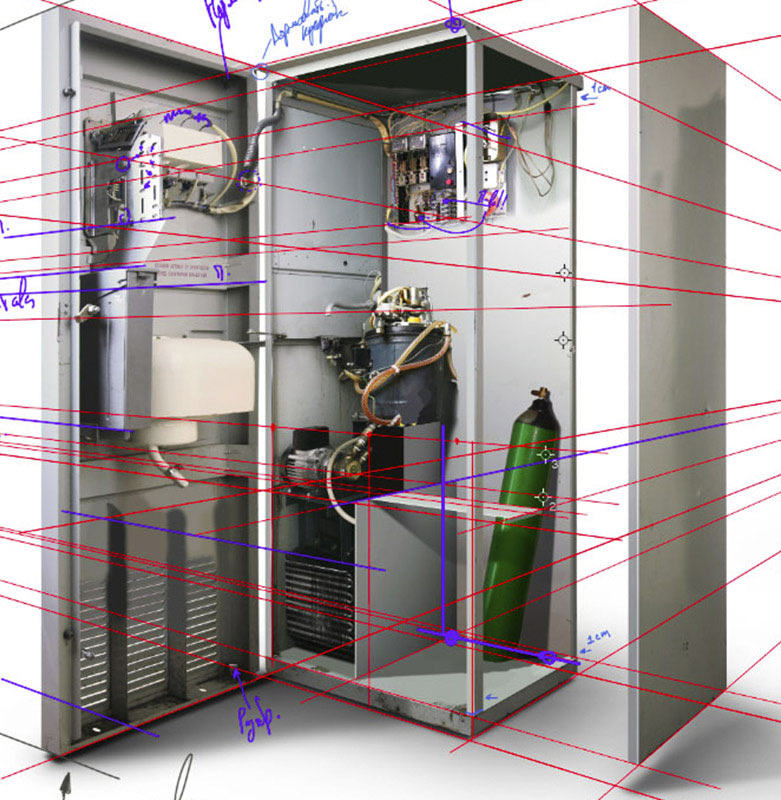
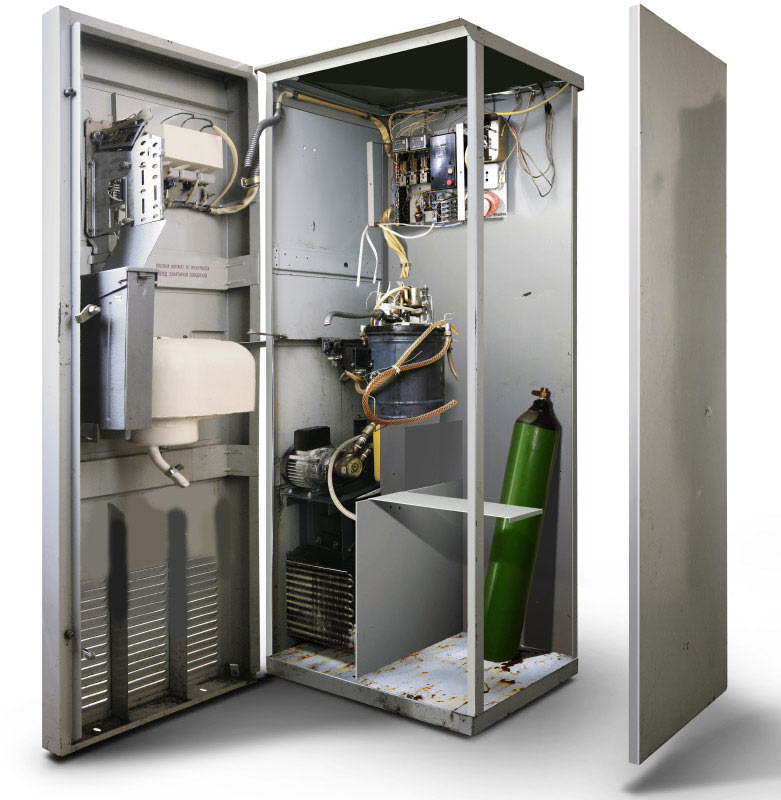
Now is a good time to take a close look at the perspective. The number of guide lines in the grid keeps growing.
It’s important to stop every once in a while to analyze what has already been done and what should be done next, write a list of comments that will help us avoid oversights. Correcting any mistakes later will require major changes in the drawing.
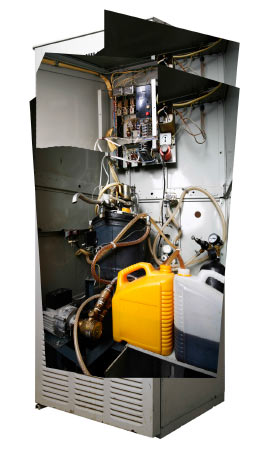
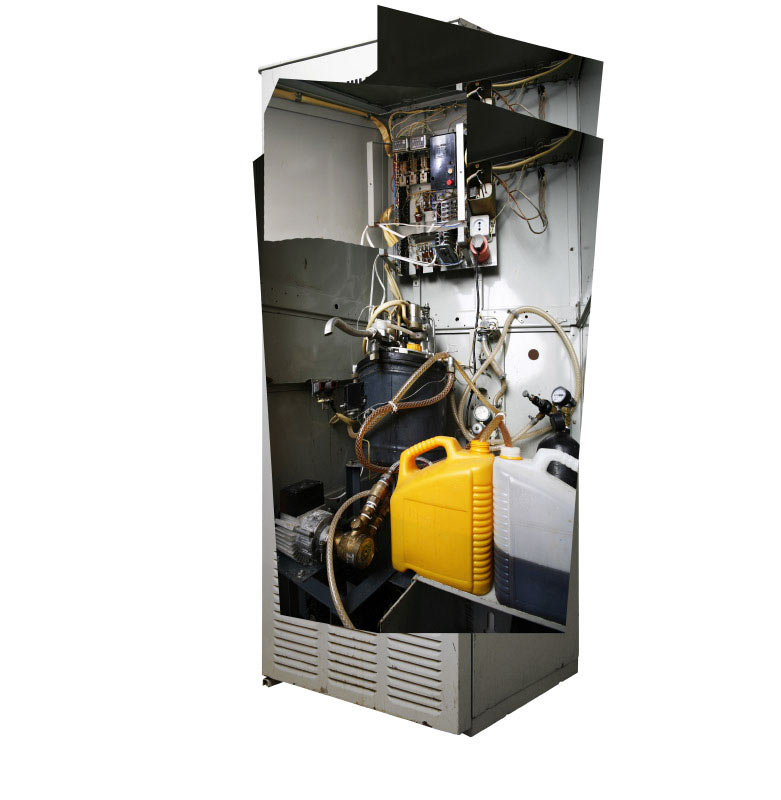
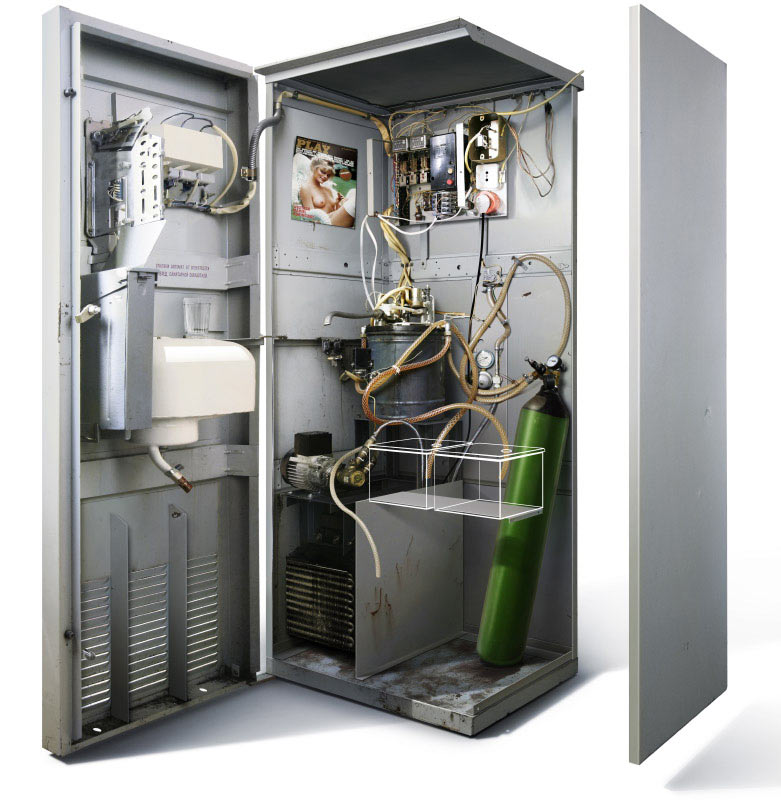
Next we place the rest of the parts and create an approximation of the shadows.
Correcting the shape, connecting it all together
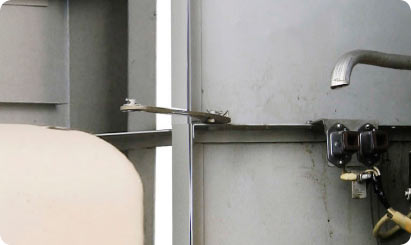
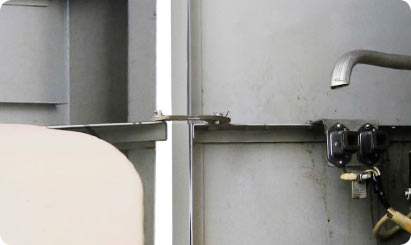
Time to use Warp and Liquify. Once all details are in place, we need to start connecting the wiring, the pipes and placing the hinges.
We need to cut out the elements from the pictures as careful as possible: wires, pipes, springs, nuts and bolts adjacent to an object must remain with the object so we wouldn’t have to adjust their perspective individually later.
 |
 |
 |
 |
 |
 |
 |
 |
 |
 |
 |
 |
 |
 |
 |
 |
 |
 |
 |
 |
The file now has the resolution of 13 000 by 6500 pixels, more than 1000 layers, lots of smart objects nested in smart objects (just like in the cow story). Given all this, one has to be patient: saving the document takes 3–5 minutes.
Shadows
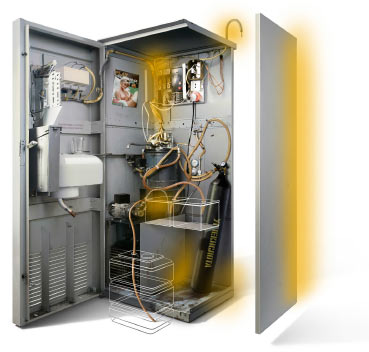
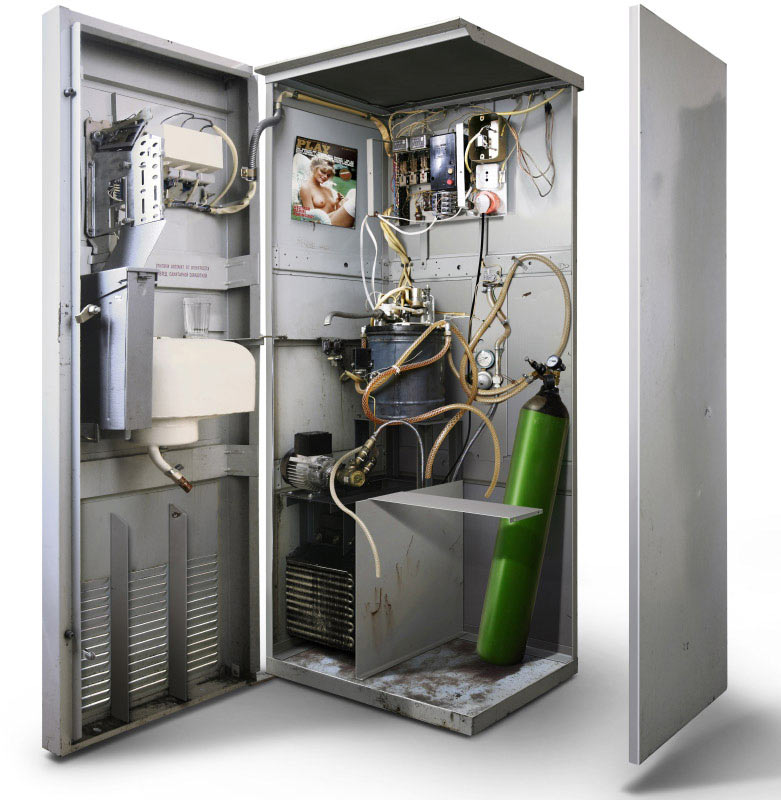
To create shadows first we need to decide on the main light source. In our case it will be located to the left of and above the object. Now we can start drawing shadows.
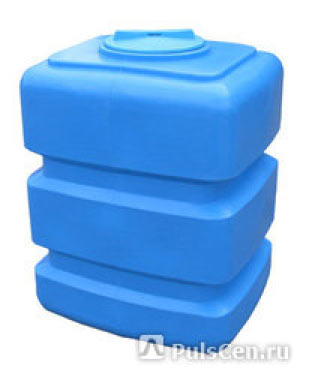
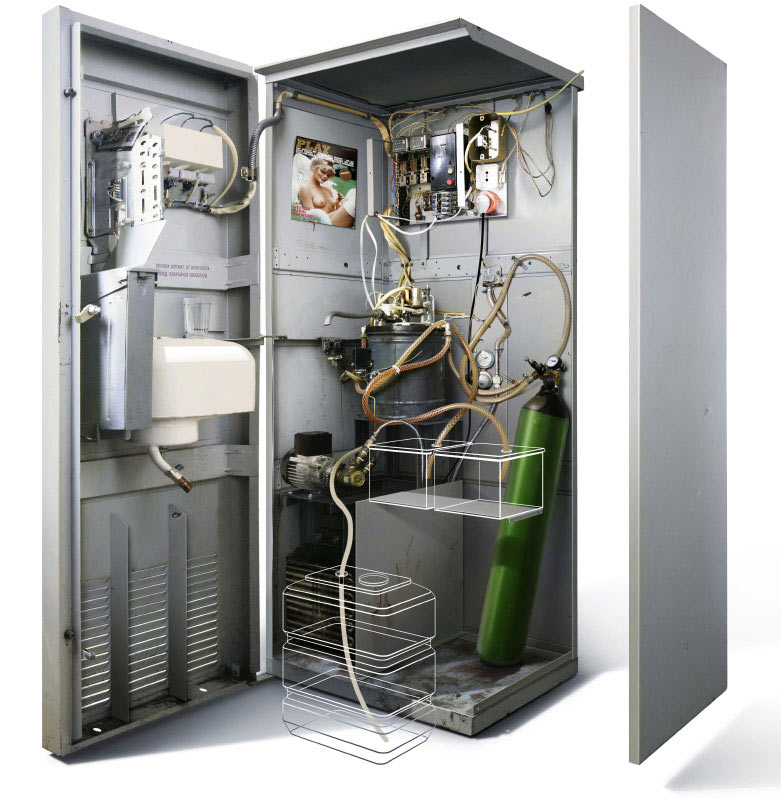
Tanks
Water and syrup tanks are drawn in Illustrator. Edges closest to the viewer are made slightly thicker.
 |
 |
 |
 |
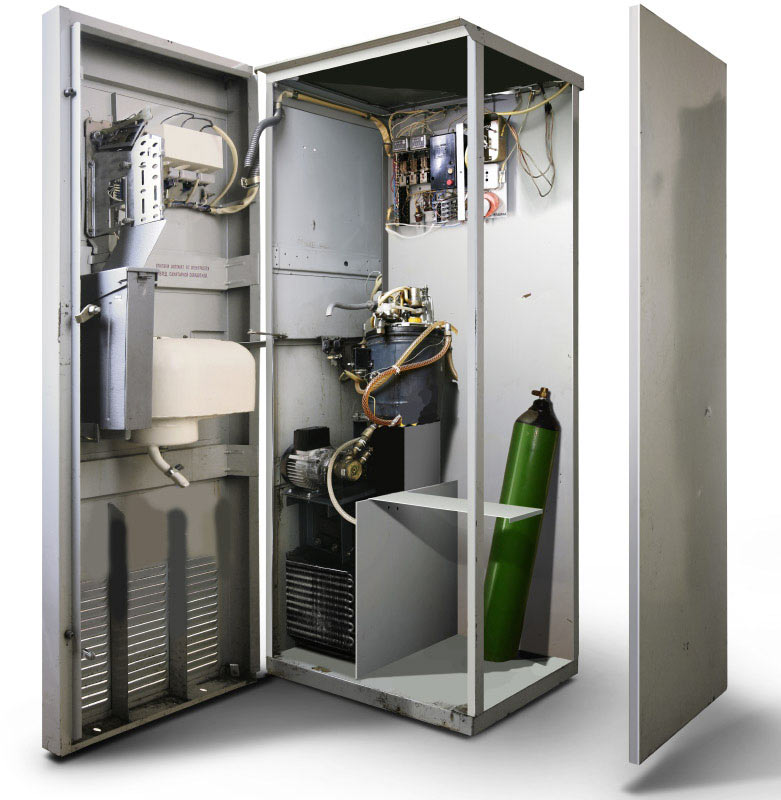
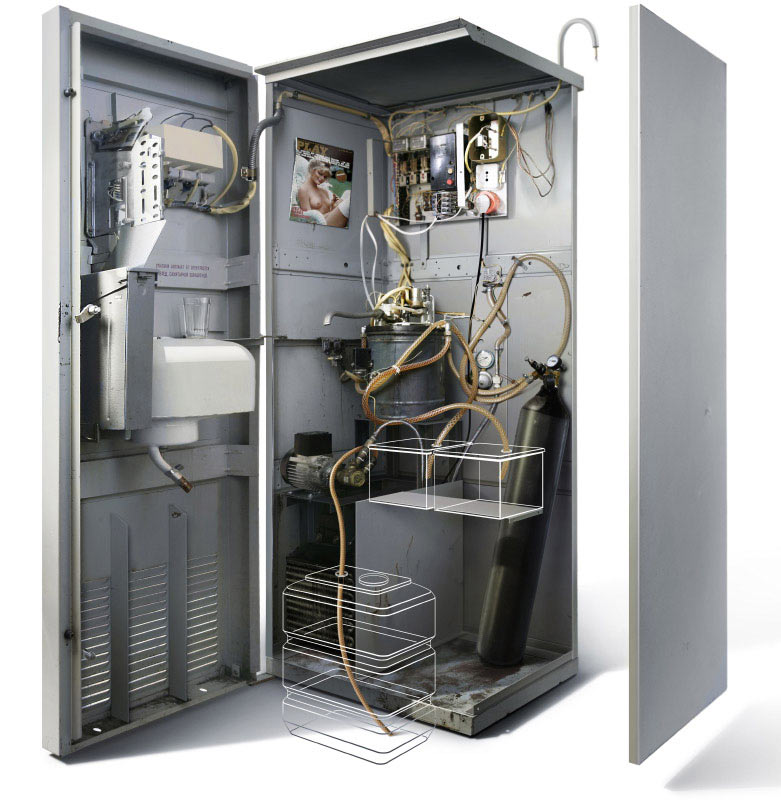
Color and light correction
At this stage we correct the colors, work with lights, distribute cooler and warmer colors.
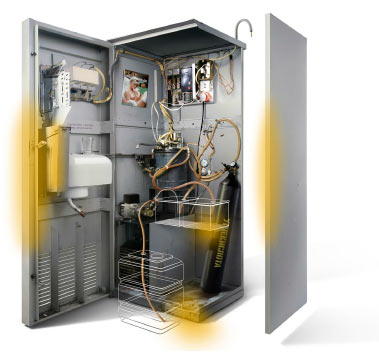
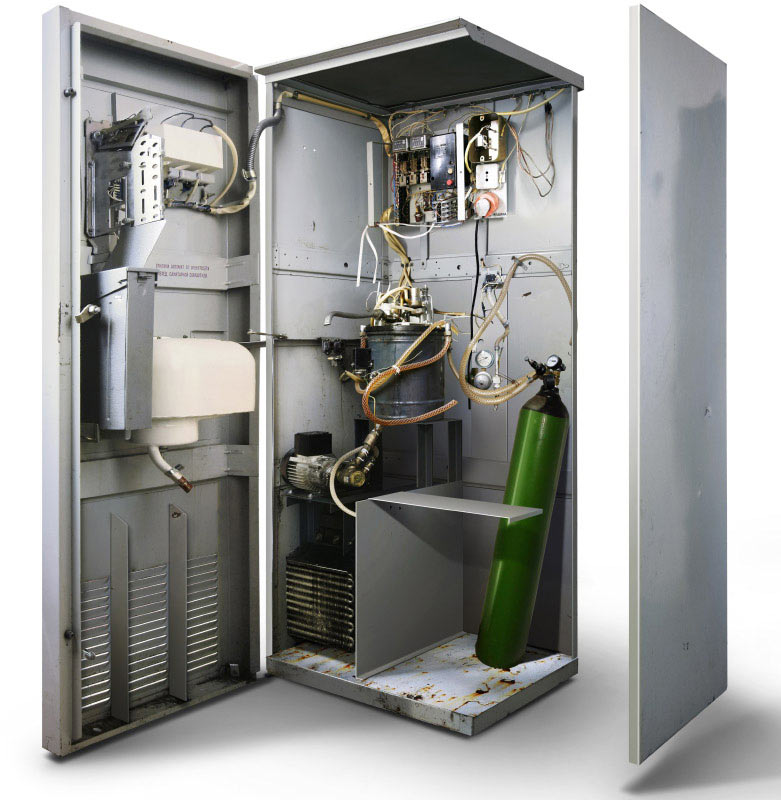
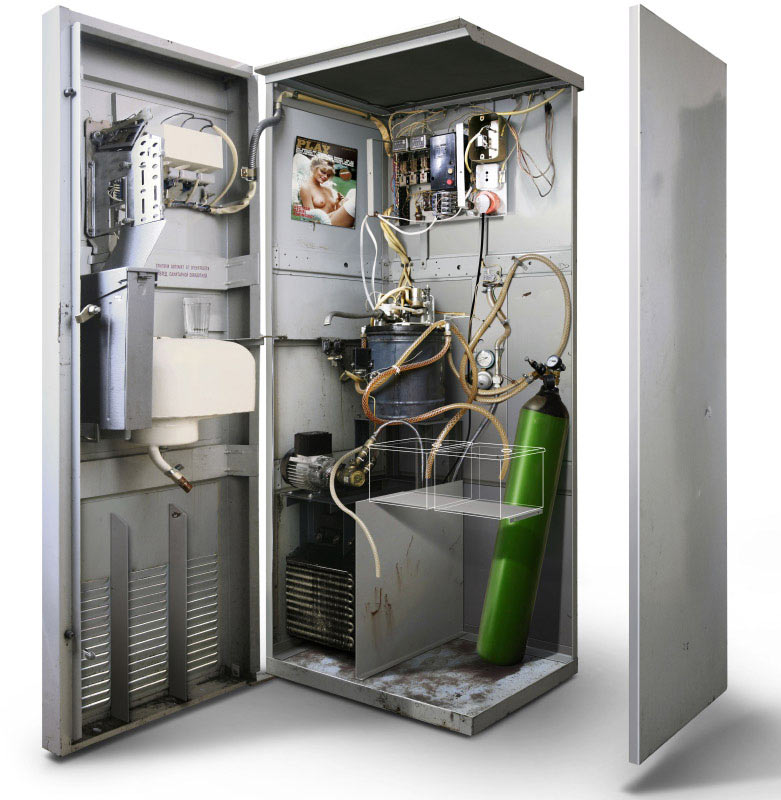
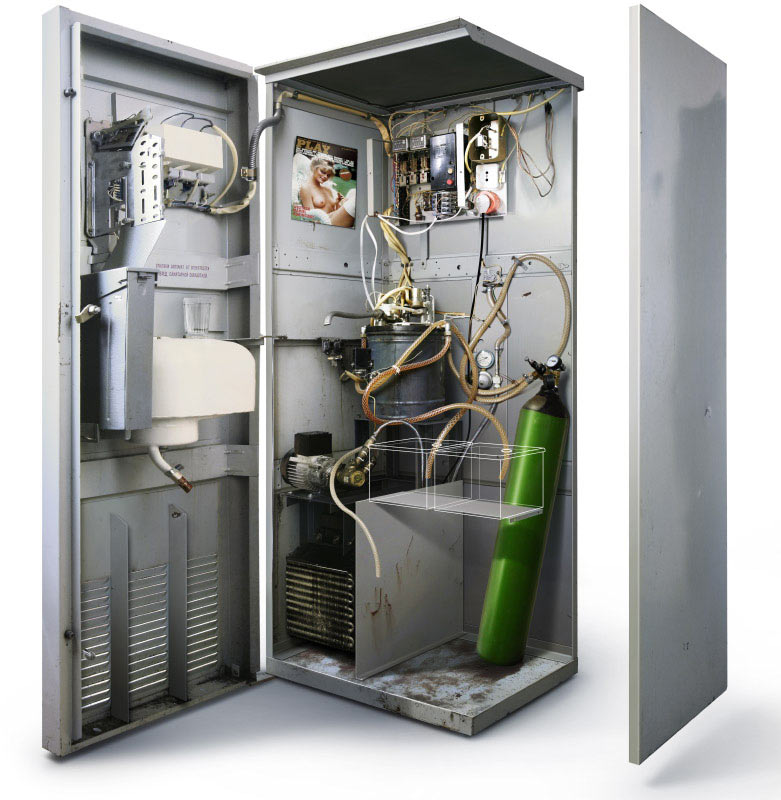
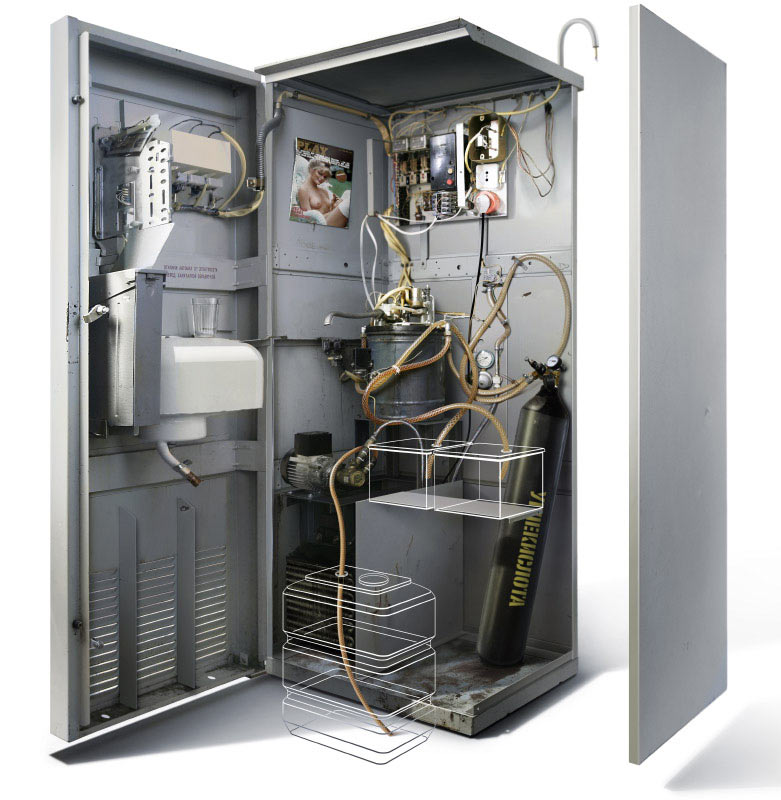
Additional volume
Finally, we perform additional manipulations that will help the viewer easily perceive the volume of the machine.
 |
 |
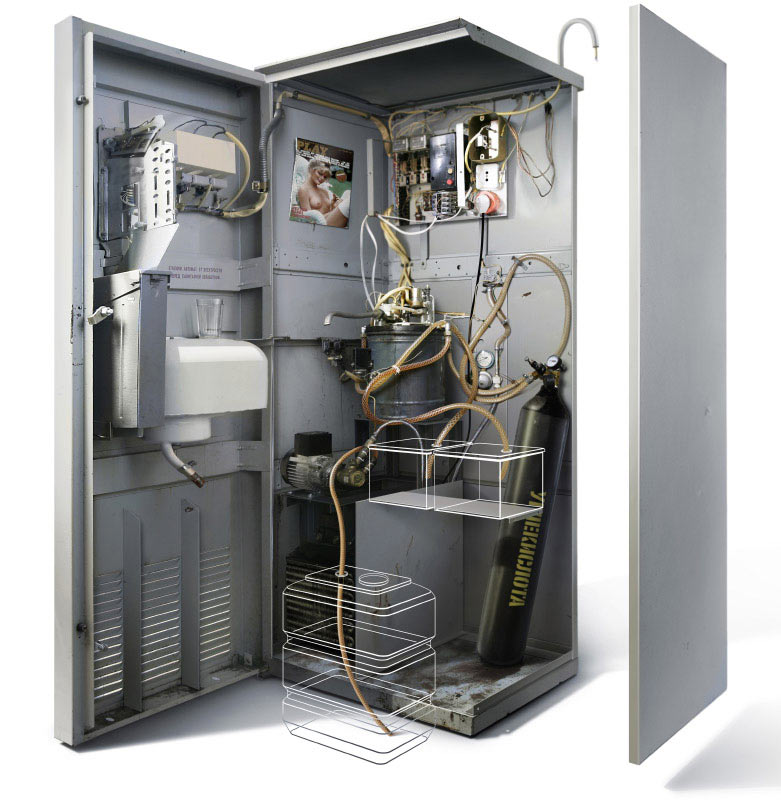
Moving the further areas slightly out of focus |
Increasing contrast of the objects closest to the viewer |
 |
 |
Adding floor reflections on the cabinet |
Decreasing contrast in the shadows |
Before and after the changes
 |
 |
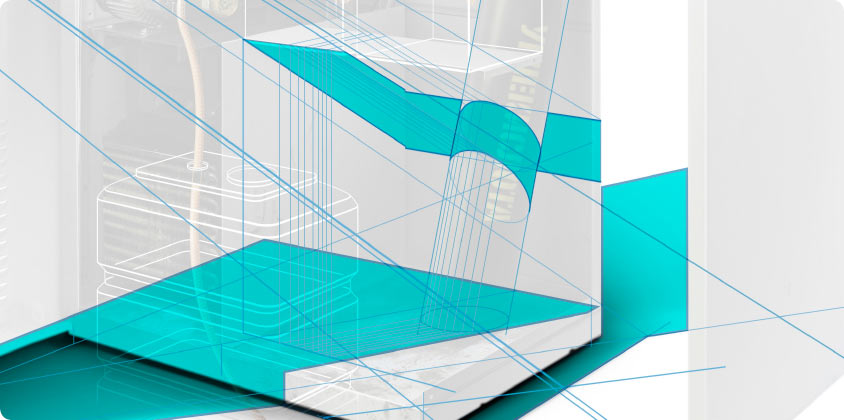
Blowing up the exploded diagram
To illustrate the principle of operation, the picture is cut down in pieces.

Animation
Together with a technologist we create and fine-tune the rotation animation which will be placed on the main page of the new section.
Main stages of the process:


History page
Here we collect and illustrate interesting historic facts about the machines.