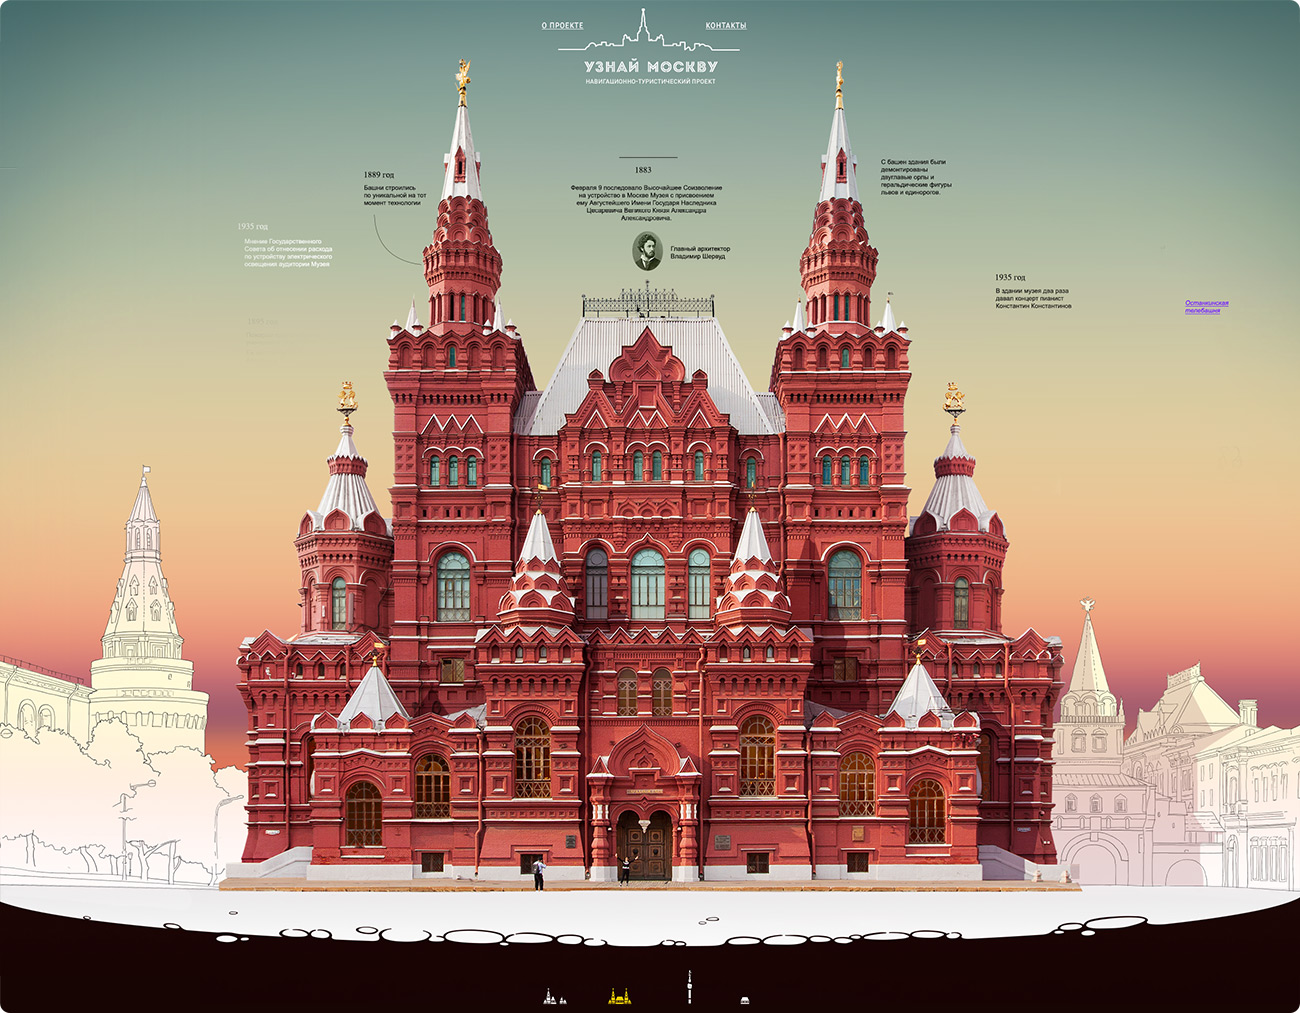
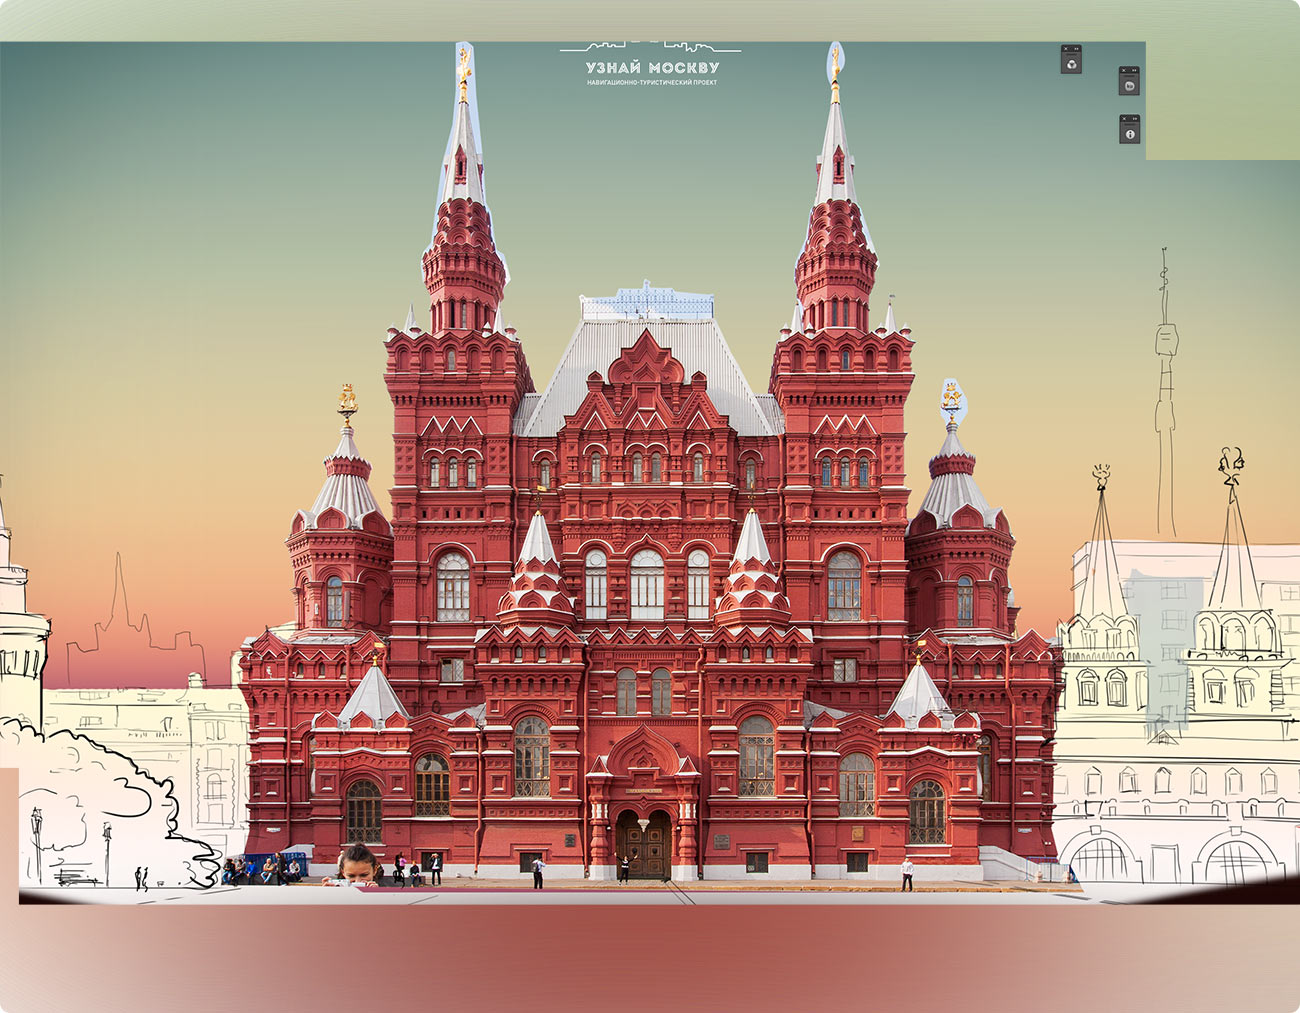
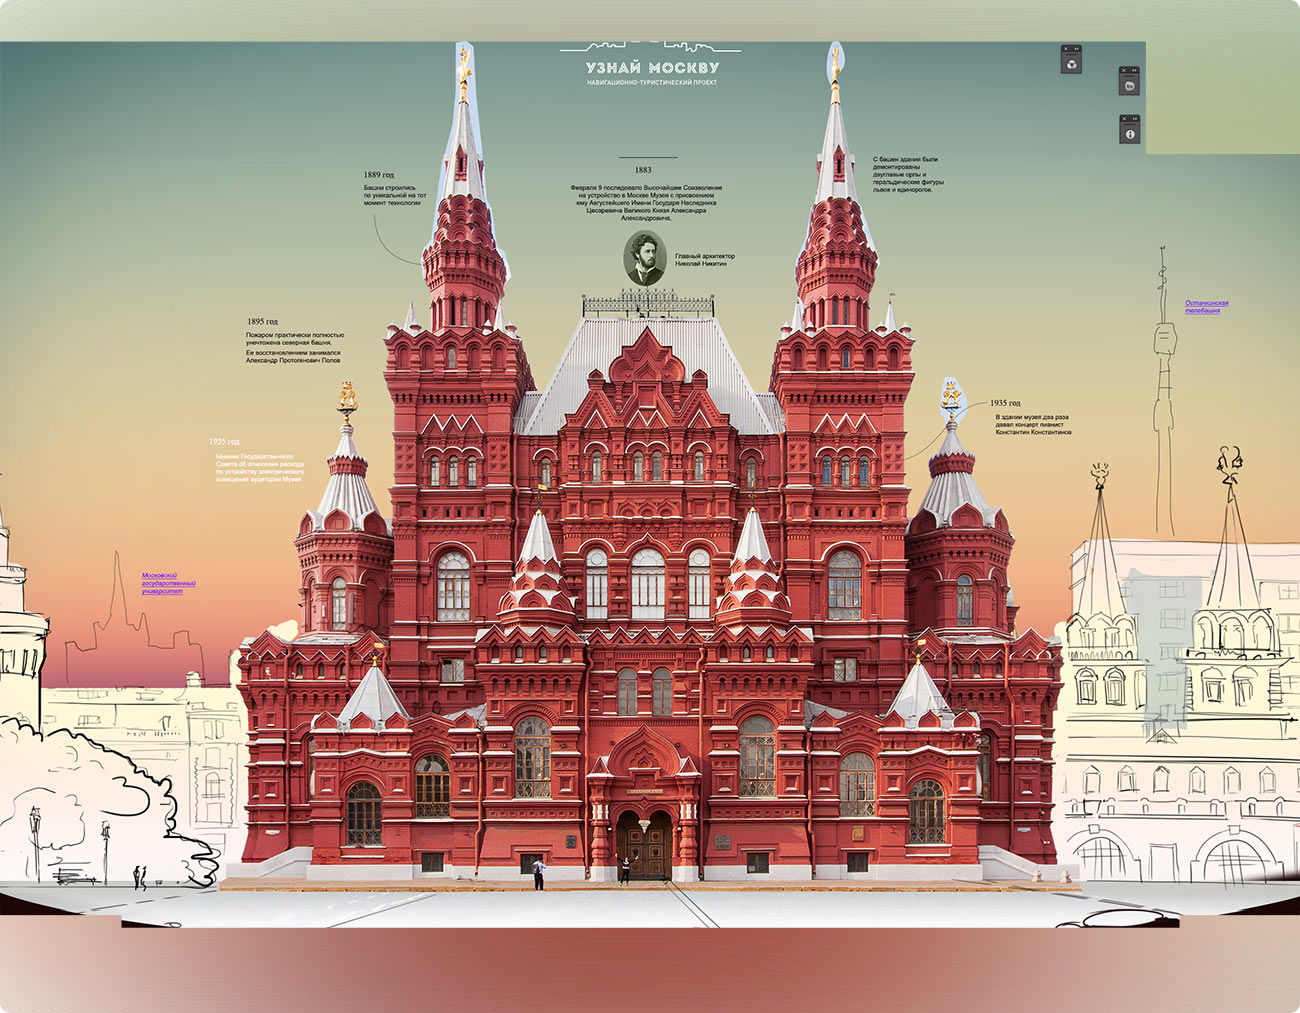
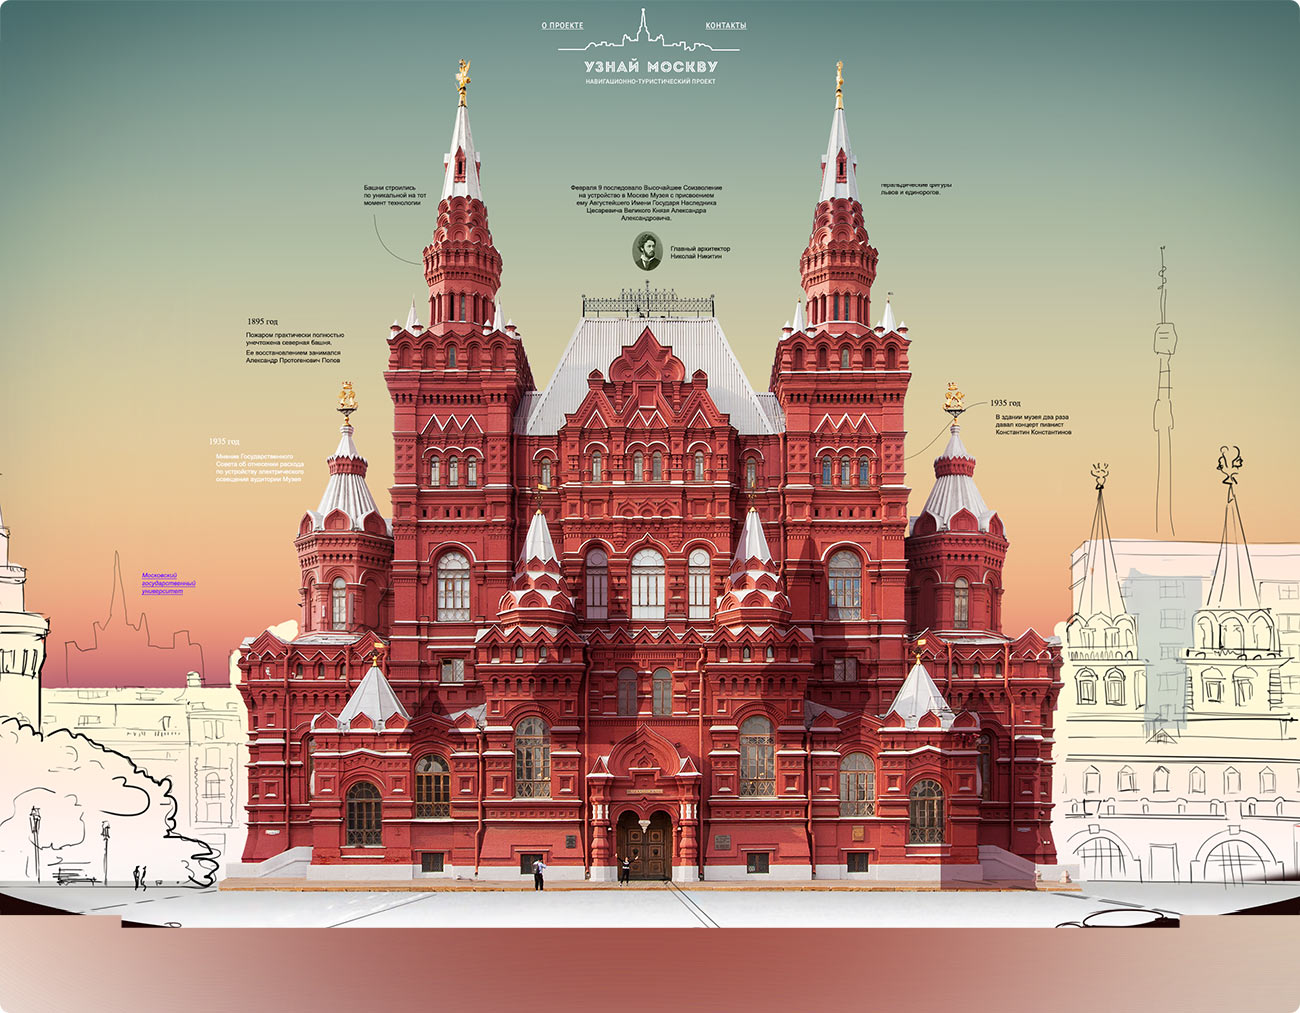
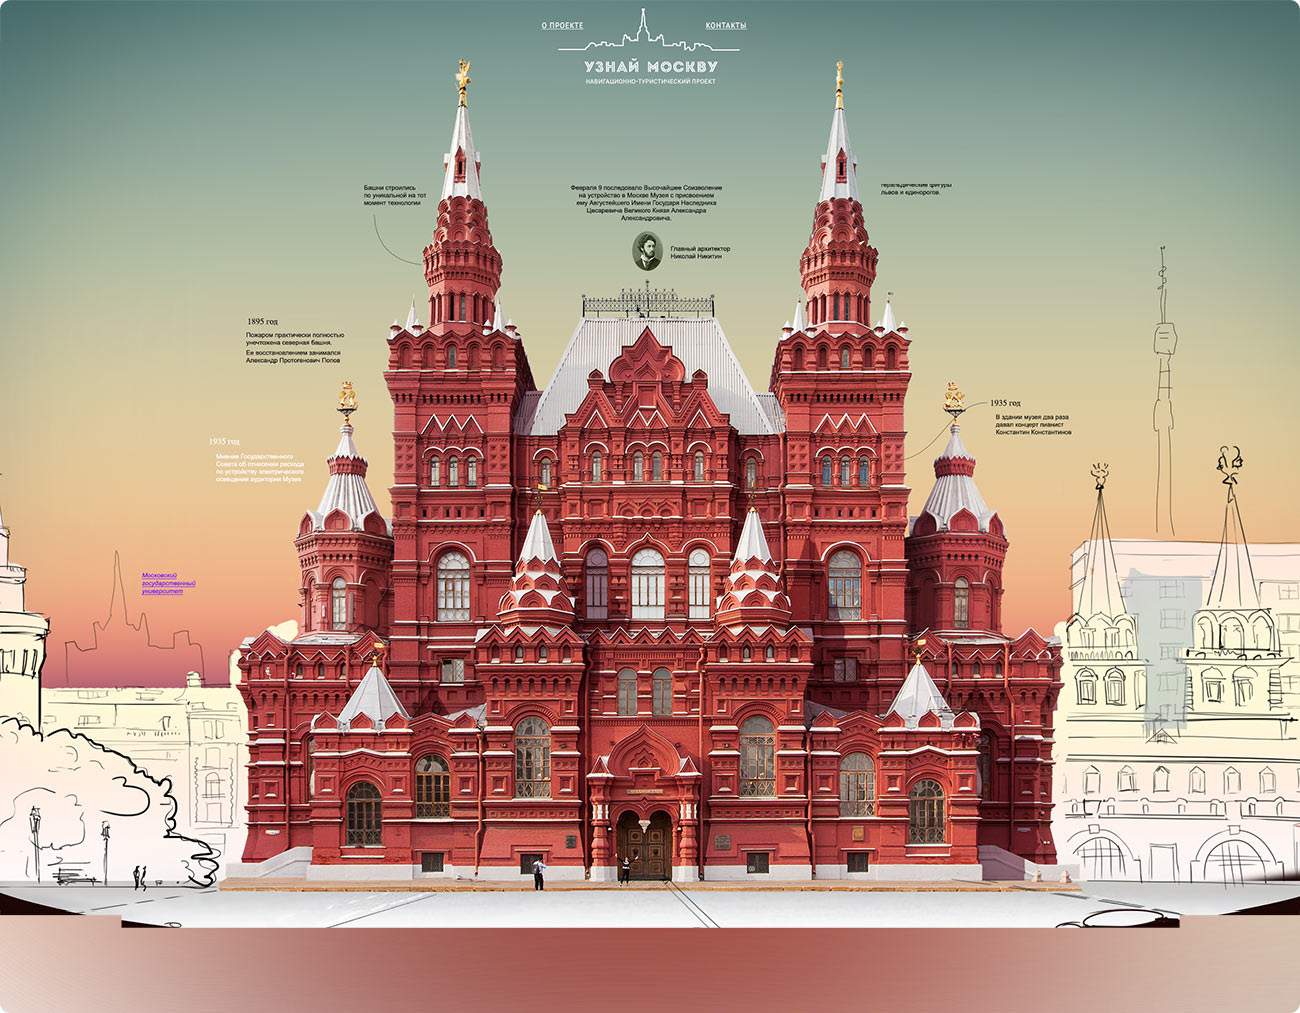
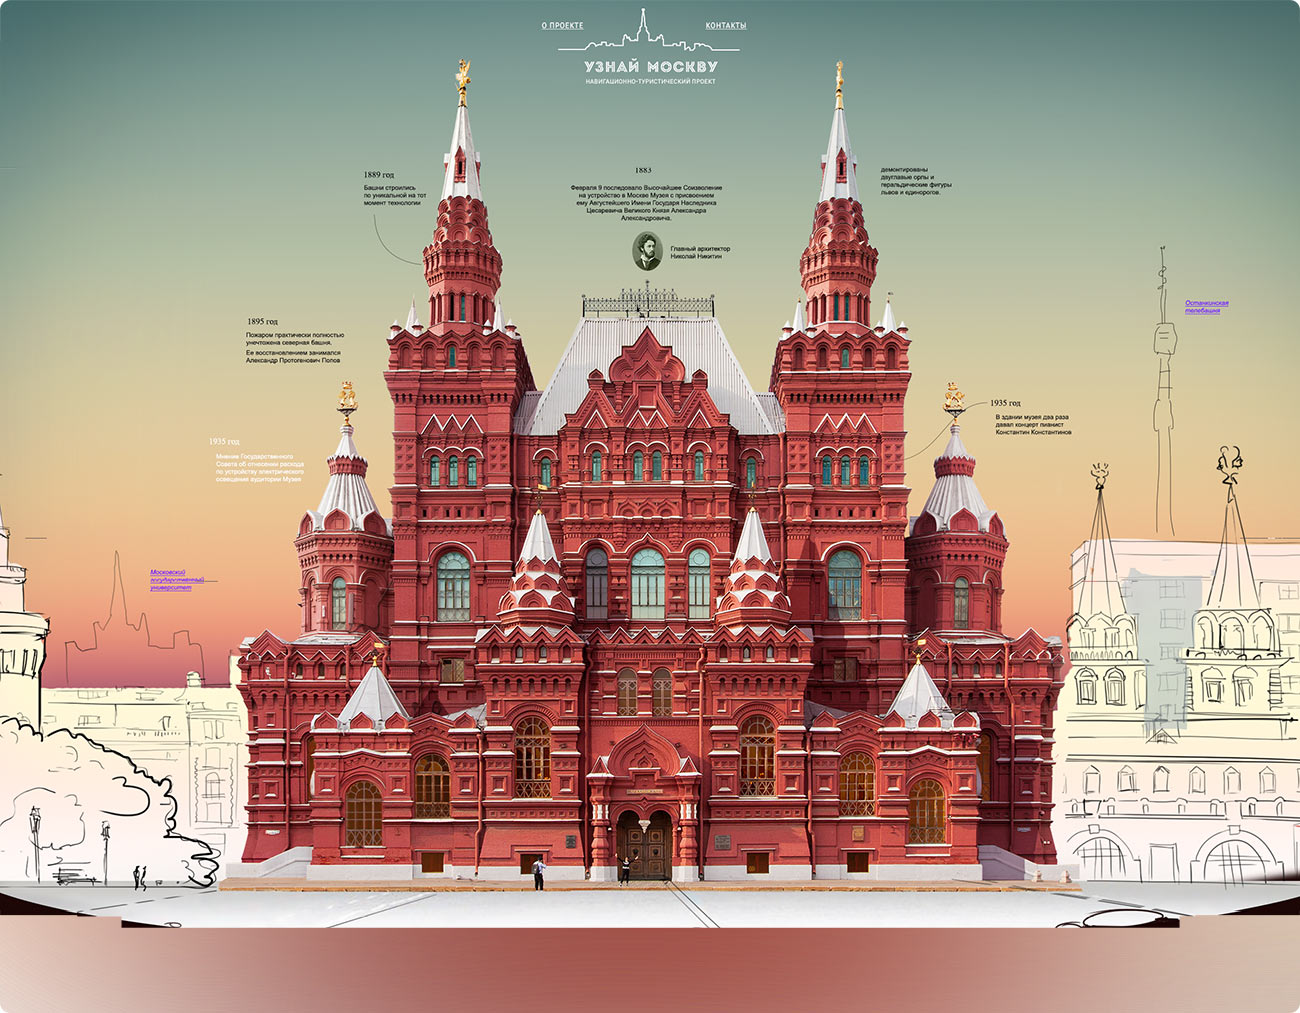
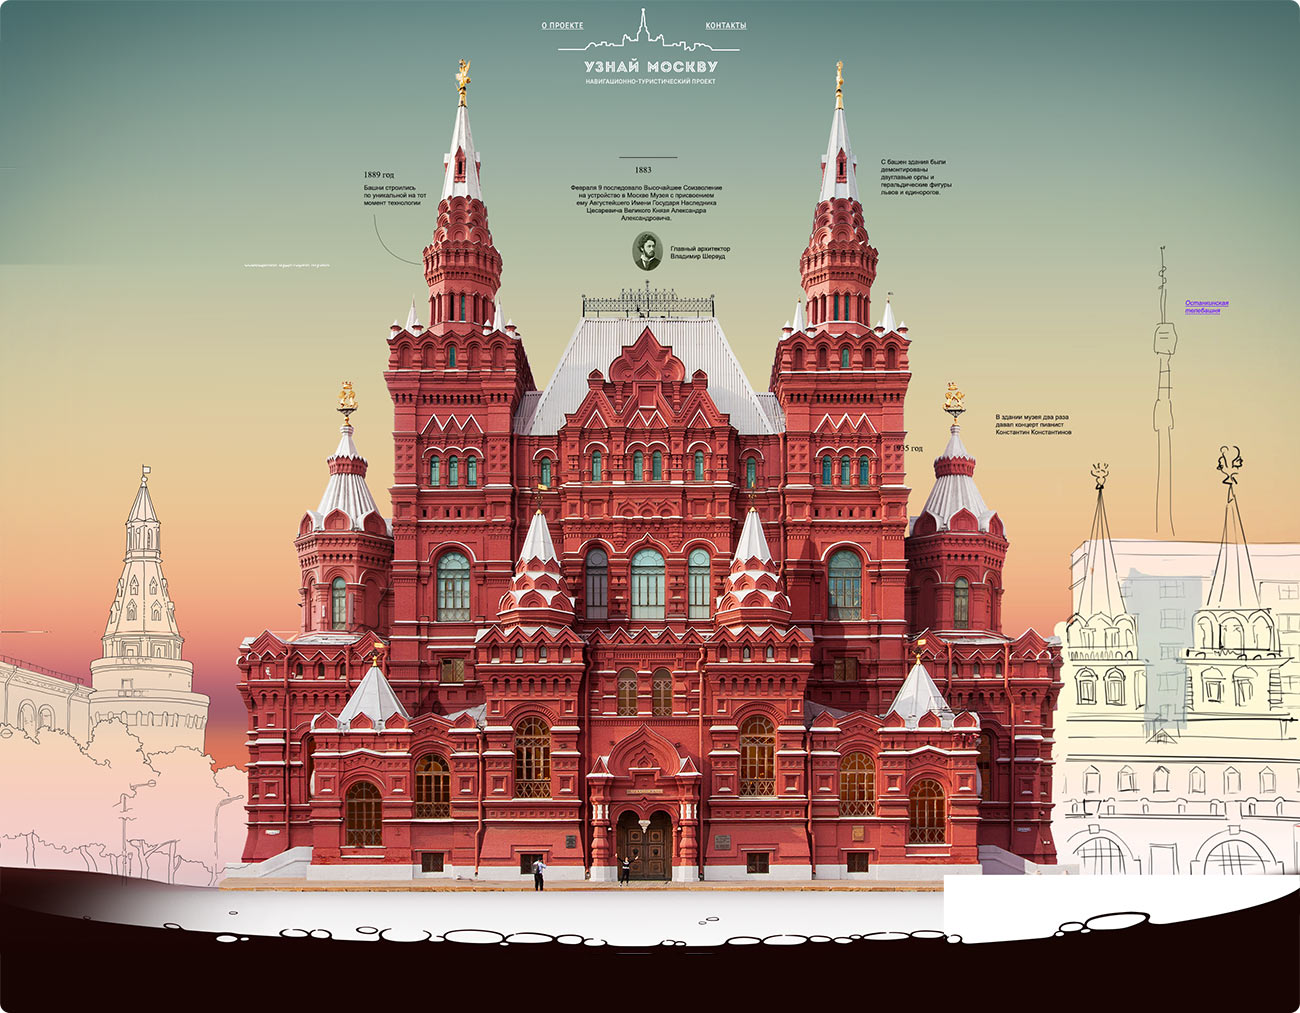
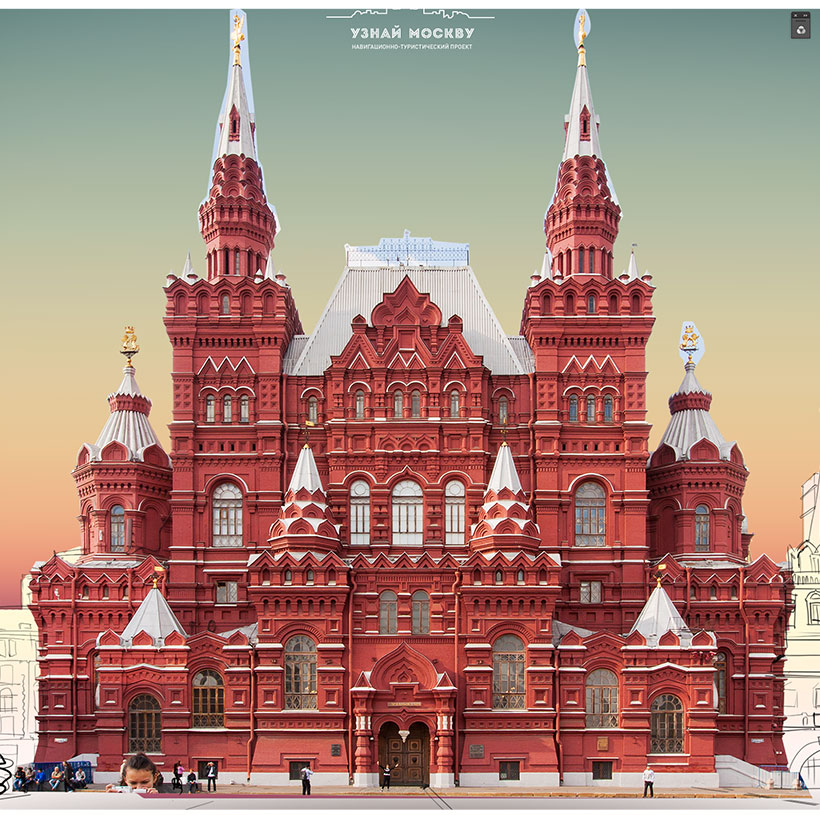
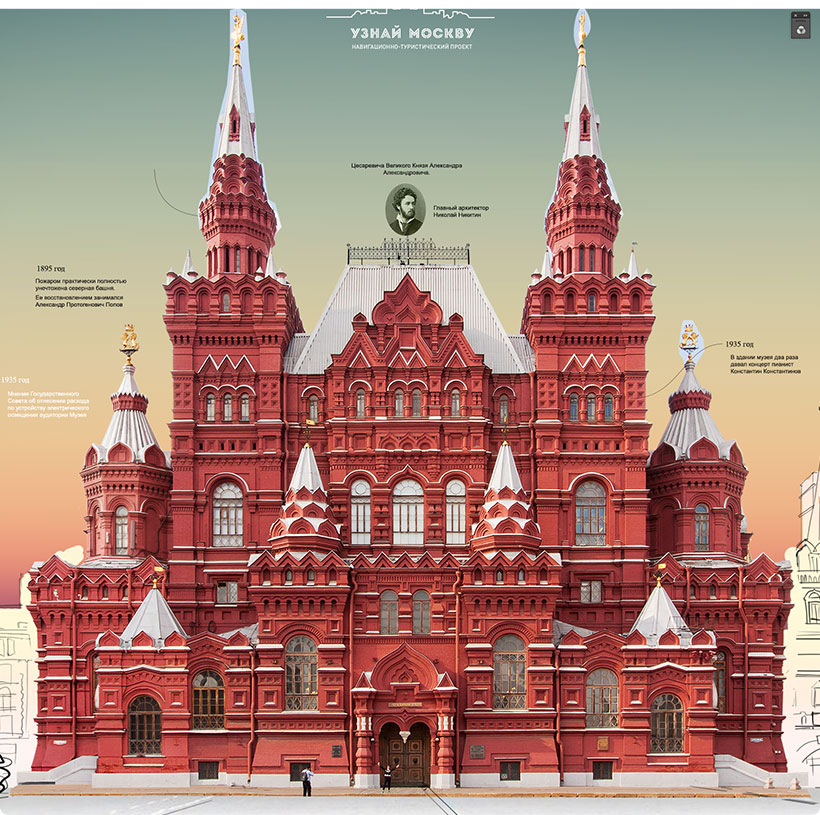
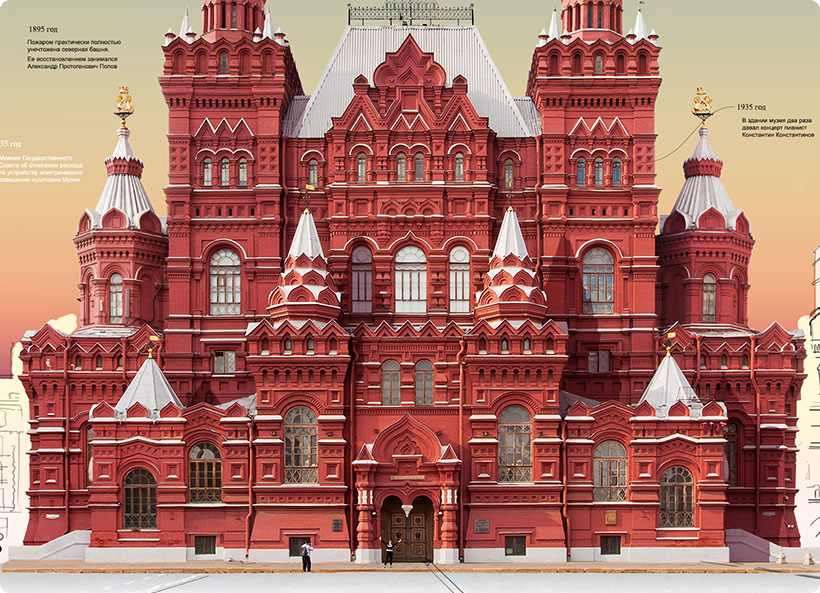
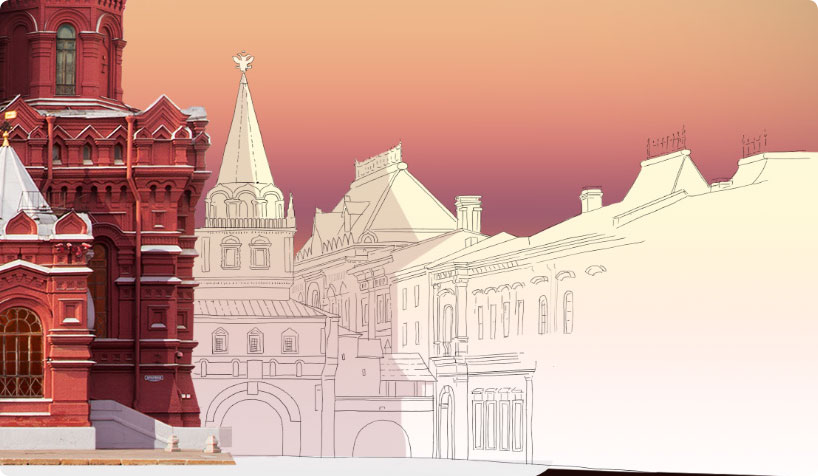
One time we had to draw a promo page featuring the State Historical Museum for the Explore Moscow website.
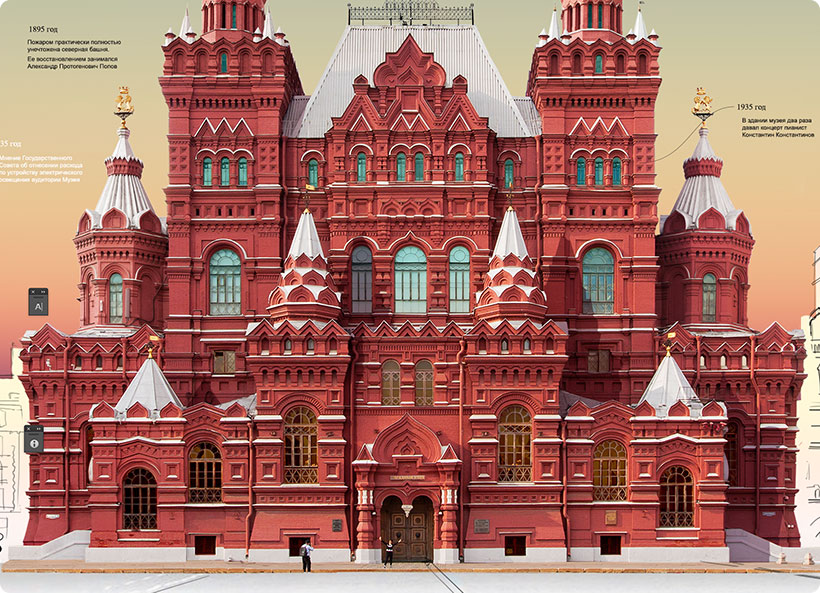
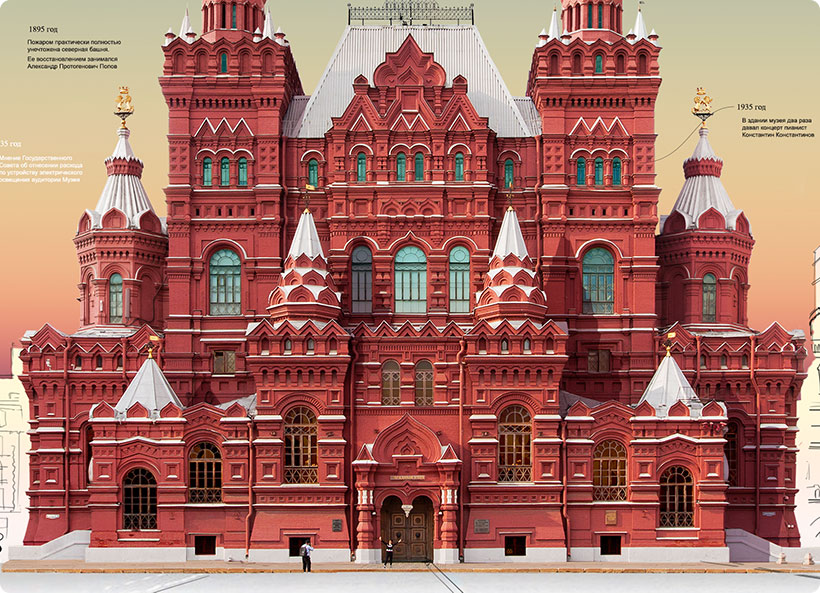
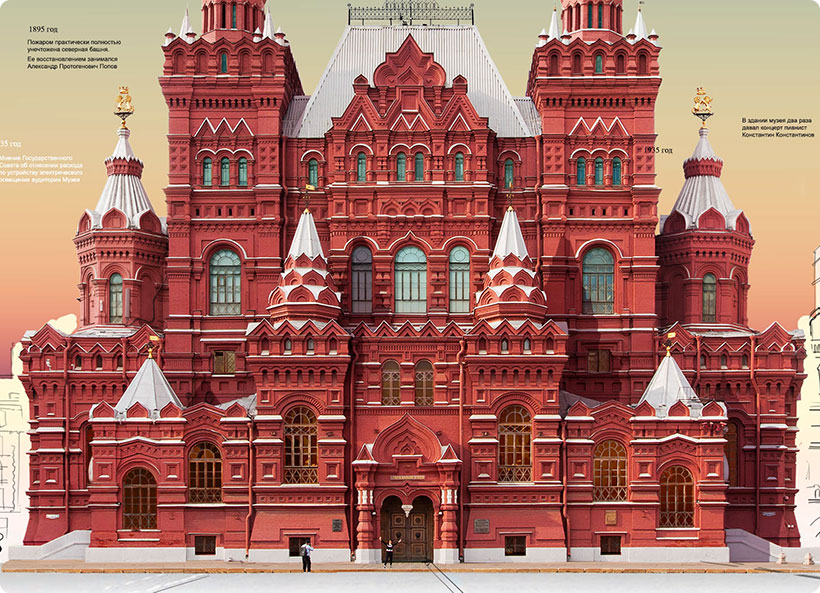
The concept is based on demonstrating to users all the events that happened with a building throughout its existence as if they all happened at the same time.
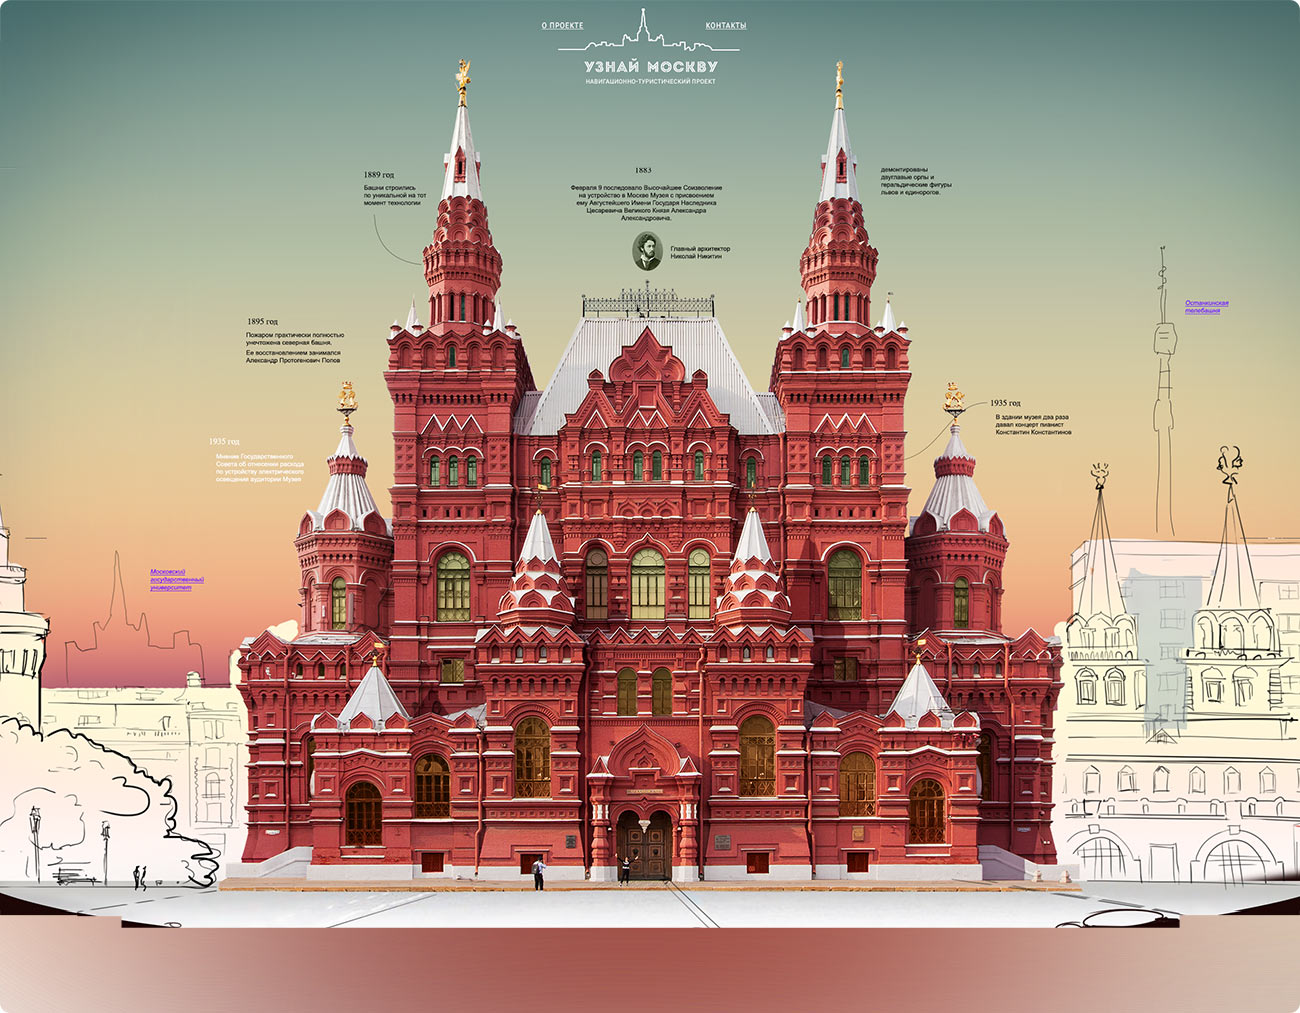
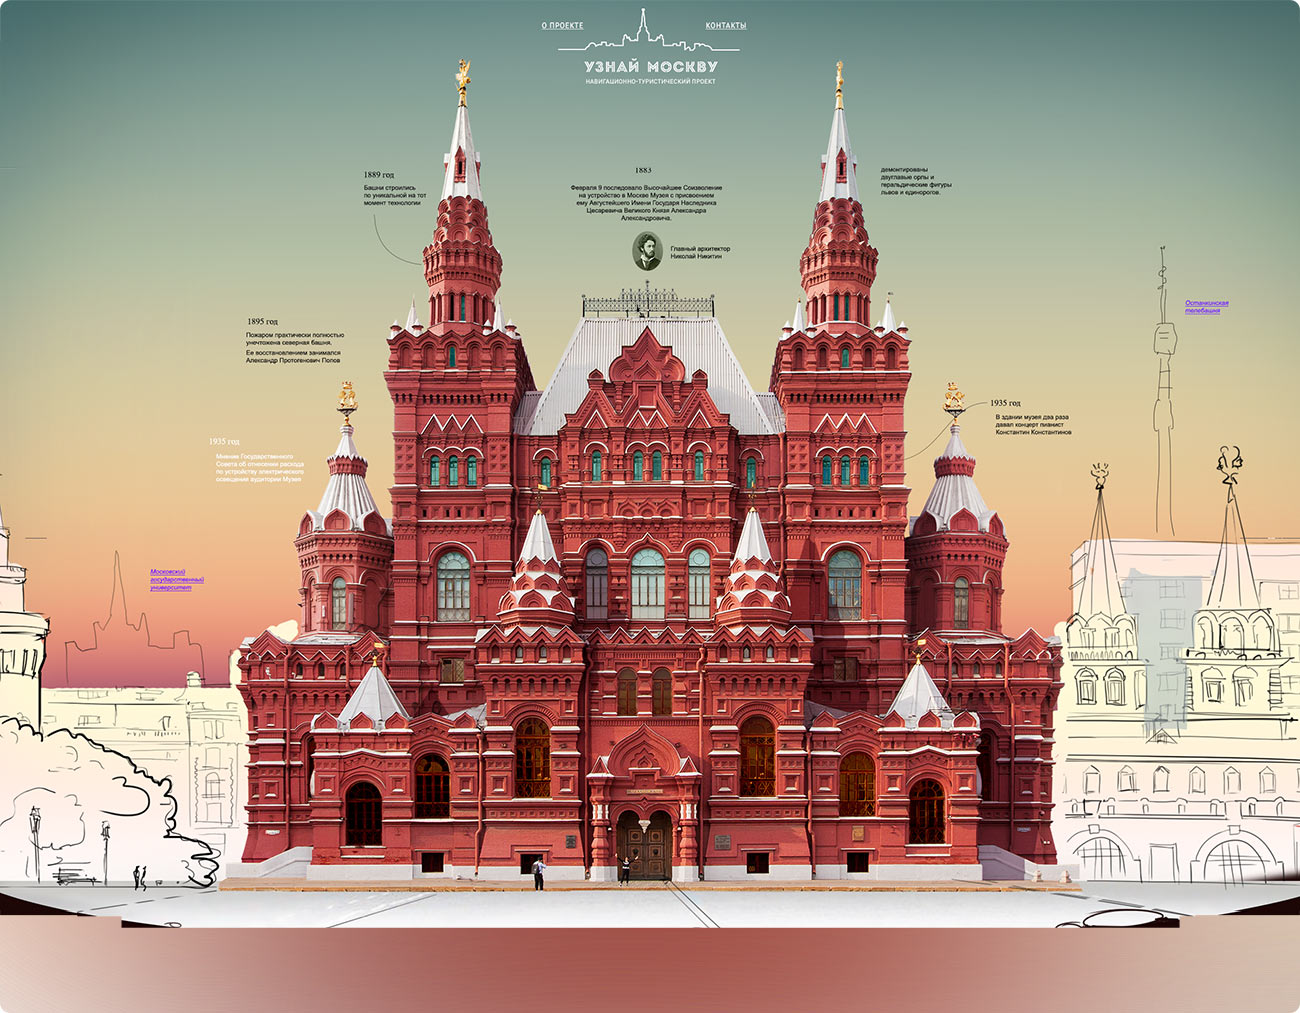
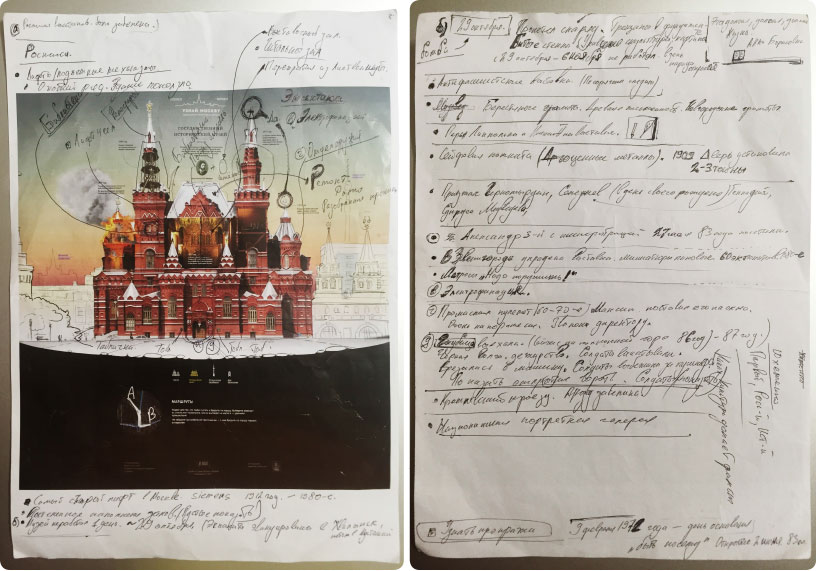
For this we have chosen three architectural objects. Unlike the Soda machine story, they are not being drawn simultaneously but rather one after another as even with one building the website still retains its idea and purpose. First, we draw the sketch of the page and get it approved.
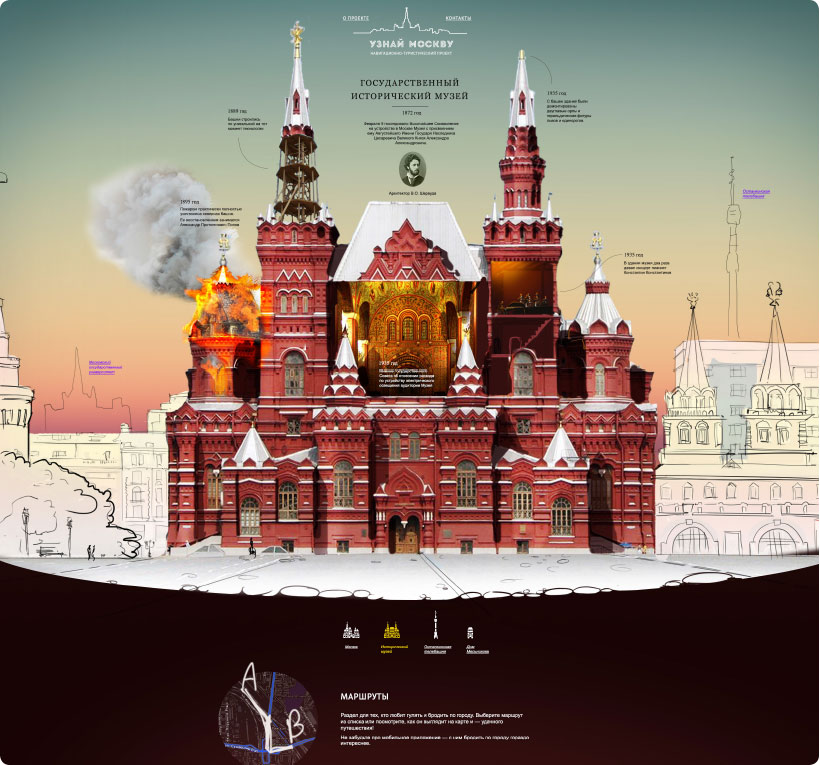
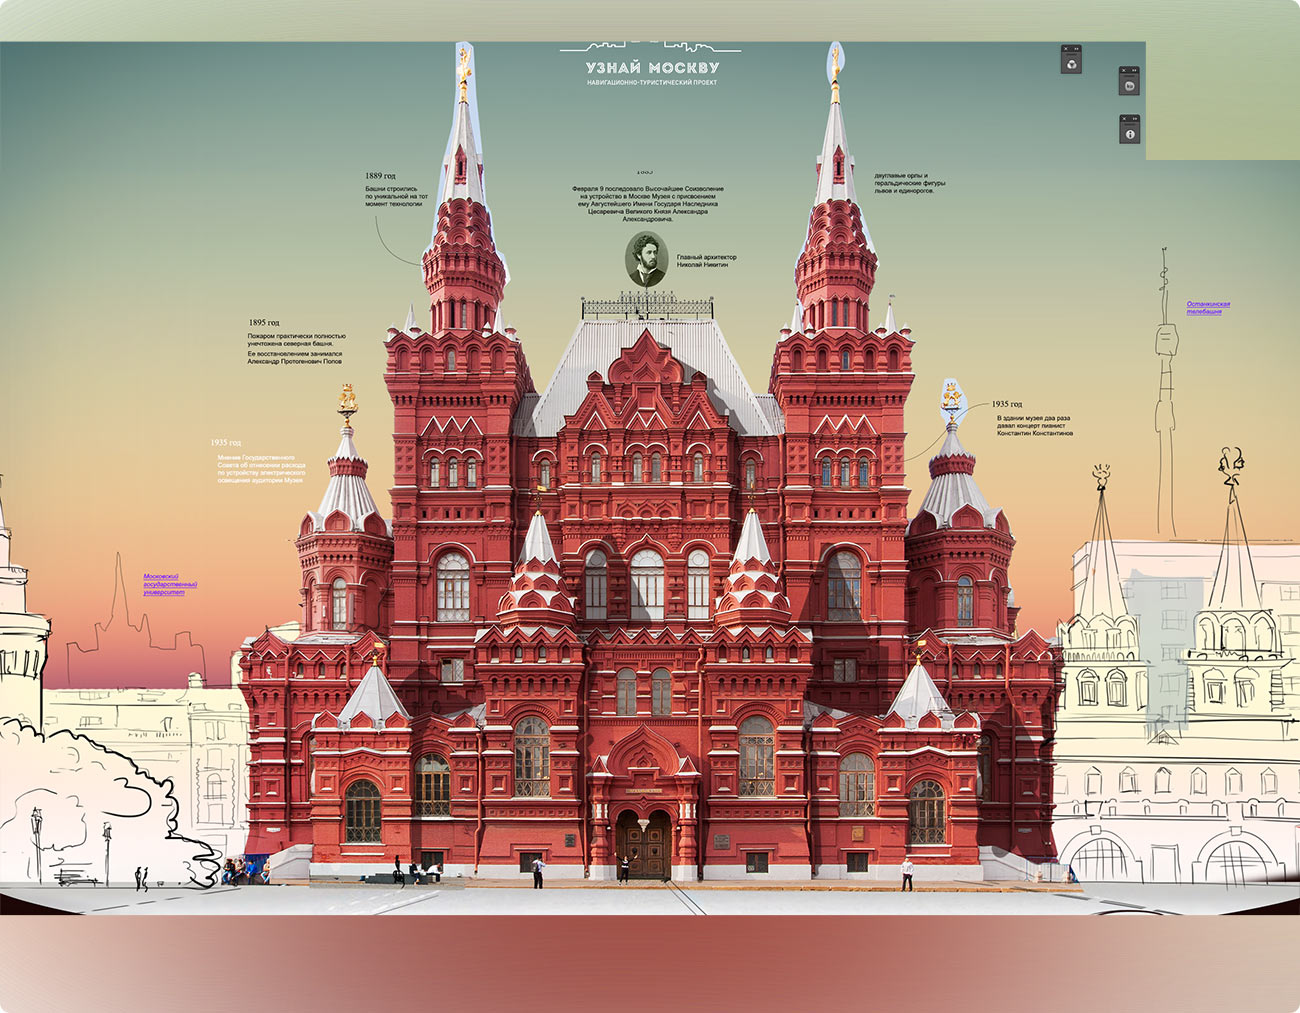
Events
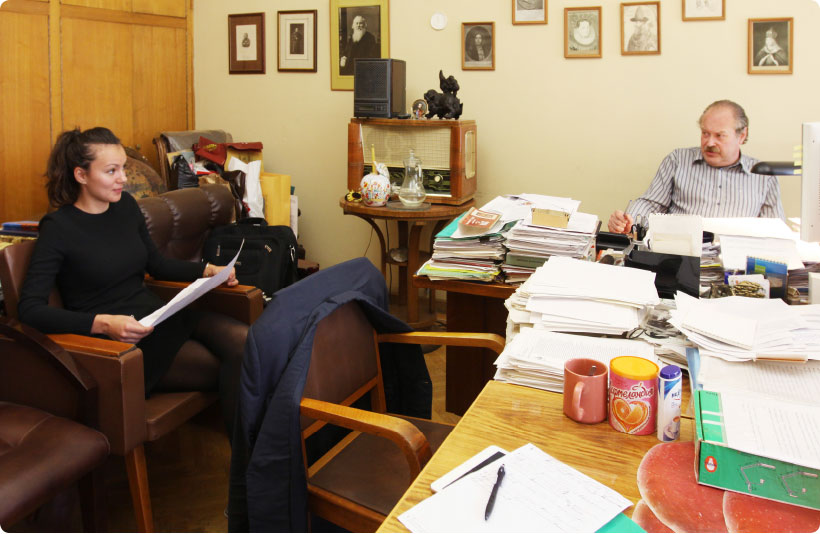
Time to get acquainted with the history of the museum. In order to avoid using the well-known facts we decide to refer to an expert source and meet with the deputy director of the museum.
All the interesting facts are immediately added to the sketch.
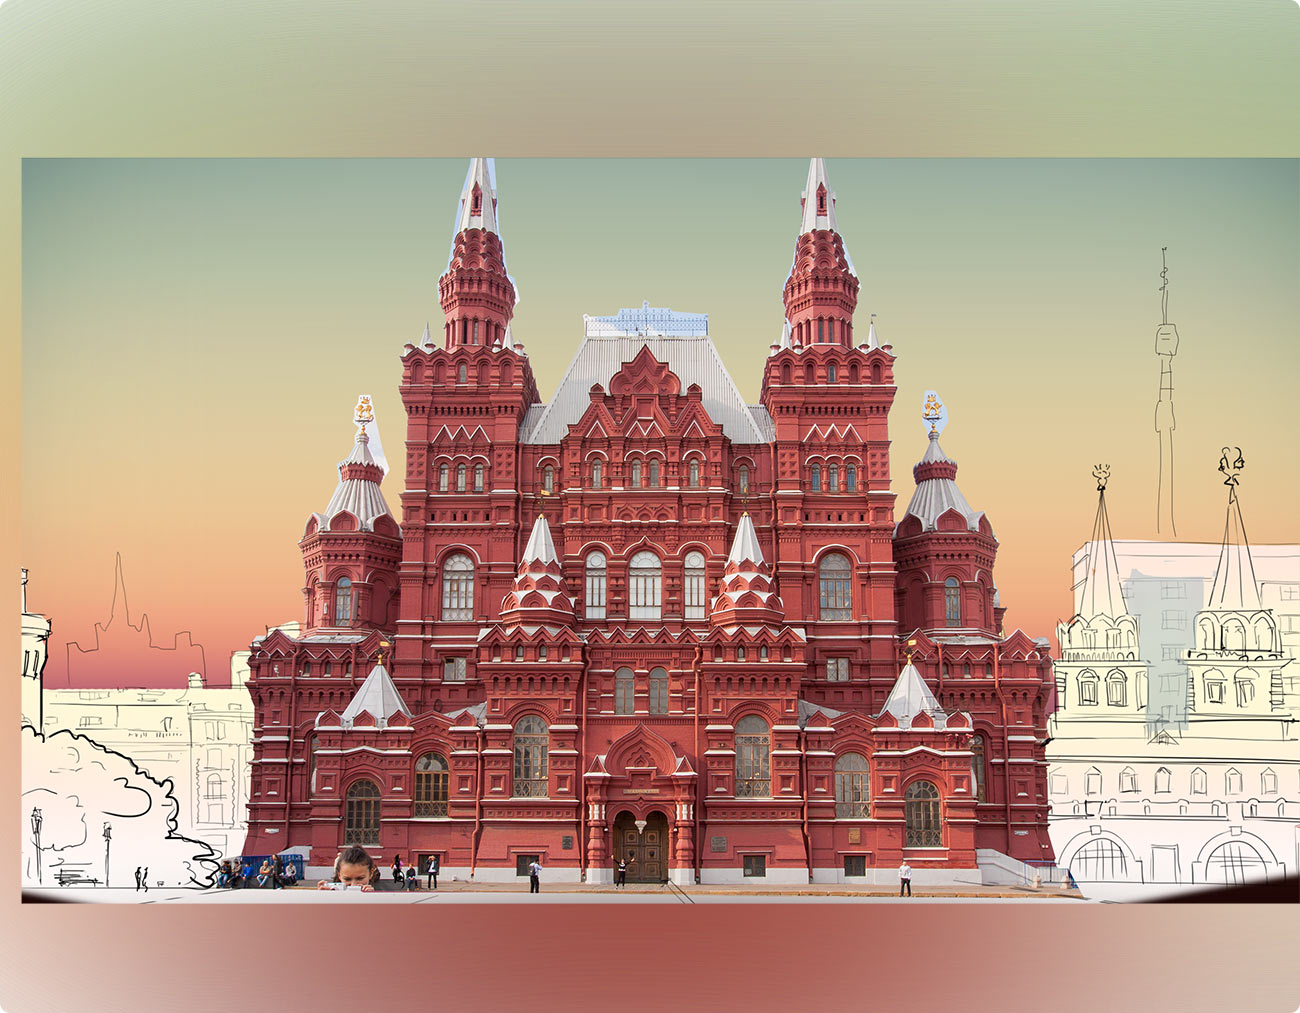
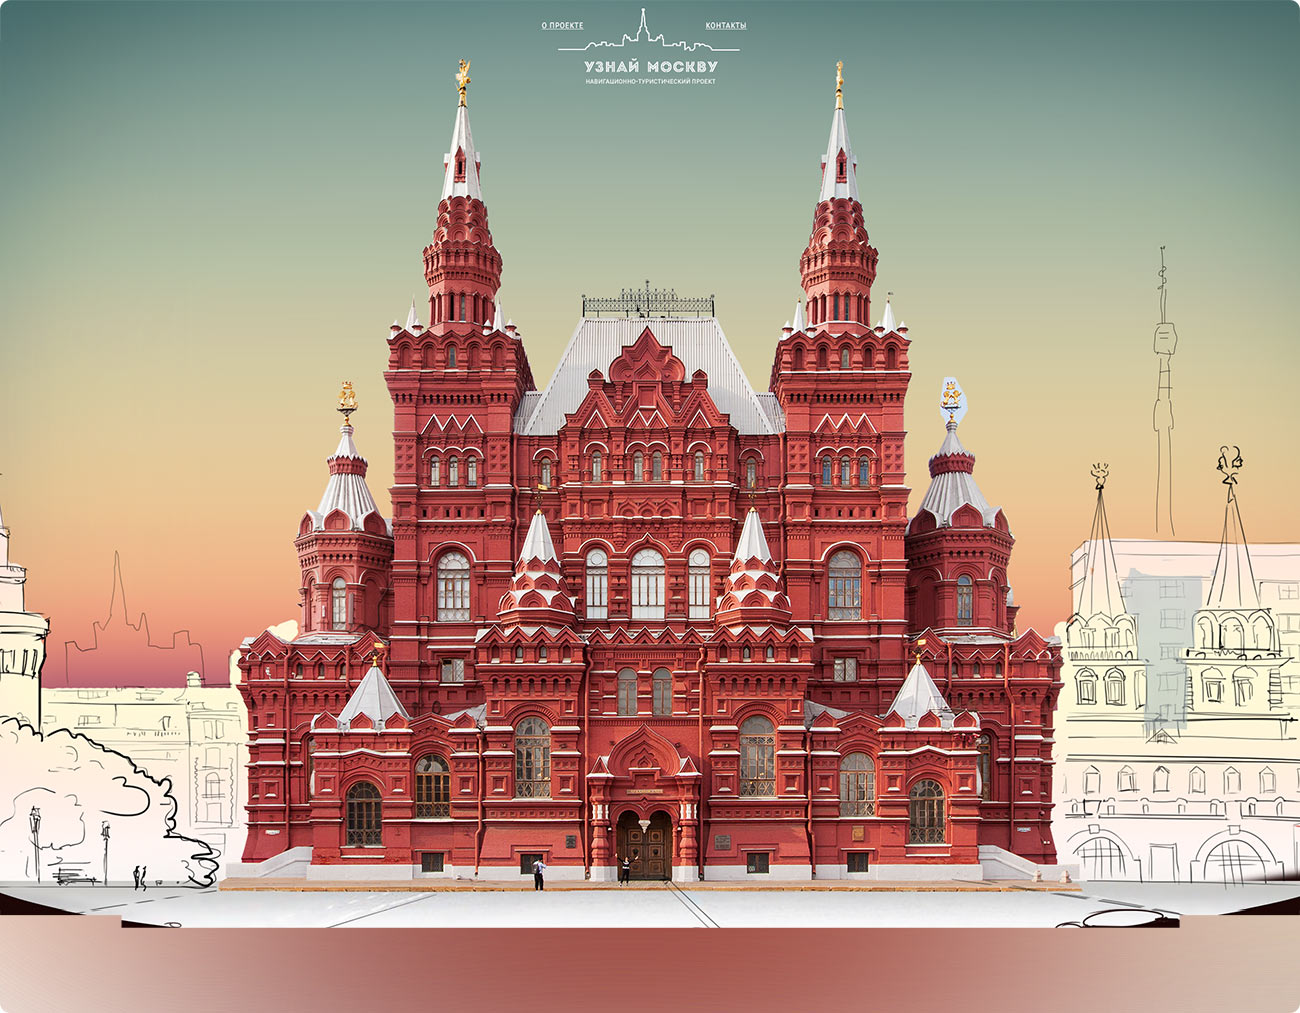
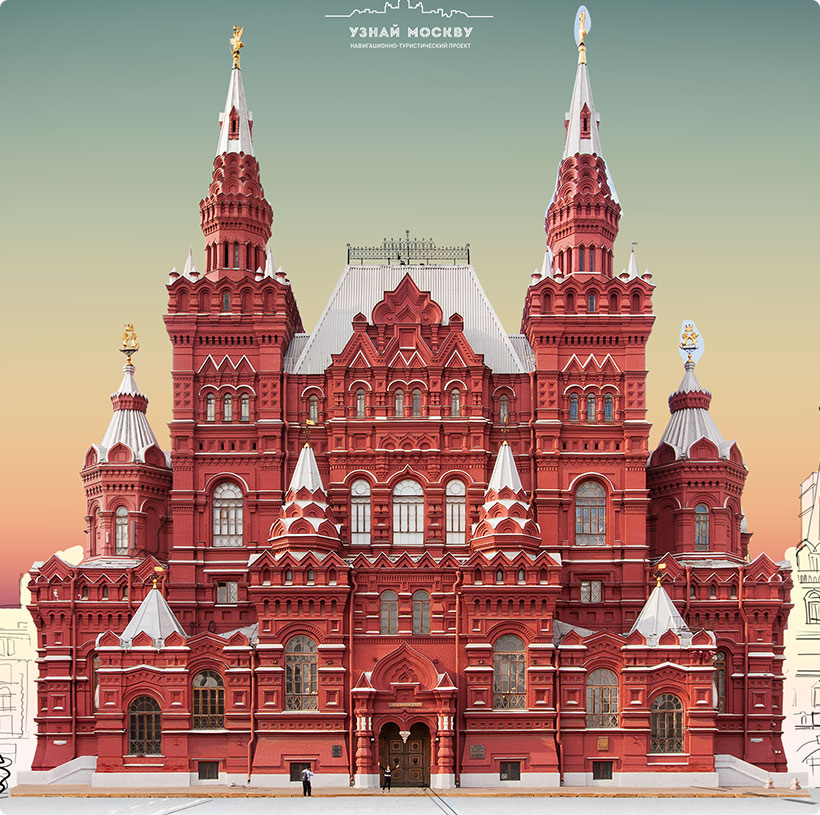
Façade
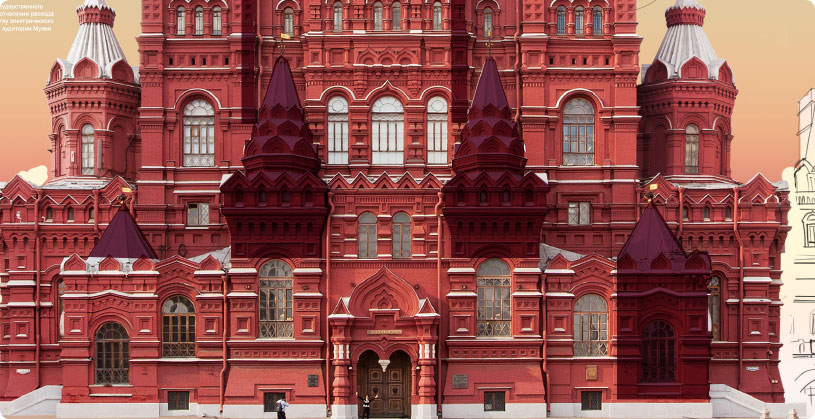
We start by preparing a clean façade without any events. The majority of events we will use are related to the side of the building facing the Red Square, so that’s the one we will use. Holding a photo shoot with strict requirements: there must be no rough shadows which should allow us to later work with volume as we see fit. The ideal time for this is around 2 pm in overcast weather: this is the time shadows align left to right, have proper length, size and position.
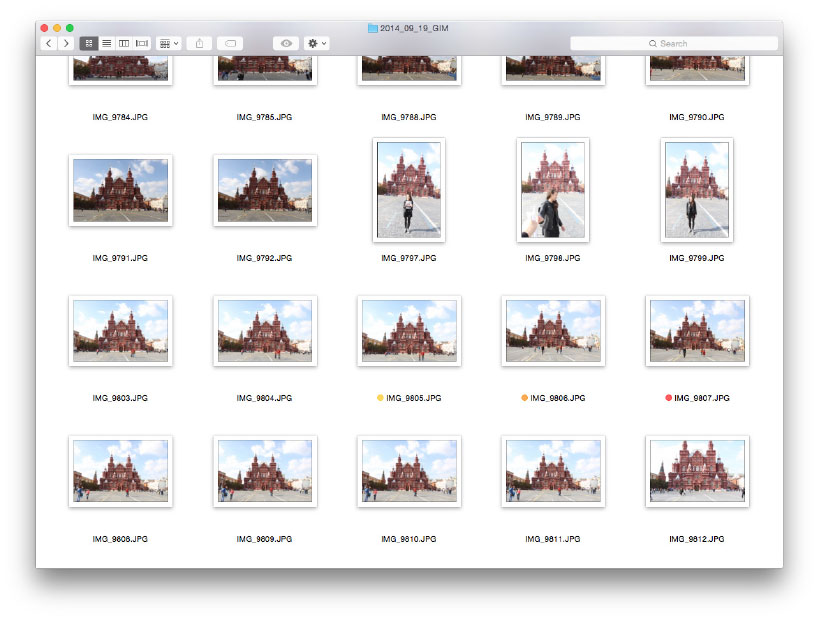
Making photos of details we will need later.

Cutting out the building, correcting vertical distortion, adjusting color and contrast and adding the façade to our sketch. While clipping the building we realize that not all of the details we need turned out to be in focus. They don’t have to be selected carefully as they will soon be replaced.
Cleaning up
The image has lots of elements that need to be removed.


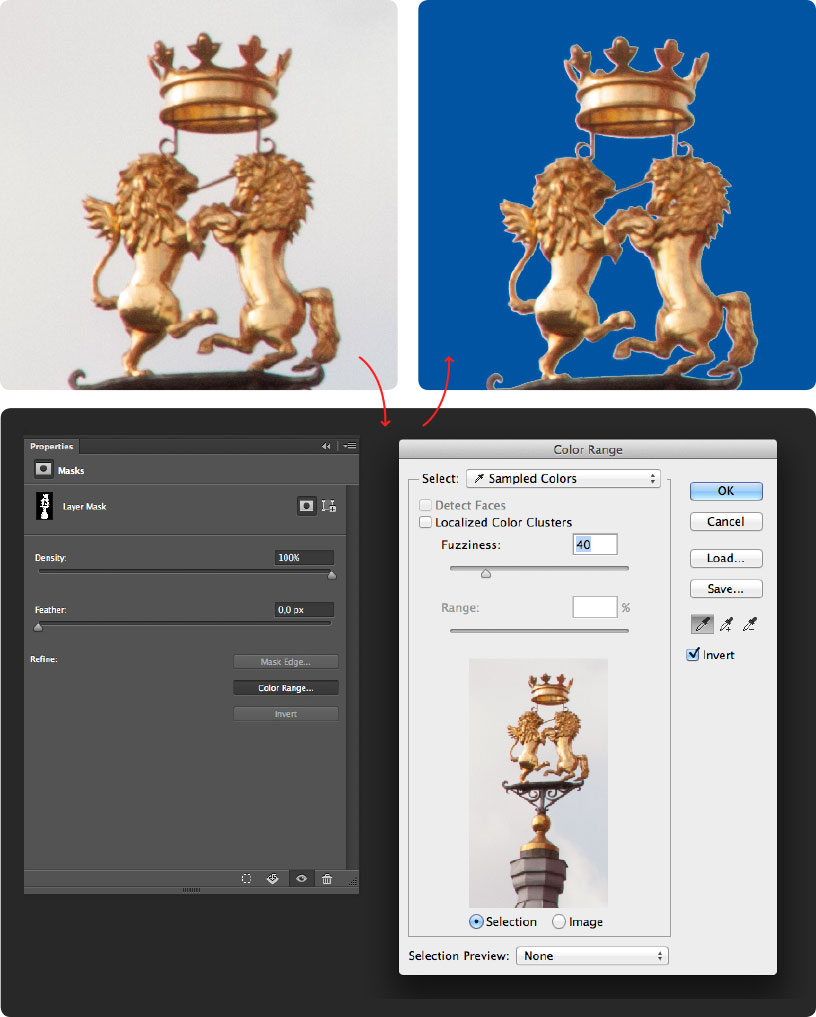
Details
Many elements are added separately. The best way to clip most of them is by using the Color Range tool in Mask Properties. This way you have many controls you can use to achieve the best result.
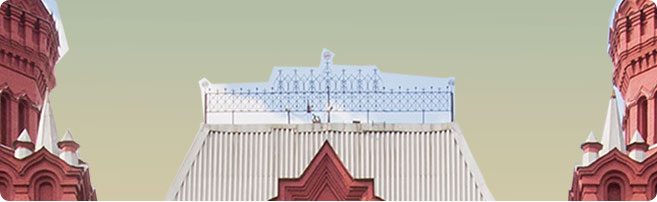
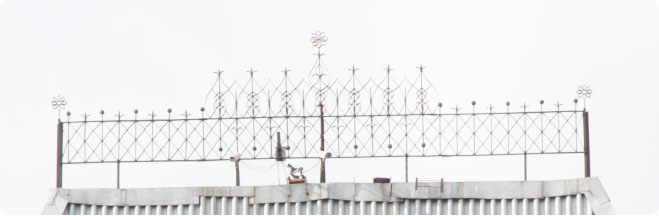
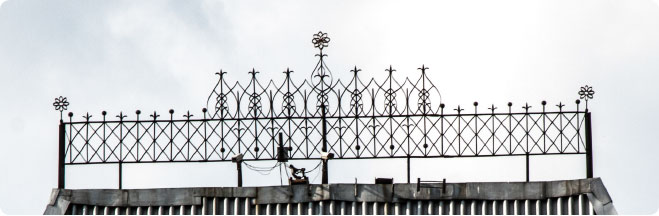
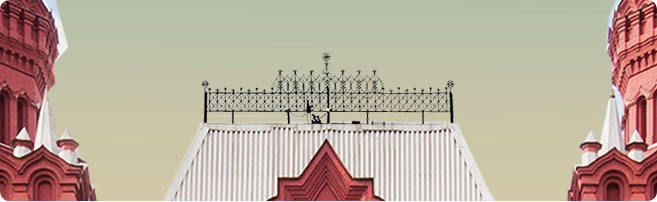
Replacing the forge work on the roof.
| |
|
Finding the source RAW file that has the forge work captured in most detail
|
|
Setting the parameters to achieve maximum separation of the railing and the sky. Creating selection using channels
|
|
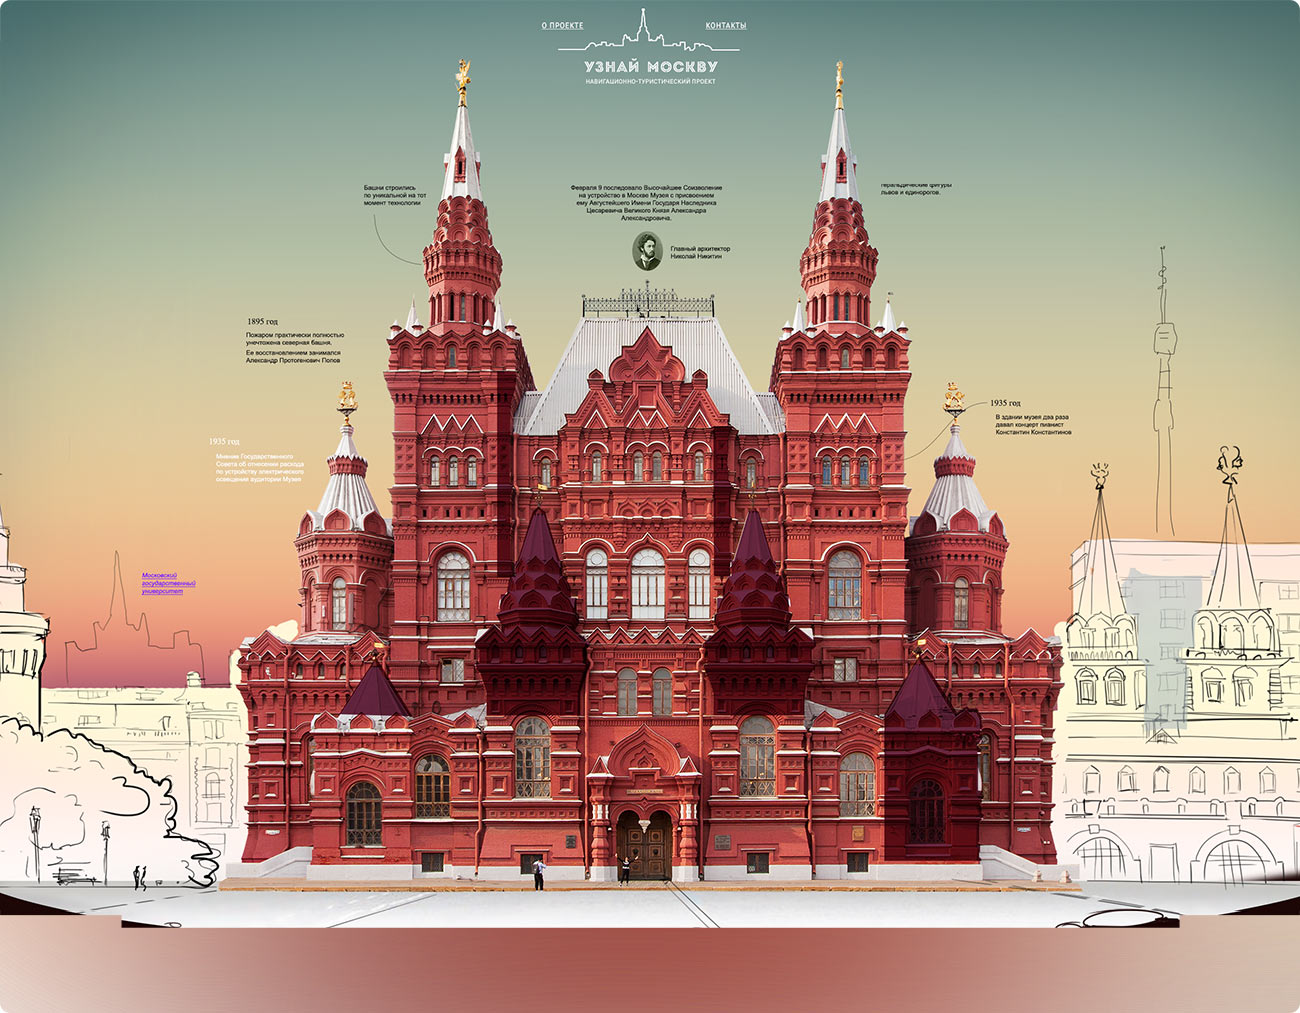
Towers
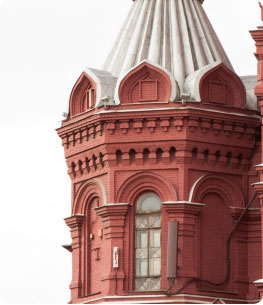
Deciding to replace all four towers with their sharper counterparts. First replacing the leftmost tower.
|
| 
|
Then the top left one.
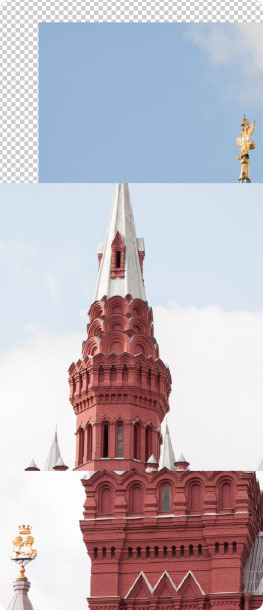
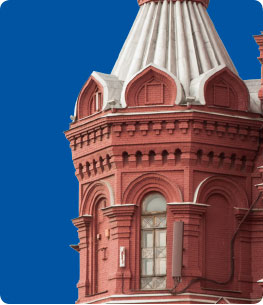
Choosing suitable fragments
| 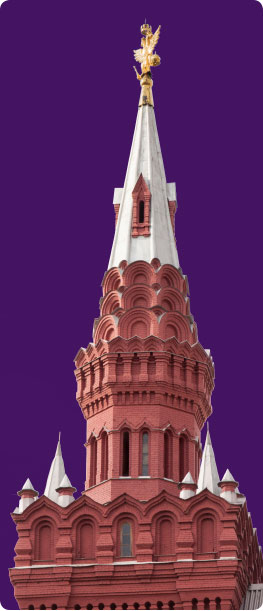
Parts are clipped and combined
| 
The tower is placed in a scene with preset lighting
|
The remaining two towers are subjected to the same manipulations.
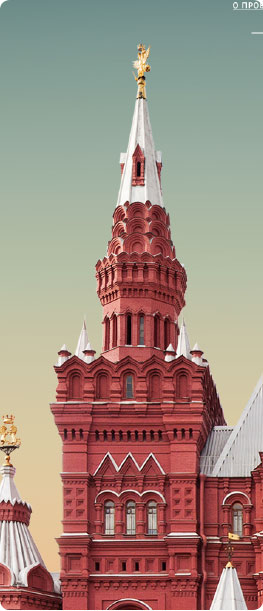
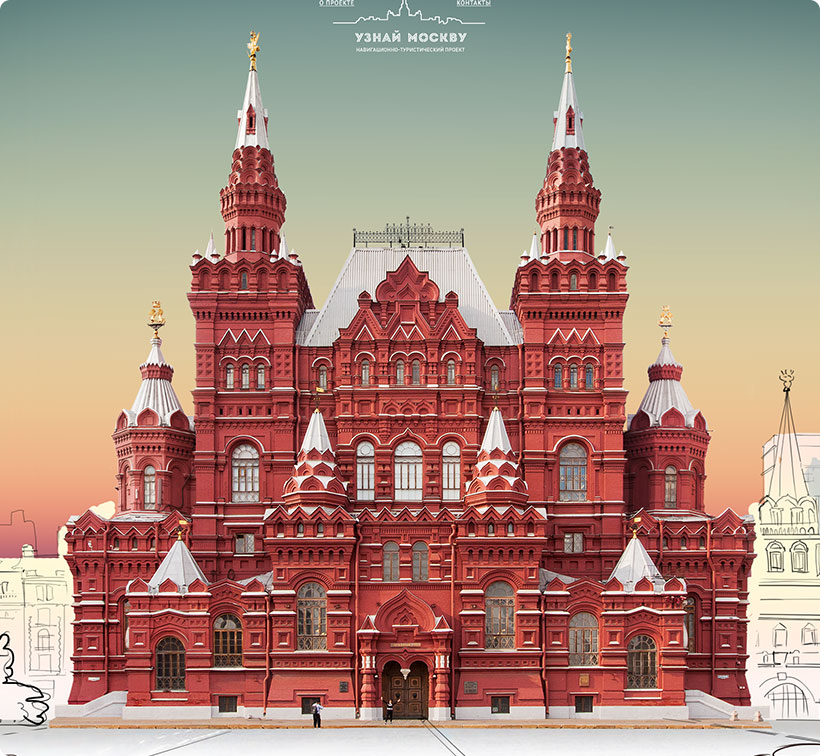
Shadows and colors
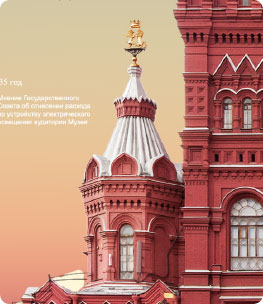
In order to visually move the front of the façade closer to the viewer, we add drop shadows of the towers.
The color of the shadows matches the color of the brick with a bit of blue added in. The illuminated parts are made slightly warmer.
The shadows are applied considering the relief of the surface. The façade with and without shadows:
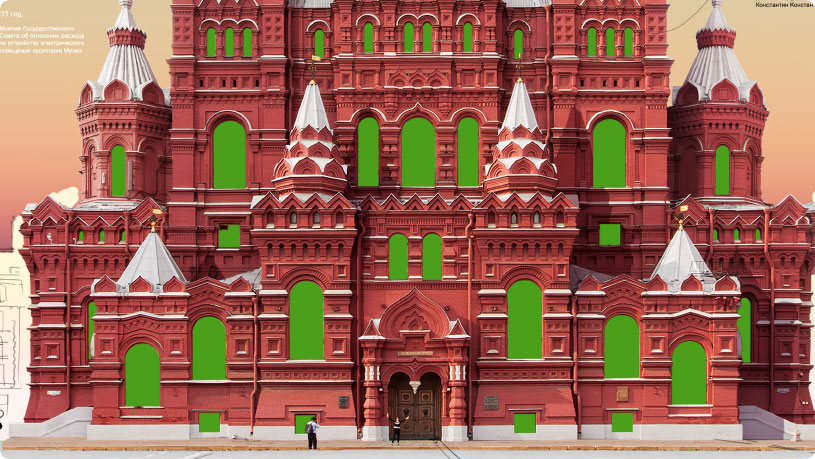
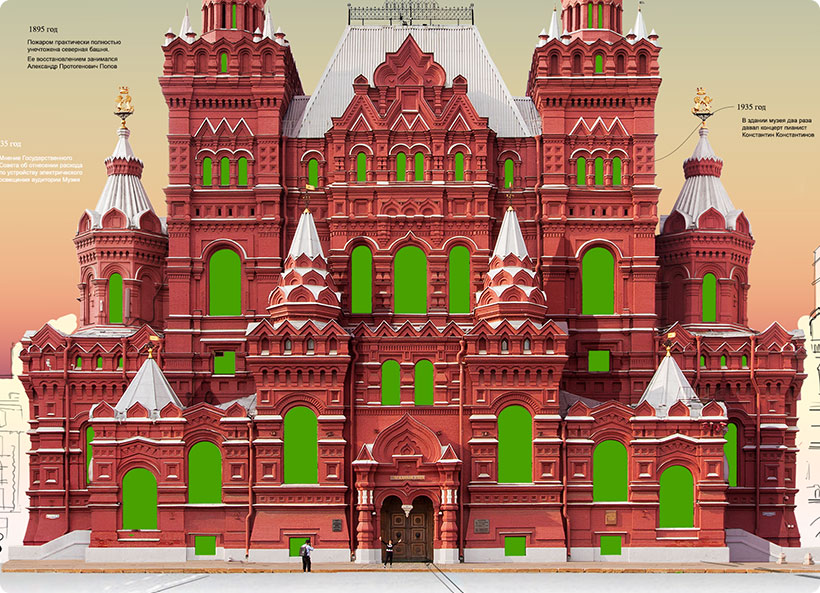
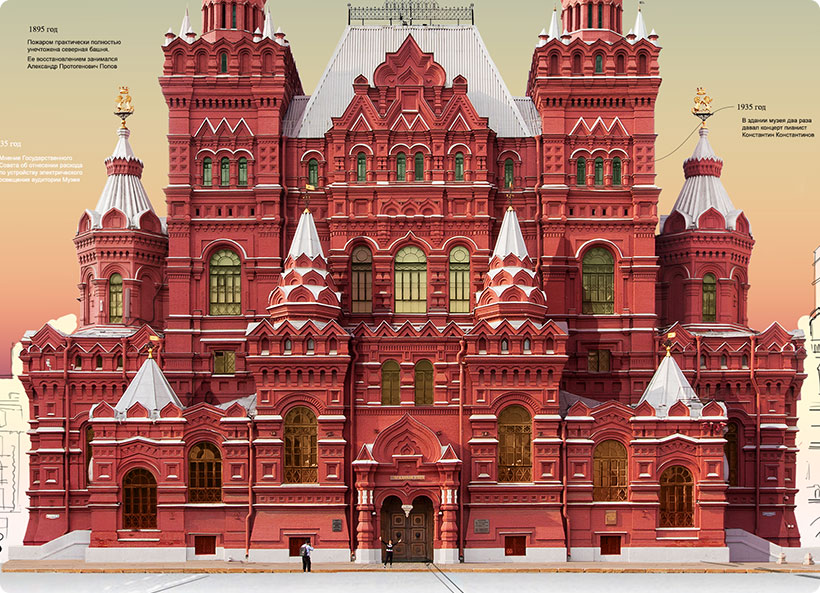
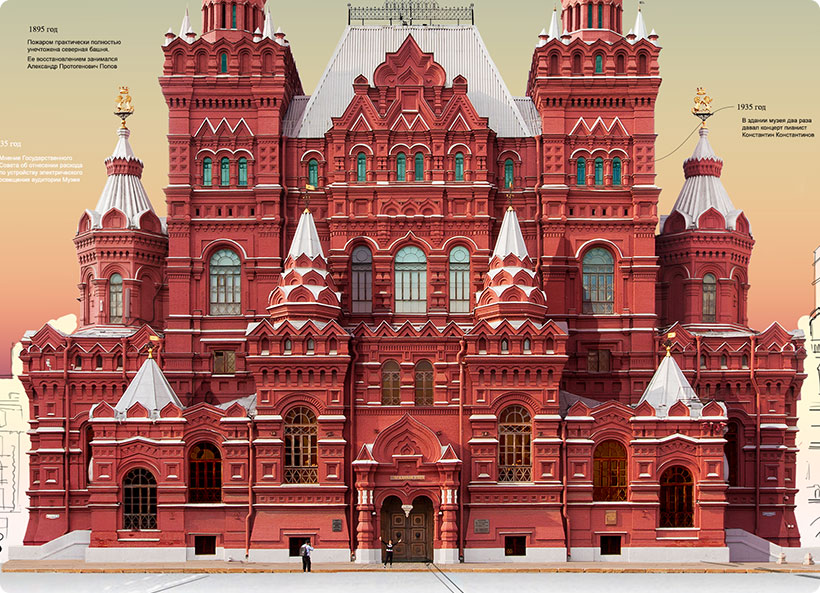
Windows
Time to work with reflections on the windows. Drawing a mask.
Choosing colors


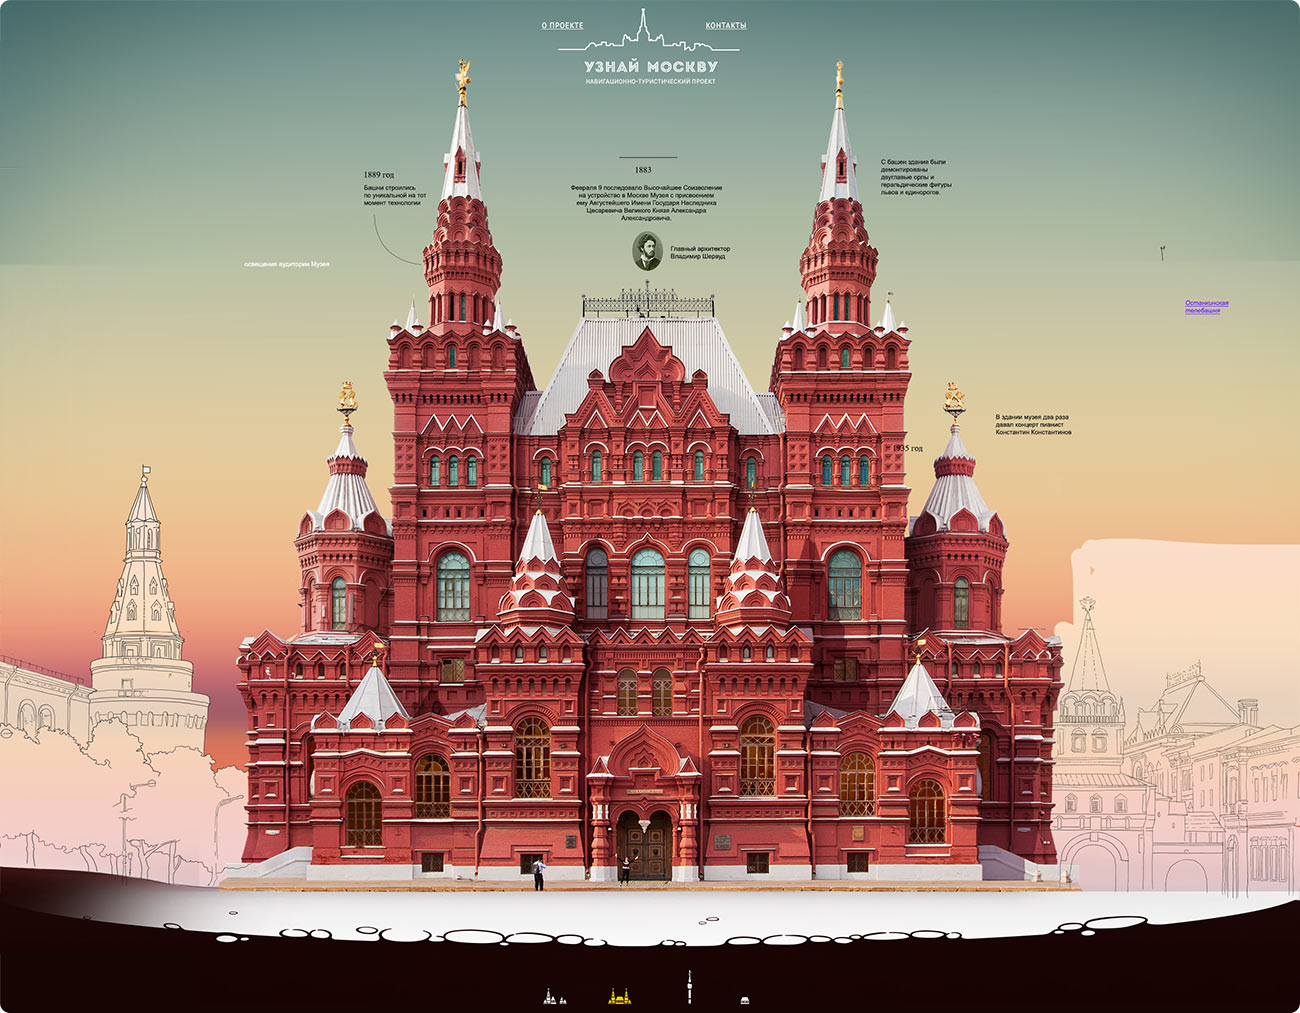
Paving
The transition from the building to the text below it is done through the exaggerated hand-drawn paving.

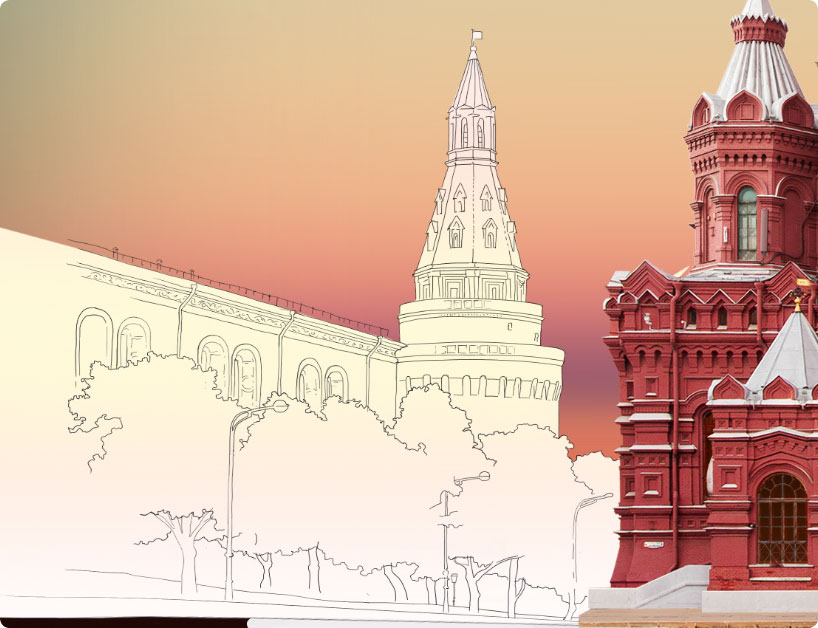
Environment
All objects surrounding the museum are drawn by hand without too much rigor. Preparing perspective mesh, adding the objects.

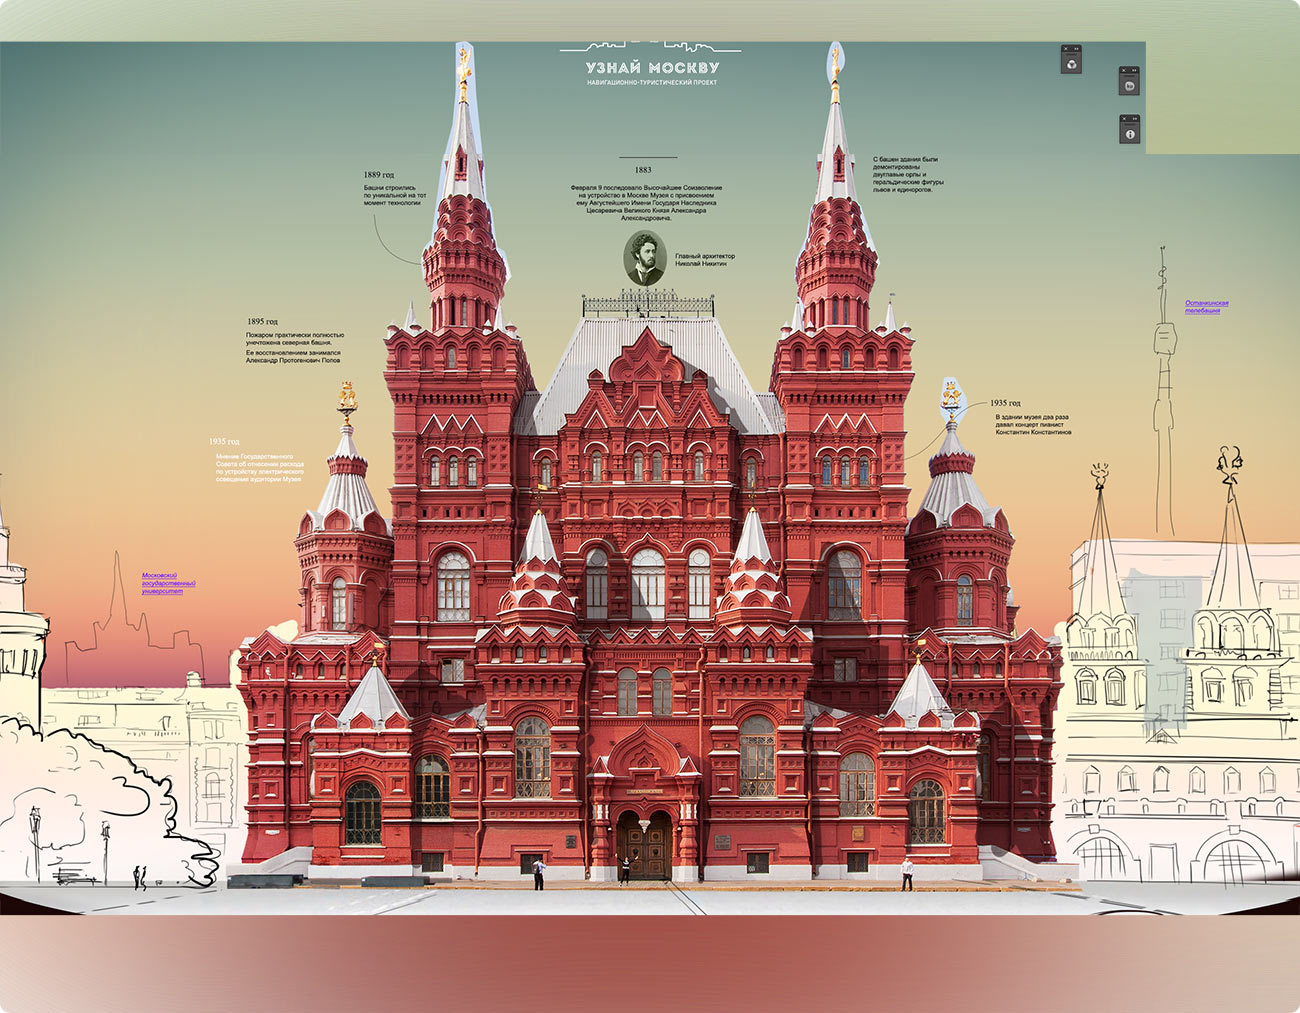
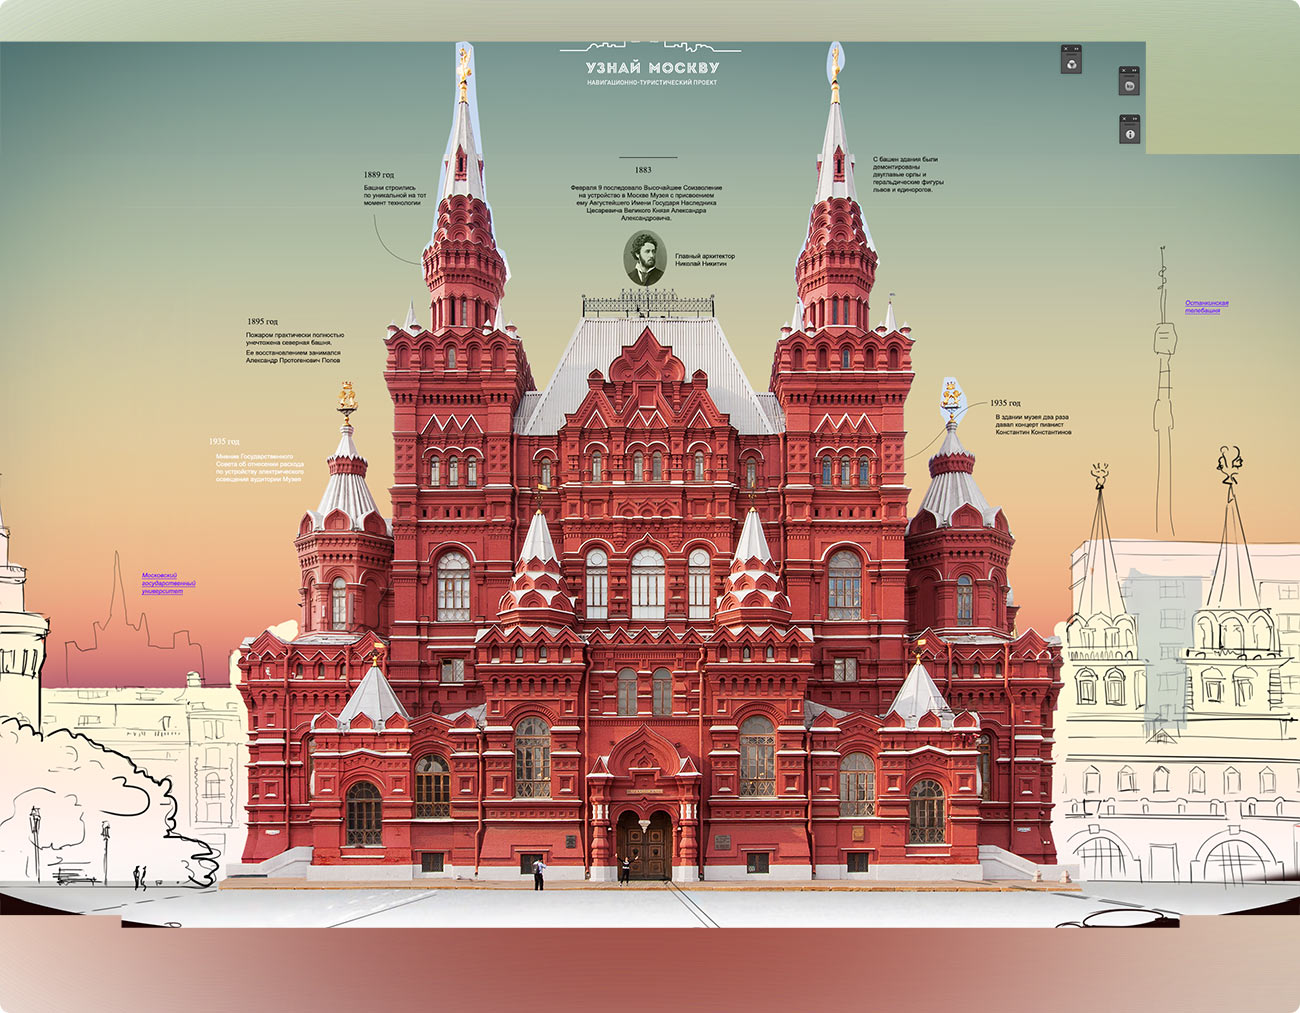
The easiest part is done. Now we need to add the historic events to the façade.
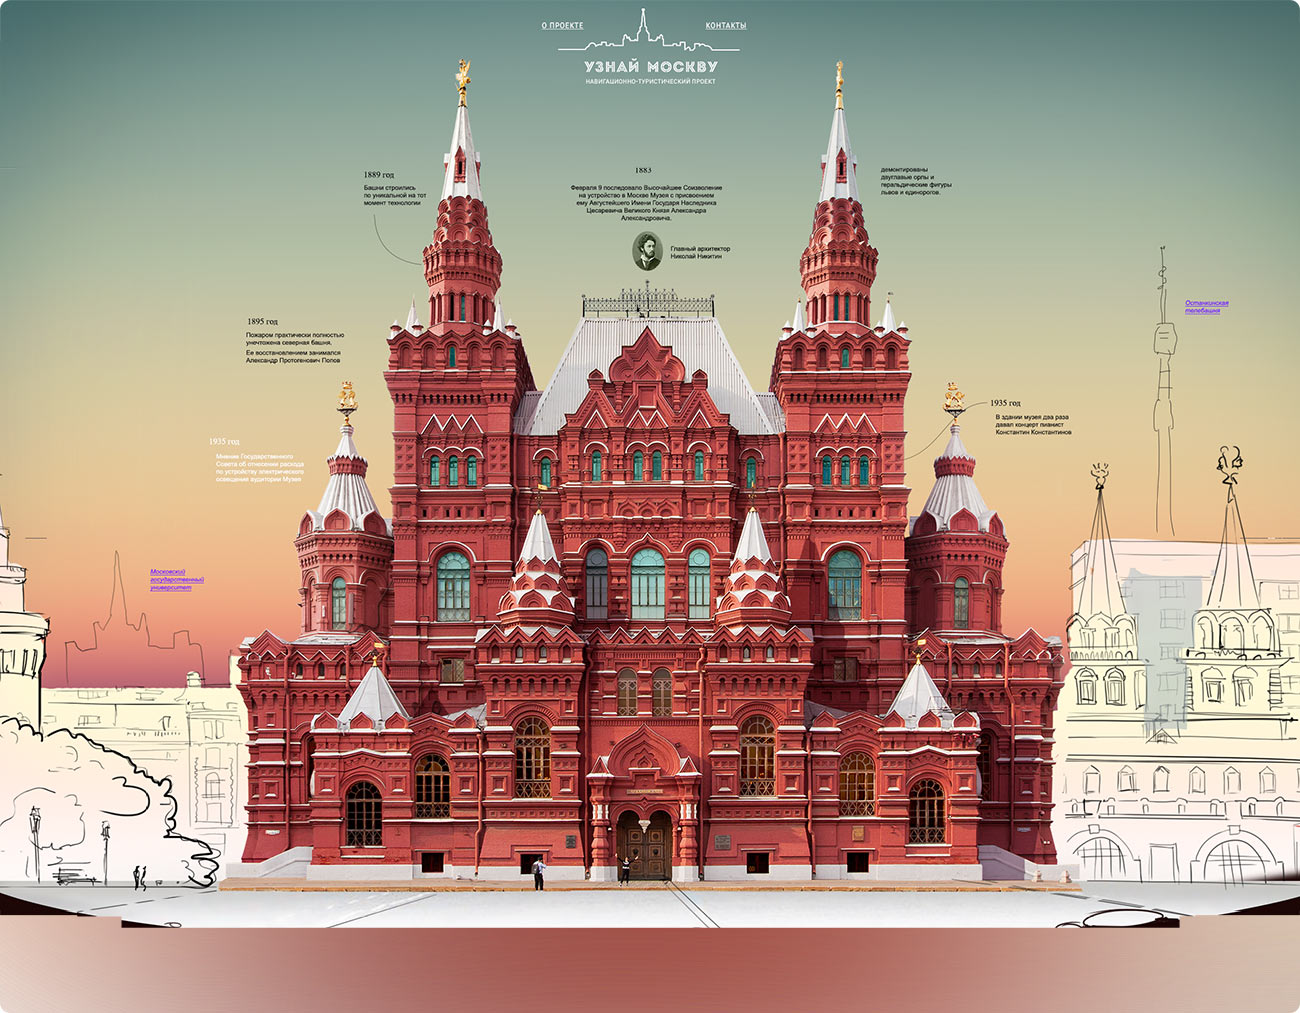
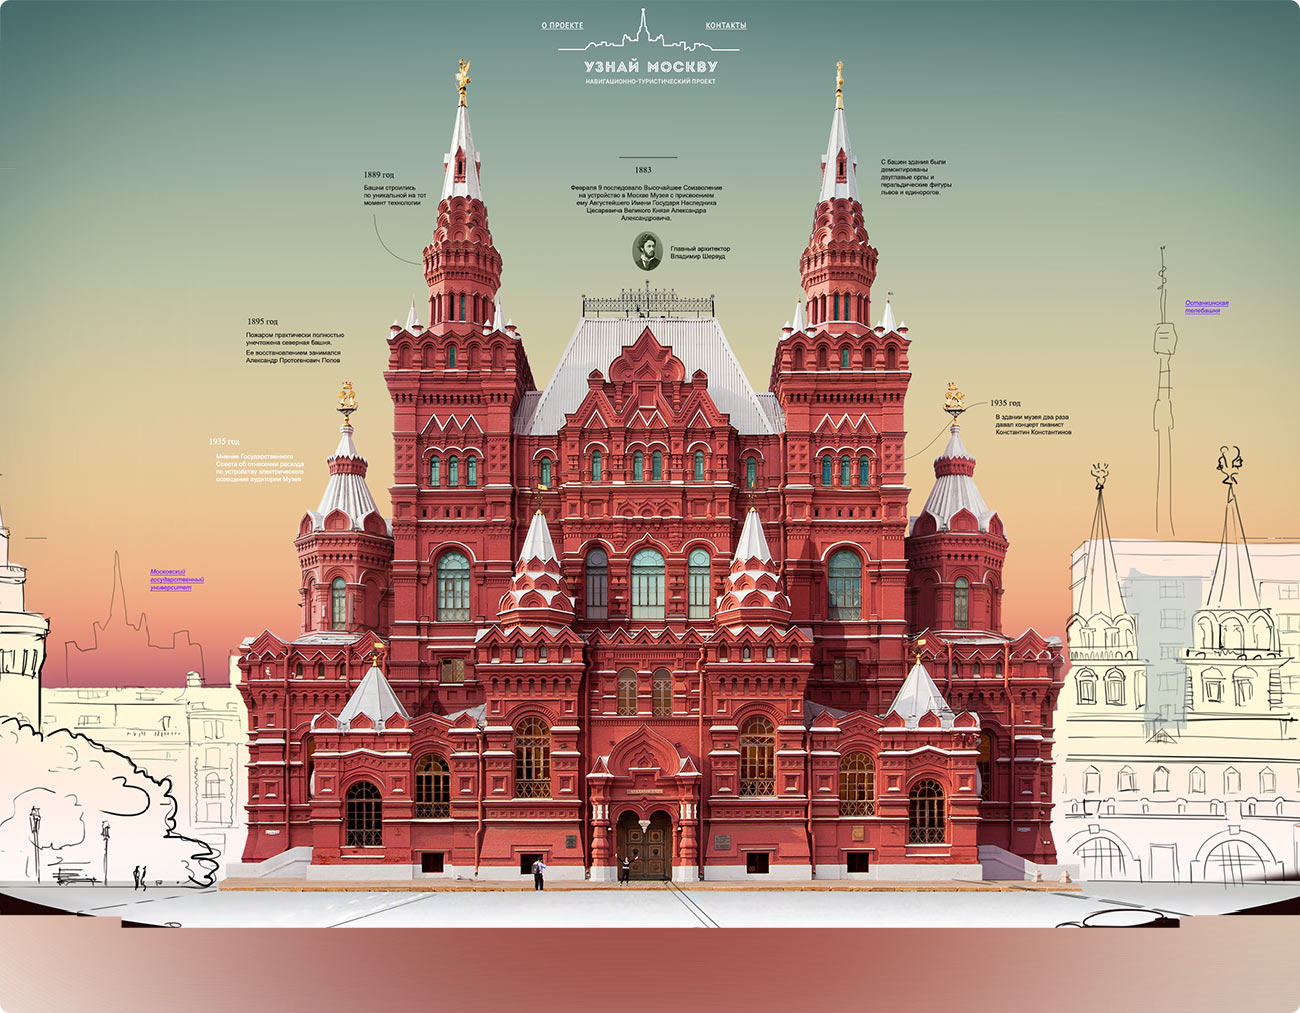
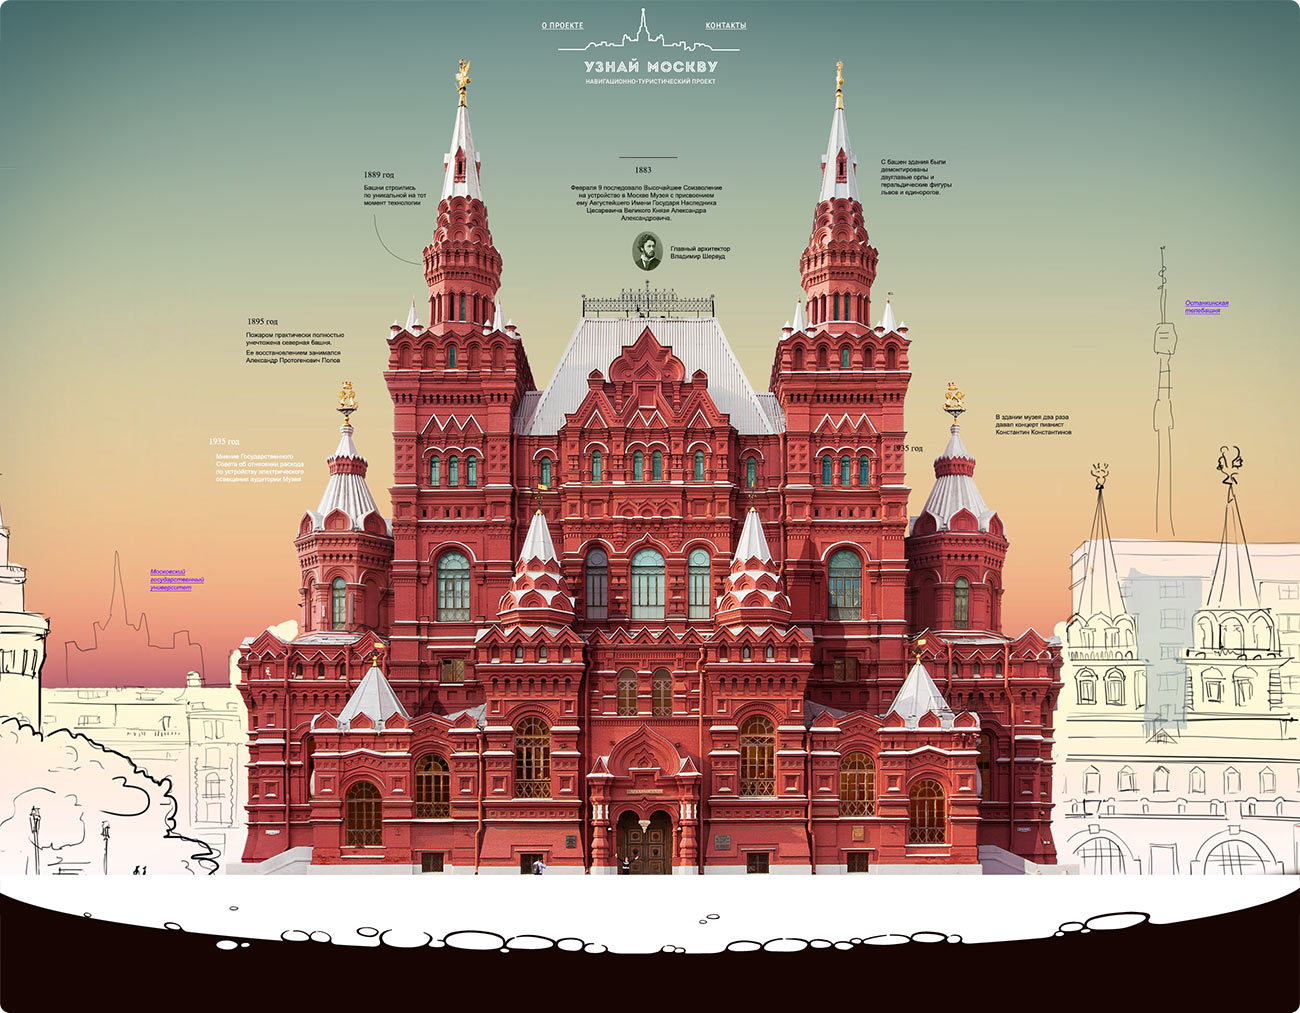
Main stages of the process: